Page 66 of 484

•Unlocks the doors automatically.
NOTE: The interior lights can only be deactivated if the
key is removed from the ignition switch or the vehicle is
driven.
Maintaining Your Airbag System
WARNING!
•Modifications to any part of the airbag system
could cause it to fail when you need it. You could
be injured because the airbags are not there to
protect you. Do not modify the components or
wiring, including adding any kind of badges or
stickers to the steering wheel hub trim cover or the
upper passenger side of the instrument panel. Do
not modify the front bumper, vehicle body struc-
ture, or frame.
(Continued)
WARNING! (Continued)
•You need proper knee impact protection in a
collision. Do not mount or locate any aftermarket
equipment on or behind the knee impact bolster.
•It is dangerous to try to repair any part of the
airbag system yourself. Be sure to tell anyone who
works on your vehicle that it has airbags.
NOTE:
Perchlorate Material — special handling may ap-
ply. See www.dtsc.ca.gov/hazardouswaste/perchlorate.
64 THINGS TO KNOW BEFORE STARTING YOUR VEHICLE
Page 82 of 484

Defroster
Check operation by selecting the defrost mode and place
the blower control on high speed. You should be able to
feel the air directed against the windshield. See your
authorized dealer for service if your defroster is
inoperable.
Periodic Safety Checks You Should Make Outside
The Vehicle
Tires
Examine tires for excessive tread wear and uneven wear
patterns. Check for stones, nails, glass, or other objects
lodged in the tread. Inspect the tread and sidewall for
cuts and cracks. Check the wheel nuts for tightness.
Check the tires (including spare) for proper pressure.
Lights
Have someone observe the operation of exterior lights
while you work the controls. Check turn signal and high
beam indicator lights on the instrument panel.
Door Latches
Check for positive closing, latching, and locking.
Fluid Leaks
Check area under vehicle after overnight parking for fuel,
engine coolant, oil, or other fluid leaks. Also, if gasoline
fumes are detected or if fuel, power steering fluid, or
brake fluid leaks are suspected, the cause should be
located and corrected immediately.
80 THINGS TO KNOW BEFORE STARTING YOUR VEHICLE
Page 108 of 484

•After the�Ready�prompt and the following beep, say
�Setup Confirmations.� The uconnect�phone will play
the current confirmation prompt status and you will
be given the choice to change it.
Phone and Network Status Indicators
If available on the radio and/or on a premium display
such as the instrument panel cluster, and supported by
your cellular phone, the uconnect� phone will provide
notification to inform you of your phone and network
status when you are attempting to make a phone call
using uconnect� phone. The status is given for roaming,
network signal strength, phone battery strength, etc.
Dialing Using the Cellular Phone Keypad
You can dial a phone number with your cellular phone
keypad and still use the uconnect� phone (while dialing
via the cellular phone keypad, the user must exercise
caution and take precautionary safety measures). By
dialing a number with your paired Bluetooth �cellular phone, the audio will be played through your vehicle’s
audio system. The uconnect�
phone will work the same
as if you dial the number using voice recognition.
NOTE: Certain brands of cellular phones do not send
the dial ring to the uconnect� phone to play it on the
vehicle audio system, so you will not hear it. Under this
situation, after successfully dialing a number the user
may feel that the call did not go through even though the
call is in progress. Once your call is answered, you will
hear the audio.
Mute/Un-Mute (Mute OFF)
When you mute the uconnect� phone, you will still be
able to hear the conversation coming from the other
party, but the other party will not be able to hear you. In
order to mute the uconnect� phone:
•Press the VOICE RECOGNITION button.
•Following the beep, say�Mute.�
106 UNDERSTANDING THE FEATURES OF YOUR VEHICLE
Page 129 of 484
Heated Seats — If Equipped
This feature heats the front driver and passenger seats.
The controls for each front seat are located near the
bottom center of the instrument panel.Press the switch once to select High-level heat-
ing. Press the switch a second time to select
Low-level heating. Press the switch a third time
to shut the heating elements Off. Two indica-
tors will illuminate for High, one for Low, and none for
Off.
If High-level heating is selected, the system will auto-
matically switch to the Low-level after approximately
30 minutes of continuous operation. At that time, the
number of indicators illuminated changes from two to
one, indicating the change. Operation on the Low-level
setting also turns off automatically after approximately
30 minutes.
NOTE: Once a heat setting is selected, heat will be felt
within two to five minutes.
Front Heated Seat Switch
UNDERSTANDING THE FEATURES OF YOUR VEHICLE 127
3
Page 131 of 484
WARNING!
•Be certain that the seatback is securely locked into
position. If the seatback is not securely locked into
position, the seat will not provide the proper
stability for child seats and/or passengers. An
improperly latched seat could cause serious injury.
•The cargo area in the rear of the vehicle (with the
rear seatbacks in the locked-up or folded down
position) should not be used as a play area by
children when the vehicle is in motion. They could
be seriously injured in an accident. Children
should be seated and using the proper restraint
system.
TO OPEN AND CLOSE THE HOOD
Two latches must be released to open the hood.
1. Pull the hood release lever located under the left side
of the instrument panel.
Hood Release Lever
UNDERSTANDING THE FEATURES OF YOUR VEHICLE 129
3
Page 133 of 484
LIGHTS
Headlight Switch
The headlight switch is located on the left side of
the instrument panel. This switch controls the
operation of the headlights, parking lights, instru-
ment panel lights, instrument panel light dimming, inte-
rior lights and fog lights.
Rotate the headlight switch clockwise to the first detent
for parking light and instrument panel light operation.
Rotate the headlight switch to the second detent for
headlight, parking light and instrument panel light
operation.
Headlight Switch
UNDERSTANDING THE FEATURES OF YOUR VEHICLE 131
3
Page 138 of 484

because a door is open. This includes the glove box light,
but not the trunk light. To restore interior light operation,
either turn the ignition switch ON or cycle the light
switch.
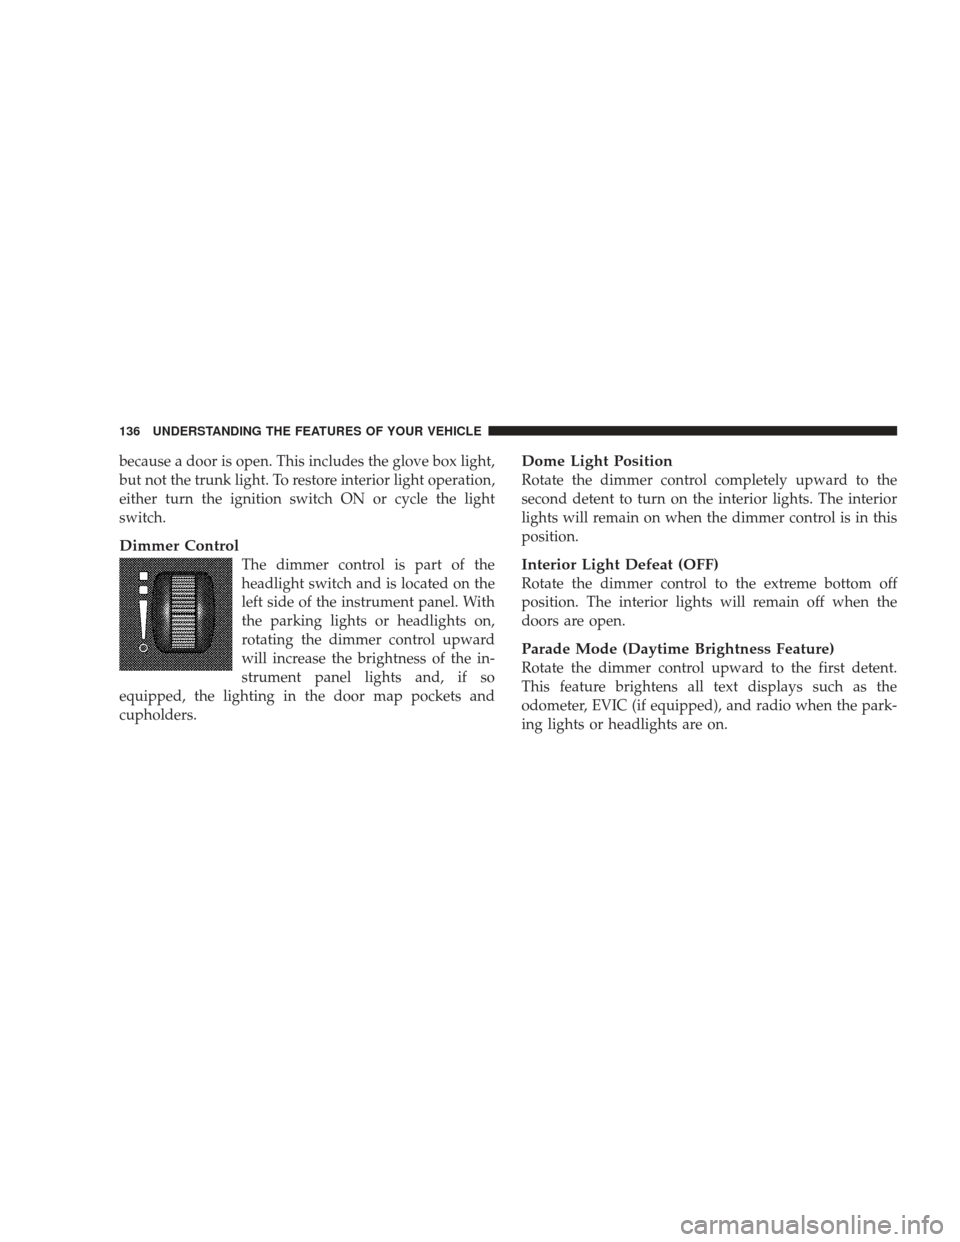
Dimmer Control
The dimmer control is part of the
headlight switch and is located on the
left side of the instrument panel. With
the parking lights or headlights on,
rotating the dimmer control upward
will increase the brightness of the in-
strument panel lights and, if so
equipped, the lighting in the door map pockets and
cupholders.
Dome Light Position
Rotate the dimmer control completely upward to the
second detent to turn on the interior lights. The interior
lights will remain on when the dimmer control is in this
position.
Interior Light Defeat (OFF)
Rotate the dimmer control to the extreme bottom off
position. The interior lights will remain off when the
doors are open.
Parade Mode (Daytime Brightness Feature)
Rotate the dimmer control upward to the first detent.
This feature brightens all text displays such as the
odometer, EVIC (if equipped), and radio when the park-
ing lights or headlights are on.
136 UNDERSTANDING THE FEATURES OF YOUR VEHICLE
Page 167 of 484
UNDERSTANDING YOUR INSTRUMENT PANEL
CONTENTS
�Instrument Panel Features ............... 169
� Instrument Cluster – Base ............... 170
� Instrument Cluster – Premium ............ 171
� Instrument Cluster Descriptions ........... 172
� Electronic Vehicle Information Center (EVIC) –
If Equipped .......................... 183
▫ Electronic Vehicle Information Center (EVIC)
Displays ........................... 185
▫ Oil Change Required .................. 186
▫ Trip Functions ...................... 187 ▫
Automatic All Wheel Drive (AWD) Displays
— If Equipped ...................... 189
▫ Compass Display .................... 190
▫ Driver-Selectable Surround Sound (DSS) – If
Equipped .......................... 192
▫ uconnect� gps (Navigation) — If Equipped . . 193
▫ Personal Settings (Customer-Programmable
Features) .......................... 193
� Sales Code REQ — AM/FM Stereo Radio And
6–Disc CD/DVD Changer (MP3/WMA AUX
Jack) ............................... 1974