Page 189 of 484
Unless reset, this message will continue to display each
time you turn the ignition switch to the ON position. To
turn off the message temporarily, press and release the
MENU button. To reset the oil change indicator system
(after performing the scheduled maintenance) perform
the following procedure:
1. Turn the ignition switch to the ON position. (Do not
start the engine).
2. Fully depress the accelerator pedal slowly three times
within 10 seconds.
3. Turn the ignition switch to the LOCK position.
NOTE:If the indicator message illuminates when you
start the vehicle, the oil change indicator system did not
reset. If necessary, repeat this procedure.Trip Functions
Press and release the MENU button until one of the
following Trip Functions displays in the EVIC:
•Average Fuel Economy
•Distance To Empty
•Trip A
•Trip B
•Elapsed Time
•Display Units of Measure in
Press the SCROLL button to cycle through all the Trip
Computer functions.
UNDERSTANDING YOUR INSTRUMENT PANEL 187
4
Page 190 of 484
The Trip Functions mode displays the following.
•Average Fuel Economy
Shows the average fuel economy since the last reset. When
the fuel economy is reset, the display will read “RESET” or
show dashes for two seconds. Then, the history informa-
tion will be erased, and the averaging will continue from
the last fuel average reading before the reset.
•Distance To Empty (DTE)
Shows the estimated distance that can be traveled with
the fuel remaining in the tank. This estimated distance is
determined by a weighted average of the instantaneous
and average fuel economy, according to the current fuel
tank level. DTE cannot be reset through the FUNCTION
SELECT button.
NOTE: Significant changes in driving style or vehicle
loading will greatly affect the actual drivable distance of
the vehicle, regardless of the DTE displayed value. When the DTE value is less than 30 miles (48 km)
estimated driving distance, the DTE display will change
to a text display of
�LOW FUEL.�This display will
continue until the vehicle runs out of fuel. Adding a
significant amount of fuel to the vehicle will turn off the
�LOW FUEL� text and a new DTE value will display.
•Trip A
Shows the total distance traveled for Trip A since the last
reset.
•Trip B
Shows the total distance traveled for Trip B since the last
reset.
•Elapsed Time
Shows the total elapsed time of travel since the last reset
when the ignition switch is in the ACC position. Elapsed
time will increment when the ignition switch is in the ON
or START position.
188 UNDERSTANDING YOUR INSTRUMENT PANEL
Page 256 of 484
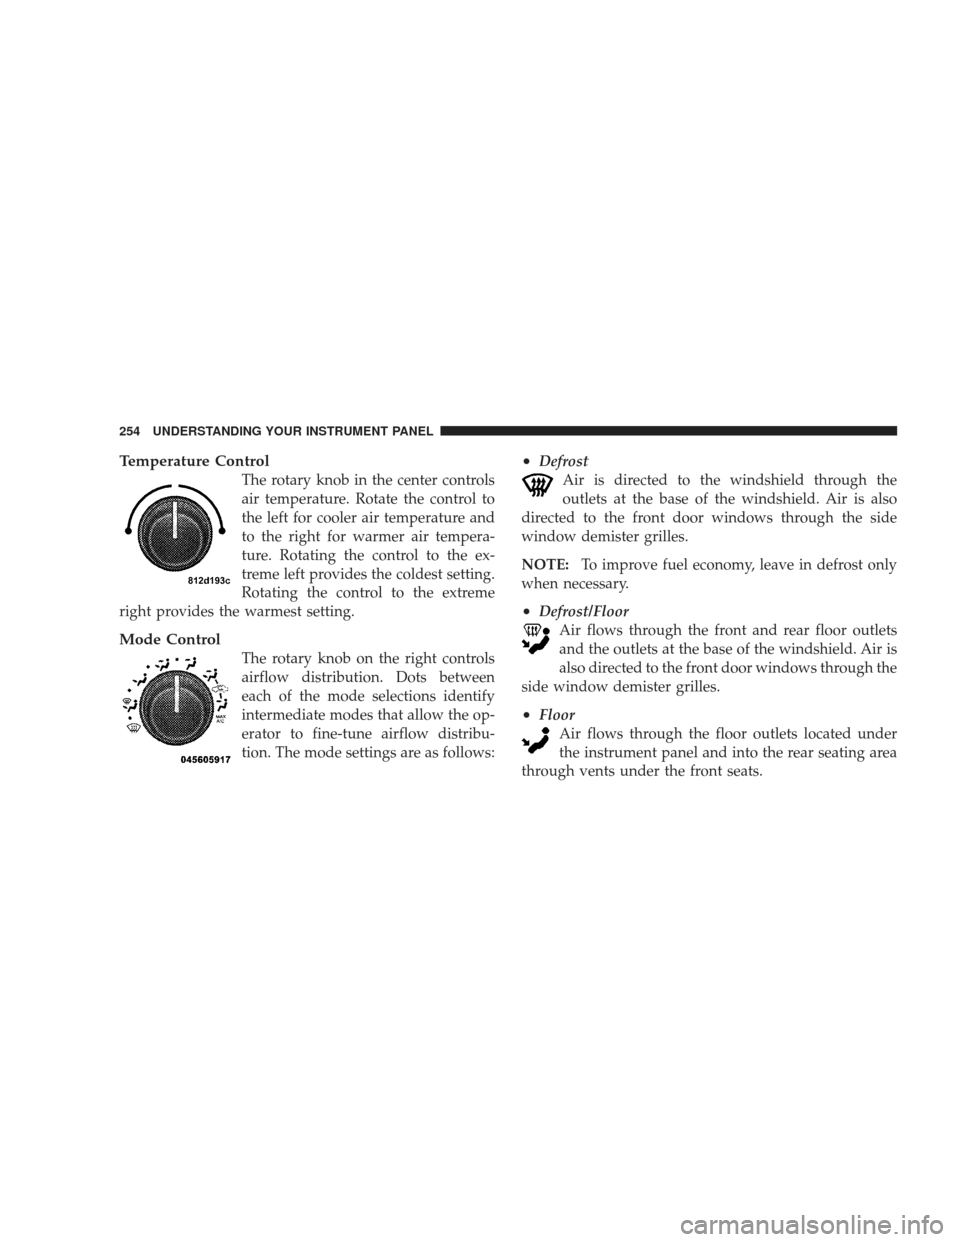
Temperature Control
The rotary knob in the center controls
air temperature. Rotate the control to
the left for cooler air temperature and
to the right for warmer air tempera-
ture. Rotating the control to the ex-
treme left provides the coldest setting.
Rotating the control to the extreme
right provides the warmest setting.
Mode Control
The rotary knob on the right controls
airflow distribution. Dots between
each of the mode selections identify
intermediate modes that allow the op-
erator to fine-tune airflow distribu-
tion. The mode settings are as follows:
•Defrost Air is directed to the windshield through the
outlets at the base of the windshield. Air is also
directed to the front door windows through the side
window demister grilles.
NOTE: To improve fuel economy, leave in defrost only
when necessary.
•Defrost/Floor Air flows through the front and rear floor outlets
and the outlets at the base of the windshield. Air is
also directed to the front door windows through the
side window demister grilles.
•Floor Air flows through the floor outlets located under
the instrument panel and into the rear seating area
through vents under the front seats.
254 UNDERSTANDING YOUR INSTRUMENT PANEL
Page 269 of 484
▫Tire Spinning ....................... 315
▫ Tread Wear Indicators ................. 316
▫ Life Of Tire ........................ 316
▫ Replacement Tires .................... 317
� Self-Sealing Tires — If Equipped ........... 318
� Tire Chains .......................... 319
� Snow Tires .......................... 320
� Tire Rotation Recommendations ........... 321
� Tire Pressure Monitor System (TPMS) ....... 322
▫ Base System ........................ 324
▫ Premium System — If Equipped ......... 327
▫ General Information .................. 332 �
Fuel Requirements ..................... 332
▫ 2.7L Engine ........................ 332
▫ 3.5L And 5.7L Engines ................. 332
▫ Reformulated Gasoline ................ 333
▫ Gasoline/Oxygenate Blends ............. 333
▫ E-85 Usage In Non-Flex Fuel Vehicles ...... 334
▫ MMT In Gasoline .................... 335
▫ Materials Added To Fuel ............... 335
▫ Fuel System Cautions ................. 335
▫ Carbon Monoxide Warnings ............ 336
� Adding Fuel ......................... 337
▫ Fuel Filler Cap (Gas Cap) .............. 337
▫ Loose Fuel Filler Cap Message ........... 339
STARTING AND OPERATING 267
5
Page 273 of 484
If Engine Fails To Start
WARNING!
•Never pour fuel or other flammable liquids into
the throttle body air inlet opening in an attempt to
start the vehicle. This could result in a flash fire
causing serious personal injury.(Continued)
WARNING! (Continued)
•Do not attempt to push or tow your vehicle to get
it started. Vehicles equipped with an automatic
transmission cannot be started this way. Unburned
fuel could enter the catalytic converter and once
the engine has started, ignite and damage the
converter and vehicle. If the vehicle has a dis-
charged battery, booster cables may be used to
obtain a start from a booster battery or the battery
in another vehicle. This type of start can be dan-
gerous if done improperly. Refer to Section 6 for
proper jump-starting procedures and follow them
carefully.
If the engine fails to start after you have followed the
“Normal Starting” or “Extreme Cold Weather” proce-
dures, it may be flooded. To clear any excess fuel, push
the accelerator pedal all the way to the floor and hold it.
Then, turn the ignition switch to the START position and
STARTING AND OPERATING 271
5
Page 281 of 484
shifts and the best fuel economy. Select the “3” range
when frequent transmission shifting occurs when using
the Overdrive range, such as when operating the vehicle
under heavy loading conditions (in hilly terrain, travel-
ing into strong head winds, or while towing heavy
trailers).
NOTE:
•If the vehicle is started in cold temperatures, shifts into
Overdrive may be delayed. Normal Overdrive and
shifting operation will resume when the temperature
of the transmission reaches the appropriate tempera-
ture. Refer to the Note under “Torque Converter
Clutch” later in this section.
•If the transmission temperature gets too hot, the
transmission may downshift out of Overdrive or en-
gage Overdrive at higher vehicle speeds until the
transmission cools down. After cooldown, Overdrive
will resume normal operation.“3” (Third)
This range eliminates shifts into Overdrive. The transmis-
sion will operate normally in 1st, 2nd, and 3rd while in
this range. The “3” position should also be used when
descending steep grades to prevent brake system dis-
tress.
NOTE:
Using the “3” range while operating the vehicle
under heavy operating conditions will improve perfor-
mance and extend transmission life by reducing exces-
sive shifting and heat buildup.
“L” (Low)
This range should be used for engine braking when
descending very steep grades. In this range, upshifts will
occur only to prevent engine overspeed while downshifts
occur earlier than in other gear range selections.
STARTING AND OPERATING 279
5
Page 282 of 484
CAUTION!
Never race the engine with the brakes on and the
vehicle in gear, and never hold the vehicle on an
incline without applying the brakes. These practices
can cause overheating and damage to the transmis-
sion.
Torque Converter Clutch
A feature designed to improve fuel economy has been
added to the automatic transmission in this vehicle. A
clutch within the torque converter engages automatically
at calibrated speeds. This may result in a slightly differ-
ent feeling or response during normal operation in high
gear. When the vehicle speed drops or during accelera-
tion, the clutch automatically and smoothly disengages.NOTE:
•The torque converter clutch will not engage until the
transmission fluid and engine coolant is warm (usu-
ally after 1–3 miles [1.6–4.8 km] of driving). Because
engine speed is higher when the torque converter
clutch is not engaged, it may seem as if the transmis-
sion is not shifting into Overdrive when cold. This is
considered a normal condition. Pulling the shift lever
into the “3” position will show that the transmission is
able to shift into and out of Overdrive.
•If the vehicle has not been driven for several days, the
first few seconds of operation after shifting the trans-
mission into gear may seem sluggish. This is due to the
transmission fluid partially draining from the torque
converter into the transmission. This is considered a
normal condition and it will not cause damage to the
transmission. The torque converter will refill within
five seconds of shifting from PARK into any other gear
position.
280 STARTING AND OPERATING
Page 286 of 484
CAUTION!
Coasting the vehicle or driving for any other reason
with the shift lever in NEUTRAL can result in
transmission damage.
WARNING!
Do not coast in NEUTRAL and never turn off the
ignition to coast down a hill. These are unsafe
practices that limit your response to changing traffic
or road conditions. You might lose control of the
vehicle and have an accident.
DRIVE
This range should be used for most city and highway
driving. It provides the smoothest upshifts and down-
shifts and the best fuel economy. The transmission automatically upshifts through 5th
gear. The DRIVE position provides optimum driving
characteristics under all normal operating conditions.
When frequent transmission shifting occurs when using
the Overdrive range, such as when operating the vehicle
under heavy loading conditions (in hilly terrain, travel-
ing into strong head winds, or while towing heavy
trailers, use the AutoStick�
mode and select the “3”
range.
Delayed Shifts in Cold Temperatures
During cold temperature operation, you may notice
delayed upshifts depending on engine and transmission
temperature as well as vehicle speed. This feature im-
proves warm up time of the engine and transmission to
achieve maximum efficiency.
284 STARTING AND OPERATING