Page 362 of 484
Preparations For Jacking
6. Park the vehicle on a firm level surface as far from the
edge of the roadway as possible. Avoid icy or slippery
areas.
7. Set the parking brake.
8. Place the shift lever into PARK.
9. Turn OFF the ignition.
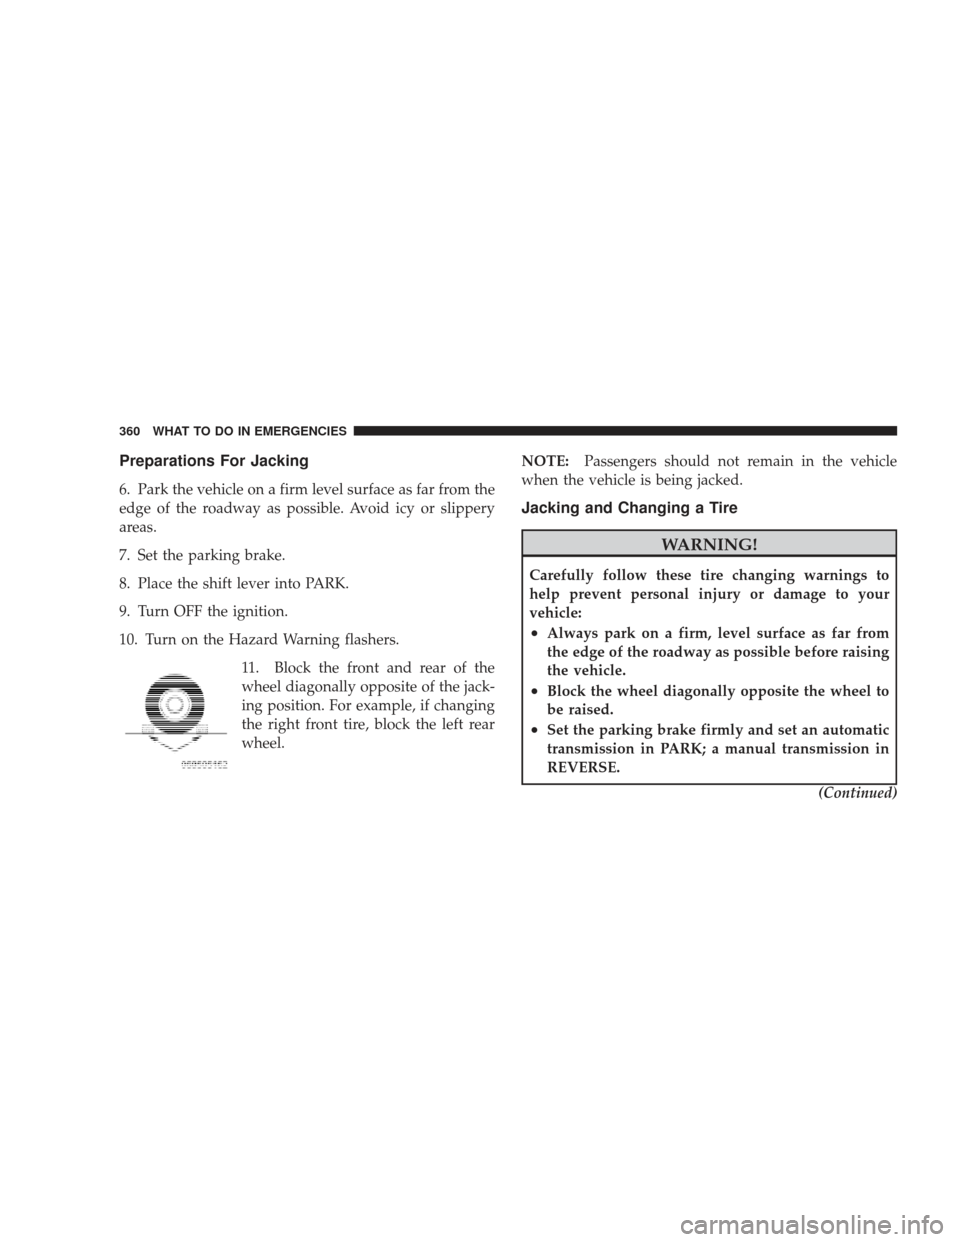
10. Turn on the Hazard Warning flashers.11. Block the front and rear of the
wheel diagonally opposite of the jack-
ing position. For example, if changing
the right front tire, block the left rear
wheel. NOTE:
Passengers should not remain in the vehicle
when the vehicle is being jacked.
Jacking and Changing a Tire
WARNING!
Carefully follow these tire changing warnings to
help prevent personal injury or damage to your
vehicle:
•Always park on a firm, level surface as far from
the edge of the roadway as possible before raising
the vehicle.
•Block the wheel diagonally opposite the wheel to
be raised.
•Set the parking brake firmly and set an automatic
transmission in PARK; a manual transmission in
REVERSE.
(Continued)
360 WHAT TO DO IN EMERGENCIES
Page 365 of 484
3. Before raising the vehicle, use the lug wrench to
loosen, but not remove, the lug nuts on the wheel with
the flat tire. Turn the lug nuts counterclockwise one turn
while the wheel is still on the ground.4. Place the jack underneath the lift area that is closest to
the flat tire. Turn the jack screw clockwise to firmly
engage the jack saddle with the lift area of the sill flange.
Lug Nut Removal/Installation
1 — Tighten
2 — Loosen
WHAT TO DO IN EMERGENCIES 363
6
Page 367 of 484
5. Raise the vehicle just enough to remove the flat tire
and install the spare tire.
WARNING!
Raising the vehicle higher than necessary can make
the vehicle less stable. It could slip off the jack and
hurt someone near it. Raise the vehicle only enough
to remove the tire.
6. Remove the lug nuts, wheel cover (if equipped), and
tire. Remove the cover by hand. Do not pry it off.
7. Mount the spare tire.
NOTE: For vehicles so equipped, do not attempt to
install a center cap or wheel cover on the compact spare.
However, when reinstalling the road tire, follow the
procedure under “Wheel Cover or Center Cap Installa-
tion” in place of the remaining steps in this procedure. 8. Install the lug nuts with the cone shaped end of the
nut toward the wheel. Lightly tighten the lug nuts. To
avoid the risk of forcing the vehicle off the jack, do not
tighten the lug nuts fully until the vehicle is lowered to
the ground.
9. Lower the vehicle to the ground by turning the jack
handle counterclockwise.
10. Finish tightening the lug nuts. Push down on the
wrench while tightening for increased leverage. Alternate
lug nuts until each nut has been tightened twice. The
correct tightness of each lug nut is 100 ft/lb. (135 N·m). If
in doubt about the correct tightness, have them checked
with a torque wrench by your authorized dealer or at a
service station.
11. Stow the jack, tools and flat tire. Make sure the base
of the jack faces the rear of the vehicle before tightening
down the fastener.
WHAT TO DO IN EMERGENCIES 365
6
Page 370 of 484
snapping the cover over the two lug nuts. Do not use a
hammer or excessive force to install the cover.
4. Install the remaining lug nuts with the cone shaped
end of the nut toward the wheel. Lightly tighten the lug
nuts. To avoid the risk of forcing the vehicle off the jack,
do not tighten the lug nuts fully until the vehicle is
lowered to the ground.
5. Lower the vehicle to the ground by turning the jack
handle counterclockwise.
6. Finish tightening the lug nuts. Push down on the
wrench while tightening for increased leverage. Alternate
lug nuts until each nut has been tightened twice. The
correct tightness of each lug nut is 100 ft/lb. (135 N·m). If
in doubt about the correct tightness, have them checked
with a torque wrench by your authorized dealer or at a
service station.7. For vehicles equipped with center caps, install the
center cap by hand. Do not use a hammer or excessive
force to install the center cap.
8. Stow the jack, tools, and spare tire. Make sure the base
of the jack faces the rear of the vehicle before tightening
down the fastener.
WARNING!
A loose tire or jack thrown forward in a collision or
hard stop could endanger the occupants of the ve-
hicle. Always stow the jack parts and the spare tire in
the places provided.
368 WHAT TO DO IN EMERGENCIES
Page 372 of 484
NOTE:The battery is stored under an access cover in
the trunk. Remote battery terminals are located in the
engine compartment for jump-starting.
1. Wear eye protection and remove any metal jewelry
such as watchbands or bracelets that might make an
inadvertent electrical contact.
2. When boost is provided by a battery in another
vehicle, park that vehicle within booster cable reach, but
do not allow the vehicles to touch one another.
WARNING!
Do not permit vehicles to touch each other as this
could establish a ground connection and personal
injury could result. 3. Set the parking brake, place the automatic transmis-
sion in PARK, and turn the ignition switch to the LOCK
position on both vehicles.
4. Turn off the heater, radio, and all unnecessary electri-
cal loads.
5. Connect one end of the jumper cable to the remote
jump-start positive battery post
(+)in the engine com-
partment. Connect the other end of the same cable to the
positive terminal of the booster battery. Refer to the
following illustration for jump-starting connections.
6. Connect the other cable, first to the negative terminal
of the booster battery and then to the engine ground (-)
of the vehicle with the discharged battery. Make sure
you have a good contact on the engine ground. Refer to
the following illustration for jump-starting connections.
370 WHAT TO DO IN EMERGENCIES
Page 376 of 484
TOWING A DISABLED VEHICLE
Without The Ignition Key
Special care must be taken when the vehicle is towed
with the ignition in the LOCK position. The only ap-
proved method of towing without the ignition key is
with a flatbed truck. Proper towing equipment is neces-
sary to prevent damage to the vehicle.
Towing This Vehicle Behind Another Vehicle
Flatbed towing is recommended. DO NOT tow an AWD
vehicle with the rear wheels on the ground unless the
rear driveshaft is removed and the transmission is in
NEUTRAL.
Vehicles WITHOUT AWD may be towed (with rear
wheels on the ground) with the transmission in NEU-
TRAL under the following conditions:
•The distance to be traveled must not exceed 15 miles
(24 km).
•The towing speed must not exceed 30 mph (48 km/h).
CAUTION!
Exceeding these towing limits may cause transmis-
sion failure.
Vehicles equipped with AWD can be towed with the
transmission in NEUTRAL and the rear wheels OFF the
ground (or the rear driveshaft removed) with no limita-
tion on speed or distance.
CAUTION!
•Do not attempt to tow this vehicle from the front
with sling type towing equipment. Damage to the
front fascia will result. (Continued)
374 WHAT TO DO IN EMERGENCIES
Page 394 of 484
WARNING! (Continued)
•The air conditioning system contains refrigerant
under high pressure. To avoid risk of personal
injury or damage to the system, adding refrigerant
or any repair requiring lines to be disconnected
should be done by an experienced technician.
Refrigerant Recovery and Recycling
R-134a Air Conditioning Refrigerant is a hydrofluoro-
carbon (HFC) that is endorsed by the Environmental
Protection Agency and is an ozone-saving product. How-
ever, the manufacturer recommends that air conditioning
service be performed by authorized dealers or other
service facilities using recovery and recycling equipment.
NOTE:Use only manufacturer approved A/C System
Sealers, Stop Leak Products, Seal Conditioners, Compres-
sor Oil, and Refrigerants.
A/C Air Filter
The filter is located in the fresh air inlet under the hood,
behind a removable panel in the cowl on the passenger
side of the vehicle, next to the windshield wipers. When
installing a new filter, ensure its proper orientation. To
replace the filter, remove the access door in the cowl
screen by pressing the retaining clips. Slide the lid on the
filter adapter forward and down and remove the used
filter. Install the new filter with arrows pointing in the
direction of airflow, which is toward the rear of the
vehicle (text and arrows on the filter indicate this).
Refer to the “Maintenance Schedule” in Section 8 for
proper maintenance intervals.
Body Lubrication
Locks and all body pivot points, including such items as
seat tracks, door hinge pivot points and rollers, liftgate,
tailgate, sliding doors and hood hinges, should be lubri-
cated periodically with a lithium based grease such as
392 MAINTAINING YOUR VEHICLE
Page 395 of 484
MOPAR�Spray White Lube to assure quiet, easy opera-
tion and to protect against rust and wear. Prior to the
application of any lubricant, the parts concerned should
be wiped clean to remove dust and grit; after lubricating
excess oil and grease should be removed. Particular
attention should also be given to hood latching compo-
nents to insure proper function. When performing other
underhood services, the hood latch, release mechanism
and safety catch should be cleaned and lubricated.
The external lock cylinders should be lubricated twice a
year, preferably in the Fall and Spring. Apply a small
amount of a high quality lubricant such as MOPAR�
Lock Cylinder Lubricant directly into the lock cylinder.
Windshield Wiper Blades
Clean the rubber edges of the wiper blades and the
windshield periodically with a sponge or soft cloth and a
mild nonabrasive cleaner. This will remove accumula-
tions of salt or road film. Operation of the wipers on dry glass for long periods
may cause deterioration of the wiper blades. Always use
washer fluid when using the wipers to remove salt or dirt
from a dry windshield.
Avoid using the wiper blades to remove frost or ice from
the windshield. Keep the blade rubber out of contact with
petroleum products such as engine oil, gasoline, etc.
Windshield Washers
The windshield washer fluid reservoir is located in the
front of the engine compartment. Be sure to check the
fluid level at regular intervals. Fill the reservoir with
windshield washer solvent (not radiator antifreeze) and
operate the system for a few seconds to flush out the
residual water.
When refilling the washer fluid reservoir, apply some
washer fluid to a cloth or towel and wipe the wiper
blades clean. This will help blade performance.
MAINTAINING YOUR VEHICLE 393
7