Page 67 of 469
 of the child restraint to
the anchor (B) and remove s")
2. Route the tether strap to provide the most direct path
for the strap between the anchor and the child seat.
3. Attach the tether strap hook (A) of the child restraint to
the anchor (B) and remove slack in the tether strap
according to the child restraint manufacturer’s instruc-
tions.NOTE:Ensure that the tether strap does not slip into the
opening between the seatbacks as you remove slack in
the strap.
WARNING!
An incorrectly anchored tether strap could lead to
increased head motion and possible injury to the
child. Use only the anchor positions directly behind
the child seat to secure a child restraint top tether
strap.
Transporting Pets
Airbags deploying in the front seat could harm your pet.
An unrestrained pet will be thrown about and possibly
injured, or injure a passenger during panic braking or in
a collision.
Pets should be restrained in the rear seat in pet harnesses
or pet carriers that are secured by seat belts.Tether Strap Mounting
2
THINGS TO KNOW BEFORE STARTING YOUR VEHICLE 65
Page 75 of 469

�Windshield Wipers And Washers.......... 125
▫Intermittent Wiper System.............. 125
▫Mist Feature........................ 126
▫Windshield Washers.................. 126
▫Headlights On With Wipers (Available With
Auto Headlights Only)................ 126
�Tilt/Telescoping Steering Column.......... 127
�Electronic Speed Control................ 128
▫To Activate......................... 129
▫To Set A Desired Speed................ 129
▫To Deactivate....................... 130
▫To Resume Speed.................... 130
▫To Vary The Speed Setting.............. 130▫To Accelerate For Passing.............. 131
�Overhead Console..................... 132
▫Courtesy/Reading Lights.............. 132
▫Sunglasses Storage................... 132
�Garage Door Opener — If Equipped........ 133
▫Programming HomeLink�.............. 134
▫Gate Operator/Canadian Programming.... 137
▫Using HomeLink�................... 137
▫Reprogramming A Single
HomeLink�Button................... 138
▫Security........................... 138
▫Troubleshooting Tips.................. 138
▫General Information.................. 139
3
UNDERSTANDING THE FEATURES OF YOUR VEHICLE 73
Page 119 of 469
WARNING!
•Be certain that the seatback is securely locked into
position. If the seatback is not securely locked into
position, the seat will not provide the proper
stability for child seats and/or passengers. An
improperly latched seat could cause serious injury.
•The cargo area in the rear of the vehicle (with the
rear seatbacks in the locked-up or folded down
position) should not be used as a play area by
children when the vehicle is in motion. They could
be seriously injured in an accident. Children
should be seated and using the proper restraint
system.
TO OPEN AND CLOSE THE HOOD
Two latches must be released to open the hood.
1. Pull the hood release lever located under the left side
of the instrument panel.
Hood Release Lever
3
UNDERSTANDING THE FEATURES OF YOUR VEHICLE 117
Page 120 of 469
2. Move to the outside of the vehicle and push the safety
catch to the left. The safety catch is located under the
center front edge of the hood.CAUTION!
To prevent possible damage, do not slam the hood to
close it. Lower the hood until it is open approxi-
mately 6 in (15 cm), and then drop it. This should
secure both latches. Never drive your vehicle unless
the hood is fully closed, with both latches engaged.
WARNING!
If the hood is not fully latched, it could fly up when
the vehicle is moving and block your forward vision.
You could have a collision. Be sure the hood latch is
fully latched before driving.
Hood Safety Catch
118 UNDERSTANDING THE FEATURES OF YOUR VEHICLE
Page 135 of 469
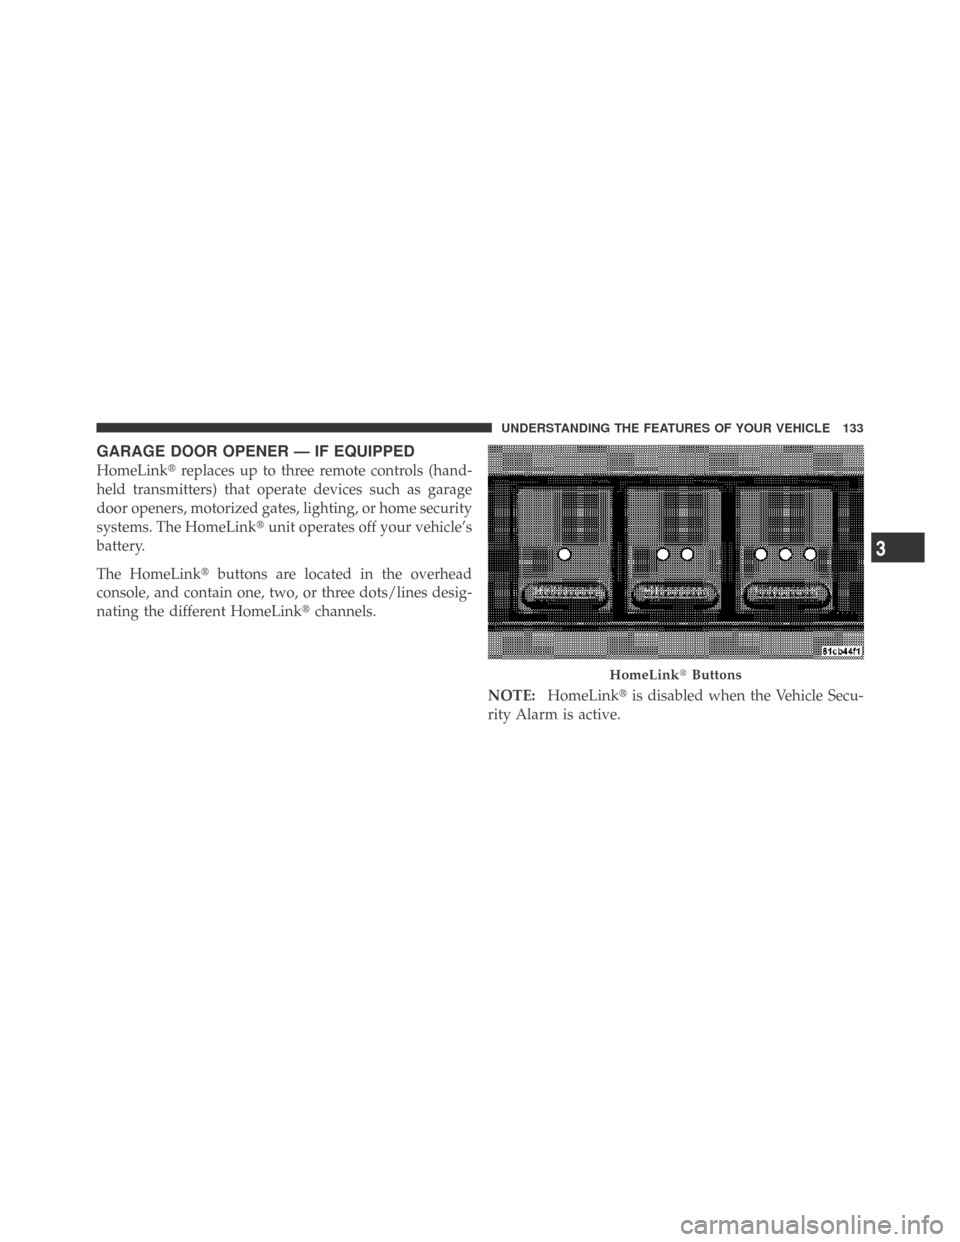
GARAGE DOOR OPENER — IF EQUIPPED
HomeLink�replaces up to three remote controls (hand-
held transmitters) that operate devices such as garage
door openers, motorized gates, lighting, or home security
systems. The HomeLink�unit operates off your vehicle’s
battery.
The HomeLink�buttons are located in the overhead
console, and contain one, two, or three dots/lines desig-
nating the different HomeLink�channels.
NOTE:HomeLink�is disabled when the Vehicle Secu-
rity Alarm is active.
HomeLink�Buttons
3
UNDERSTANDING THE FEATURES OF YOUR VEHICLE 133
Page 139 of 469
 after several seconds of
transmission – which may not be long enough for
Ho")
Gate Operator/Canadian Programming
Canadian radio-frequency laws require transmitter sig-
nals to “time-out” (or quit) after several seconds of
transmission – which may not be long enough for
HomeLink�to pick up the signal during programming.
Similar to this Canadian law, some U.S. gate operators are
designed to “time-out” in the same manner.
It may be helpful to unplug the device during the cycling
process to prevent possible overheating of the garage
door or gate motor.
If you are having difficulties programming a garage door
opener or a gate operator, replace “Programming
HomeLink” Step 3 with the following:
3. Continue to press and hold the HomeLink�button
while you press and release - every two seconds
(“cycle”) your hand-held transmitter until HomeLink�has successfully accepted the frequency signal. The
EVIC display will change from “CHANNEL # TRAIN-
ING” to “CHANNEL # TRAINED.”
If you unplugged the device for training, plug it back in
at this time.
Then proceed with Step 4 under “Programming
HomeLink�” earlier in this section.
Using HomeLink�
To operate, simply press and release the programmed
HomeLink�button. Activation will now occur for the
trained device (i.e., garage door opener, gate operator,
security system, entry door lock, home/office lighting,
etc.) The hand-held transmitter of the device may also be
used at any time.
3
UNDERSTANDING THE FEATURES OF YOUR VEHICLE 137
Page 140 of 469

Reprogramming A Single HomeLink�Button
To reprogram a channel that has been previously trained,
follow these steps:
1. Turn the ignition switch to the ON/RUN position.
2. Press and hold the desired HomeLink�button for
20 seconds until the EVIC display states “CHANNEL #
TRAINING.”Do not release the button.
3.Without releasing the button,proceed with Program-
ming HomeLink�Step 2 and follow all remaining steps.
Security
It is advised to erase all channels before you sell or turn
in your vehicle.
To do this, press and hold the two outside buttons for
20 seconds until the EVIC message states “CHANNELS
CLEARED.” Note that all channels will be erased. Indi-
vidual channels cannot be erased.The HomeLink�Universal Transceiver is disabled when
the Vehicle Security Alarm is active.
Troubleshooting Tips
If you are having trouble programming HomeLink�, here
are some of the most common solutions:
•Replace the battery in the original transmitter.
•Press the learn button on the garage door opener to
complete the training for rolling code.
•Did you unplug the device for training, and remember
to plug it back in?
If you are having any problems or require assistance,
please call toll-free 1–800–355–3515 or, on the Internet at
www.HomeLink.com for information or assistance.
138 UNDERSTANDING THE FEATURES OF YOUR VEHICLE
Page 142 of 469

WARNING!
•Never leave children in a vehicle with the key in
the ignition switch. Occupants, particularly unat-
tended children, can become entrapped by the
power sunroof while operating the power sunroof
switch. Such entrapment may result in serious
injury or death.
•In an accident, there is a greater risk of being
thrown from a vehicle with an open sunroof. You
could also be seriously injured or killed. Always
fasten your seat belt properly and make sure all
passengers are also properly secured.
•Do not allow small children to operate the sun-
roof. Never allow your fingers, other body parts, or
any object, to project through the sunroof opening.
Injury may result.
Opening Sunroof — Partially
Press and hold the switch in the rearward position.
Release the switch when the sunroof is in the position
desired and it will stop moving. If you continue to hold
the switch in the rearward position, the sunroof will open
fully and then stop automatically. Release the switch once
the sunroof stops moving.
Opening Sunroof — Express
Press the switch rearward and release, and the sunroof
will open automatically from any position. The sunroof
will open fully and then stop automatically. This is called
Express Open. During Express Open operation, any
movement of the sunroof switch will stop the sunroof.
Closing Sunroof — Partially
Press and hold the switch in the forward position.
Release the switch when the sunroof is in the position
desired and it will stop moving. If you continue to hold
140 UNDERSTANDING THE FEATURES OF YOUR VEHICLE