2009 DODGE CARAVAN check oil
[x] Cancel search: check oilPage 29 of 534

2. Remove and replace the battery. Avoid touching the
new battery with your fingers. Skin oils may cause
battery deterioration. If you touch the battery, clean it
with rubbing alcohol.3. Reposition the access door panel over the battery
opening and snap into place.
General Information
This device complies with Part 15 of the FCC rules and
RSS 210 of Industry Canada. Operation is subject to the
following conditions:
•This device may not cause harmful interference.
•This device must accept any interference received,
including interference that may cause undesired
operation.
If your RKE transmitter fails to operate from a normal
distance, check for these two conditions.
1. A weak battery in the RKE transmitter. The expected
life of the battery is approximately three years.
2. Closeness to a radio transmitter such as a radio station
tower, airport transmitter, and some mobile or CB radios.
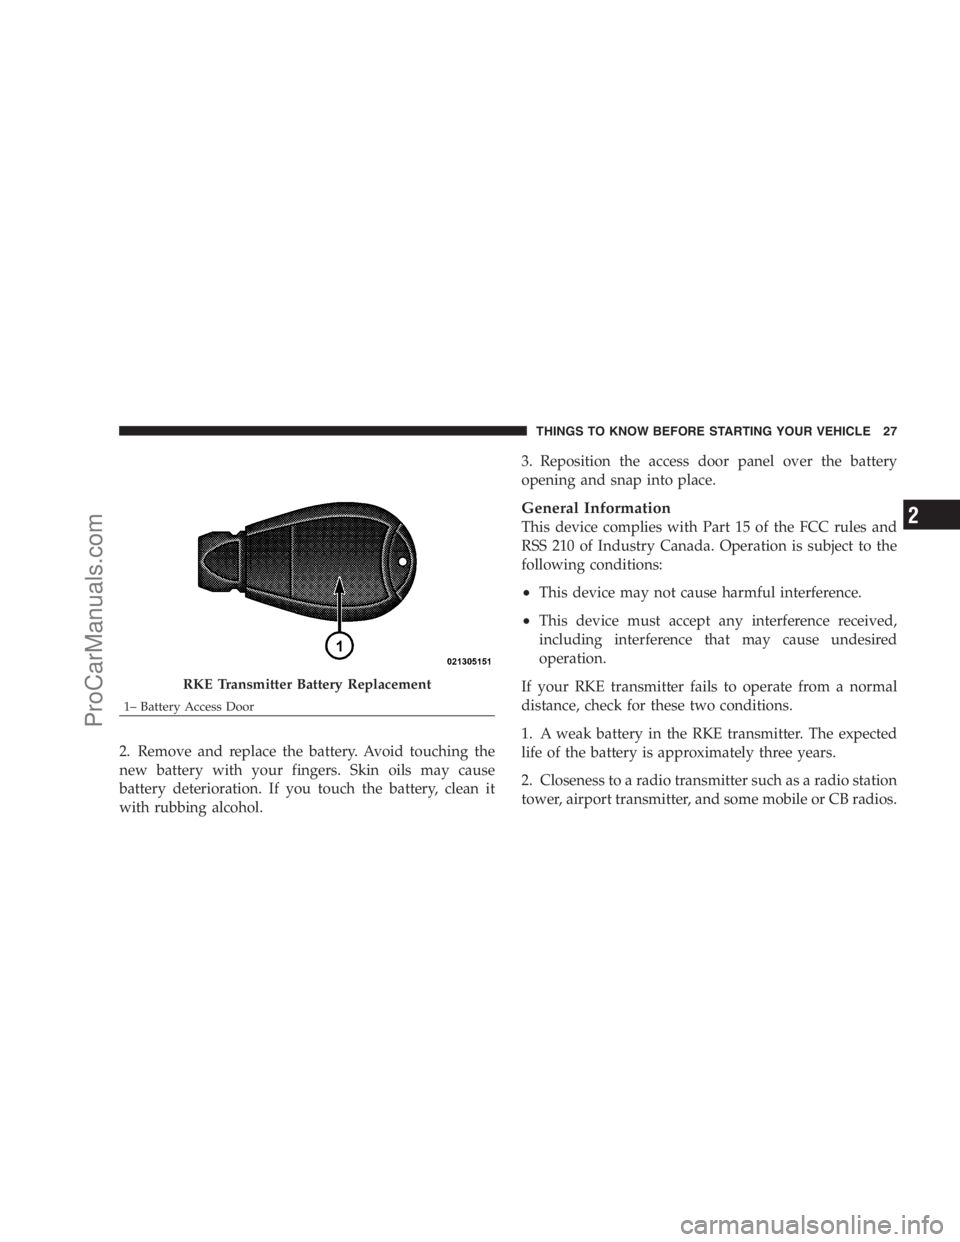
RKE Transmitter Battery Replacement
1– Battery Access DoorTHINGS TO KNOW BEFORE STARTING YOUR VEHICLE 27
2
ProCarManuals.com
Page 97 of 534

Periodic Safety Checks You Should Make Outside
the Vehicle
Tires
Examine tires for excessive tread wear or uneven wear
patterns. Check for stones, nails, glass, or other objects
lodged in the tread. Inspect tread and sidewall for cuts or
cracks. Check wheel nuts for tightness. Check the tires
(including spare) for proper pressure.
Lights
Have someone observe the operation of exterior lights
while you work the controls. Check turn signal and high
beam indicator lights on the instrument panel.
Fluid Leaks
Check area under vehicle after overnight parking for fuel,
engine coolant, oil or other fluid leaks. Also, if gasoline
fumes are detected or fuel, power steering fluid, trans-
mission fluid or brake fluid leaks are suspected, the cause
should be located and corrected immediately.
Exhaust Gas
WARNING!
Exhaust gases can injure or kill. They contain carbon
monoxide (CO) which is colorless and odorless.
Breathing it can make you unconscious and can
eventually poison you. To avoid breathing (CO),
follow these safety tips:
Do not run the engine in a closed garage or in confined
areas any longer than needed to move your vehicle in or
out of the area.
If it is necessary to sit in a parked vehicle with the engine
running, adjust your heating or cooling controls to force
outside air into the vehicle. Set the blower at high speed.
THINGS TO KNOW BEFORE STARTING YOUR VEHICLE 95
2
ProCarManuals.com
Page 239 of 534

WARNING!
A hot engine cooling system is dangerous. You or
others could be badly burned by steam or boiling
coolant. You may want to call an authorized dealer if
your vehicle overheats. If you decide to look under
the hood yourself, see Section 7 of this manual.
Follow the warnings under the Cooling System Pres-
sure Cap paragraph.
4. Speedometer
Indicates vehicle speed.
5. Turn Signal Indicators
The arrow will flash with the exterior turn signal
when the turn signal lever is operated.
If the vehicle electronics sense that the vehicle has
traveled about one mile with the turn signals on, acontinuous chime will sound to alert you to turn the
signals off. If either indicator flashes at a rapid rate, check
for a defective outside light bulb.
6. High Beam Indicator
This indicator shows that the headlights are on
high beam. Push the multifunction lever forward
to switch the headlights to high beam and pull toward
yourself (normal position) to return to low beam.
7. Anti-Lock Brake System (ABS) Light
This light monitors the Anti-Lock Brake System
(ABS). The light will turn on when the ignition
switch is turned to the ON position and may
stay on for as long as four seconds.
If the ABS light remains on or turns on while driving, it
indicates that the Anti-Lock portion of the brake system
is not functioning and that service is required. However,
the conventional brake system will continue to operate
normally if the BRAKE warning light is not on.
UNDERSTANDING YOUR INSTRUMENT PANEL 237
4
ProCarManuals.com
Page 244 of 534

NOTE:If the indicator message illuminates when you
start the vehicle, the oil change indicator system did not
reset. If necessary repeat this procedure.
13. Odometer Display Reset Button
To reset a message display (gATE, gASCAP, noFUSE,
CHAngE OIL, LoCOOL, LoWASH), push and hold the
button until the display resets (approximately two sec-
onds).
14. Electronic Stability Program (ESP) Indicator Light
/ Traction Control System (TCS) Indicator Light
If this indicator light flashes during accelera-
tion, apply as little throttle as possible. While
driving, ease up on the accelerator. Adapt your
speed and driving to the prevailing road con-
ditions, and do not switch off the Electronic Stability
Program (ESP), or Traction Control System (TCS).15. Malfunction Indicator Light (MIL)
The Malfunction Indicator Light (MIL) is part of
an onboard diagnostic system called OBD that
monitors engine and automatic transmission con-
trol systems. The light will illuminate when the key is in
the ON position before engine start. If the bulb does not
come on when turning the key from OFF to ON, have the
condition checked promptly.
Certain conditions such as a loose or missing gas cap,
poor fuel quality, etc. may illuminate the MIL after engine
start. The vehicle should be serviced if the light stays on
through several of your typical driving cycles. In most
situations the vehicle will drive normally and will not
require towing.
The MIL flashes to alert to serious conditions that could
lead to immediate loss of power or severe catalytic
converter damage. The vehicle should be serviced at an
authorized dealer as soon as possible if this occurs.
242 UNDERSTANDING YOUR INSTRUMENT PANEL
ProCarManuals.com
Page 246 of 534

18. Oil Pressure Warning Light
This light indicates low engine oil pressure. The
light should turn on momentarily when the engine
is started. If the light turns on while driving, stop the
vehicle and shut off the engine as soon as possible. A
chime will sound for four minutes when this light turns
on.
Do not operate the vehicle until the cause is corrected.
This light does not show how much oil is in the engine.
The engine oil level must be checked under the hood.
19. Front Fog Light Indicator — If Equipped
This light shows when the front fog lights are ON.
20. Seat Belt Reminder Light
When the ignition switch is first turned ON, this
light will turn on for five to eight seconds as a bulb
check. During the bulb check, if the driver’s seat
belt is unbuckled, a chime will sound. After the bulbcheck or when driving, if the driver’s seat belt remains
unbuckled, the Seat Belt Reminder Light will illuminate
and the chime will sound. Refer to the Occupant Re-
straints section for more information.
21. Vehicle Security Light — If Equipped
This light will flash at a fast rate for approxi-
mately 15 seconds when the vehicle security
alarm is arming and then will flash slowly until
vehicle is disarmed.
22. Airbag Warning Light
This light turns on and remains on for four
seconds as a bulb check when the ignition
switch is first turned ON. If the light is not on
during starting, stays on, or turns on while
driving, have the system inspected by an authorized
dealer as soon as possible.
244 UNDERSTANDING YOUR INSTRUMENT PANEL
ProCarManuals.com
Page 256 of 534

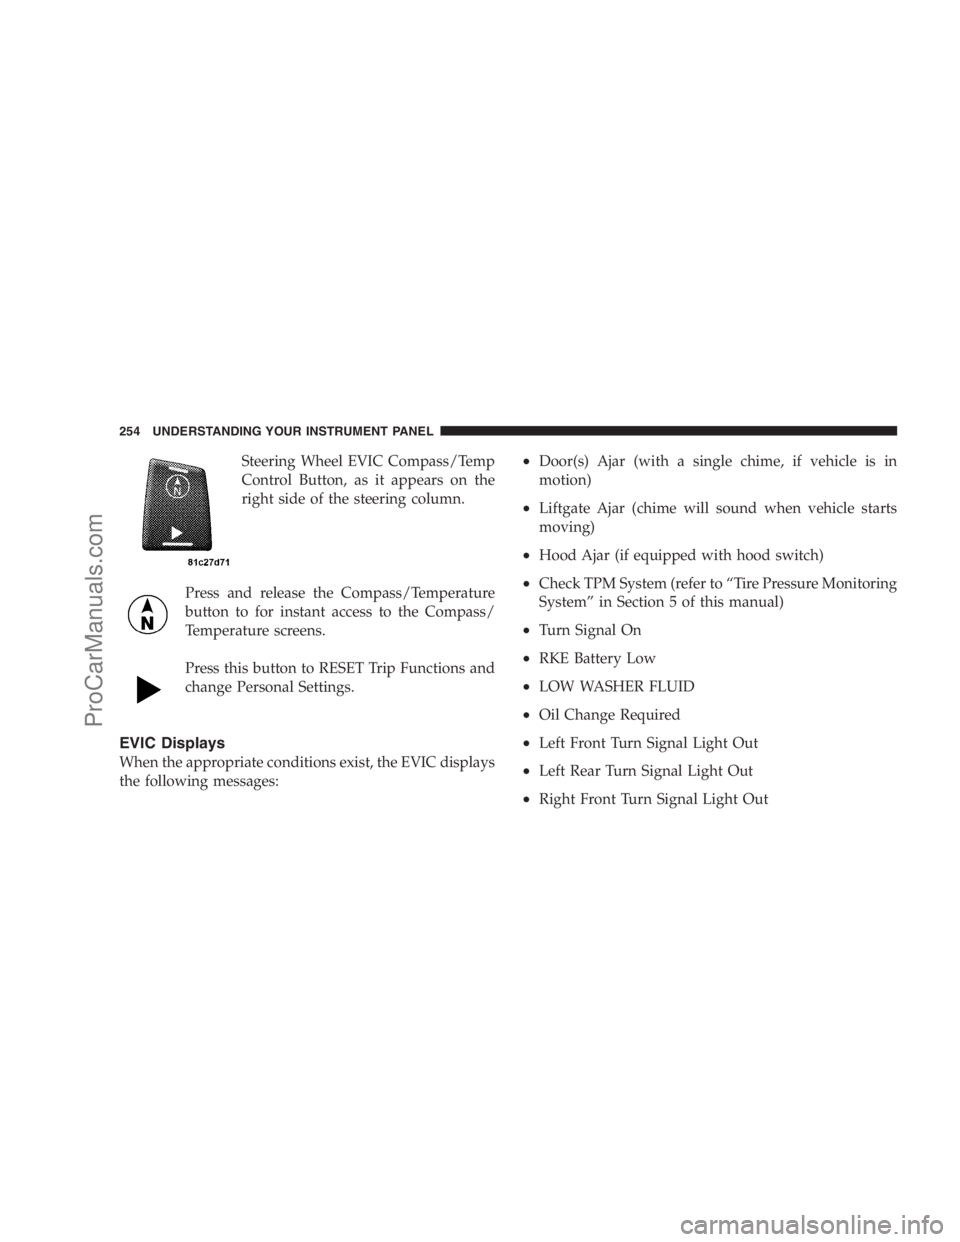
Steering Wheel EVIC Compass/Temp
Control Button, as it appears on the
right side of the steering column.
Press and release the Compass/Temperature
button to for instant access to the Compass/
Temperature screens.
Press this button to RESET Trip Functions and
change Personal Settings.
EVIC Displays
When the appropriate conditions exist, the EVIC displays
the following messages:
•Door(s) Ajar (with a single chime, if vehicle is in
motion)
•Liftgate Ajar (chime will sound when vehicle starts
moving)
•Hood Ajar (if equipped with hood switch)
•Check TPM System (refer to “Tire Pressure Monitoring
System” in Section 5 of this manual)
•Turn Signal On
•RKE Battery Low
•LOW WASHER FLUID
•Oil Change Required
•Left Front Turn Signal Light Out
•Left Rear Turn Signal Light Out
•Right Front Turn Signal Light Out
254 UNDERSTANDING YOUR INSTRUMENT PANEL
ProCarManuals.com
Page 440 of 534

DEALER SERVICE
Your authorized dealer has the qualified service person-
nel, special tools, and equipment to perform all service
operations in an expert manner. Service Manuals are
available which include detailed service information for
your vehicle. Refer to these manuals before attempting
any procedure yourself.
NOTE:Intentional tampering with emissions control
systems can result in civil penalties being assessed
against you.
WARNING!
You can be badly injured working on or around a
motor vehicle. Only do service work for which you
have the knowledge and the proper equipment. If
you have any doubt about your ability to perform a
service job, take your vehicle to a competent me-
chanic.
MAINTENANCE PROCEDURES
The pages that follow contain therequiredmaintenance
services determined by the engineers who designed your
vehicle.
Besides the maintenance items for which there are fixed
maintenance intervals, there are other items that should
operate satisfactorily without periodic maintenance.
However, if a malfunction of these items does occur, it
could adversely affect the engine or vehicle performance.
These items should be inspected if a malfunction is
observed or suspected.
Engine Oil
Checking Oil Level
To assure proper engine lubrication, the engine oil must
be maintained at the correct level. Check the oil level at
regular intervals, such as every fuel stop.
438 MAINTAINING YOUR VEHICLE
ProCarManuals.com
Page 441 of 534

The best time to check the engine oil level is about five
minutes after a fully warmed engine is shut OFF or
before starting the engine after it has sat overnight.
Checking the oil while the vehicle is on level ground will
improve the accuracy of the oil level readings. Maintain
the oil level between the MIN and MAX markings on the
dipstick. Adding one quart of oil when the reading is at
the MIN mark will result in a MAX reading on these
engines.
CAUTION!
Overfilling or underfilling will cause oil aeration, or
loss of oil pressure. This could damage your engine.
Change Engine Oil
The oil change indicator system will remind you that it is
time to take your vehicle in for scheduled maintenance.
Refer to “Maintenance Schedule” in Section 8 of this
manual for information on this system.
NOTE: Under no circumstances should oil change
intervals exceed 6,000 miles (10 000 km) or six months,
whichever occurs first.
Engine Oil Selection
For best performance and maximum protection under all
types of operating conditions, the manufacturer only
recommends engine oils that are API certified and meet
the requirements of Chrysler Material Standard MS-6395.
MAINTAINING YOUR VEHICLE 439
7
ProCarManuals.com