2009 DODGE CARAVAN child lock
[x] Cancel search: child lockPage 64 of 534
As a guide, if you are shorter than average you will
prefer a lower position, and if you are taller than average
you will prefer a higher position. When you release the
anchorage, try to move it up or down to make sure that
it is locked in position.
Automatic Locking Retractors (ALR) Mode — If
Equipped
In this mode, the shoulder belt is automatically pre-
locked. The belt will still retract to remove any slack in
the shoulder belt. The Automatic Locking mode is avail-
able on all passenger-seating positions with a combina-
tion lap/shoulder belt.
When to Use the Automatic Locking Mode
Use The Automatic Locking mode anytime a child safety
seat is installed in a passenger seating position. Children
12 years old and younger should be properly restrained
in the rear seat whenever possible.
How to Use the Automatic Locking Mode
1. Buckle the combination lap/shoulder belt.
2. Grasp the shoulder portion and pull downward until
the entire belt is extracted.
3. Allow the belt to retract. As the belt retracts, you will
hear a clicking sound. This indicates the safety belt is
now in the Automatic Locking mode.
How to Disengage the Automatic Locking Mode
Disconnect the combination lap/shoulder belt and allow
it to retract completely to disengage the Automatic
Locking mode and activate the Vehicle Sensitive (Emer-
gency) Locking mode.
Seat Belt Pretensioners
The seat belts for both front seating positions are
equipped with pretensioning devices that are designed to
remove slack from the seat belt in the event of a collision.
These devices improve the performance of the seat belt
62 THINGS TO KNOW BEFORE STARTING YOUR VEHICLE
ProCarManuals.com
Page 80 of 534
•Engine control status (including engine speed)
•Transmission gear selection
•Cruise control status
•Traction/stability control status
•Tire Pressure Monitoring System status (if equipped)
Integrated Child Booster Seat — If Equipped
The Integrated Child Booster Seat (if equipped) is located
in each second-row passenger seat. The booster seat is
designed for children weighing between 48 and 85 lbs (22
and 39 kg) and between 47 in (119 cm) and 57 in (145 cm)
tall.
The booster seat is designed to raise the child high
enough to use the vehicle lap and shoulder belt. The
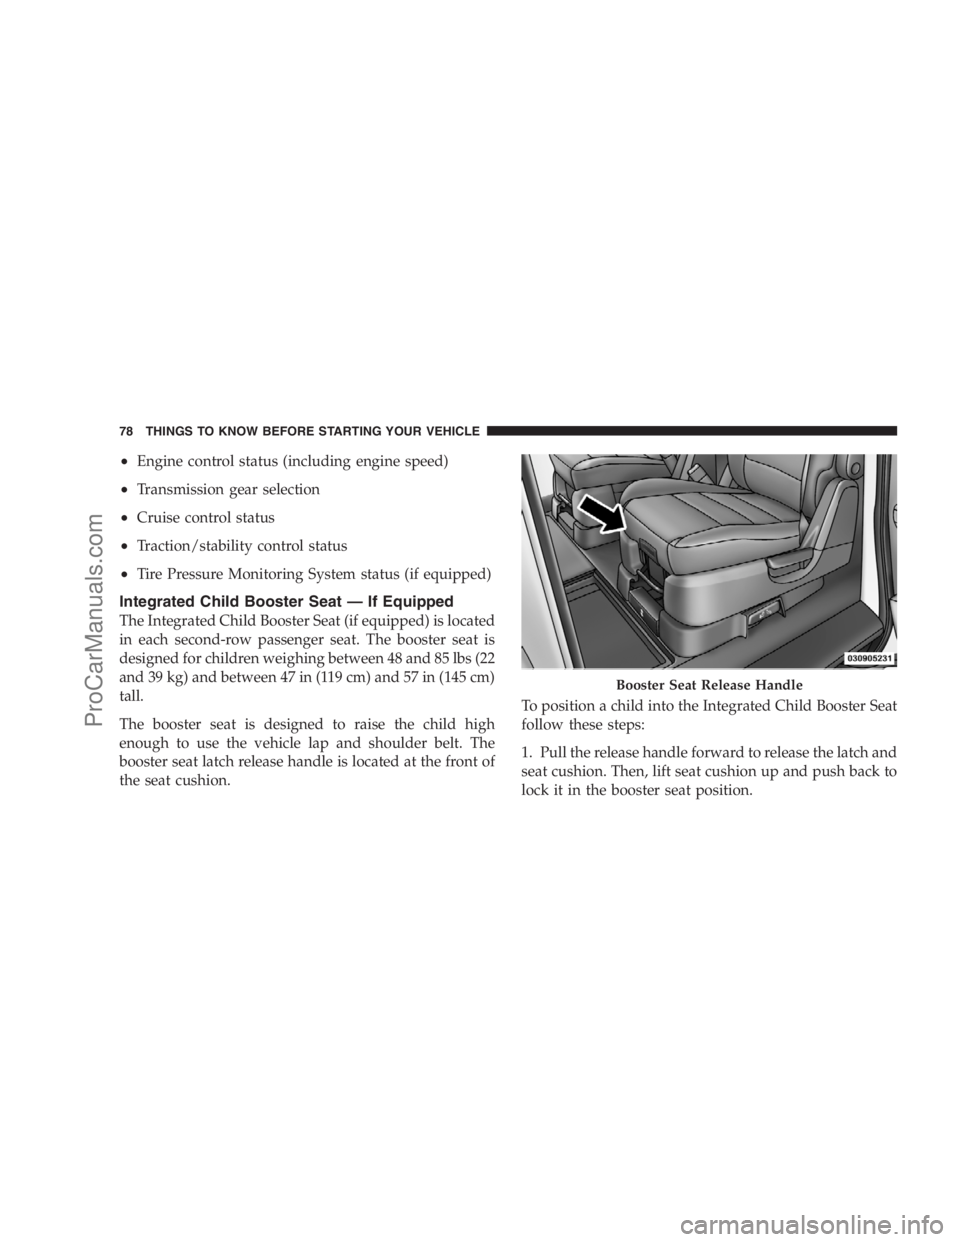
booster seat latch release handle is located at the front of
the seat cushion.To position a child into the Integrated Child Booster Seat
follow these steps:
1. Pull the release handle forward to release the latch and
seat cushion. Then, lift seat cushion up and push back to
lock it in the booster seat position.
Booster Seat Release Handle
78 THINGS TO KNOW BEFORE STARTING YOUR VEHICLE
ProCarManuals.com
Page 84 of 534
•Safety experts recommend that children ride
rearward-facing in the vehicle until they are at least
one year old and weigh at least 20 lbs (9 kg). Two types
of child restraints can be used rearward-facing: infant
carriers and convertible child seats. Both types of child
restraints are held in the vehicle by the lap/shoulder
belt or the LATCH child restraint anchorage system.
Refer to “Lower Anchors and Tether for CHildren
(LATCH)” later in this section.
•The infant carrier is only used rearward-facing in the
vehicle. It is recommended for children who weigh up
to about 20 lbs (9 kg). Convertible child seats can be
used either rearward-facing or forward-facing in the
vehicle. Convertible child seats often have a higher
weight limit in the rearward-facing direction than
infant carriers do, so they can be used rearward-facing
by children who weigh more than 20 lbs (9 kg) but are
less than one year old.
WARNING!
Rearward-facing child seats must NEVER be used in
the front seat of a vehicle with a front passenger
airbag. An airbag deployment could cause severe
injury or death to infants in this position.
•Rearward-facing child seats and infant carriers must
NEVERbe used while the second row Swivel ’n Go
seats are in the rearward-facing position.
WARNING!
Never place any child seat or infant carrier in the
Swivel ’n Go seat while it is in the rearward-facing
position. The swivel seat should be locked in the
forward position when using any child seat or infant
carriers, with the vehicle in motion. Failure to do so
could result in serious injury or even death.
82 THINGS TO KNOW BEFORE STARTING YOUR VEHICLE
ProCarManuals.com
Page 86 of 534
and use the lap belt. Never allow a child to put the
shoulder belt under an arm or behind their back.
NOTE:For additional information, refer to
www.seatcheck.org or call 1-866-SEATCHECK.
WARNING!
•Improper installation can lead to failure of an
infant or child restraint. It could come loose in a
collision. The child could be badly injured or
killed. Follow the manufacturer’s directions ex-
actly when installing an infant or child restraint.
•A rearward-facing child restraint should only be
used in a rear seat. A rearward-facing child re-
straint in the front seat may be struck by a deploy-
ing passenger airbag which may cause severe or
fatal injury to the infant.
(Continued)
WARNING! (Continued)
•Occupants riding in Swivel ’n Go seating must be
wearing their seat belt and the seat must be locked
in either the forward or rearward position. Failure
to do so could result in serious injury or even
death.
Here are some tips on getting the most out of your child
restraint:
•Before buying any restraint system, make sure that it
has a label certifying that it meets all applicable Safety
Standards. We also recommend that you make sure
that you can install the child restraint in the vehicle
where you will use it, before you buy it.
•The restraint must be appropriate for your child’s
weight and height. Check the label on the restraint for
weight and height limits.
84 THINGS TO KNOW BEFORE STARTING YOUR VEHICLE
ProCarManuals.com
Page 87 of 534

•Carefully follow the instructions that come with the
restraint. If you install the restraint improperly, it may
not work when you need it.
•The passenger seat belts are equipped with cinching
latch plates, which are designed to keep the lap
portion tight around the child restraint so that it is not
necessary to use a locking clip. Pulling up on the
shoulder portion of the lap/shoulder belt will tighten
the belt. The cinching latch plate will keep the belt
tight, however, any seat belt system will loosen with
time, so check the belt occasionally and pull it tight if
necessary.
•In the rear seat, you may have trouble tightening the
lap/shoulder belt on the child restraint because the
buckle or latch plate is too close to the belt path
opening on the restraint. Disconnect the latch plate
from the buckle and twist the short buckle end of thebelt several times to shorten it. Insert the latch plate
into the buckle with the release button facing out.
•If the belt still can’t be tightened, or if pulling and
pushing on the restraint loosens the belt, disconnect
the latch plate from the buckle, turn the buckle
around, and insert the latch plate into the buckle
again. If you still can’t make the child restraint secure,
try a different seating position.
•Buckle the child into the seat according to the child
restraint manufacturer’s directions.
•When your child restraint is not in use, secure it in the
vehicle with the seat belt or remove it from the vehicle.
Don’t leave it loose in the vehicle. In a sudden stop or
collision, it could strike the occupants or seatbacks and
cause serious personal injury.
THINGS TO KNOW BEFORE STARTING YOUR VEHICLE 85
2
ProCarManuals.com
Page 90 of 534
NOTE:
•When using the LATCH attaching system to install a
child restraint, please ensure that all seat belts not
being used for occupant restraints are stowed and out
of reach of children. It is recommended that before
installing the child restraint, buckle the seat belt so the
seat belt is tucked behind the child restraint and out of
reach. If the buckled seat belt interferes with the child
restraint installation, instead of tucking the seat belt
behind the child restraint, route the seat belt through
the child restraint belt path and then buckle it. This
should stow the seat belt out of the reach of an
inquisitive child. Remind all children in the vehicle
that the seat belts are not toys and should not be
played with, and never leave your child unattended in
the vehicle.
•If your child restraint seat is not LATCH compatible,
install the restraint using the vehicle seat belts.
Installing the Child Restraint Using the Vehicle
Seat Belts
Because the lower anchorages are to be introduced to
passenger carrying vehicles over a period of years, child
restraint systems having attachments for those anchor-
ages will continue to have features for installation in
vehicles using the lap or lap/shoulder belt. They will also
have tether straps, and you are urged to take advantage
of all of the available attachments provided with your
child restraint in any vehicle.Seat belts, except for the
driver’s seat belt, are equipped with an Automatic Lock-
ing Retractor (ALR) and/or a cinching latch plate. Both
types of seat belts are designed to keep the lap portion
tight around the child restraint so that it is not necessary
to use a locking clip. In seating positions that are
equipped with an ALR retractor, it will make a ratcheting
noise after all the webbing is extracted and allowed to
return back. For additional information, refer to “Auto-
matic Locking Mode” earlier in the section.
88 THINGS TO KNOW BEFORE STARTING YOUR VEHICLE
ProCarManuals.com
Page 157 of 534
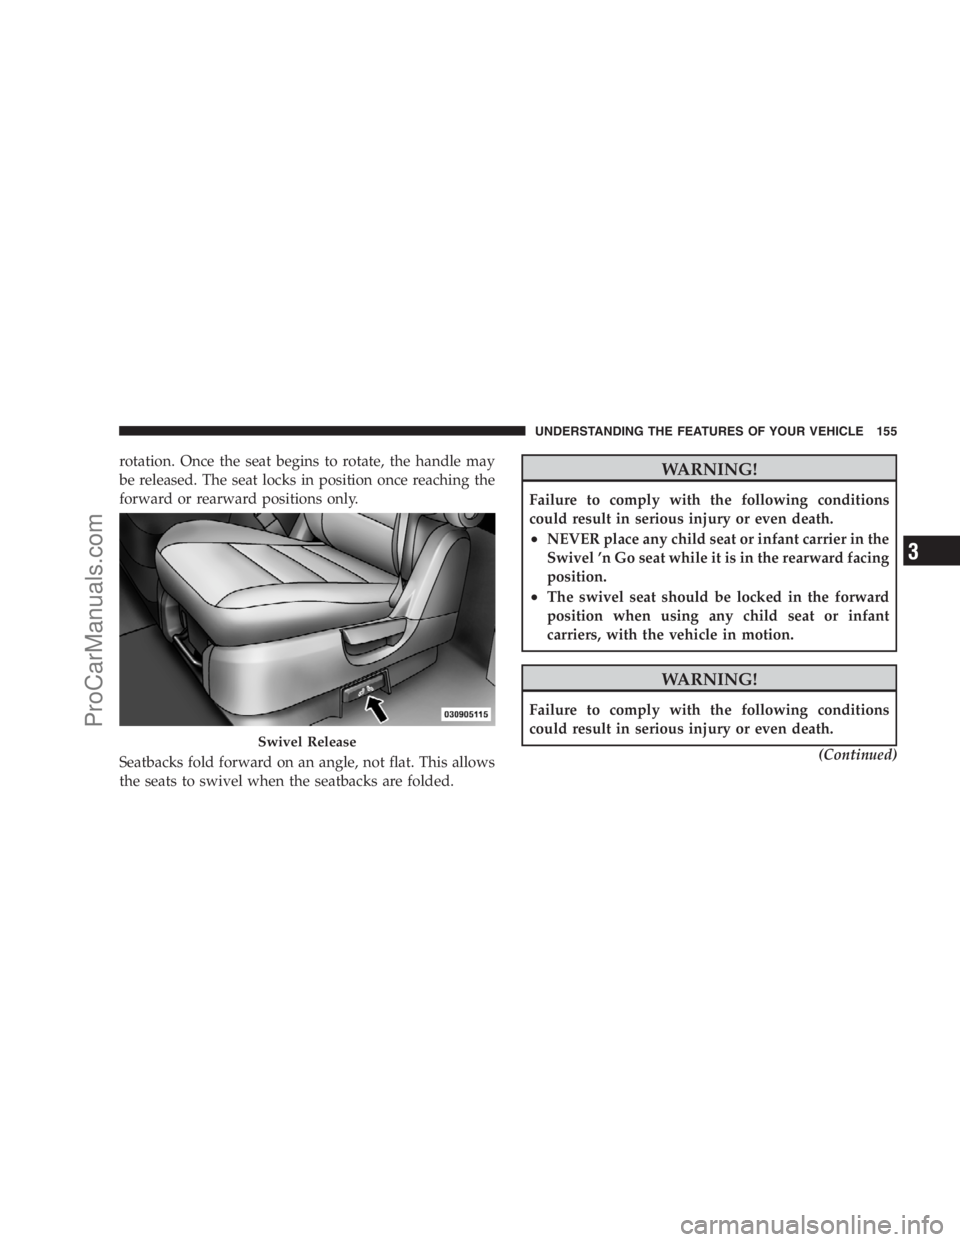
rotation. Once the seat begins to rotate, the handle may
be released. The seat locks in position once reaching the
forward or rearward positions only.
Seatbacks fold forward on an angle, not flat. This allows
the seats to swivel when the seatbacks are folded.WARNING!
Failure to comply with the following conditions
could result in serious injury or even death.
•NEVER place any child seat or infant carrier in the
Swivel ’n Go seat while it is in the rearward facing
position.
•The swivel seat should be locked in the forward
position when using any child seat or infant
carriers, with the vehicle in motion.
WARNING!
Failure to comply with the following conditions
could result in serious injury or even death.
(Continued)
Swivel Release
UNDERSTANDING THE FEATURES OF YOUR VEHICLE 155
3
ProCarManuals.com
Page 332 of 534

When parking on a flat surface, place the shift lever in the
PARK position first, and then apply the parking brake.
When parking on a hill, it is important to set the parking
brake before placing the shift lever in PARK, otherwise
the load on the transaxle locking mechanism may make it
difficult to move the shift lever out of PARK. As an added
precaution, turn the front wheels toward the curb on a
downhill grade, and away from the curb on an uphill
grade.
WARNING!
•Never use the PARK position on an automatic
transaxle as a substitute for the parking brake.
Always apply the parking brake fully when
parked to guard against vehicle movement and
possible injury or damage.
(Continued)
WARNING! (Continued)
•Unintended movement of a vehicle could injure
those in and near the vehicle. As with all vehicles,
you should never exit a vehicle while the engine is
running. Before exiting a vehicle, you should
always move the shift lever into PARK, remove the
key from the ignition, and apply the parking
brake. Once the key is removed from the ignition,
the shift lever is locked in the PARK position,
securing the vehicle against unwanted movement.
Furthermore, you should never leave unattended
children or pets inside a vehicle.
The following indicators should be used to ensure that
you have placed the shift lever into the PARK position:
•When moving the shift lever into PARK, depress the
button on the shift lever and firmly move the lever all
the way forward until it stops.
330 STARTING AND OPERATING
ProCarManuals.com