Page 3 of 475
TABLE OF CONTENTSSECTIONPAGE
1INTRODUCTION.............................................................3
2THINGS TO KNOW BEFORE STARTING YOUR VEHICLE..............................9
3UNDERSTANDING THE FEATURES OF YOUR VEHICLE..............................77
4UNDERSTANDING YOUR INSTRUMENT PANEL.................................. 175
5STARTING AND OPERATING................................................. 263
6WHAT TO DO IN EMERGENCIES...............................................351
7MAINTAINING YOUR VEHICLE............................................... 367
8MAINTENANCE SCHEDULES................................................. 423
9IF YOU NEED CONSUMER ASSISTANCE.........................................441
10INDEX....................................................................451
1
2
3
4
5
6
7
8
9
10
Page 187 of 475

GASCAP
If the vehicle diagnostic system detects a leak or change
in the evaporative system, or the fuel filler cap is loose,
improperly installed, or damaged, the words “GASCAP”
will display in the odometer. If this occurs, tighten the
fuel filler cap properly and press the odometer reset
button to turn off the “GASCAP” message. (Refer to
“Onboard Diagnostic System — OBDII” in Section 7 of
this manual for more information). If the problem con-
tinues, the message will appear the next time the vehicle
is started. See your authorized dealer service center as
soon as possible.
CHAngE OIL
Your vehicle is equipped with an engine oil change
indicator system. The “CHAngE OIL” message will flash
in the instrument cluster odometer for approximately
12 seconds after a single chime has sounded to indicate
the next scheduled oil change interval. The engine oil
change indicator system is duty cycle based, whichmeans the engine oil change interval may fluctuate
dependent upon your personal driving style.
Unless reset, this message will continue to display each
time you turn the ignition switch to the “ON” position.
To turn off the message temporarily, press and release the
Trip Odometer button on the instrument cluster. To reset
the oil change indicator system (after performing the
scheduled maintenance) perform the following proce-
dure:
1. Turn the ignition switch to the ON position (Do not
start the engine).
2. Fully depress the accelerator pedal slowly 3 times
within 10 seconds.
3. Turn the ignition switch to the LOCK position.
NOTE:If the indicator message illuminates when you
start the vehicle, the oil change indicator system did not
reset. If necessary repeat this procedure.
UNDERSTANDING YOUR INSTRUMENT PANEL 185
4
Page 198 of 475

Oil Change Required
Your vehicle is equipped with an engine oil change
indicator system. The “Oil Change Required” message
will flash in the EVIC display for approximately five
seconds after a single chime has sounded to indicate the
next scheduled oil change interval. The engine oil change
indicator system is duty cycle based, which means the
engine oil change interval may fluctuate dependent upon
your personal driving style.
Unless reset, this message will continue to display each
time you turn the ignition switch to the ON/RUN
position. To turn off the message temporarily, press and
release the Menu button. To reset the oil change indicator
system (after performing the scheduled maintenance)
perform the following procedure:
1. Turn the ignition switch to the ON position (Do not
start the engine).2. Fully depress the accelerator pedal slowly three times
within 10 seconds.
3. Turn the ignition switch to the LOCK position.
NOTE:If the indicator message illuminates when you
start the vehicle, the oil change indicator system did not
reset. If necessary repeat this procedure.
Trip Functions
Press and release the MENU button until one of the
following Trip Functions displays in the EVIC:
•Average Fuel Economy
•Distance To Empty
•Elapsed Time
•Display Units of Measure in
Press and release the STEP button to advance the display
through the Trip Functions.
196 UNDERSTANDING YOUR INSTRUMENT PANEL
Page 263 of 475

Window Fogging
Interior fogging on the windshield can be quickly re-
moved by turning the mode selector to Defrost. The
Defrost/Floor mode can be used to maintain a clear
windshield and provide sufficient heating. If side win-
dow fogging becomes a problem, increase blower speed.
Vehicle windows tend to fog on the inside in mild but
rainy or humid weather.
NOTE:Recirculate without A/C should not be used for
long periods as fogging may occur.
Side Window Demisters
A side window demister outlet is located at each end of
the instrument panel. These non-adjustable outlets direct
air toward the side windows when the system is in the
FLOOR, MIX, or DEFROST mode. The air is directed at
the area of the windows through which you view the
outside mirrors.
Outside Air Intake
Make sure the air intake, located directly in front of the
windshield, is free of obstructions such as leaves. Leaves
collected in the air intake may reduce airflow, and if they
enter the plenum, they could plug the water drains. In
winter months, make sure the air intake is clear of ice,
slush, and snow.
A/C Air Filter — If Equipped
The A/C Filter prevents most dust and pollen from
entering the cabin. The filter acts on air coming from
outside the vehicle and recirculated air within the pas-
senger compartment. Refer to “Maintenance Procedures”
in Section 7 of this manual for A/C Air Filter service
information or see your authorized dealer for service.
Refer to the “Maintenance Schedules” in Section 8 of this
manual for filter service intervals.
UNDERSTANDING YOUR INSTRUMENT PANEL 261
4
Page 318 of 475
TIRE ROTATION RECOMMENDATIONS
Tires on the front and rear axles of vehicles operate at
different loads and perform different steering, driving,
and braking functions. For these reasons, they wear at
unequal rates and tend to develop irregular wear pat-
terns. These effects can be reduced by timely rotation of
tires. The benefits of rotation are especially worthwhile
with aggressive tread designs such as those on all season
type tires. Rotation will increase tread life, help to main-
tain mud, snow and wet traction levels, and contribute to
a smooth, quiet ride.
Follow the recommended tire rotation frequency for your
type of driving found in the “Maintenance Schedules”
section of this manual. More frequent rotation is permis-
sible if desired. The reasons for any rapid or unusual
wear should be corrected prior to rotation being per-
formed.
316 STARTING AND OPERATING
Page 350 of 475

Automatic Transaxle
The DRIVE range can be selected when towing. How-
ever, if frequent shifting occurs while in this range, third
gear for a four-speed automatic and the fifth gear for a
six-speed AutoStick�should be selected.
NOTE:Using third or fifth instead of DRIVE while
operating the vehicle under heavy operating conditions,
will improve performance and extend transaxle life by
reducing excessive shifting and heat build-up. This ac-
tion will also provide better engine braking.
If youREGULARLY TOWa trailer for more than 45 min-
utes of continuous operation, then change the automatic
transaxle fluid and filter according to the interval speci-
fied for “police, taxi, fleet, or frequent trailer towing” in
the “Maintenance Schedule” in this manual.NOTE:Check the four-speed automatic transaxle fluid
level before towing. AutoStick�six—speed transmission
is sealed and the fluid level cannot be checked. See your
authorized dealership service center for assistance.
Electronic Speed Control — (If Equipped)
•
Do not use in hilly terrain or with heavy loads.
•When using the speed control, if you experience speed
drops greater than 10 mph (16 km/h), disengage until
you can get back to cruising speed.
•Use speed control in flat terrain and with light loads to
maximize fuel efficiency.
348 STARTING AND OPERATING
Page 377 of 475

Regardless of whether your vehicle’s OBD II system is
ready or not, if the MIL is illuminated during normal
vehicle operation you should have your vehicle serviced
before going to the I/M station. The I/M station can fail
your vehicle because the MIL is on with the engine
running.
REPLACEMENT PARTS
Use of genuine MOPAR�parts for normal/scheduled
maintenance and repairs is highly recommended to en-
sure the designed performance. Damage or failures
caused by the use of non-MOPAR�parts for maintenance
and repairs will not be covered by the manufacturer’s
warranty.
DEALER SERVICE
Your authorized dealer has the qualified service person-
nel, special tools, and equipment to perform all service
operations in an expert manner. Service Manuals are
available which include detailed service information for
your vehicle. Refer to these manuals before attempting
any procedure yourself.
NOTE:Intentional tampering with emissions control
systems can result in civil penalties being assessed
against you.
WARNING!
You can be badly injured working on or around a
motor vehicle. Only do service work for which you
have the knowledge and the proper equipment. If
you have any doubt about your ability to perform a
service job, take your vehicle to a competent me-
chanic.
MAINTAINING YOUR VEHICLE 375
7
Page 379 of 475

CAUTION!
Do not overfill the engine. Overfilling the engine
will cause oil aeration, which can lead to loss of oil
pressure and an increase in oil temperature. This
could damage your engine.
Change Engine Oil
The oil change indicator system will remind you that it is
time to take your vehicle in for scheduled maintenance.
Refer to “Maintenance Schedule” in Section 8 of this
manual for information on this system.
NOTE: Under no circumstances should oil change
intervals exceed 6,000 miles (10 000 km) or 6 months,
whichever occurs first.
Engine Oil Selection
For best performance and maximum protection under all
types of operating conditions, the manufacturer recom-
mends engine oils that are API Certified and meet the
requirements of Chrysler Material Standard MS-6395.
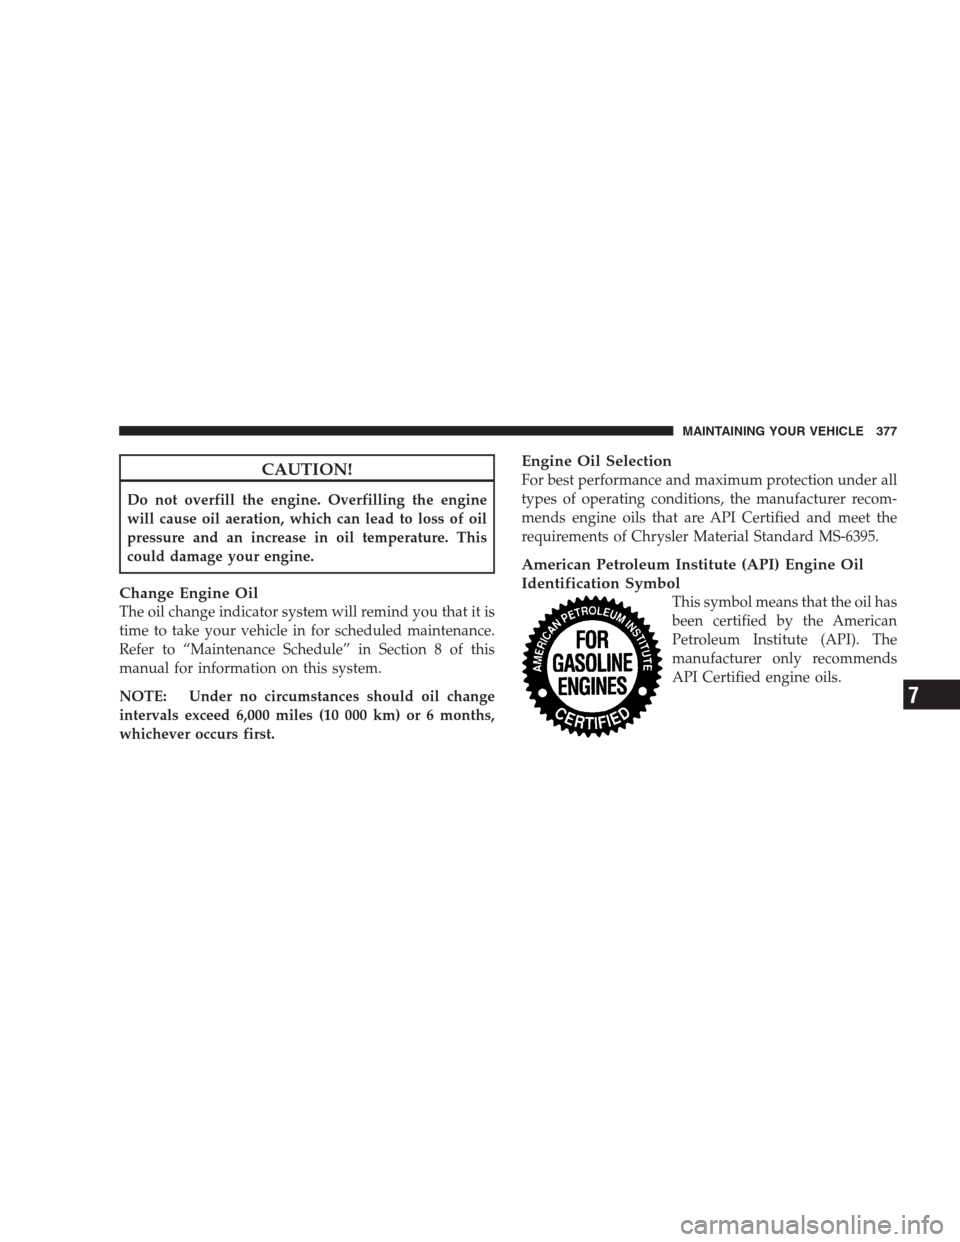
American Petroleum Institute (API) Engine Oil
Identification Symbol
This symbol means that the oil has
been certified by the American
Petroleum Institute (API). The
manufacturer only recommends
API Certified engine oils.
MAINTAINING YOUR VEHICLE 377
7