Page 330 of 493
PARK. As an added precaution, turn the front wheels
toward the curb on a downhill grade and away from the
curb on an uphill grade.
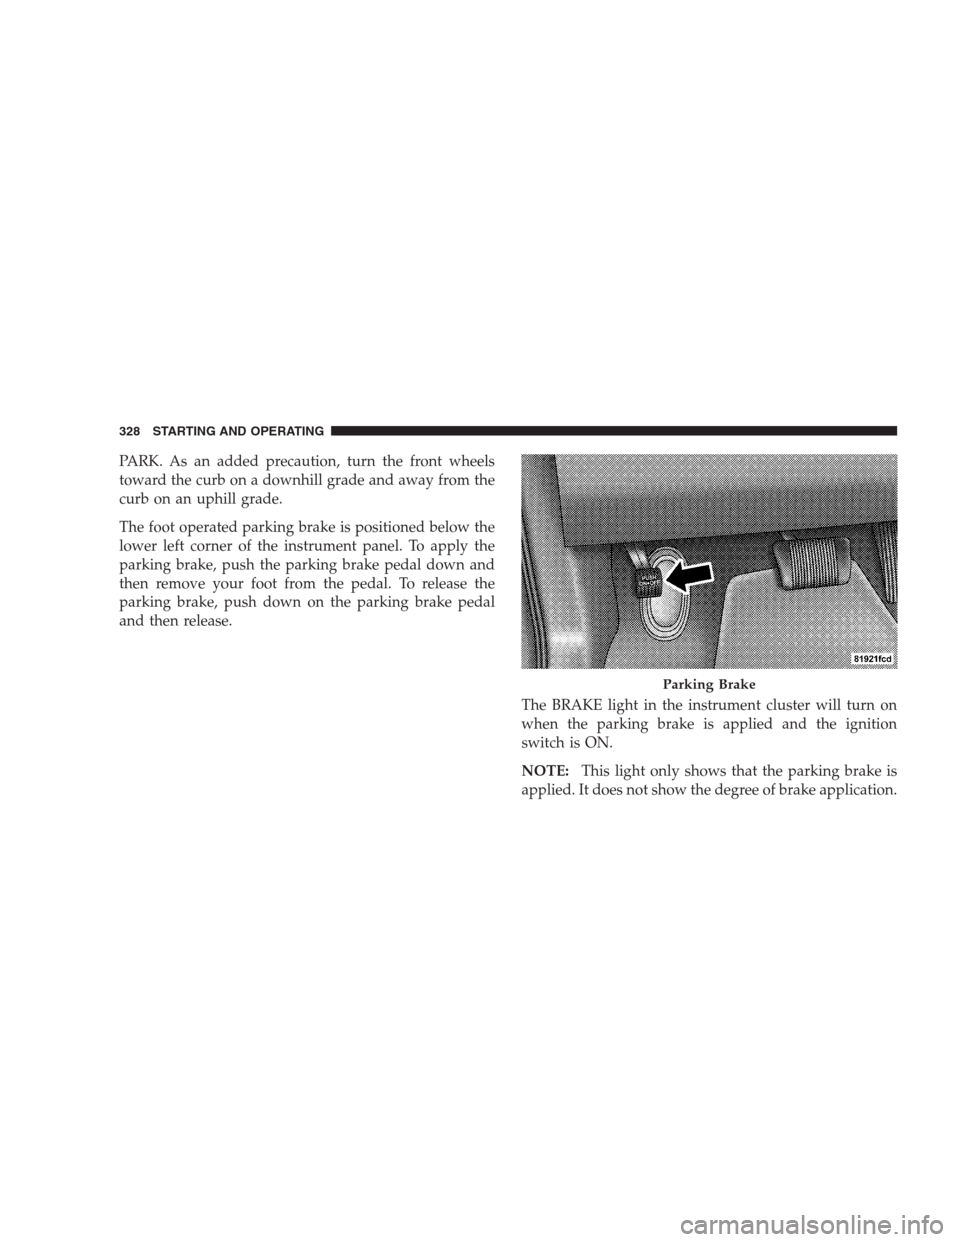
The foot operated parking brake is positioned below the
lower left corner of the instrument panel. To apply the
parking brake, push the parking brake pedal down and
then remove your foot from the pedal. To release the
parking brake, push down on the parking brake pedal
and then release.
The BRAKE light in the instrument cluster will turn on
when the parking brake is applied and the ignition
switch is ON.
NOTE:This light only shows that the parking brake is
applied. It does not show the degree of brake application.
Parking Brake
328 STARTING AND OPERATING
Page 337 of 493
The ESP system has three available operating modes:
ESP On
This is the normal operating mode for the ESP. Whenever
the vehicle is started, the ESP system will be in this mode.
This mode should be used for most driving situations.
The ESP should only be turned OFF for specific reasons
as noted in the following paragraphs.
Partial Off
The “Partial Off” mode is intended for times when a
more spirited driving experience is desired. It is also
intended for driving in deep snow, sand, or gravel. This
mode disables the TCS portion of the ESP and raises the
threshold for ESP activation, which allows for more
wheel spin than what ESP normally allows.
The ESP OFF switch is located in the switch bank near the
top center of the instrument panel. To enter the “Partial
Off” mode, momentarily depress the ESP OFF switch and
the ESP/TCS Indicator Light will illuminate. To turn theESP ON again, momentarily depress the ESP OFF switch
and the ESP/TCS Indicator Light will turn off.
NOTE:To improve the vehicle’s traction when driving
with snow chains, or when starting off in deep snow,
sand, or gravel, it may be desirable to switch to the
“Partial Off” mode by momentarily depressing the ESP
OFF switch. Once the situation requiring “Partial Off”
mode is overcome, turn the ESP ON again by momen-
tarily depressing the ESP OFF switch. This may be done
while the vehicle is in motion.
Full Off
This mode is intended for off-highway or off-road use
only and should not be used on any public roadways. In
this mode, all TCS and ESP stability features are turned
OFF. To enter the “Full Off” mode, depress and hold the
ESP OFF switch for five seconds while the vehicle is
stopped with the engine running. After five seconds, a
chime will sound, the ESP/TCS Indicator Light will
STARTING AND OPERATING 335
5
Page 380 of 493
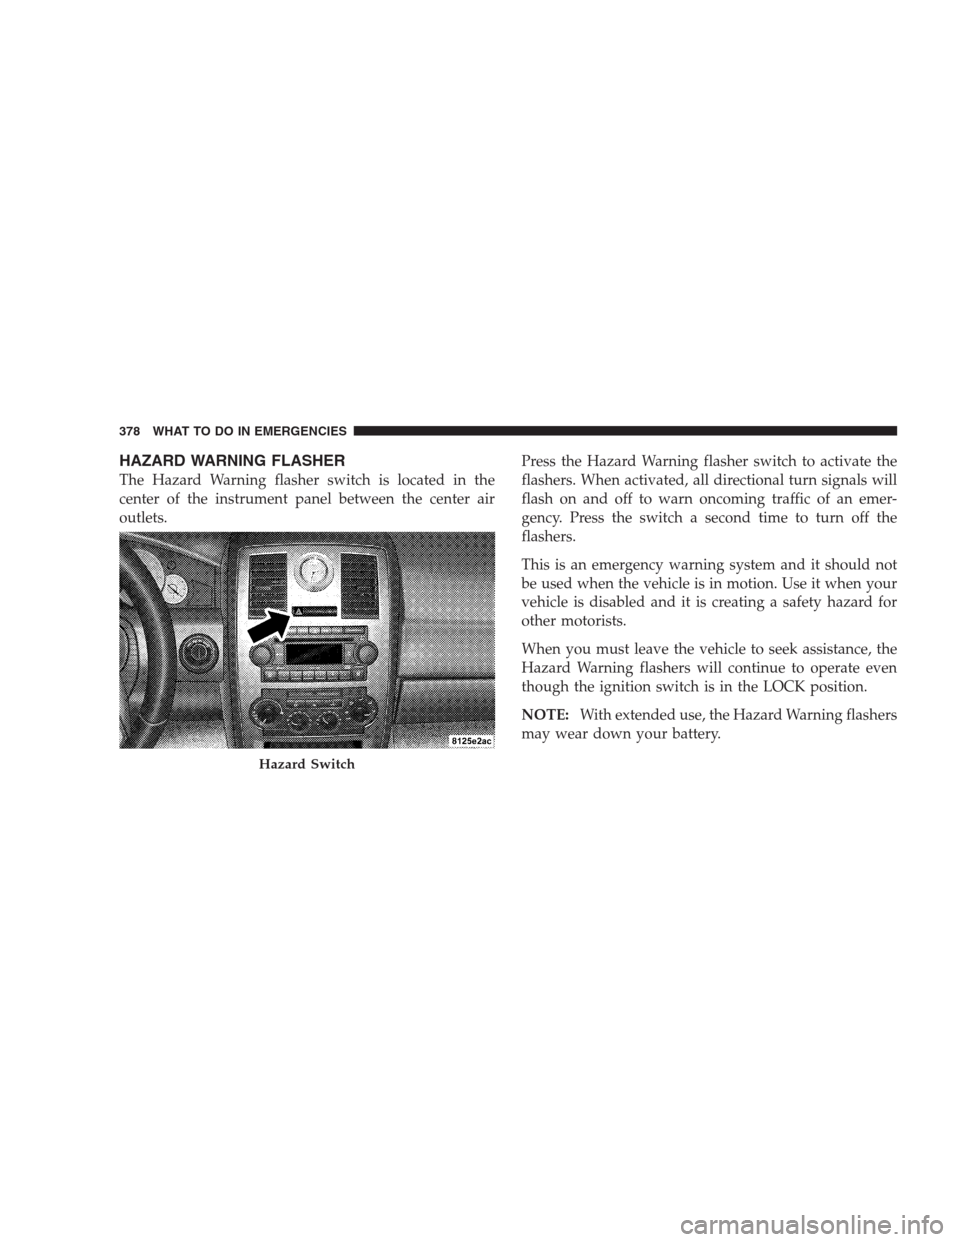
HAZARD WARNING FLASHER
The Hazard Warning flasher switch is located in the
center of the instrument panel between the center air
outlets.Press the Hazard Warning flasher switch to activate the
flashers. When activated, all directional turn signals will
flash on and off to warn oncoming traffic of an emer-
gency. Press the switch a second time to turn off the
flashers.
This is an emergency warning system and it should not
be used when the vehicle is in motion. Use it when your
vehicle is disabled and it is creating a safety hazard for
other motorists.
When you must leave the vehicle to seek assistance, the
Hazard Warning flashers will continue to operate even
though the ignition switch is in the LOCK position.
NOTE:With extended use, the Hazard Warning flashers
may wear down your battery.
Hazard Switch
378 WHAT TO DO IN EMERGENCIES
Page 384 of 493
WARNING! (Continued)
•Take care not to allow the contents of TIREFIT to
come in contact with hair, eyes or clothing. TIRE-
FIT is harmful if inhaled, swallowed, or absorbed
through the skin: It causes skin, eye, and respira-
tory irritation. Any contact with eyes or skin
should be flushed immediately with plenty of
water. If clothing comes in contact with TIREFIT,
change clothing as soon as possible.
•In case of allergic reaction or rash, consult a
physician immediately. Keep TIREFIT out of reach
of children. If swallowed, rinse mouth immedi-
ately with plenty of water and drink plenty of
water. Do not induce vomiting! Consult a physi-
cian immediately.
•Keep away from open flame or heat source.
Sealing tire with TIREFIT
1. Turn on the hazard warning flashers.2. Move the shift lever to the PARK position, turn OFF
the engine, and set the parking brake.
3. Remove the TIREFIT kit from the trunk.
4. Pull the power plug 2 and the TIREFIT sealant hose 6
out from the TIREFIT kit.
5. Unscrew the valve cap from the valve on the deflated
tire.
6. Screw the fitting at the end of TIREFIT sealant hose 6
coming from the sealant bottle 5 onto the tire valve.
7. Insert the power plug 2 into the power point on the
instrument panel.
8. Leave the parking brake set and the shift lever in
PARK and start the engine.
9. Press the switch 3 on the air pump to I (ON). The air
pump should start to inflate the tire and the tire sealant
382 WHAT TO DO IN EMERGENCIES
Page 480 of 493
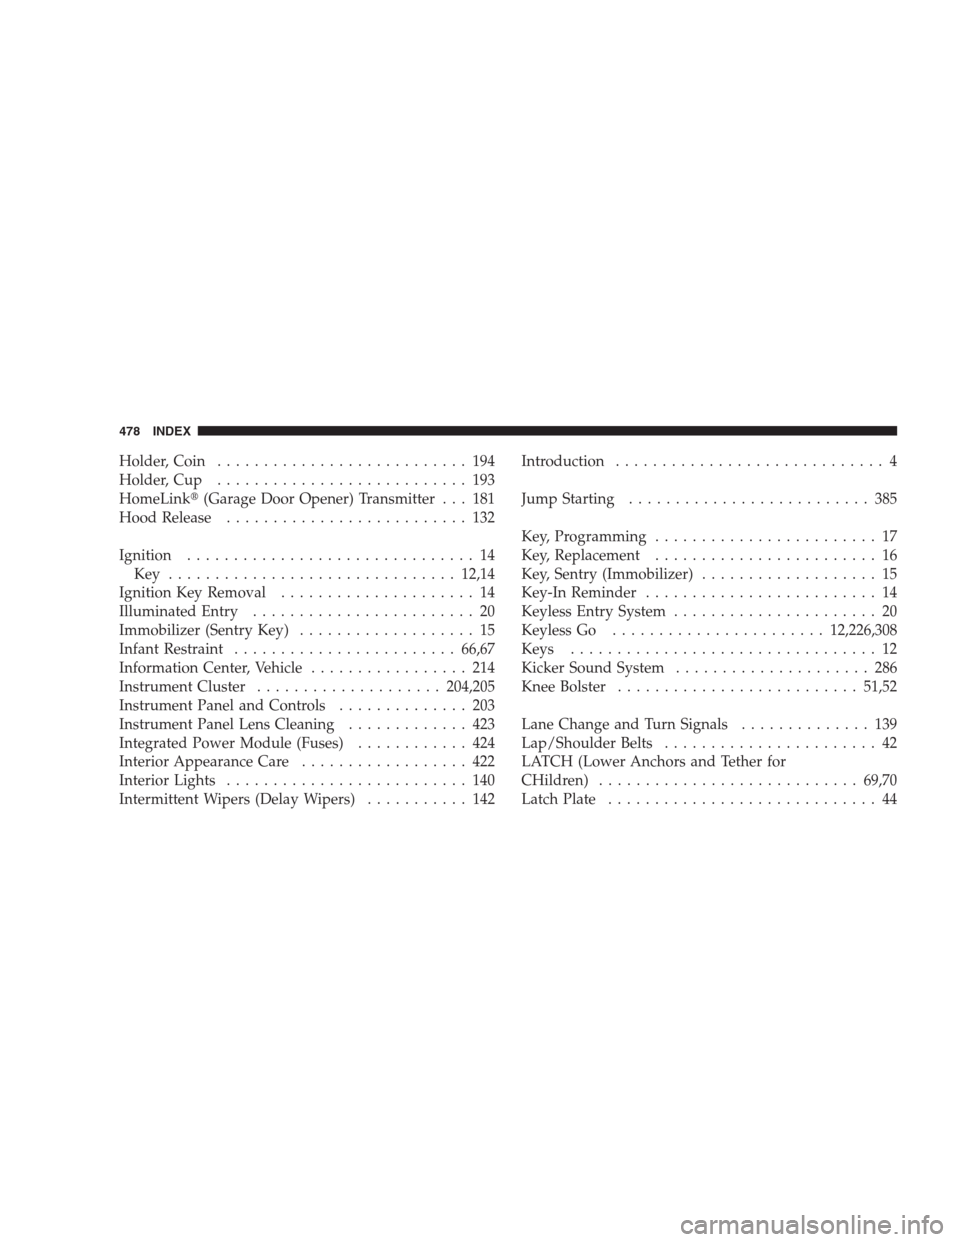
Holder, Coin........................... 194
Holder, Cup........................... 193
HomeLink�(Garage Door Opener) Transmitter . . . 181
Hood Release.......................... 132
Ignition............................... 14
Key ...............................12,14
Ignition Key Removal..................... 14
Illuminated Entry........................ 20
Immobilizer (Sentry Key)................... 15
Infant Restraint........................66,67
Information Center, Vehicle................. 214
Instrument Cluster....................204,205
Instrument Panel and Controls.............. 203
Instrument Panel Lens Cleaning............. 423
Integrated Power Module (Fuses)............ 424
Interior Appearance Care.................. 422
Interior Lights.......................... 140
Intermittent Wipers (Delay Wipers)........... 142Introduction............................. 4
Jump Starting.......................... 385
Key, Programming........................ 17
Key, Replacement........................ 16
Key, Sentry (Immobilizer)................... 15
Key-In Reminder......................... 14
Keyless Entry System...................... 20
Keyless Go.......................12,226,308
Keys................................. 12
Kicker Sound System..................... 286
Knee Bolster..........................51,52
Lane Change and Turn Signals.............. 139
Lap/Shoulder Belts....................... 42
LATCH (Lower Anchors and Tether for
CHildren)............................69,70
Latch Plate............................. 44
478 INDEX