Page 80 of 526

Defroster
Check operation by selecting the defrost mode and place
the blower control on high speed. You should be able to
feel the air directed against the windshield. See your
authorized dealer for service if your defroster is
inoperable.
Periodic Safety Checks You Should Make Outside
The Vehicle
Tires
Examine tires for excessive tread wear and uneven wear
patterns. Check for stones, nails, glass, or other objects
lodged in the tread. Inspect the tread and sidewall for
cuts and cracks. Check the wheel nuts for tightness.
Check the tires (including spare) for proper pressure.
Lights
Have someone observe the operation of exterior lights
while you work the controls. Check turn signal and high
beam indicator lights on the instrument panel.
Door Latches
Check for positive closing, latching, and locking.
Fluid Leaks
Check area under vehicle after overnight parking for fuel,
engine coolant, oil, or other fluid leaks. Also, if gasoline
fumes are detected or if fuel, power steering fluid, or
brake fluid leaks are suspected, the cause should be
located and corrected immediately.
78 THINGS TO KNOW BEFORE STARTING YOUR VEHICLE
Page 140 of 526
The Headlights On with Wipers feature can be turned on
or off through the Electronic Vehicle Information Center
(EVIC) (if equipped). Refer to ”Headlights On with
Wipers,” under “Personal Settings (Customer-
Programmable Features)” under “Electronic Vehicle In-
formation Center (EVIC)” in Section 4.
SmartBeams — If Equipped
The SmartBeam system provides increased forward light-
ing at night by automating high beam control through
the use of a digital camera mounted on the inside
rearview mirror. This camera detects vehicle specific light
and automatically switches from high beams to low
beams until the approaching vehicle is out of view.
To Activate
1. Select “Automatic High Beams — ON” through the
EVIC. Refer to “Automatic High Beams,” under “Per-
sonal Settings (Customer-Programmable Features)” un-
der “Electronic Vehicle Information Center (EVIC)” in
Section 4.
2. Rotate the headlight switch counterclockwise to the
AUTO (A) position.
3. Push the multifunction lever away from you to switch
the headlights to the high beam position. Refer to “Mul-
tifunction Lever” in this section.
NOTE:This system will not activate until the vehicle is
at or above 25 mph (40 km/h).
To Deactivate
Perform either of the following steps to deactivate the
SmartBeam system.
138 UNDERSTANDING THE FEATURES OF YOUR VEHICLE
Page 141 of 526
1. Pull the multifunction lever toward you to switch the
headlights from the high beam to the low beam position.
2. Rotate the headlight switch clockwise from the AUTO
(A) to the ON position.
NOTE:Broken, muddy, or obstructed headlights and
taillights of vehicles in the field of view will cause
headlights to remain on longer (closer to the vehicle).
Also, dirt, film, and other obstructions on the windshield
or camera lens will cause the system to function
improperly.
Headlight Time Delay
This feature provides the safety of headlight illumination
for up to 90 seconds (programmable) when leaving your
vehicle in an unlit area.To activate the delay feature, turn OFF the ignition switch
while the headlights are still on. Then, turn off the
headlights within 45 seconds. The delay interval begins
when the headlight switch is turned off.
If you turn the headlights, park lights, or ignition switch
ON again, the system will cancel the delay.
If you turn the headlights off before the ignition, they will
turn off in the normal manner.
NOTE:The lights must be turned off within 45 seconds
of turning the ignition OFF to activate this feature.
The headlight delay time is programmable on vehicles
equipped with the EVIC. Refer to “Delay Turning Head-
lights Off,” under “Personal Settings (Customer-
Programmable Features)” under “Electronic Vehicle In-
formation Center (EVIC)” in Section 4.
UNDERSTANDING THE FEATURES OF YOUR VEHICLE 139
3
Page 142 of 526
Daytime Running Lights — If Equipped
The high beam headlights will come on as Daytime
Running Lights whenever the ignition switch is ON, the
headlights are off and the parking brake is off. The
headlight switch must be used for normal nighttime
driving.
Lights-On Reminder
If the headlights or parking lights are on after the ignition
is turned OFF, a chime will sound to alert the driver
when the driver’s door is opened.
Fog Lights — If Equipped
The front fog light switch is built into the head-
light switch. To activate the front fog lights, turn
on the parking lights or the low beam headlights
and press the headlight switch. To turn off the front fog
lights, either press the headlight switch a second time or
turn off the headlight switch.An indicator light in the instrument cluster illuminates
when the fog lights are turned on.
NOTE:The fog lights will operate with the low beam
headlights or parking lights on. However, selecting the
high beam headlights will turn off the fog lights.
Multifunction Lever
The multifunction lever controls the operation of the turn
signals, headlight beam selection and passing lights. The
multifunction lever is located on the left side of the
steering column.
140 UNDERSTANDING THE FEATURES OF YOUR VEHICLE
Page 144 of 526
High Beam/Low Beam Select Switch
Push the multifunction lever away from you to switch
the headlights to high beam. Pull the multifunction lever
toward you to switch the headlights back to low beam.
Flash-to-Pass
You can signal another vehicle with your headlights by
lightly pulling the multifunction lever toward you. This
will cause the headlights to turn on at high beam and
remain on until the multifunction lever is released.
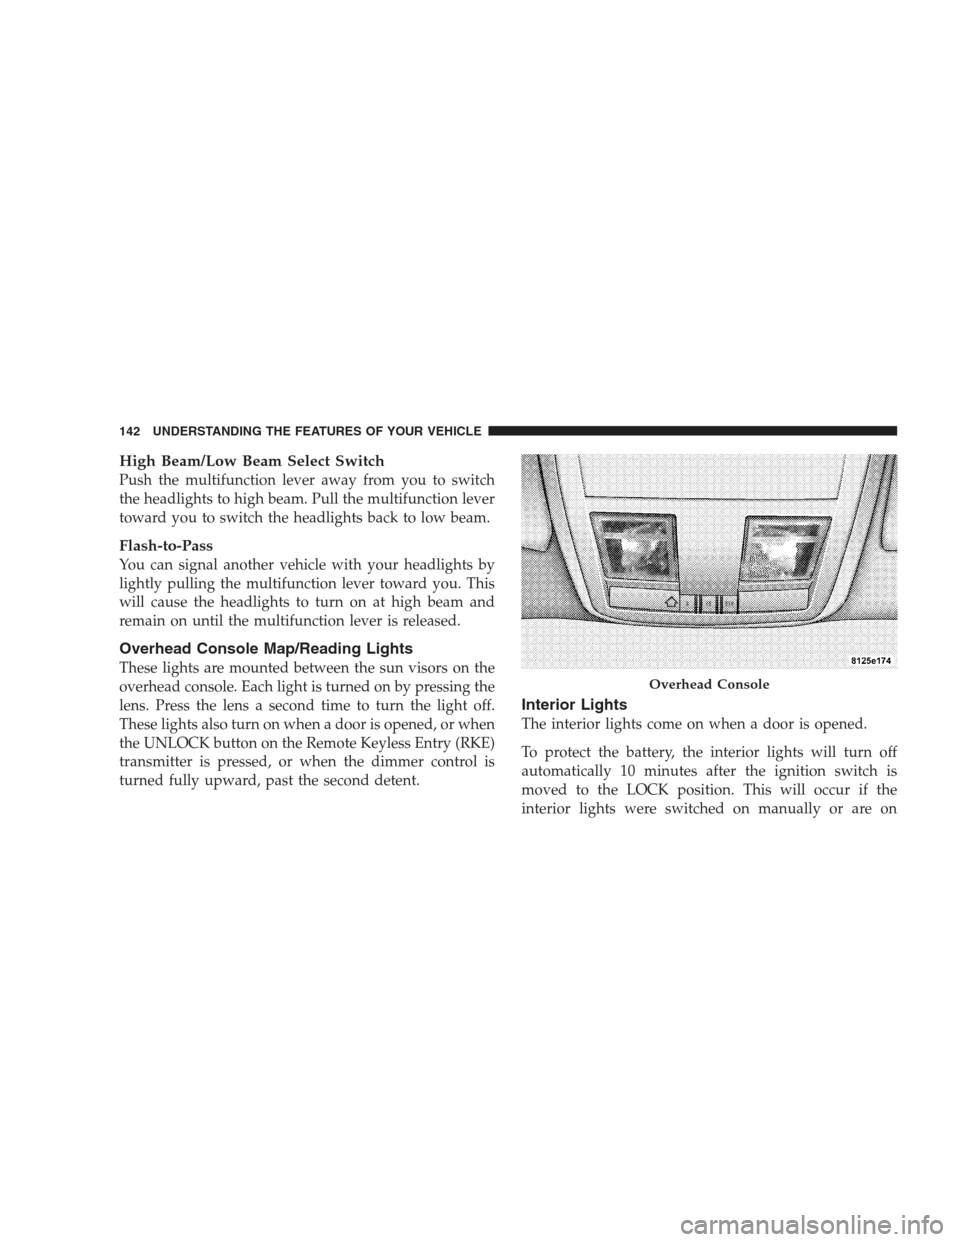
Overhead Console Map/Reading Lights
These lights are mounted between the sun visors on the
overhead console. Each light is turned on by pressing the
lens. Press the lens a second time to turn the light off.
These lights also turn on when a door is opened, or when
the UNLOCK button on the Remote Keyless Entry (RKE)
transmitter is pressed, or when the dimmer control is
turned fully upward, past the second detent.
Interior Lights
The interior lights come on when a door is opened.
To protect the battery, the interior lights will turn off
automatically 10 minutes after the ignition switch is
moved to the LOCK position. This will occur if the
interior lights were switched on manually or are on
Overhead Console
142 UNDERSTANDING THE FEATURES OF YOUR VEHICLE
Page 217 of 526
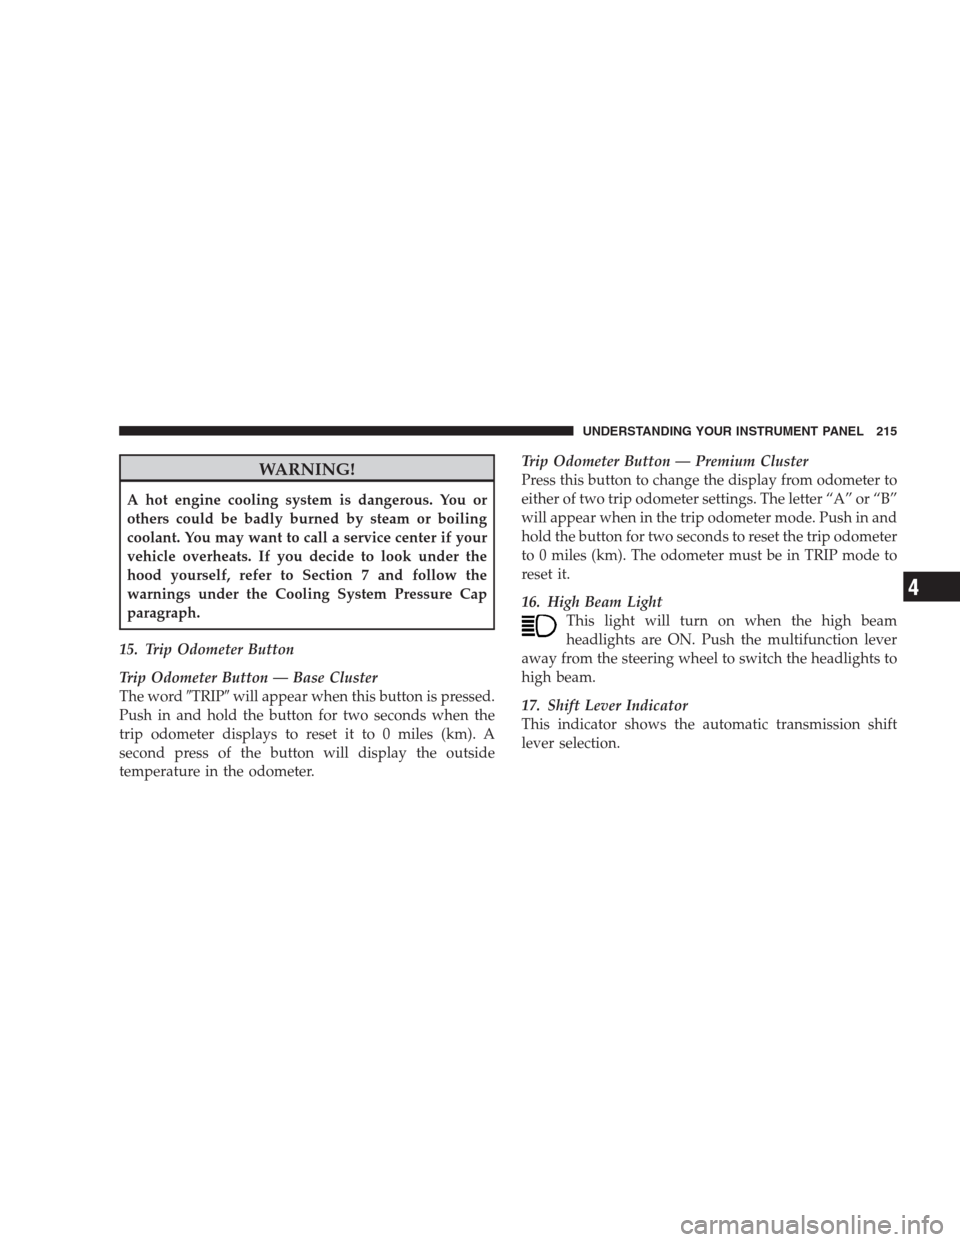
WARNING!
A hot engine cooling system is dangerous. You or
others could be badly burned by steam or boiling
coolant. You may want to call a service center if your
vehicle overheats. If you decide to look under the
hood yourself, refer to Section 7 and follow the
warnings under the Cooling System Pressure Cap
paragraph.
15. Trip Odometer Button
Trip Odometer Button — Base Cluster
The word�TRIP�will appear when this button is pressed.
Push in and hold the button for two seconds when the
trip odometer displays to reset it to 0 miles (km). A
second press of the button will display the outside
temperature in the odometer.Trip Odometer Button — Premium Cluster
Press this button to change the display from odometer to
either of two trip odometer settings. The letter “A” or “B”
will appear when in the trip odometer mode. Push in and
hold the button for two seconds to reset the trip odometer
to 0 miles (km). The odometer must be in TRIP mode to
reset it.
16. High Beam Light
This light will turn on when the high beam
headlights are ON. Push the multifunction lever
away from the steering wheel to switch the headlights to
high beam.
17. Shift Lever Indicator
This indicator shows the automatic transmission shift
lever selection.
UNDERSTANDING YOUR INSTRUMENT PANEL 215
4
Page 239 of 526

“Turn-by-Turn Navigation” — If Equipped
When ON is selected, the turn-by-turn directions will
appear in the display as the vehicle approaches a desig-
nated turn within a programmed route. To make your
selection, press and release the FUNCTION SELECT
button until “ON” or “OFF” appears.
“Display Units of Measure in”
The EVIC, odometer, and uconnect�gps (if equipped)
can be changed between English and Metric units of
measure. To make your selection, press and release the
FUNCTION SELECT button until “US” or “METRIC”
appears.
“Automatic High Beams” — If Equipped
When this feature is selected, the high beam headlights
will deactivate automatically under certain conditions. To
make your selection, press and release the FUNCTION
SELECT button until “ON” or “OFF” appears. Refer to
“SmartBeams” in Section 3.
SETTING THE ANALOG CLOCK
To set the analog clock at the top center of the instrument
panel, press and hold the button until the setting is
correct.
Analog Clock
UNDERSTANDING YOUR INSTRUMENT PANEL 237
4
Page 418 of 526
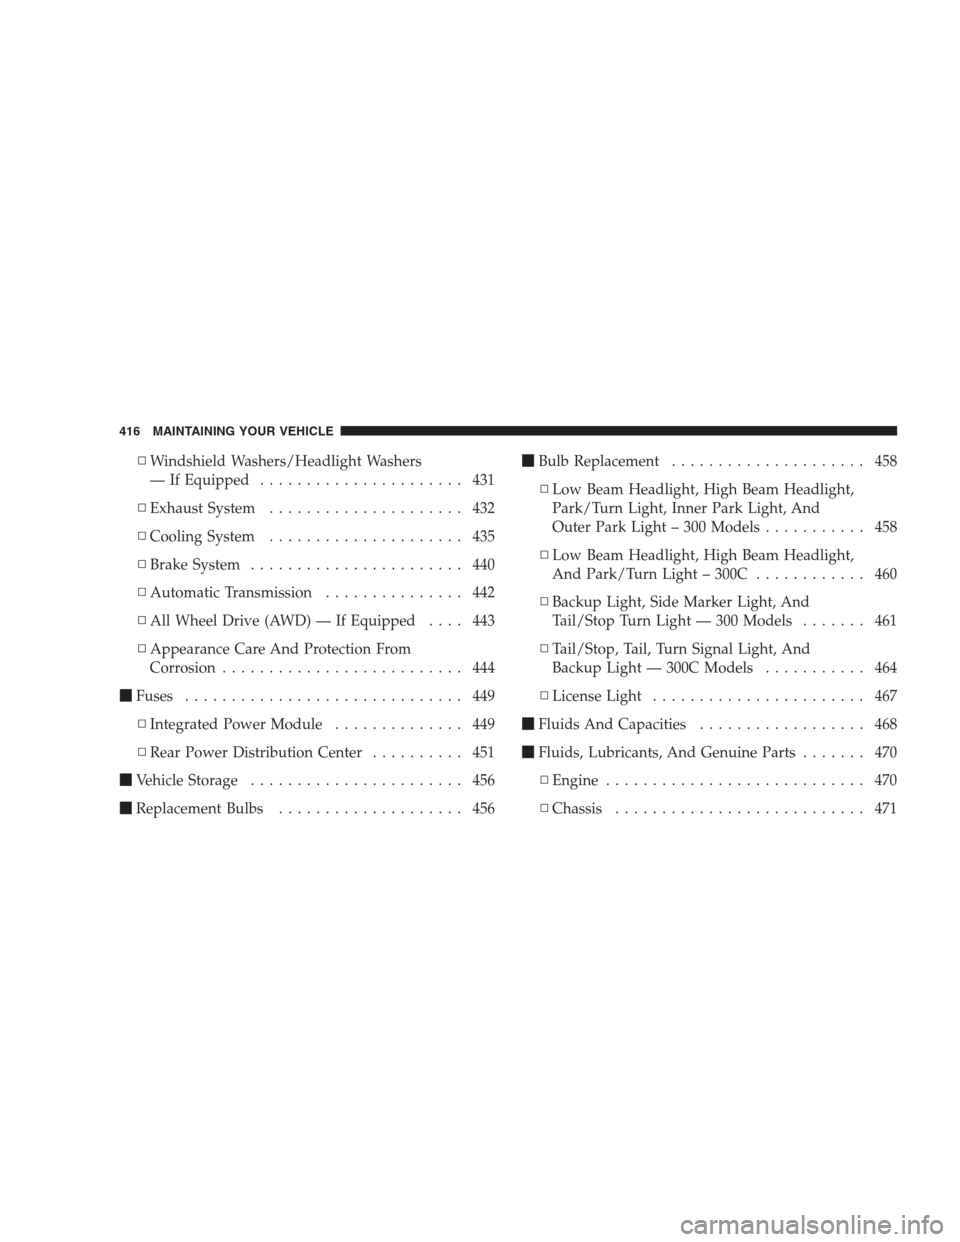
▫Windshield Washers/Headlight Washers
— If Equipped...................... 431
▫Exhaust System..................... 432
▫Cooling System..................... 435
▫Brake System....................... 440
▫Automatic Transmission............... 442
▫All Wheel Drive (AWD) — If Equipped.... 443
▫Appearance Care And Protection From
Corrosion.......................... 444
�Fuses.............................. 449
▫Integrated Power Module.............. 449
▫Rear Power Distribution Center.......... 451
�Vehicle Storage....................... 456
�Replacement Bulbs.................... 456�Bulb Replacement..................... 458
▫Low Beam Headlight, High Beam Headlight,
Park/Turn Light, Inner Park Light, And
Outer Park Light – 300 Models........... 458
▫Low Beam Headlight, High Beam Headlight,
And Park/Turn Light – 300C............ 460
▫Backup Light, Side Marker Light, And
Tail/Stop Turn Light — 300 Models....... 461
▫Tail/Stop, Tail, Turn Signal Light, And
Backup Light — 300C Models........... 464
▫License Light....................... 467
�Fluids And Capacities.................. 468
�Fluids, Lubricants, And Genuine Parts....... 470
▫Engine............................ 470
▫Chassis........................... 471
416 MAINTAINING YOUR VEHICLE