Page 84 of 526
▫To Resume Speed.................... 152
▫To Vary The Speed Setting.............. 152
▫To Accelerate For Passing.............. 153
�Adaptive Cruise Control (ACC)
— If Equipped........................ 154
▫Adaptive Cruise Control (ACC) Operation . . 156
▫Activating Adaptive Cruise Control (ACC) . . 157
▫To Activate......................... 158
▫To Set a Desired ACC Speed............ 158
▫To Cancel.......................... 159
▫ToTurnOff ........................ 160
▫To Resume Speed.................... 160
▫To Vary The Speed Setting.............. 161▫Setting The Following Distance In ACC.... 162
▫Adaptive Cruise Control (ACC) Menu..... 164
▫Display Warnings And Maintenance....... 168
▫Precautions While Driving With ACC...... 171
▫General Information.................. 174
▫Normal (Fixed Speed) Cruise Control
Mode............................. 175
�Rear Park Assist...................... 177
�Overhead Console..................... 180
▫Courtesy/Reading Lights.............. 181
▫Sunglasses Storage................... 181
�Garage Door Opener — If Equipped........ 181
▫Programming HomeLink�.............. 183
82 UNDERSTANDING THE FEATURES OF YOUR VEHICLE
Page 87 of 526
MIRRORS
Inside Day/Night Mirror
A two-point pivot system allows for horizontal and
vertical mirror adjustment. Adjust the mirror to center on
the view through the rear window. The mirror should be
adjusted while set in the day position (toward the wind-
shield).
Headlight glare can be reduced by moving the small
control under the mirror to the night position (toward the
rear of the vehicle).
Automatic Dimming Inside Mirror — If Equipped
This mirror automatically adjusts for headlight glare
from vehicles behind you. You can turn the feature on or
off by pressing the button at the base of the mirror. A light
next to the button will illuminate to indicate when the
dimming feature is activated.
Adjusting Rearview Mirror
UNDERSTANDING THE FEATURES OF YOUR VEHICLE 85
3
Page 88 of 526
CAUTION!
To avoid damage to the mirror during cleaning, never
spray any cleaning solution directly onto the mirror.
Apply the solution onto a clean cloth and wipe the
mirror clean.
Outside Mirrors
To receive maximum benefit, adjust the outside mirror(s)
to center on the adjacent lane of traffic and a slight
overlap of the view obtained from the inside mirror.
NOTE:The passenger-side convex outside mirror will
give a much wider view to the rear, and especially of the
lane next to your vehicle.
WARNING!
Vehicles and other objects seen in the passenger-side
convex mirror will look smaller and farther away
than they really are. Relying too much on your
passenger-side convex mirror could cause you to
collide with another vehicle or other object. Use your
inside mirror when judging the size or distance of a
vehicle seen in the passenger-side convex mirror.
Automatic Dimming Mirror
86 UNDERSTANDING THE FEATURES OF YOUR VEHICLE
Page 89 of 526
Outside Mirrors Folding Feature — If Equipped
Some models have outside mirrors that are hinged. The
hinge allows the mirror to pivot forward and rearward to
resist damage. The hinge has three detent positions, full
forward, full rearward and normal.
Outside Mirror Auto Dimmer — If Equipped
This mirror automatically adjusts for annoying headlight
glare from vehicles behind you. You can turn this feature
on or off by pressing the button at the base of the inside
rearview mirror. This feature is also available on the
passenger outside mirror of mirrors equipped with turn
signal and approach lighting.
Outside Mirrors with Turn Signal and Approach
Lighting — If Equipped
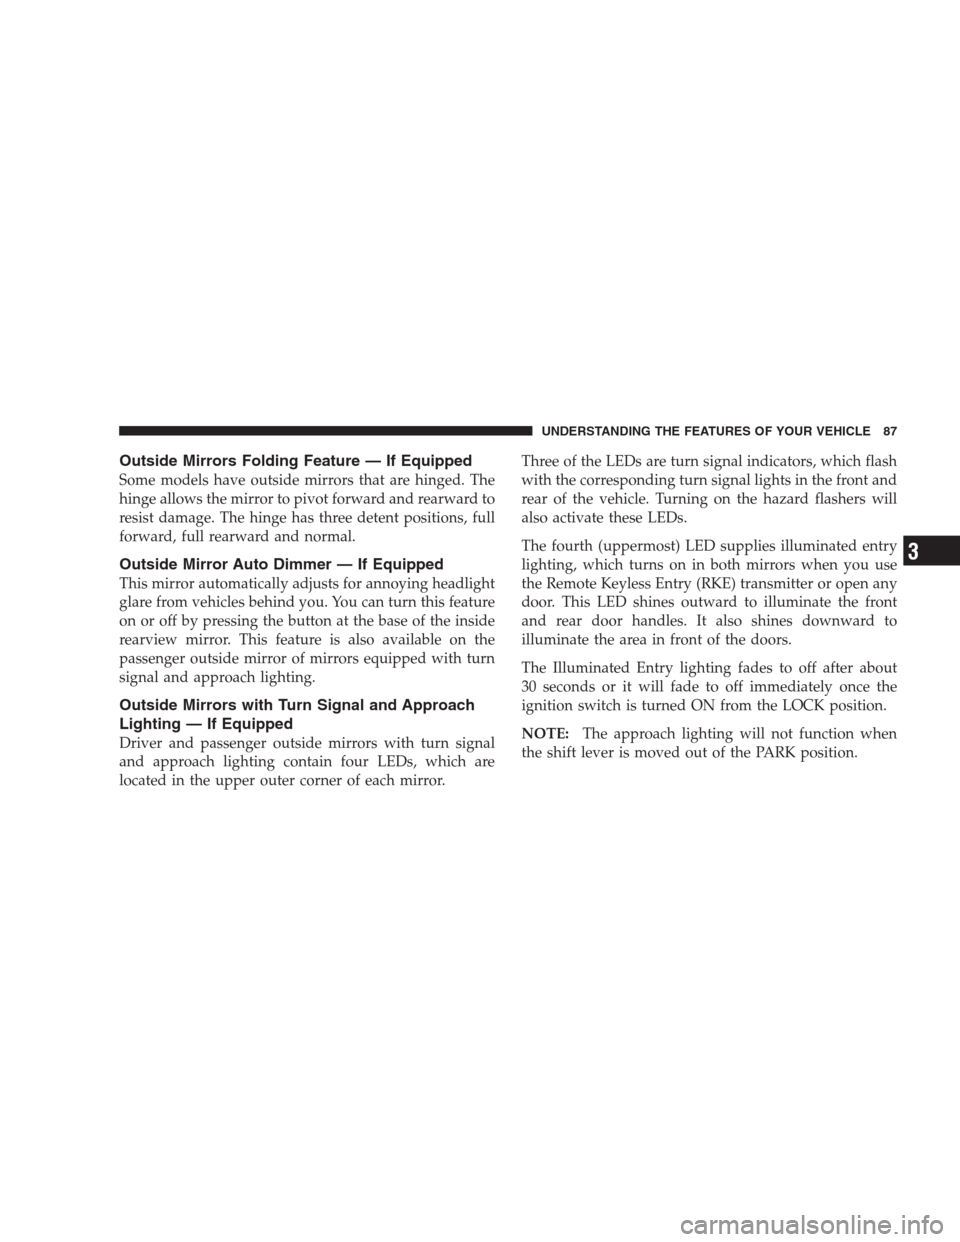
Driver and passenger outside mirrors with turn signal
and approach lighting contain four LEDs, which are
located in the upper outer corner of each mirror.Three of the LEDs are turn signal indicators, which flash
with the corresponding turn signal lights in the front and
rear of the vehicle. Turning on the hazard flashers will
also activate these LEDs.
The fourth (uppermost) LED supplies illuminated entry
lighting, which turns on in both mirrors when you use
the Remote Keyless Entry (RKE) transmitter or open any
door. This LED shines outward to illuminate the front
and rear door handles. It also shines downward to
illuminate the area in front of the doors.
The Illuminated Entry lighting fades to off after about
30 seconds or it will fade to off immediately once the
ignition switch is turned ON from the LOCK position.
NOTE:The approach lighting will not function when
the shift lever is moved out of the PARK position.
UNDERSTANDING THE FEATURES OF YOUR VEHICLE 87
3
Page 90 of 526
Tilt Mirrors in Reverse — If Equipped
Tilt Mirrors in Reverse provides automatic outside mirror
positioning which will aid the driver ’s view of the
ground rearward of the front doors. The outside mirrors
will move slightly downward from the present position
when the vehicle is shifted into the REVERSE position.
The outside mirrors will then return to the original
position when the vehicle is shifted out of the REVERSE
position. Each stored memory setting will have an asso-
ciated Tilt Mirrors in Reverse position.
NOTE:The Tilt Mirrors in Reverse feature is not en-
abled when delivered from the factory. The Tilt Mirrors in
Reverse feature can be enabled or disabled through the
customer programmable features in the Electronic Ve-
hicle Information Center (EVIC), refer to “Tilt Mirrors in
Reverse” under “Customer-Programmable Features” un-
der “Electronic Vehicle Information Center (EVIC)” in
Section 4.
Power Mirrors
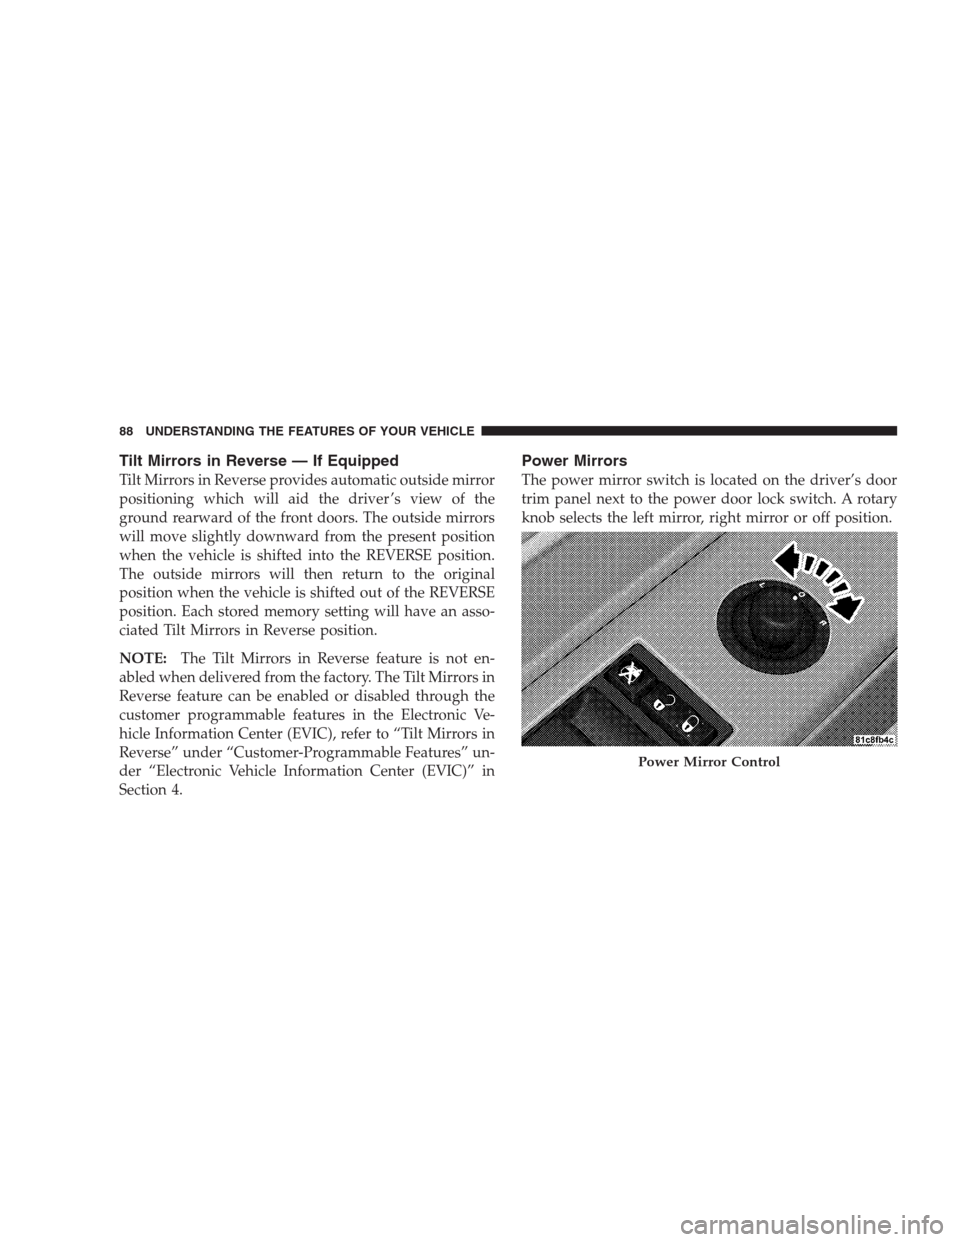
The power mirror switch is located on the driver’s door
trim panel next to the power door lock switch. A rotary
knob selects the left mirror, right mirror or off position.
Power Mirror Control
88 UNDERSTANDING THE FEATURES OF YOUR VEHICLE
Page 91 of 526
After selecting a mirror, move the knob in the same
direction you want the mirror to move. Use the center off
position to guard against accidentally moving a mirror
position.
NOTE:For vehicles equipped with Driver Memory
Seat, you can use your RKE transmitter or the memory
switch on the driver’s door trim panel to return the
power mirrors to pre-programmed positions. Refer to
“Driver Memory Seat” in this Section for further
information.
Heated Power Mirrors — If Equipped
These mirrors are heated to melt frost or ice. This
feature is activated whenever you turn on the rear
window defrost. Refer to “Rear Window Features” in this
Section, for further information.
Illuminated Vanity Mirrors — If Equipped
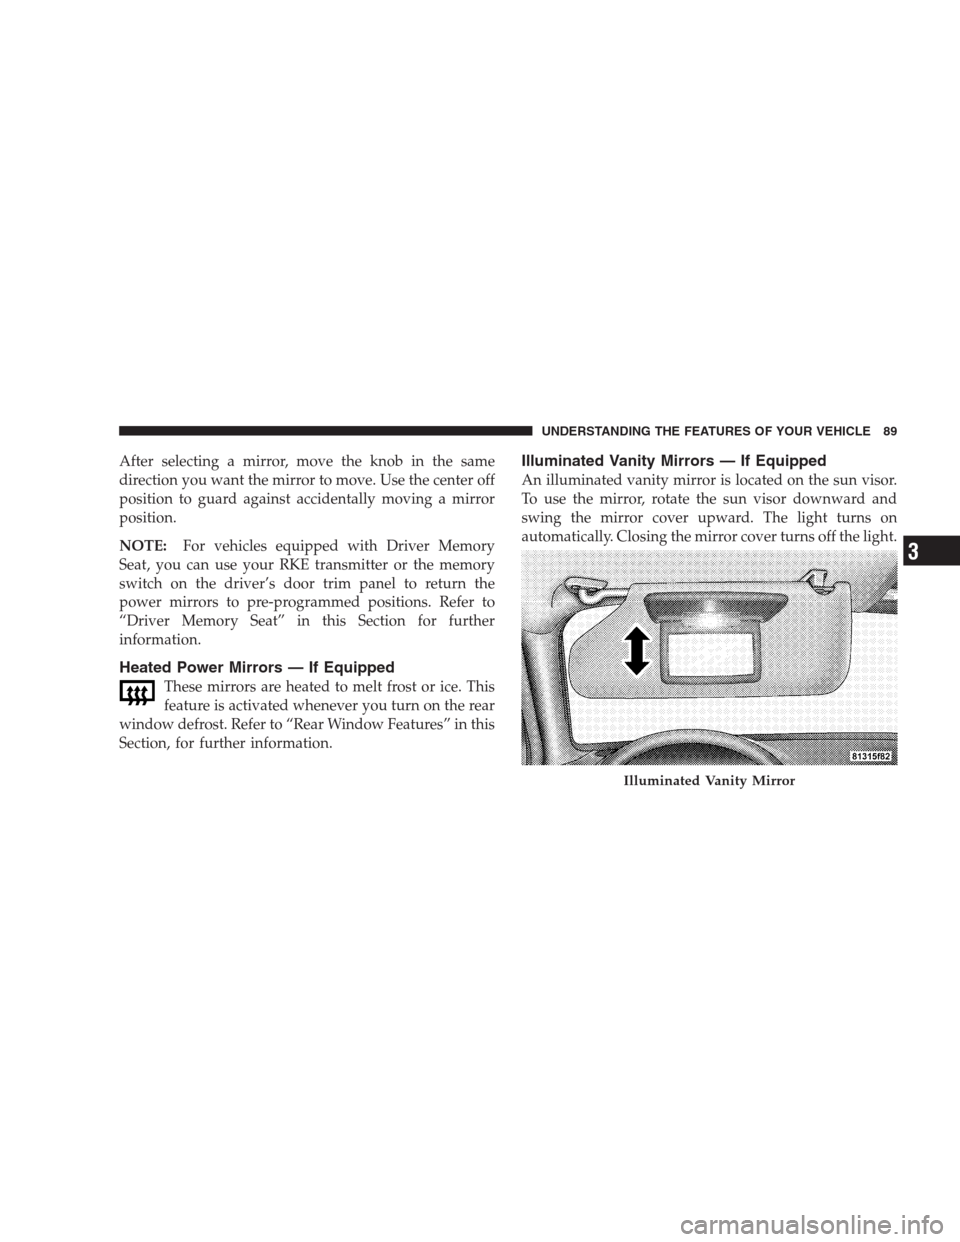
An illuminated vanity mirror is located on the sun visor.
To use the mirror, rotate the sun visor downward and
swing the mirror cover upward. The light turns on
automatically. Closing the mirror cover turns off the light.
Illuminated Vanity Mirror
UNDERSTANDING THE FEATURES OF YOUR VEHICLE 89
3
Page 106 of 526
•If supported, this number may be programmable on
some systems. To do this, press the PHONE button
and say ‘Setup’, followed by ‘Emergency’.
•The uconnect�phone does slightly lower your chances
of successfully making a phone call as to that for the
cell phone directly.
WARNING!
Your phone must be turned on and paired to the
uconnect�phone to allow use of this vehicle feature
in emergency situations, when the cell phone has
network coverage and stays paired to the uconnect�
phone.
Towing Assistance
If you need towing assistance:
•Press the PHONE button to begin.
•After the�Ready�prompt and the following beep, say
�Towing Assistance.�
NOTE:
•The towing assistance number dialed is based on the
country where the vehicle is purchased (1-800-528-
2069 for the U.S., 1-877-213-4525 for Canada, 55-14-
3454 for Mexico City and 1-800-712-3040 for outside
Mexico City in Mexico).
•If supported, this number may be programmable on
some systems. To do this, press the PHONE button
and say “Setup”, followed by “Towing Assistance”.
Paging
To learn how to page, refer to�Working with Automated
Systems.�Paging works properly except for pagers of
certain companies, which time out a little too soon to
work properly with the uconnect�phone.
104 UNDERSTANDING THE FEATURES OF YOUR VEHICLE
Page 138 of 526
CAUTION!
To prevent possible damage, do not slam the hood to
close it. Lower the hood, until it is open approxi-
mately 6 in (15 cm), and then drop it. This should
secure both latches. Never drive your vehicle unless
the hood is fully closed, with both latches engaged.
WARNING!
If the hood is not fully latched, it could fly up when
the vehicle is moving and block your forward vision.
You could have a collision. Be sure all hood latches
are fully latched before driving.
LIGHTS
Headlight Switch
The headlight switch is located on the left side of
the instrument panel. This switch controls the
operation of the headlights, parking lights, instru-
ment panel lights, instrument panel light dimming, inte-
rior lights and fog lights.
136 UNDERSTANDING THE FEATURES OF YOUR VEHICLE