Page 81 of 526
UNDERSTANDING THE FEATURES OF YOUR VEHICLE
CONTENTS
�Mirrors.............................. 85
▫Inside Day/Night Mirror................ 85
▫Automatic Dimming Inside Mirror — If
Equipped........................... 85
▫Outside Mirrors...................... 86
▫Outside Mirrors Folding Feature — If
Equipped........................... 87
▫Outside Mirror Auto Dimmer
— If Equipped....................... 87▫Outside Mirrors With Turn Signal And
Approach Lighting — If Equipped......... 87
▫Tilt Mirrors In Reverse — If Equipped...... 88
▫Power Mirrors....................... 88
▫Heated Power Mirrors — If Equipped...... 89
▫Illuminated Vanity Mirrors — If Equipped . . . 89
�uconnect�phone — If Equipped............ 90
▫Operation.......................... 91
▫Phone Call Features.................. 100
3
Page 89 of 526
Outside Mirrors Folding Feature — If Equipped
Some models have outside mirrors that are hinged. The
hinge allows the mirror to pivot forward and rearward to
resist damage. The hinge has three detent positions, full
forward, full rearward and normal.
Outside Mirror Auto Dimmer — If Equipped
This mirror automatically adjusts for annoying headlight
glare from vehicles behind you. You can turn this feature
on or off by pressing the button at the base of the inside
rearview mirror. This feature is also available on the
passenger outside mirror of mirrors equipped with turn
signal and approach lighting.
Outside Mirrors with Turn Signal and Approach
Lighting — If Equipped
Driver and passenger outside mirrors with turn signal
and approach lighting contain four LEDs, which are
located in the upper outer corner of each mirror.Three of the LEDs are turn signal indicators, which flash
with the corresponding turn signal lights in the front and
rear of the vehicle. Turning on the hazard flashers will
also activate these LEDs.
The fourth (uppermost) LED supplies illuminated entry
lighting, which turns on in both mirrors when you use
the Remote Keyless Entry (RKE) transmitter or open any
door. This LED shines outward to illuminate the front
and rear door handles. It also shines downward to
illuminate the area in front of the doors.
The Illuminated Entry lighting fades to off after about
30 seconds or it will fade to off immediately once the
ignition switch is turned ON from the LOCK position.
NOTE:The approach lighting will not function when
the shift lever is moved out of the PARK position.
UNDERSTANDING THE FEATURES OF YOUR VEHICLE 87
3
Page 108 of 526

•Some paging and voice mail systems have system time
out settings that are too short and may not allow the
use of this feature.
Barge In - Overriding Prompts
The “Voice Recognition” button can be used when you
wish to skip part of a prompt and issue your voice
recognition command immediately. For example, if a
prompt is asking�Would you like to pair a phone, clear
a...,�you could press the VOICE RECOGNITION button
and say,�Pair a Phone�to select that option without
having to listen to the rest of the voice prompt.
Turning Confirmation Prompts ON/OFF
Turning confirmation prompts off will stop the system
from confirming your choices (e.g., the uconnect�phone
will not repeat a phone number before you dial it).
•Press the PHONE button to begin.
•After the�Ready�prompt and the following beep, say
�Setup Confirmations.�The uconnect�phone will play
the current confirmation prompt status and you will
be given the choice to change it.
Phone and Network Status Indicators
If available on the radio and/or on a premium display
such as the instrument panel cluster, and supported by
your cellular phone, the uconnect�phone will provide
notification to inform you of your phone and network
status when you are attempting to make a phone call
using uconnect�phone. The status is given for roaming,
network signal strength, phone battery strength, etc.
Dialing Using the Cellular Phone Keypad
You can dial a phone number with your cellular phone
keypad and still use the uconnect�phone (while dialing
via the cellular phone keypad, the user must exercise
caution and take precautionary safety measures). By
dialing a number with your paired Bluetooth�cellular
106 UNDERSTANDING THE FEATURES OF YOUR VEHICLE
Page 142 of 526
Daytime Running Lights — If Equipped
The high beam headlights will come on as Daytime
Running Lights whenever the ignition switch is ON, the
headlights are off and the parking brake is off. The
headlight switch must be used for normal nighttime
driving.
Lights-On Reminder
If the headlights or parking lights are on after the ignition
is turned OFF, a chime will sound to alert the driver
when the driver’s door is opened.
Fog Lights — If Equipped
The front fog light switch is built into the head-
light switch. To activate the front fog lights, turn
on the parking lights or the low beam headlights
and press the headlight switch. To turn off the front fog
lights, either press the headlight switch a second time or
turn off the headlight switch.An indicator light in the instrument cluster illuminates
when the fog lights are turned on.
NOTE:The fog lights will operate with the low beam
headlights or parking lights on. However, selecting the
high beam headlights will turn off the fog lights.
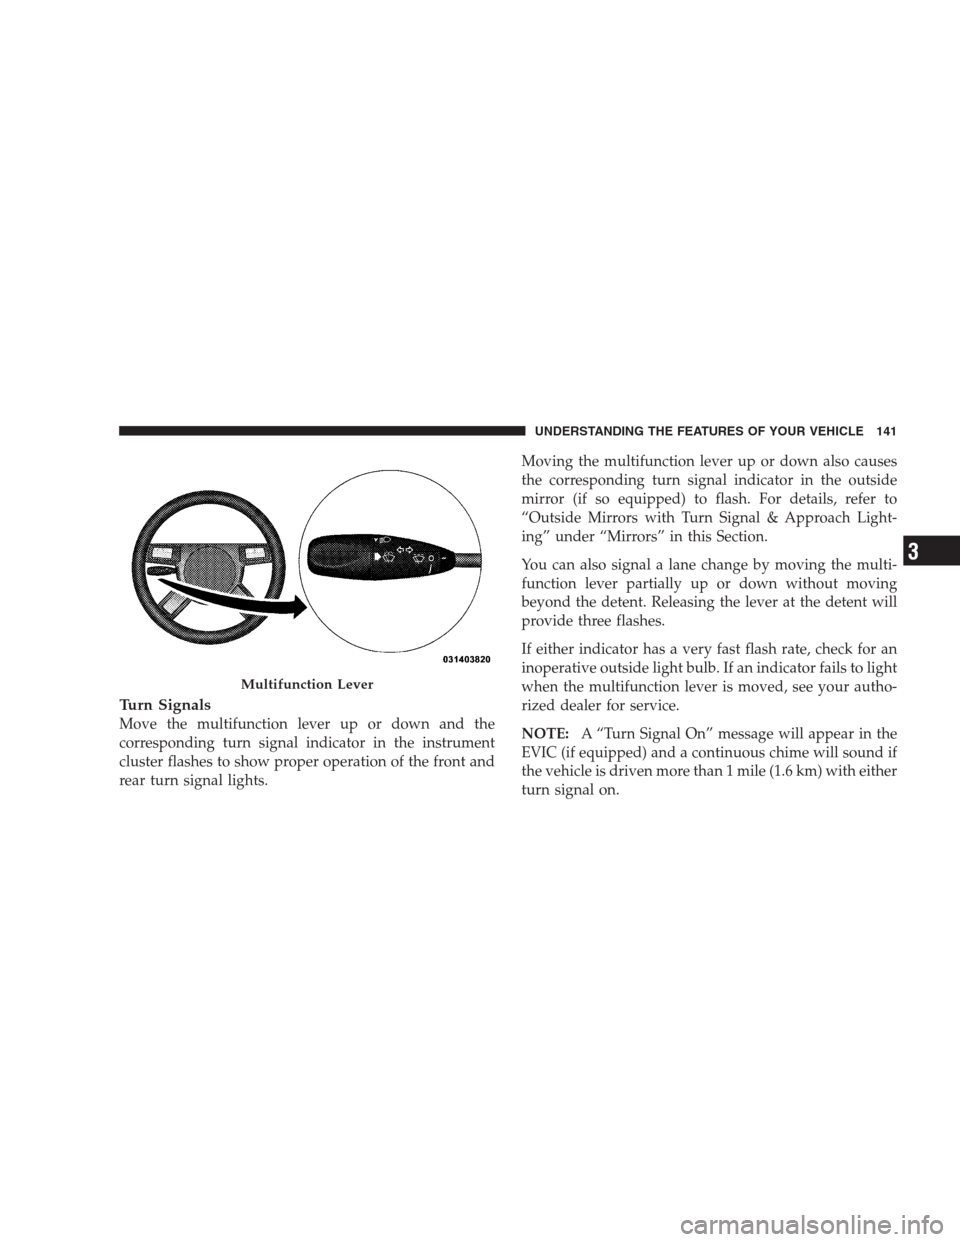
Multifunction Lever
The multifunction lever controls the operation of the turn
signals, headlight beam selection and passing lights. The
multifunction lever is located on the left side of the
steering column.
140 UNDERSTANDING THE FEATURES OF YOUR VEHICLE
Page 143 of 526
Turn Signals
Move the multifunction lever up or down and the
corresponding turn signal indicator in the instrument
cluster flashes to show proper operation of the front and
rear turn signal lights.Moving the multifunction lever up or down also causes
the corresponding turn signal indicator in the outside
mirror (if so equipped) to flash. For details, refer to
“Outside Mirrors with Turn Signal & Approach Light-
ing” under “Mirrors” in this Section.
You can also signal a lane change by moving the multi-
function lever partially up or down without moving
beyond the detent. Releasing the lever at the detent will
provide three flashes.
If either indicator has a very fast flash rate, check for an
inoperative outside light bulb. If an indicator fails to light
when the multifunction lever is moved, see your autho-
rized dealer for service.
NOTE:A “Turn Signal On” message will appear in the
EVIC (if equipped) and a continuous chime will sound if
the vehicle is driven more than 1 mile (1.6 km) with either
turn signal on.
Multifunction Lever
UNDERSTANDING THE FEATURES OF YOUR VEHICLE 141
3
Page 144 of 526
High Beam/Low Beam Select Switch
Push the multifunction lever away from you to switch
the headlights to high beam. Pull the multifunction lever
toward you to switch the headlights back to low beam.
Flash-to-Pass
You can signal another vehicle with your headlights by
lightly pulling the multifunction lever toward you. This
will cause the headlights to turn on at high beam and
remain on until the multifunction lever is released.
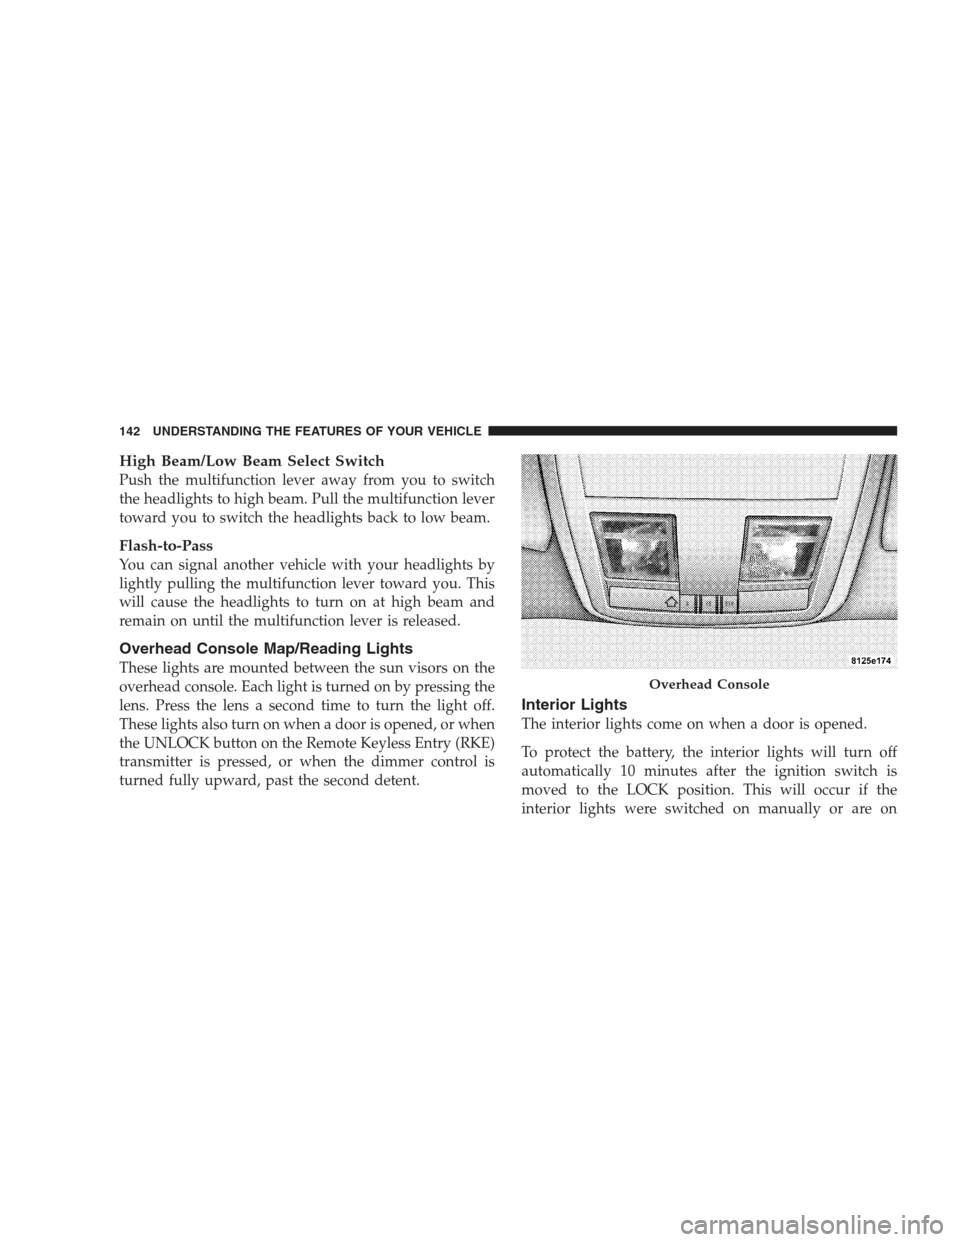
Overhead Console Map/Reading Lights
These lights are mounted between the sun visors on the
overhead console. Each light is turned on by pressing the
lens. Press the lens a second time to turn the light off.
These lights also turn on when a door is opened, or when
the UNLOCK button on the Remote Keyless Entry (RKE)
transmitter is pressed, or when the dimmer control is
turned fully upward, past the second detent.
Interior Lights
The interior lights come on when a door is opened.
To protect the battery, the interior lights will turn off
automatically 10 minutes after the ignition switch is
moved to the LOCK position. This will occur if the
interior lights were switched on manually or are on
Overhead Console
142 UNDERSTANDING THE FEATURES OF YOUR VEHICLE
Page 185 of 526
Programming HomeLink�
Before You Begin
If you have not trained any of the HomeLink�buttons,
erase all channels before you begin training.
To do this, press and hold the two outside buttons for up
to 20 seconds. The EVIC will display “CLEARING
CHANNELS.” Release the buttons when the EVIC mes-
sage states “CHANNELS CLEARED.”
It is recommended that a new battery be placed in the
hand-held transmitter of the device being programmed
to HomeLink�for more efficient training and accurate
transmission of the radio-frequency signal.
Your vehicle should be parked outside of the garage
while training.
1. Turn the ignition switch to the ON/RUN position.2. Place the hand-held transmitter 1 to 3 in (3 to 8 cm)
from the HomeLink�buttons while keeping the EVIC
display in view.
For optimal training, point the battery end of the hand-
held transmitter away from the HomeLink�.
3. Simultaneously, press and hold both the chosen
HomeLink�button and the hand-held transmitter button
until the EVIC display changes from “CHANNEL #
TRAINING” to “CHANNEL # TRAINED.”
Then release both the HomeLink�and hand-held trans-
mitter buttons.
If the EVIC display states “DID NOT TRAIN” repeat
Step 3. If the signal is too weak, replace the battery in the
original hand-held transmitter.
It may take up to 30 seconds, or longer, in rare cases. The
garage door may open and close while you train.
UNDERSTANDING THE FEATURES OF YOUR VEHICLE 183
3
Page 187 of 526
6. Firmly press and release the “learn” or “training”
button. The name and color of the button may vary by
manufacturer.
NOTE:There are 30 seconds in which to initiate the next
step after the “Learn” button has been pressed.
7. Return to the vehicle and press the programmed
HomeLink�button twice (holding the button for two
seconds each time). If the device is plugged in and
activates, programming is complete.
If the device does not activate, press the button a third
time (for two seconds) to complete the training.
If you have any problems, or require assistance, please
call toll-free 1–800–355–3515 or, on the Internet at
www.HomeLink.com for information or assistance.
To program the remaining two HomeLink�buttons,
repeat each step for each remaining button. DO NOT
erase the channels.Gate Operator/Canadian Programming
Canadian radio-frequency laws require transmitter sig-
nals to “time-out” (or quit) after several seconds of
transmission – which may not be long enough for
HomeLink�to pick up the signal during programming.
Similar to this Canadian law, some U.S. gate operators are
designed to “time-out” in the same manner.
It may be helpful to unplug the device during the cycling
process to prevent possible overheating of the garage
door or gate motor.
If you are having difficulties programming a garage door
opener or a gate operator, replace “Programming
HomeLink” Step 3 with the following:
3. Continue to press and hold the HomeLink�button
while you press and release - every two seconds
(“cycle”) your hand-held transmitter until HomeLink�
UNDERSTANDING THE FEATURES OF YOUR VEHICLE 185
3