Page 370 of 526
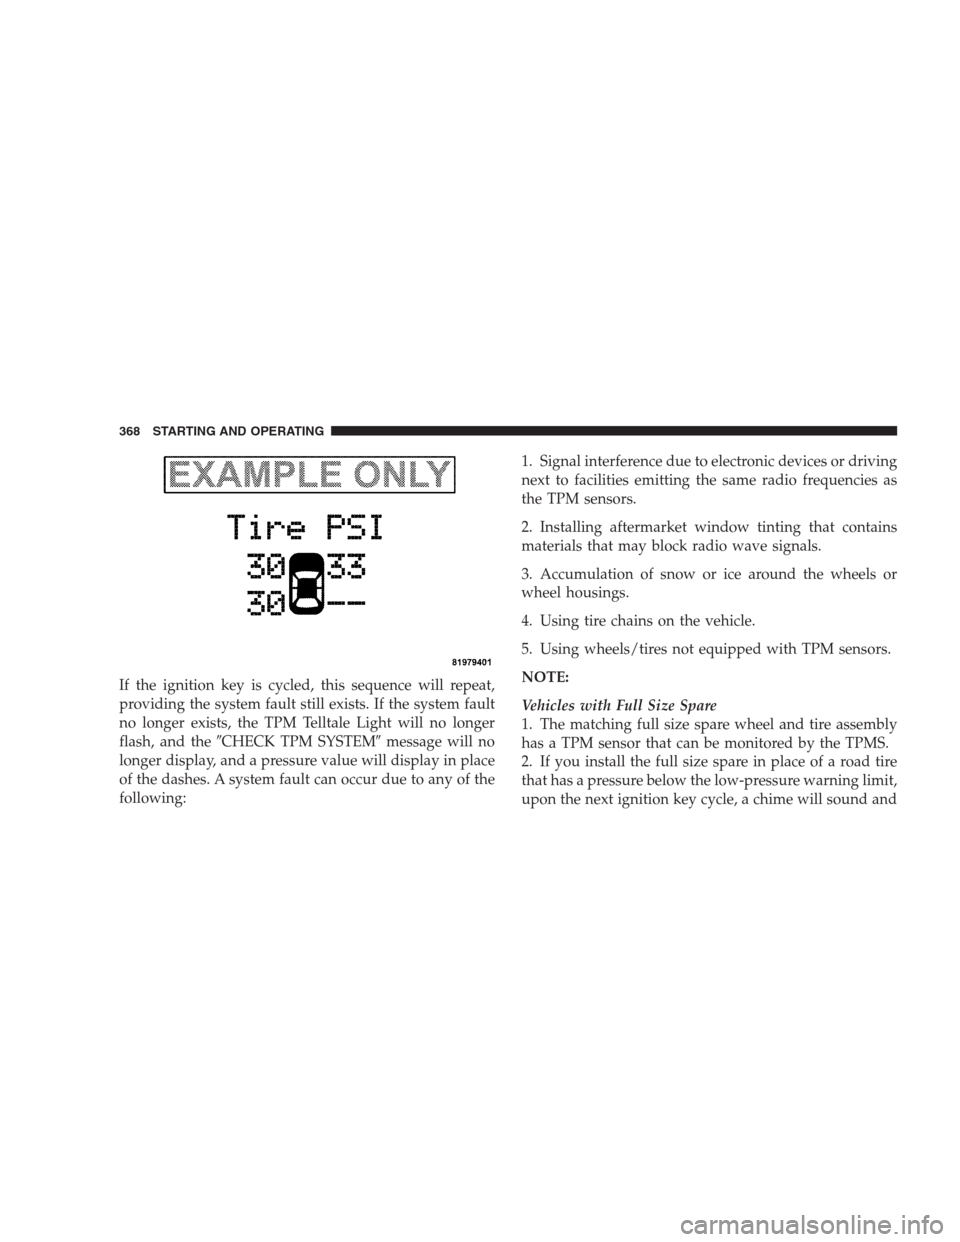
If the ignition key is cycled, this sequence will repeat,
providing the system fault still exists. If the system fault
no longer exists, the TPM Telltale Light will no longer
flash, and the�CHECK TPM SYSTEM�message will no
longer display, and a pressure value will display in place
of the dashes. A system fault can occur due to any of the
following:1. Signal interference due to electronic devices or driving
next to facilities emitting the same radio frequencies as
the TPM sensors.
2. Installing aftermarket window tinting that contains
materials that may block radio wave signals.
3. Accumulation of snow or ice around the wheels or
wheel housings.
4. Using tire chains on the vehicle.
5. Using wheels/tires not equipped with TPM sensors.
NOTE:
Vehicles with Full Size Spare
1. The matching full size spare wheel and tire assembly
has a TPM sensor that can be monitored by the TPMS.
2. If you install the full size spare in place of a road tire
that has a pressure below the low-pressure warning limit,
upon the next ignition key cycle, a chime will sound and
368 STARTING AND OPERATING
Page 389 of 526
•When hauling cargo or towing a trailer, do not over-
load your vehicle or trailer. Overloading can cause a
loss of control, poor performance, or damage to
brakes, axle, engine, transmission, steering, suspen-
sion, chassis structure, or tires.
•Safety chains must always be used between your
vehicle and trailer. Always connect the chains to the
frame or hook retainers of the vehicle hitch. Cross the
chains under the trailer tongue and allow enough
slack for turning corners.
•Vehicles with trailers should not be parked on a grade.
When parking, apply the parking brake on the tow
vehicle. Put the tow vehicle automatic transmission in
PARK. Always, block or�chock�the trailer wheels.
•GCWR must not be exceeded.
•Total weight must be distributed between the tow
vehicle and the trailer such that the following four
ratings are not exceeded:
1. Max loading as defined on the “Tire and Loading
Information” placard.
2. GTW
3. GAWR
4. Tongue weight rating for the trailer hitch utilized.
(This requirement may limit the ability to always
achieve the 10% to 15% range of tongue weight as a
percentage of total trailer weight.)
Towing Requirements — Tires
�
Do not attempt to tow a trailer while using a compact
spare tire.
�Proper tire inflation pressures are essential to the safe
and satisfactory operation of your vehicle. Refer to
STARTING AND OPERATING 387
5
Page 397 of 526
WHAT TO DO IN EMERGENCIES
CONTENTS
�Hazard Warning Flasher................ 396
�If Your Engine Overheats................ 396
�Jacking And Tire Changing............... 397
▫Jack Location/Spare Tire Stowage........ 398
▫Preparations For Jacking............... 400
▫Jacking And Changing a Tire............ 400
▫Compact Spare Tire................... 405
▫Wheel Cover Or Center Cap Installation
(If Equipped)....................... 406�Jump-Starting Procedures................ 408
�Freeing A Stuck Vehicle................. 411
�Towing A Disabled Vehicle............... 412
▫Without The Ignition Key.............. 412
▫Towing This Vehicle Behind Another
Vehicle............................ 412
▫Towing This Vehicle Behind Another Vehicle
With A Tow Dolly.................... 414
6
Page 403 of 526
WARNING! (Continued)
•Never start or run the engine with the vehicle on a
jack.
•Do not let anyone sit in the vehicle when it is on a
jack.
•Do not get under the vehicle when it is on a jack.
•Only use the jack in the positions indicated and
for lifting this vehicle during a tire change.
•If working on or near a roadway, be extremely
careful of motor traffic.
•To assure that spare tires, flat or inflated are
securely stowed, spares must be stowed with the
valve stem facing the ground.
•Turn on the Hazard Warning flasher.1. Remove the spare tire, jack, and lug wrench.
2. If equipped with steel wheels, do not remove the
wheel cover at this time. If equipped with aluminum
wheels where the center cap covers the lug nuts, use the
lug wrench to pry the center cap off carefully before
raising the vehicle.
Jack Warning Label
WHAT TO DO IN EMERGENCIES 401
6
Page 405 of 526
4. Place the jack underneath the lift area that is closest to
the flat tire. Turn the jack screw clockwise to firmly
engage the jack saddle with the lift area of the sill flange.
5. Raise the vehicle just enough to remove the flat tire
and install the spare tire.
WARNING!
Raising the vehicle higher than necessary can make
the vehicle less stable. It could slip off the jack and
hurt someone near it. Raise the vehicle only enough
to remove the tire.
6. Remove the lug nuts, wheel cover (if equipped), and
tire. Remove the cover by hand. Do not pry it off.
7. Mount the spare tire.
NOTE:For vehicles so equipped, do not attempt to
install a center cap or wheel cover on the compact spare.However, when reinstalling the road tire, follow the
procedure under “Wheel Cover or Center Cap Installa-
tion” in place of the remaining steps in this procedure.
8. Install the lug nuts with the cone shaped end of the
nut toward the wheel. Lightly tighten the lug nuts. To
avoid the risk of forcing the vehicle off the jack, do not
tighten the lug nuts fully until the vehicle is lowered to
the ground.
9. Lower the vehicle to the ground by turning the jack
handle counterclockwise.
10. Finish tightening the lug nuts. Push down on the
wrench while tightening for increased leverage. Alternate
lug nuts until each nut has been tightened twice. The
correct tightness of each lug nut is 100 ft/lb. (135 N·m). If
in doubt about the correct tightness, have them checked
with a torque wrench by your authorized dealer or at a
service station.
WHAT TO DO IN EMERGENCIES 403
6
Page 407 of 526
11. Stow the jack, tools and flat tire. Make sure the base
of the jack faces the rear of the vehicle before tightening
down the fastener.
WARNING!
A loose tire or jack thrown forward in a collision or
hard stop could endanger the occupants of the ve-
hicle. Always stow the jack parts and the spare tire in
the places provided.
Compact Spare Tire
The compact spare tire is for temporary emergency use
with radial tires. It is engineered to be used on your style
vehicle only. Since this tire has limited tread life, the
original tire should be repaired (or replaced) and rein-
stalled at the first opportunity.
•Keep tire inflated to 60 psi (414 KPa) cold inflation
pressure.
•This tire is designed as an emergency spare only. Do
not exceed 50 mph (80 km/h) speed.
WARNING!
The limited-use spare tires are for emergency use
only. Installation of this limited-use spare tire affects
vehicle handling. With this tire, do not drive more
than 60 mph (100 km/h). Keep inflated to the cold tire
inflation pressure listed on either your tire placard or
limited-use spare tire and wheel assembly. Replace
(or repair) the original tire at the first opportunity
and reinstall it on your vehicle. Failure to do so could
result in loss of vehicle control.
WHAT TO DO IN EMERGENCIES 405
6
Page 408 of 526
Wheel Cover or Center Cap Installation (If
Equipped)
NOTE:Do not attempt to install a center cap or wheel
cover on the compact spare.
1. Mount the road tire on the axle. For vehicles equipped
with wheel covers, perform Steps 2 and 3. For vehicles
equipped with center caps, proceed to Step 4.
2. Install two lug nuts on the mounting studs, which are
on each side of the stud that is in alignment with the
valve stem. Install the lug nuts with the cone shaped end
of the nut toward the wheel. Lightly tighten the lug nuts.
To avoid the risk of forcing the vehicle off the jack, do not
tighten the lug nuts fully until the vehicle is lowered to
the ground.
Tire and Wheel Cover Or Center Cap
1 — Valve Stem 4 — Wheel Cover
2 — Valve Notch 5 — Mounting Stud
3 — Wheel Lug Nut 406 WHAT TO DO IN EMERGENCIES
Page 409 of 526
3. Align the valve notch in the wheel cover with the
valve stem on the wheel. Install the cover by hand,
snapping the cover over the two lug nuts. Do not use a
hammer or excessive force to install the cover.
4. Install the remaining lug nuts with the cone shaped
end of the nut toward the wheel. Lightly tighten the lug
nuts. To avoid the risk of forcing the vehicle off the jack,
do not tighten the lug nuts fully until the vehicle is
lowered to the ground.
5. Lower the vehicle to the ground by turning the jack
handle counterclockwise.
6. Finish tightening the lug nuts. Push down on the
wrench while tightening for increased leverage. Alternate
lug nuts until each nut has been tightened twice. The
correct tightness of each lug nut is 100 ft/lb. (135 N·m). If
in doubt about the correct tightness, have them checked
with a torque wrench by your authorized dealer or at a
service station.7. For vehicles equipped with center caps, install the
center cap by hand. Do not use a hammer or excessive
force to install the center cap.
8. Stow the jack, tools, and spare tire. Make sure the base
of the jack faces the rear of the vehicle before tightening
down the fastener.
WARNING!
A loose tire or jack thrown forward in a collision or
hard stop could endanger the occupants of the ve-
hicle. Always stow the jack parts and the spare tire in
the places provided.
WHAT TO DO IN EMERGENCIES 407
6