2009 BMW Z4 SDRIVE35I lock
[x] Cancel search: lockPage 80 of 248
Technology for driving comfort and safety
78
Loud sound sources outside or inside the car
can drown out the PDC signal. Therefore,
always drive cautiously, otherwise there is a risk
of personal injury or property damage.
<
Driving stability control
systems
Your BMW has a number of systems that help
to maintain the vehicle's stability even in
adverse driving conditions.
Antilock Brake System ABS
ABS prevents locking of the wheels during
braking. Safe steering response is maintained
even during full braking. Active safety is thus
increased.
The ABS is operational every time you start the
engine. Braking safely, refer to page 112.
Electronic brake-force distribution
The system controls the brake pressure in the
rear wheels to ensure st able braking behavior.
Dynamic Brake Control DBC
When you apply the brakes rapidly, this system
automatically produces the maximum braking
force boost and thus helps to achieve the short-
est possible braking distance during full brak-
ing. This system exploits all of the benefits pro-
vided by ABS.
Do not reduce the pressu re on the brake for the
duration of the full braking application.
Dynamic Stability Control DSC
DSC prevents the driving wheels from losing
traction when you pull away from rest or accel-
erate. The system also recognizes unstable
driving conditions, for example if the rear of the
car is about to swerve or if momentum is acting
at an angle past the front wheels. In these
cases, DSC helps the vehicle maintain a safe
course within physical lim its by reducing engine
output and through braking actions at the indi-
vidual wheels. The laws of physics
cannot be repealed,
even with DSC. An appropriate driving
style always remains th e responsibility of the
driver. Therefore, do no t reduce the additional
s a f e t y m a r g i n a g a i n b y t a k i n g r i s k s , a s t h i s c o u l d
result in an accident. <
Deactivating/activating the DSC OFF
program
The program can be de activated via Dynamic
Driving Control, refer to DSC OFF.
For better control
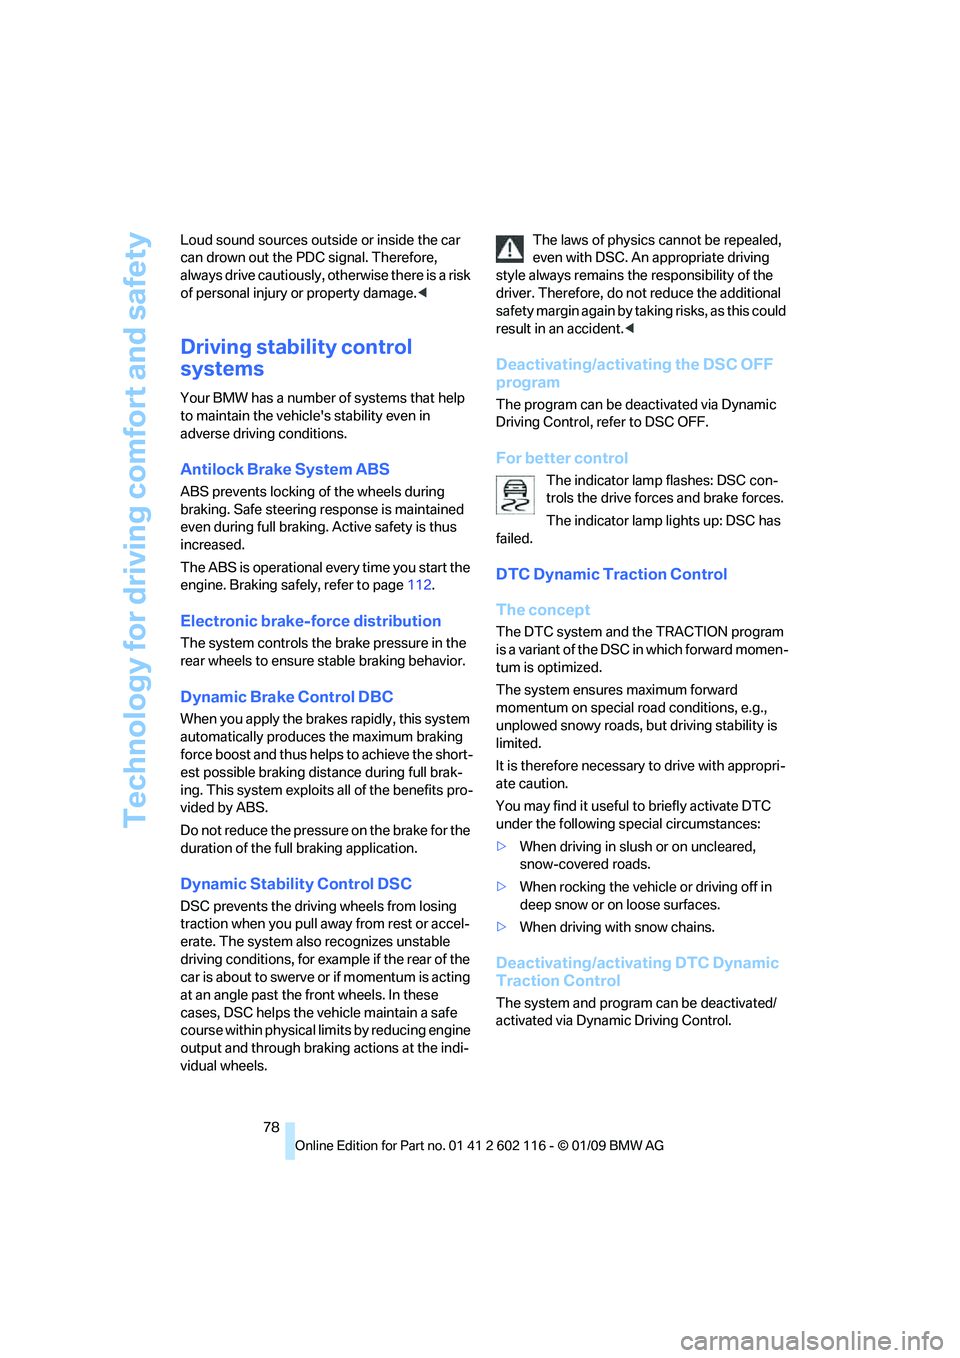
The indicator lamp flashes: DSC con-
trols the drive forces and brake forces.
The indicator lamp lights up: DSC has
failed.
DTC Dynamic Traction Control
The concept
The DTC system and the TRACTION program
is a variant of the DSC in which forward momen-
tum is optimized.
The system ensures maximum forward
momentum on special road conditions, e.g.,
unplowed snowy roads, bu t driving stability is
limited.
It is therefore necessary to drive with appropri-
ate caution.
You may find it useful to briefly activate DTC
under the following special circumstances:
> When driving in slus h or on uncleared,
snow-covered roads.
> When rocking the vehicle or driving off in
deep snow or on loose surfaces.
> When driving with snow chains.
Deactivating/activ ating DTC Dynamic
Traction Control
The system and program can be deactivated/
activated via Dynamic Driving Control.
Page 90 of 248

Lamps
88
Lamps
Parking lamps/low beams
0Lamps off,
daytime running lamps
1 Parking lamps and daytime running lamps
2 Low-beam headlamps and welcome lamps
3 Automatic headlamp control
*, daytime run-
ning lamps, welcome lamps and Adaptive
Head Light
*
When you open the driver's door with the igni-
tion switched off, the exterior lighting is auto-
matically switched off if the light switch is in
position 0, 2 or 3.
Switch on the parkin g lamps if necessary,
switch position 1.
Parking lamps
In switch position 1, the front, rear and side
vehicle lighting is switch ed on. You can use the
parking lamps for parking.
The parking lamps will discharge the bat-
tery. Therefore, do not leave them on for
unduly long periods of time, otherwise the bat-
tery might not have enou gh power to start the
engine. It is preferable to switch on the left-
hand or right-hand ro adside parking lamps,
refer to page 90.<
Low beams
The low beams light up wh en the light switch is
in position 2 and the ignition is on.
Automatic headlamp control*
When the switch is in position 3, the low beams
are switched on and off automatically depend-
ing on ambient light conditions, e.g. in a tunnel,
in twilight, or if there is precipitation. The Adap-
tive Head Light
* is active. The LED next to the
symbol is illuminated when the low beams are
on. You can also activate the daytime running
lamps, refer to page 89. In the situations
described above, the la mps then automatically
switch from daytime runn ing lamps to low beams.
The headlamps may also come on when the
sun is sitting low on a blue sky. The automatic headla mp control cannot
serve as a substitute for your personal
judgment in determin ing when the lamps
should be switched on in response to ambient
lighting conditions. For example, the system
cannot detect fog or hazy weather. To avoid
safety risks, you should always switch on the
low-beam headlamps ma nually under these
conditions. <
Welcome lamps
If you leave the light switch in position 2 or 3
when you park the car, the parking lamps and
the interior lamps light up briefly when you
unlock the vehicle.
Activating/deactivating welcome lamps
iDrive, for operating pr inciple refer to page16.
1. "Settings"
2. "Lighting"
3. "Welcome light"
Page 95 of 248
Controls
93Reference
At a glance
Driving tips
Communications
Navigation
Entertainment
Mobility
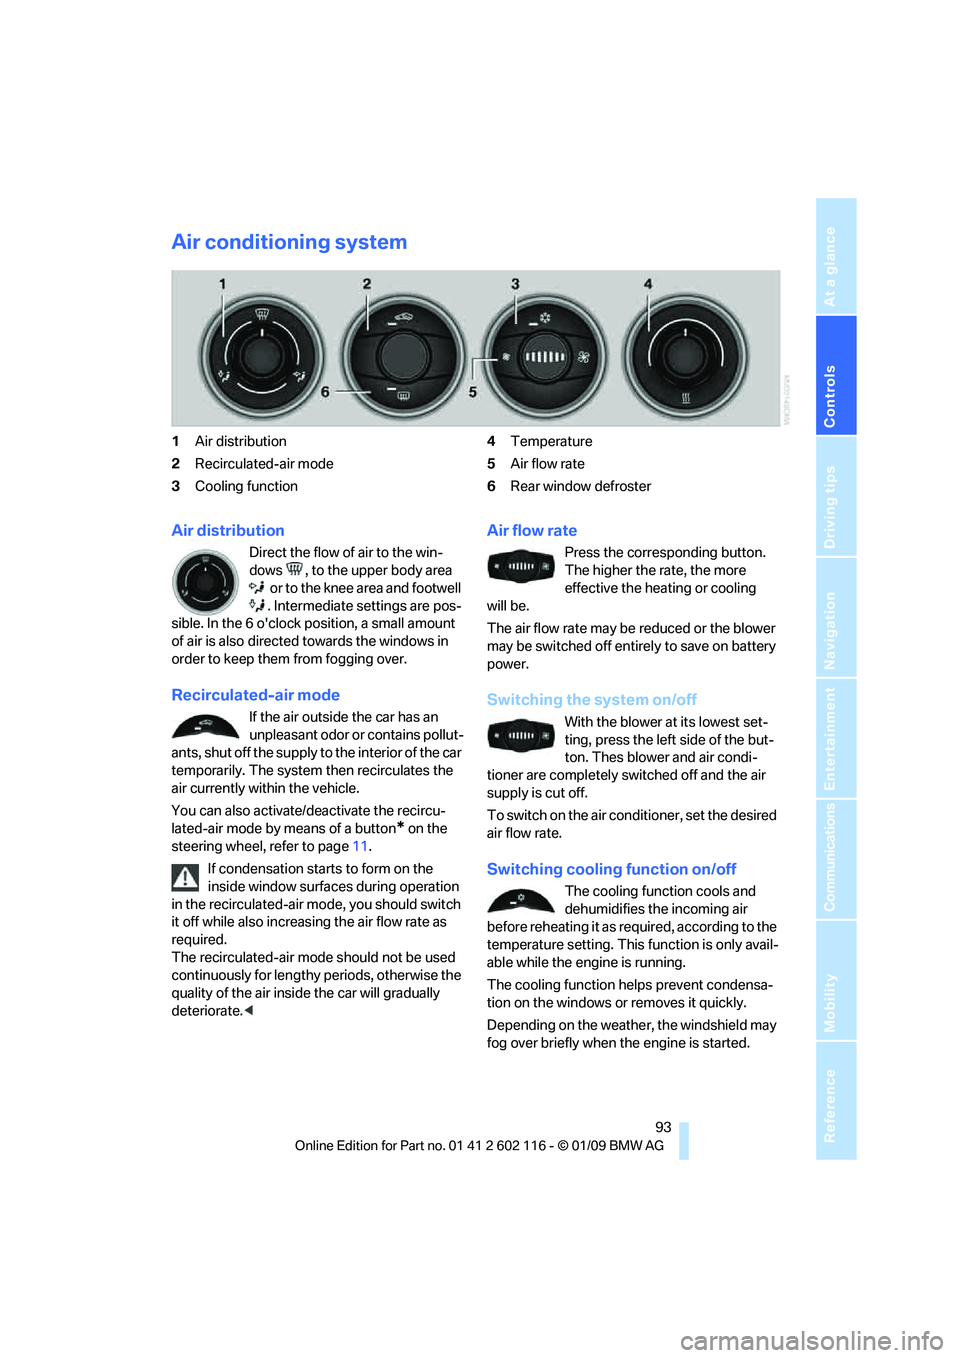
Air conditioning system
1Air distribution
2 Recirculated-air mode
3 Cooling function 4
Temperature
5 Air flow rate
6 Rear window defroster
Air distribution
Direct the flow of air to the win-
dows , to the upper body area
or to the knee area and footwell
. Intermediate settings are pos-
sible. In the 6 o'clock position, a small amount
of air is also directed towards the windows in
order to keep them from fogging over.
Recirculated-air mode
If the air outside the car has an
unpleasant odor or contains pollut-
ants, shut off the supply to the interior of the car
temporarily. The system then recirculates the
air currently within the vehicle.
You can also activate/d eactivate the recircu-
lated-air mode by means of a button
* on the
steering wheel, refer to page 11.
If condensation starts to form on the
inside window surfaces during operation
in the recirculated-air mode, you should switch
it off while also increasing the air flow rate as
required.
The recirculated-air mode should not be used
continuously for lengthy periods, otherwise the
quality of the air inside the car will gradually
deteriorate. <
Air flow rate
Press the corresponding button.
The higher the rate, the more
effective the heating or cooling
will be.
The air flow rate may be reduced or the blower
may be switched off entire ly to save on battery
power.
Switching the system on/off
With the blower at its lowest set-
ting, press the left side of the but-
ton. Thes blower and air condi-
tioner are completely switched off and the air
supply is cut off.
To switch on the air cond itioner, set the desired
air flow rate.
Switching cooling function on/off
The cooling function cools and
dehumidifies the incoming air
before reheating it as re quired, according to the
temperature setting. This function is only avail-
able while the engine is running.
The cooling function helps prevent condensa-
tion on the windows or removes it quickly.
Depending on the weathe r, the windshield may
fog over briefly when the engine is started.
Page 96 of 248
Climate
94
Rear window defroster
The defroster switches off auto-
matically after a certain time or
when the hardtop is opened.
Temperature
To increase the temperature, turn
the rotary switch clockwise
towards red.
For a lower temperature, turn the
rotary switch counterc lockwise towards blue.
Defrosting windows and removing
condensation
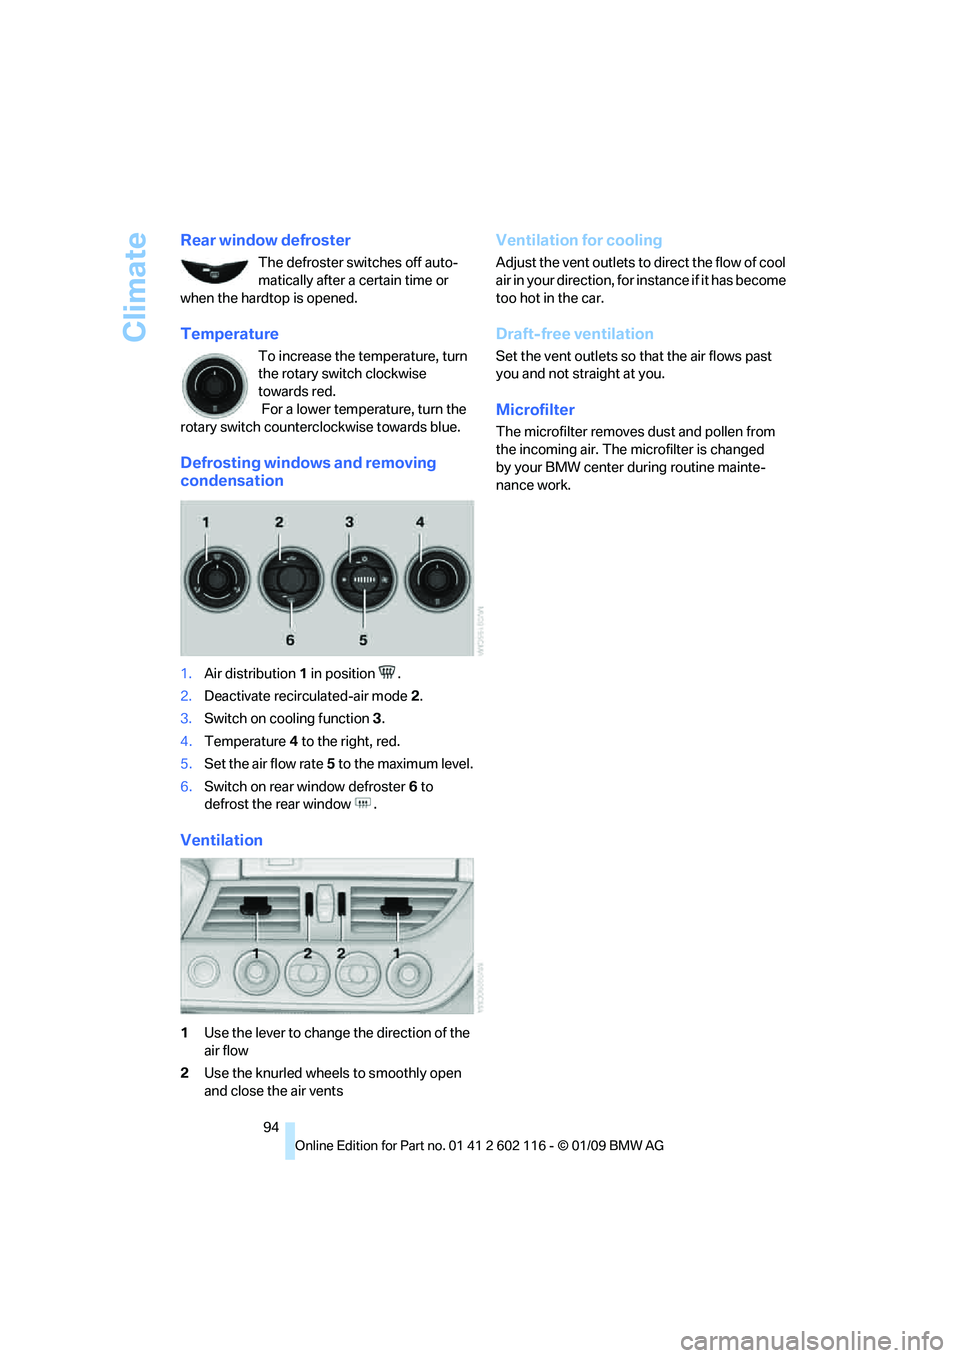
1.Air distribution 1 in position .
2. Deactivate recirc ulated-air mode 2.
3. Switch on cooling function 3.
4. Temperature 4 to the right, red.
5. Set the air flow rate 5 to the maximum level.
6. Switch on rear window defroster 6 to
defrost the rear window .
Ventilation
1 Use the lever to change the direction of the
air flow
2 Use the knurled wheels to smoothly open
and close the air vents
Ventilation for cooling
Adjust the vent outlets to direct the flow of cool
air in your direction, for instance if it has become
too hot in the car.
Draft-free ventilation
Set the vent outlets so that the air flows past
you and not straight at you.
Microfilter
The microfilter removes dust and pollen from
the incoming air. The microfilter is changed
by your BMW center during routine mainte-
nance work.
Page 99 of 248

Controls
97Reference
At a glance
Driving tips
Communications
Navigation
Entertainment
Mobility
This function can be switched on
using the right button under the
following conditions:
> Up to 15 minutes after the engine has been
switched off
> Radio readiness is switched on.
> While the engine is at operating
temperature
> As long as battery voltage is sufficient
> At an outside temperature below
777/25 6
The middle LED is lit when the function is on.
Automatic recirculated-air control
AUC/recirculated-air mode
Switch on the desired operating
mode by pressing this button
repeatedly:
> LED off: outside air flows in continuously.
> Left-hand LED on, AUC mode: a sensor
detects pollutants in th e outside air. If nec-
essary, the system blocks the supply of out-
side air and recirculates the inside air. As
soon as the concentration of pollutants in
the outside air has decreased sufficiently,
the system automatically switches back to
outside air supply.
> Right-hand LED on, recirculated-air mode:
the supply of outside air is permanently
shut off. The system then recirculates the
air currently within the vehicle.
If condensation starts to form on the
inside window surfaces during operation
in the recirculated-air mode, you should switch
it off while also increasing the air flow rate as
required.
The recirculated-air mode should not be used
over an extended period of time, otherwise the
air quality inside the ca r will deteriorate contin-
uously. <
Defrosting windows and removing
condensation
Quickly removes ice and conden-
sation from the windshield and
front side windows.
Switch on the cooling function as well.
Rear window defroster
The defroster switches off auto-
matically after a certain time or
when the hardtop is opened.
Ventilation
1 Lever for changing the direction of the
air flow.
2 Knurled wheels for opening and closing the
air vents.
3 Knurled wheel for adju sting the amount of
cool air from the vents to the upper body
area. In this way you can optimize the air
temperature for the upper body area.
Ventilation for cooling
Adjust the vent outlets to direct the flow of cool
air in your direction, for instance if it has become
too hot in the car.
Draft-free ventilation
Set the vent outlets so that the air flows past
you and not straight at you.
Microfilter/activated-charcoal filter
The microfilter traps dust and pollen in the
incoming air. The activated-charcoal filter pro-
vides additional protection by filtering gaseous
pollutants from the outs ide air. Your BMW cen-
ter replaces this combined filter during routine
maintenance.
Page 103 of 248
Controls
101Reference
At a glance
Driving tips
Communications
Navigation
Entertainment
Mobility
Calibrating the digital compass
The digital compass must be calibrated in the
following situations:
> An incorrect compass direction is shown.
> The compass direction shown does not
change although the direction of
travel does.
> Not all compass directions are shown.
Procedure
1.Make sure that no la rge metal objects or
overhead power lines are in the vicinity of
your vehicle and that you have enough
space to drive in a circle.
2. Set the currently valid compass zone.
3. ensure that the retractable hardtop is fully
closed.
4. Press the adjustment button for approx.
6-7 seconds to call up C. Then drive in at
least one full circle at a speed of no more
than 4mph or 7km/h.
If calibration is successful, the display
changes from C to a compass direction.
5. Open the retractable hardtop fully and
repeat step 4.
Setting right-hand/left-hand steering
Your digital compass is factory-set to right-
hand or left-hand steeri ng, in accordance with
your vehicle.
Setting the language
You can set the language of the display:
Press the adjustment button for approx.
12-13 seconds. Briefly press the adjustment
button again to switch between English, "E",
and German, "O".
The setting is automatically saved after approx.
10 seconds.
Glove compartment
Opening
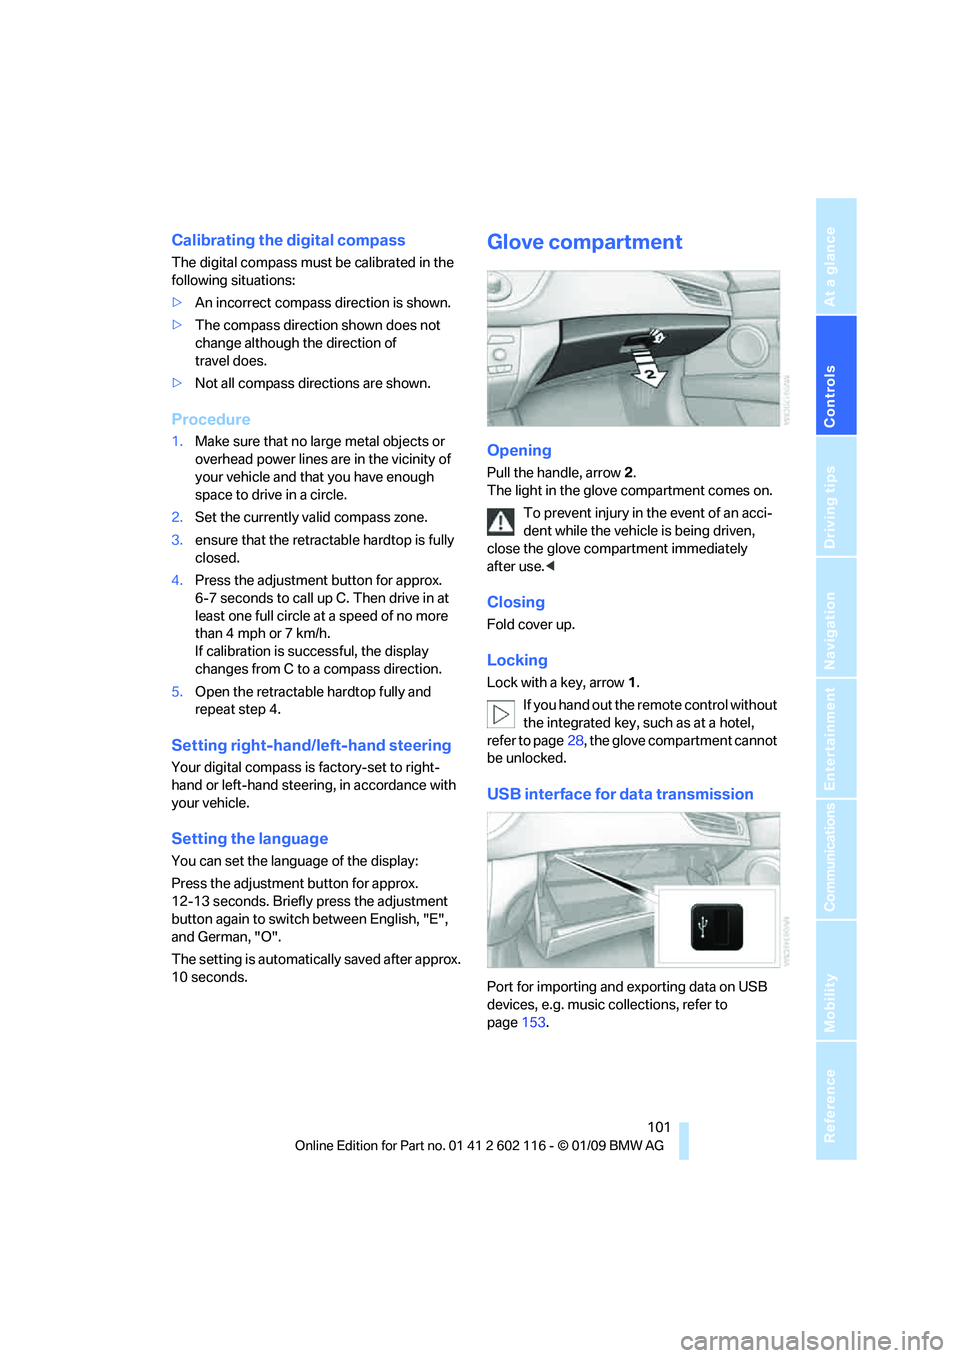
Pull the handle, arrow 2.
The light in the glove compartment comes on.
To prevent injury in the event of an acci-
dent while the vehicle is being driven,
close the glove compartment immediately
after use. <
Closing
Fold cover up.
Locking
Lock with a key, arrow 1.
If you hand out the remote control without
the integrated key, such as at a hotel,
refer to page 28, the glove compartment cannot
be unlocked.
USB interface for data transmission
Port for importing and exporting data on USB
devices, e.g. music collections, refer to
page 153.
Page 104 of 248
Practical interior accessories
102
Observe the following when connecting:
>
Do not use force when plugging the con-
nector into the USB audio interface.
> Do not connect devices such as fans or
lamps to the USB audio interface.
> Do not connect a USB hard disk.
> Do not use the USB in terface to recharge
external devices.
Center armrest
Storage compartment
The center armrest contains either two cup
holders, a compartment or the cover for the
snap-in adapter
*, depending on the equipment
version. For more details on this mobile phone
cradle, see page 174.
Locking the storage compartment*
When you lock the vehicle from the outside, the
storage compartment in the center armrest is
locked as well.
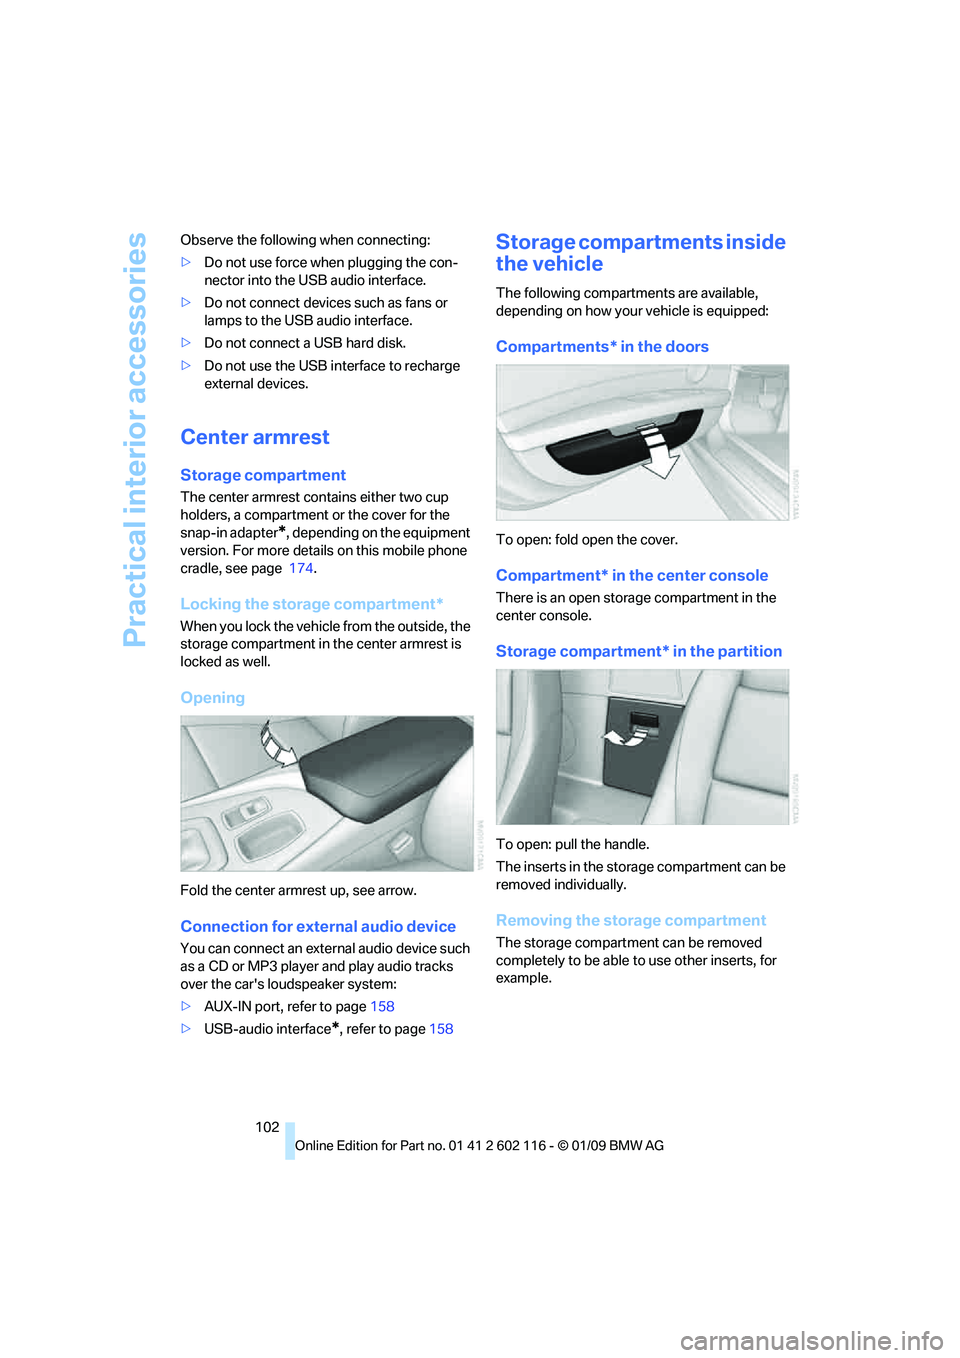
Opening
Fold the center armrest up, see arrow.
Connection for exte rnal audio device
You can connect an external audio device such
as a CD or MP3 player and play audio tracks
over the car's loudspeaker system:
>AUX-IN port, refer to page 158
> USB-audio interface
*, refer to page 158
Storage compartments inside
the vehicle
The following compartments are available,
depending on how your vehicle is equipped:
Compartments* in the doors
To open: fold open the cover.
Compartment* in the center console
There is an open storage compartment in the
center console.
Storage compartment* in the partition
To open: pull the handle.
The inserts in the storage compartment can be
removed individually.
Removing the storage compartment
The storage compartment can be removed
completely to be able to use other inserts, for
example.
Page 106 of 248
Practical interior accessories
104
Ashtray, front
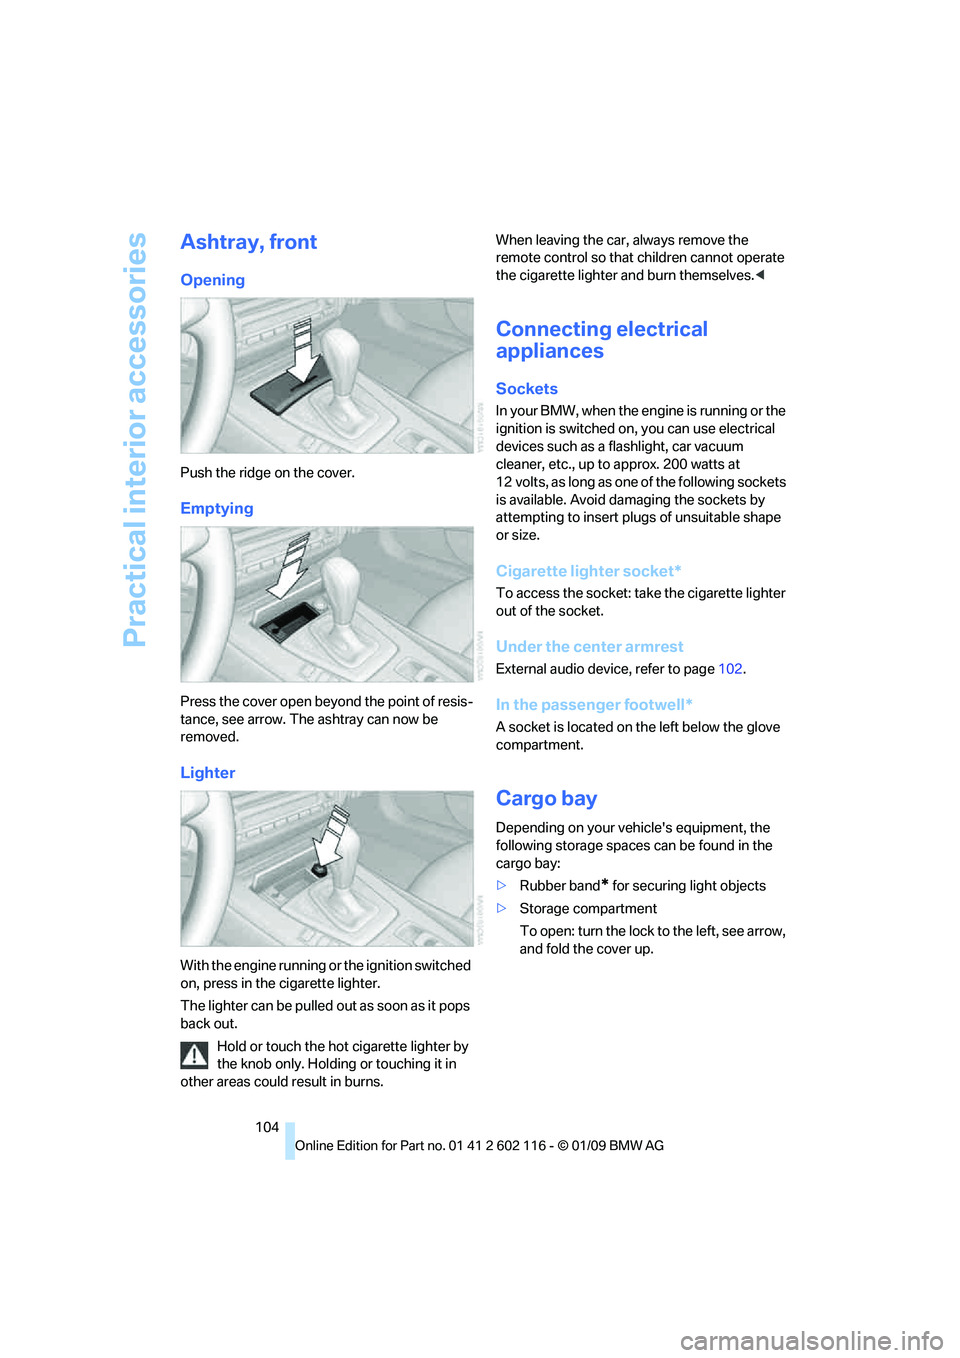
Opening
Push the ridge on the cover.
Emptying
Press the cover open beyond the point of resis-
tance, see arrow. The ashtray can now be
removed.
Lighter
With the engine running or the ignition switched
on, press in the cigarette lighter.
The lighter can be pulled out as soon as it pops
back out.
Hold or touch the hot cigarette lighter by
the knob only. Holding or touching it in
other areas could result in burns. When leaving the car,
always remove the
remote control so that children cannot operate
the cigarette lighter and burn themselves. <
Connecting electrical
appliances
Sockets
In your BMW, when the engine is running or the
ignition is switched on , you can use electrical
devices such as a flashlight, car vacuum
cleaner, etc., up to approx. 200 watts at
12 volts, as long as one of the following sockets
is available. Avoid damaging the sockets by
attempting to insert pl ugs of unsuitable shape
or size.
Cigarette lighter socket*
To access the socket: take the cigarette lighter
out of the socket.
Under the center armrest
External audio device, refer to page 102.
In the passenger footwell*
A socket is located on the left below the glove
compartment.
Cargo bay
Depending on your vehicle's equipment, the
following storage spaces can be found in the
cargo bay:
>Rubber band
* for securing light objects
> Storage compartment
To open: turn the lock to the left, see arrow,
and fold the cover up.