Page 57 of 294

Controls
55Reference
At a glance
Driving tips
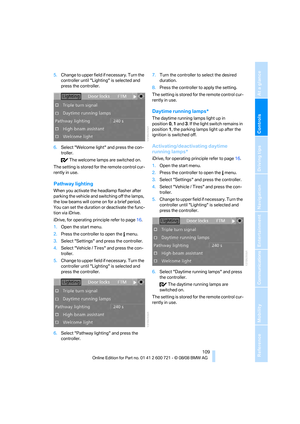
Communications
Navigation
Entertainment
Mobility
Objects reflected in the mirror are closer than
they appear. Do not estimate the distance of
following traffic based on what you see in the
mirrors, otherwise there is an increased acci-
dent risk.<
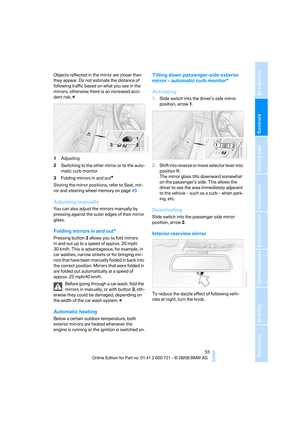
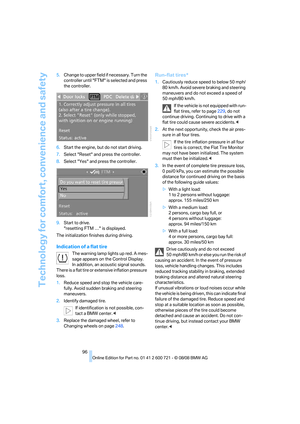
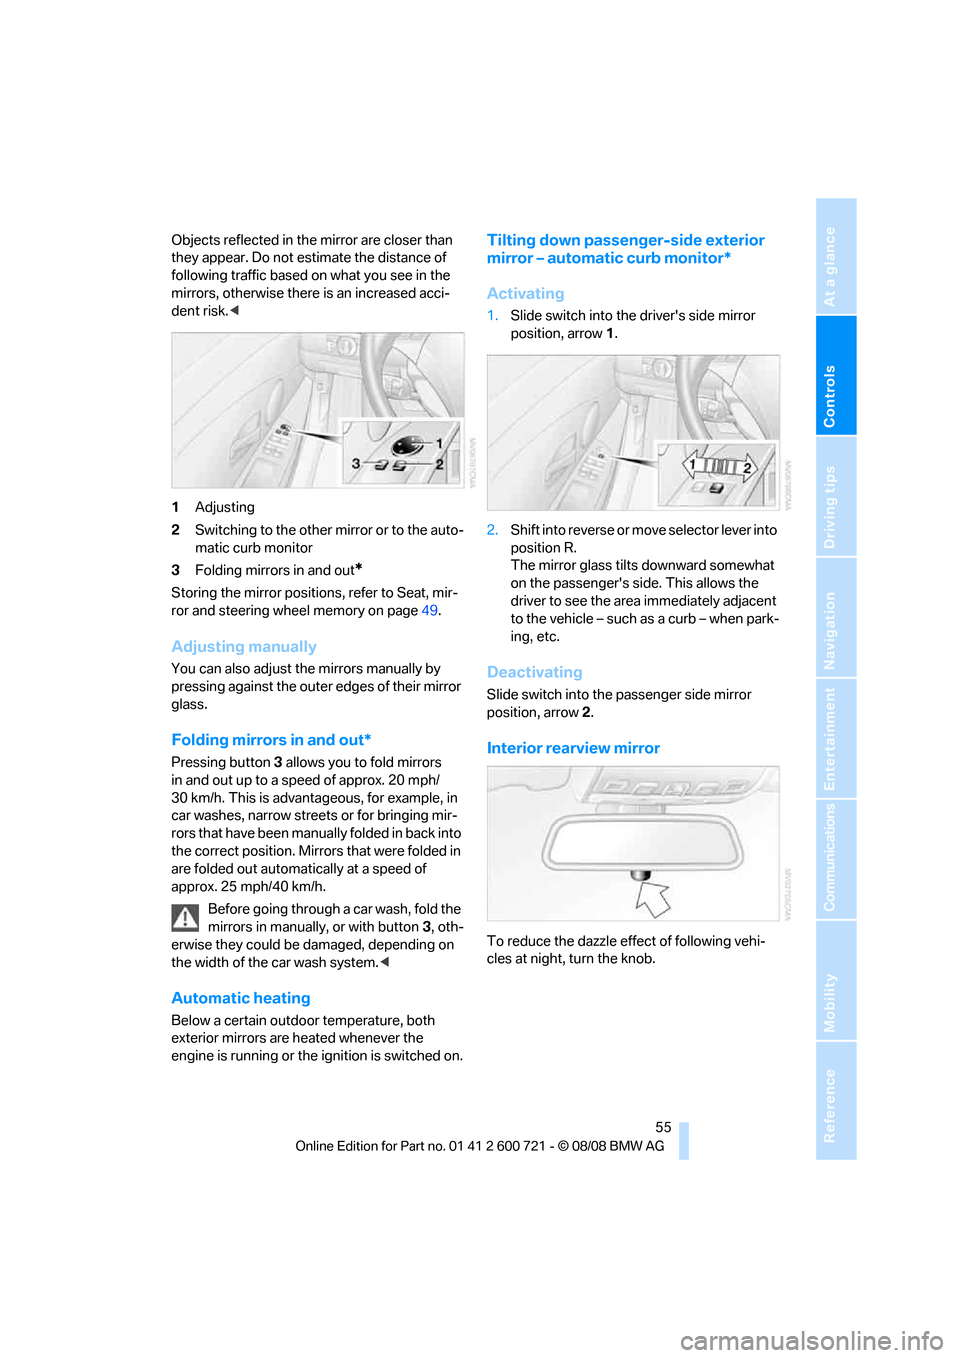
1Adjusting
2Switching to the other mirror or to the auto-
matic curb monitor
3Folding mirrors in and out
*
Storing the mirror positions, refer to Seat, mir-
ror and steering wheel memory on page49.
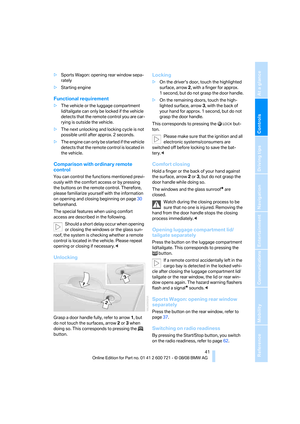
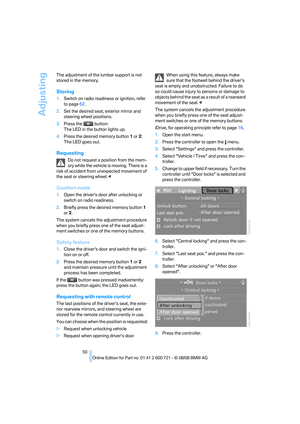
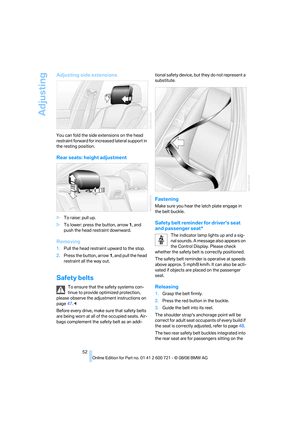
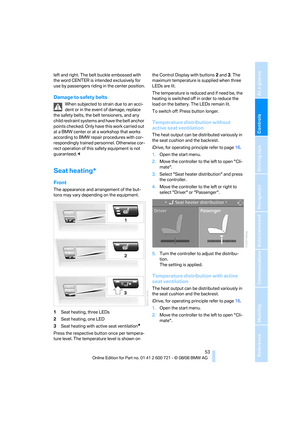
Adjusting manually
You can also adjust the mirrors manually by
pressing against the outer edges of their mirror
glass.
Folding mirrors in and out*
Pressing button3 allows you to fold mirrors
in and out up to a speed of approx. 20 mph/
30 km/h. This is advantageous, for example, in
car washes, narrow streets or for bringing mir-
r o r s t h a t ha v e b e e n m a nu ally folded in back into
the correct position. Mirrors that were folded in
are folded out automatically at a speed of
approx. 25 mph/40 km/h.
Before going through a car wash, fold the
mirrors in manually, or with button 3, oth-
erwise they could be damaged, depending on
the width of the car wash system.<
Automatic heating
Below a certain outdoor temperature, both
exterior mirrors are heated whenever the
engine is running or the ignition is switched on.
Tilting down passenger-side exterior
mirror – automatic curb monitor*
Activating
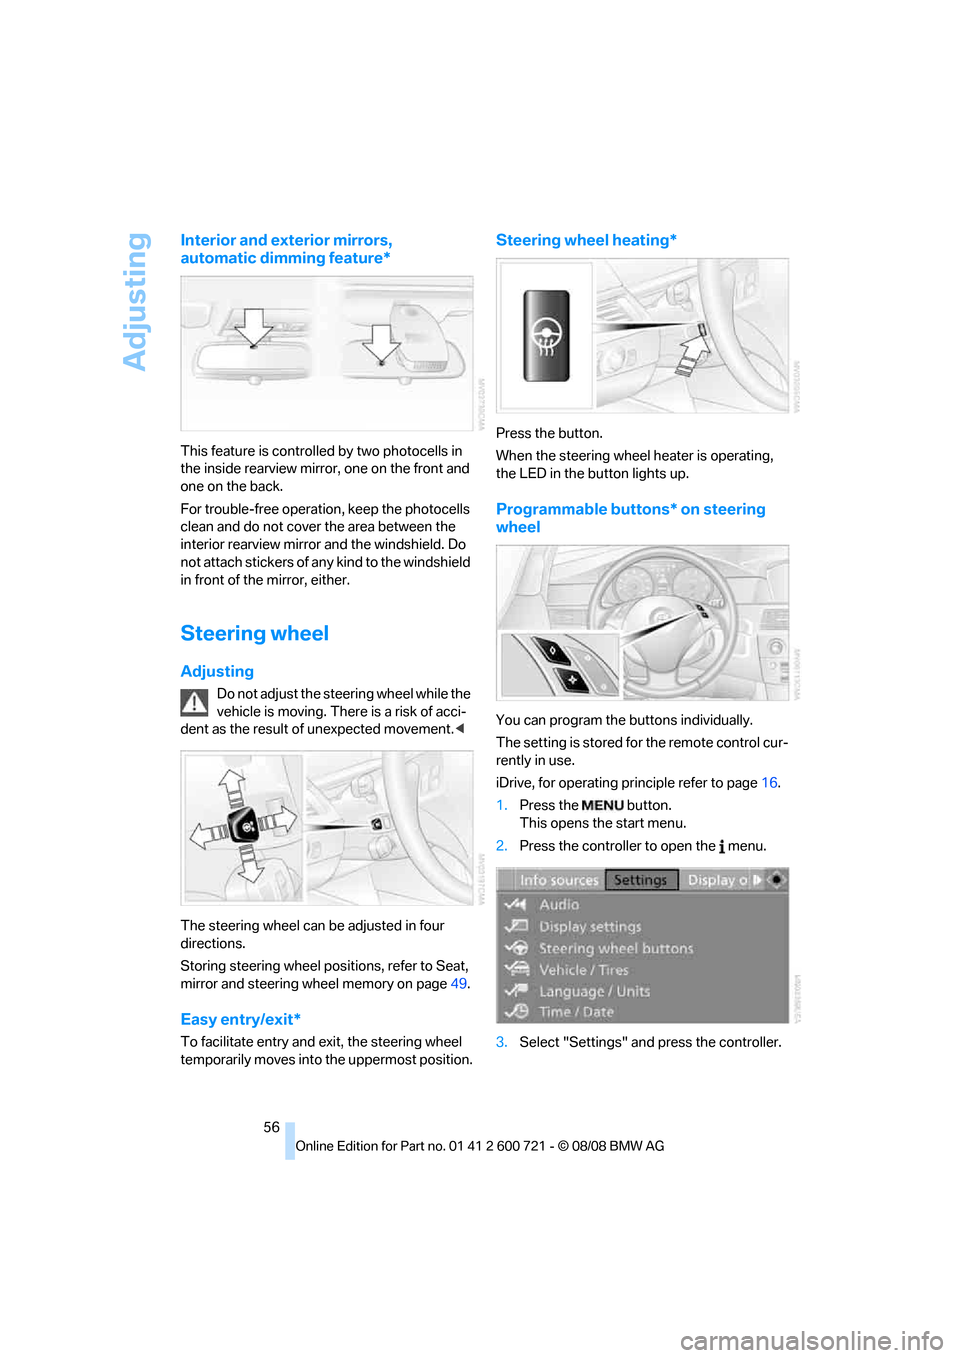
1.Slide switch into the driver's side mirror
position, arrow 1.
2.Shift into reverse or move selector lever into
position R.
The mirror glass tilts downward somewhat
on the passenger's side. This allows the
driver to see the area immediately adjacent
to the vehicle – such as a curb – when park-
ing, etc.
Deactivating
Slide switch into the passenger side mirror
position, arrow 2.
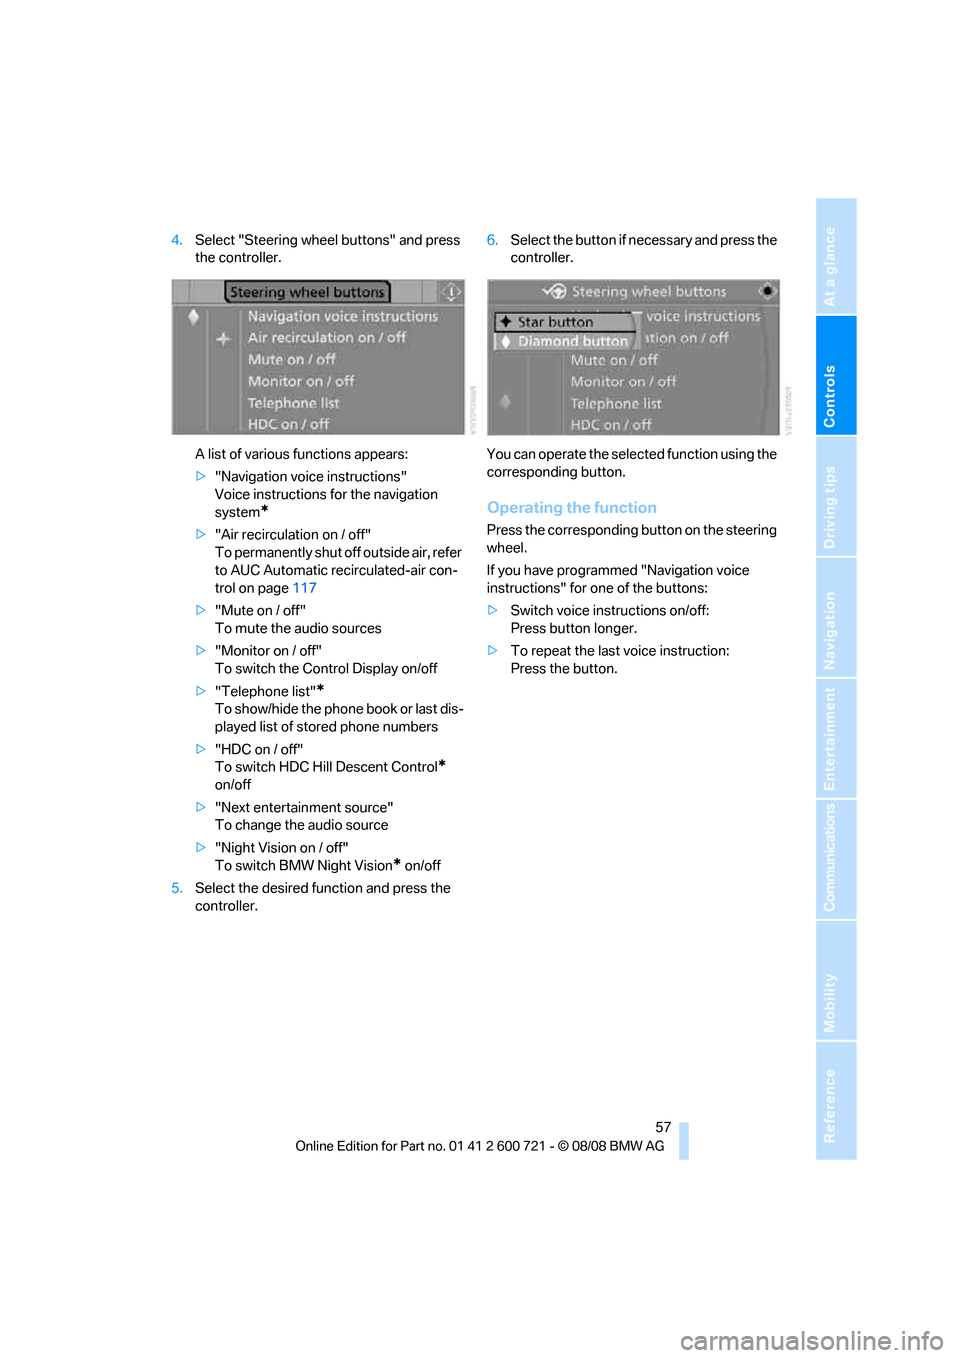
Interior rearview mirror
To reduce the dazzle effect of following vehi-
cles at night, turn the knob.
Page 58 of 294

Adjusting
56
Interior and exterior mirrors,
automatic dimming feature*
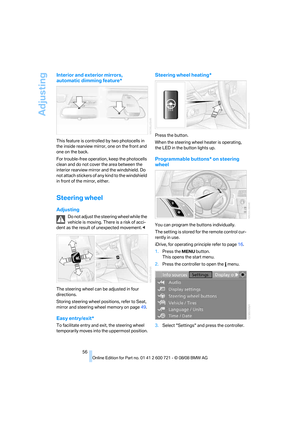
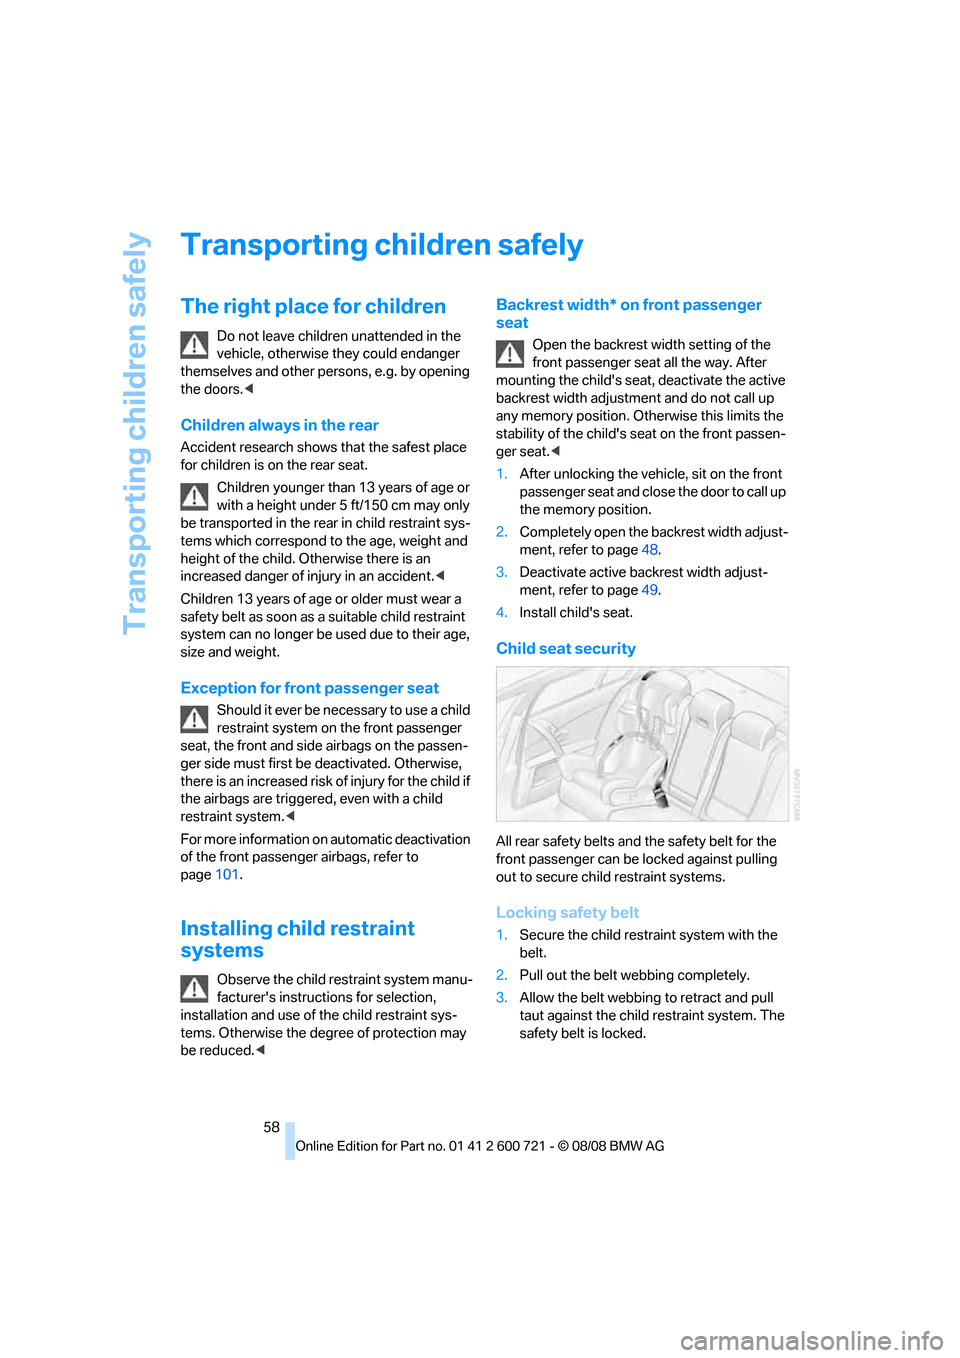
This feature is controlled by two photocells in
the inside rearview mirror, one on the front and
one on the back.
For trouble-free operation, keep the photocells
clean and do not cover the area between the
interior rearview mirror and the windshield. Do
not attach stickers of any kind to the windshield
in front of the mirror, either.
Steering wheel
Adjusting
Do not adjust the steering wheel while the
vehicle is moving. There is a risk of acci-
dent as the result of unexpected movement.<
The steering wheel can be adjusted in four
directions.
Storing steering wheel positions, refer to Seat,
mirror and steering wheel memory on page49.
Easy entry/exit*
To facilitate entry and exit, the steering wheel
temporarily moves into the uppermost position.
Steering wheel heating*
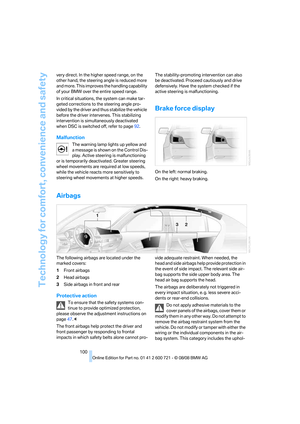
Press the button.
When the steering wheel heater is operating,
the LED in the button lights up.
Programmable buttons* on steering
wheel
You can program the buttons individually.
The setting is stored for the remote control cur-
rently in use.
iDrive, for operating principle refer to page16.
1.Press the button.
This opens the start menu.
2.Press the controller to open the menu.
3.Select "Settings" and press the controller.
Page 59 of 294

Controls
57Reference
At a glance
Driving tips
Communications
Navigation
Entertainment
Mobility
4.Select "Steering wheel buttons" and press
the controller.
A list of various functions appears:
>"Navigation voice instructions"
Voice instructions for the navigation
system
*
>"Air recirculation on / off"
To permanently shut off outside air, refer
to AUC Automatic recirculated-air con-
trol on page117
>"Mute on / off"
To mute the audio sources
>"Monitor on / off"
To switch the Control Display on/off
>"Telephone list"
*
To show/hide the phone book or last dis-
played list of stored phone numbers
>"HDC on / off"
To switch HDC Hill Descent Control
*
on/off
>"Next entertainment source"
To change the audio source
>"Night Vision on / off"
To switch BMW Night Vision
* on/off
5.Select the desired function and press the
controller.6.Select the button if necessary and press the
controller.
You can operate the selected function using the
corresponding button.
Operating the function
Press the corresponding button on the steering
wheel.
If you have programmed "Navigation voice
instructions" for one of the buttons:
>Switch voice instructions on/off:
Press button longer.
>To repeat the last voice instruction:
Press the button.
Page 60 of 294

Transporting children safely
58
Transporting children safely
The right place for children
Do not leave children unattended in the
vehicle, otherwise they could endanger
themselves and other persons, e.g. by opening
the doors.<
Children always in the rear
Accident research shows that the safest place
for children is on the rear seat.
Children younger than 13 years of age or
with a height under 5 ft/150 cm may only
be transported in the rear in child restraint sys-
tems which correspond to the age, weight and
height of the child. Otherwise there is an
increased danger of injury in an accident.<
Children 13 years of age or older must wear a
safety belt as soon as a suitable child restraint
system can no longer be used due to their age,
size and weight.
Exception for front passenger seat
Should it ever be necessary to use a child
restraint system on the front passenger
seat, the front and side airbags on the passen-
ger side must first be deactivated. Otherwise,
there is an increased risk of injury for the child if
the airbags are triggered, even with a child
restraint system.<
For more information on automatic deactivation
of the front passenger airbags, refer to
page101.
Installing child restraint
systems
Observe the child restraint system manu-
facturer's instructions for selection,
installation and use of the child restraint sys-
tems. Otherwise the degree of protection may
be reduced.<
Backrest width* on front passenger
seat
Open the backrest width setting of the
front passenger seat all the way. After
mounting the child's seat, deactivate the active
backrest width adjustment and do not call up
any memory position. Otherwise this limits the
stability of the child's seat on the front passen-
ger seat.<
1.After unlocking the vehicle, sit on the front
passenger seat and close the door to call up
the memory position.
2.Completely open the backrest width adjust-
ment, refer to page48.
3.Deactivate active backrest width adjust-
ment, refer to page49.
4.Install child's seat.
Child seat security
All rear safety belts and the safety belt for the
front passenger can be locked against pulling
out to secure child restraint systems.
Locking safety belt
1.Secure the child restraint system with the
belt.
2.Pull out the belt webbing completely.
3.Allow the belt webbing to retract and pull
taut against the child restraint system. The
safety belt is locked.
Page 61 of 294

Controls
59Reference
At a glance
Driving tips
Communications
Navigation
Entertainment
Mobility
Unlocking safety belt
1.Open the belt buckle.
2.Remove the child restraint system.
3.Allow the belt webbing to retract com-
pletely.
LATCH child restraint fixing system
LATCH: Lower Anchor and Tethers for CHil-
dren.
Follow the system manufacturer's
instructions on installation and use of
LATCH child restraint systems in order not to
impair their protective function.<
Before attaching the LATCH child's seat, pull
the belt away from the region of the child
restraint fixing system.
Make sure that the LATCH mounts have
properly clicked into place and that the
child restraint system is resting snugly against
the backrest. Otherwise, the protective action
may be impeded.<
Sedan: rear seats
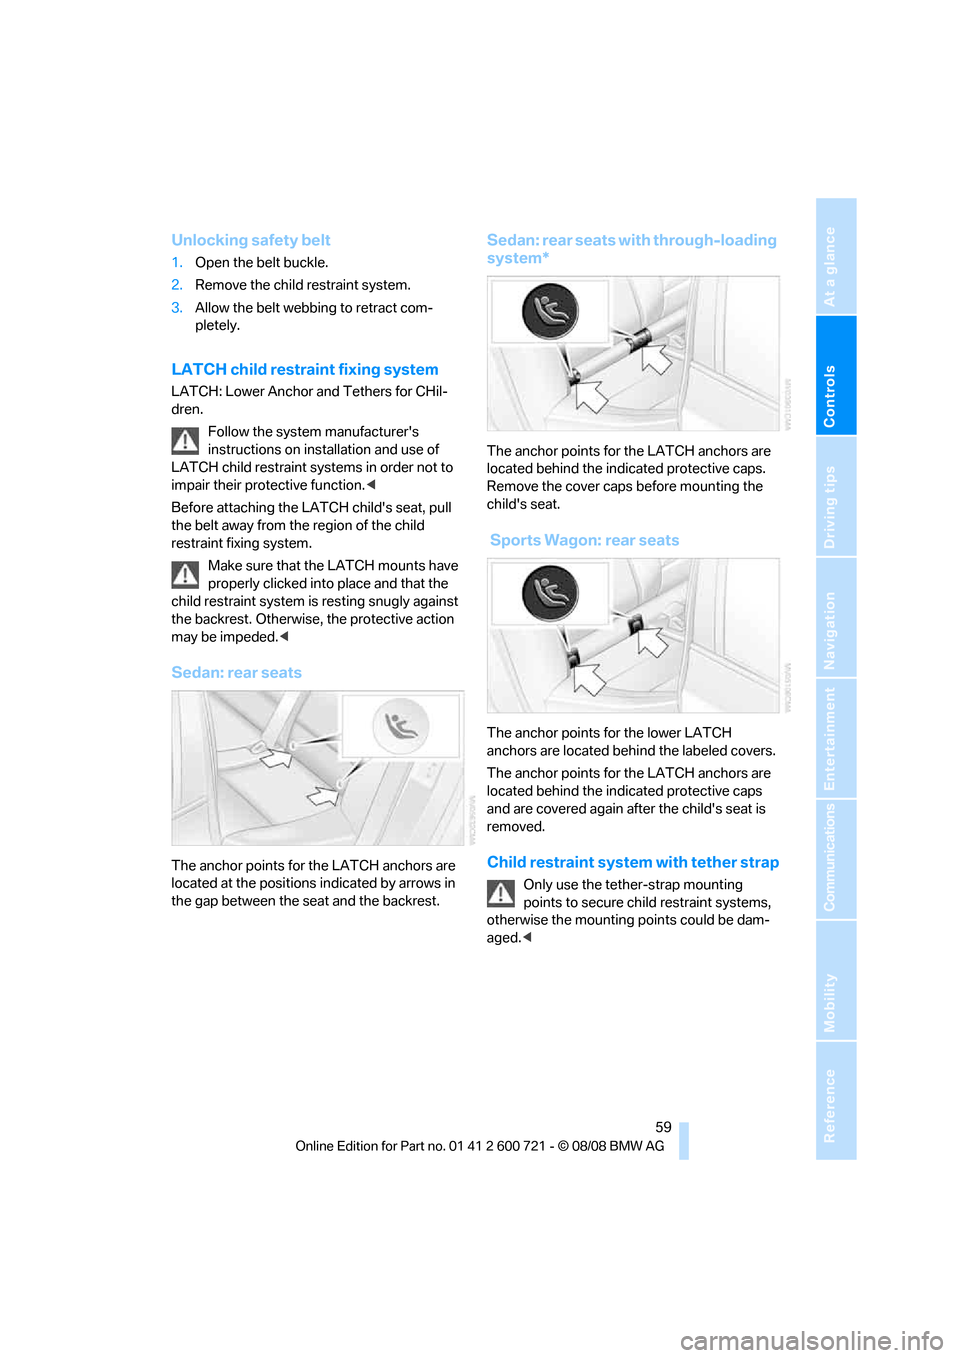
The anchor points for the LATCH anchors are
located at the positions indicated by arrows in
the gap between the seat and the backrest.
Sedan: rear seats with through-loading
system*
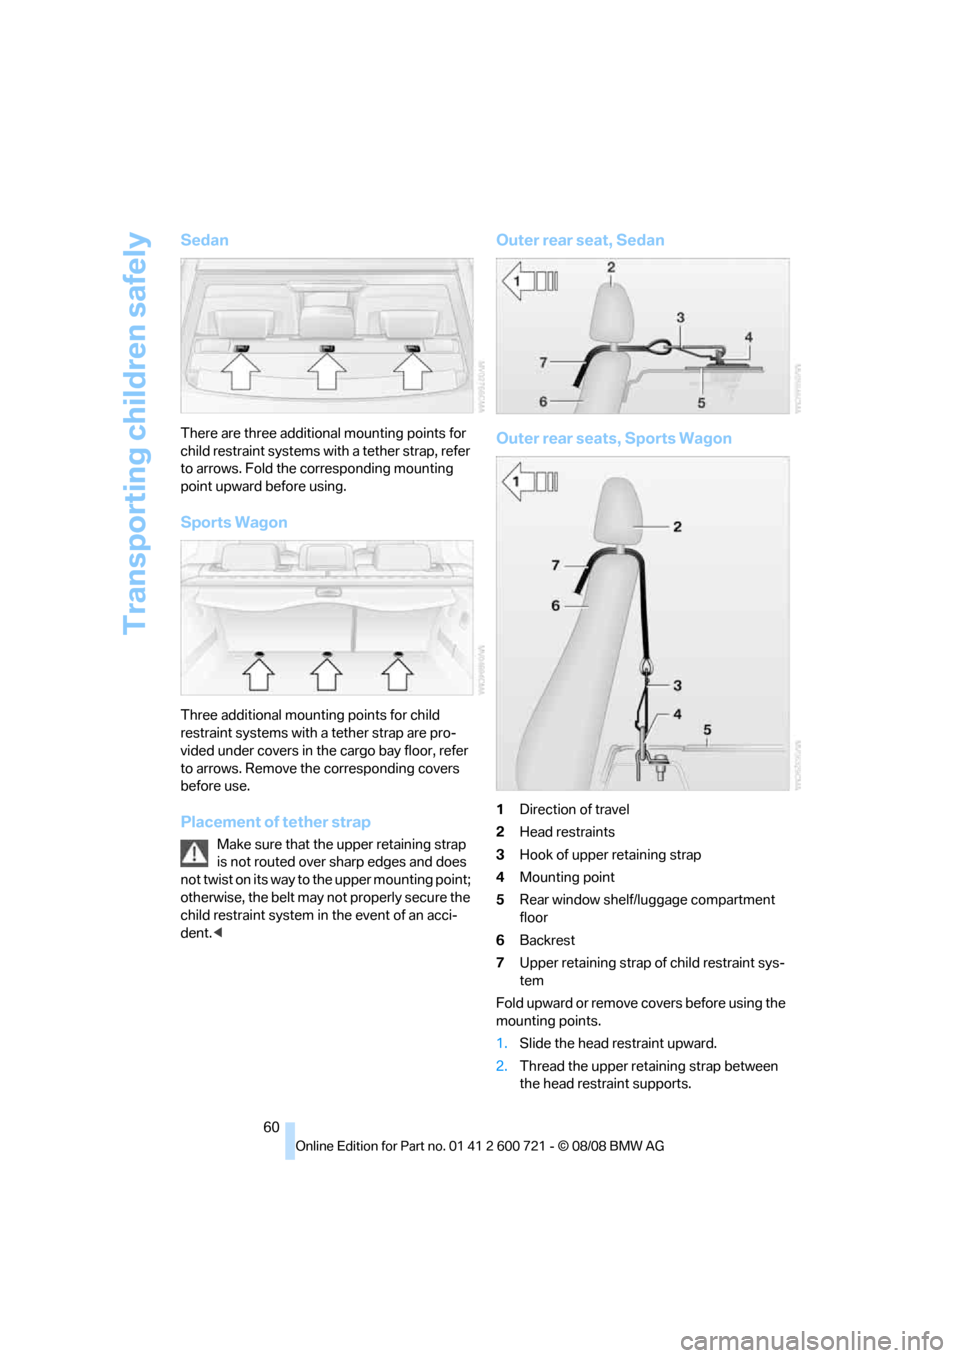
The anchor points for the LATCH anchors are
located behind the indicated protective caps.
Remove the cover caps before mounting the
child's seat.
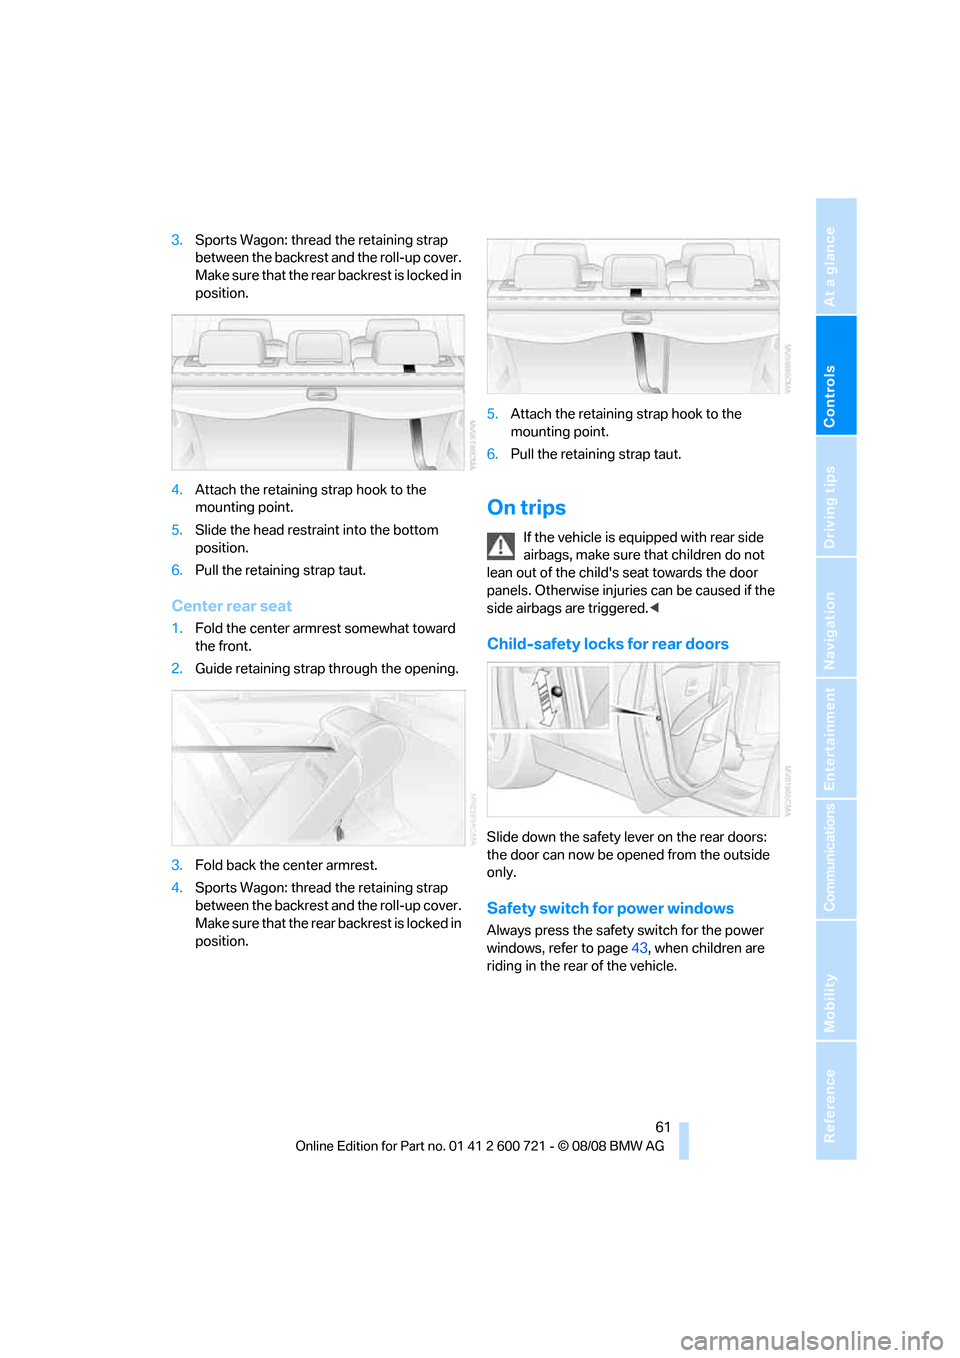
Sports Wagon: rear seats
The anchor points for the lower LATCH
anchors are located behind the labeled covers.
The anchor points for the LATCH anchors are
located behind the indicated protective caps
and are covered again after the child's seat is
removed.
Child restraint system with tether strap
Only use the tether-strap mounting
points to secure child restraint systems,
otherwise the mounting points could be dam-
aged.<
Page 62 of 294

Transporting children safely
60
Sedan
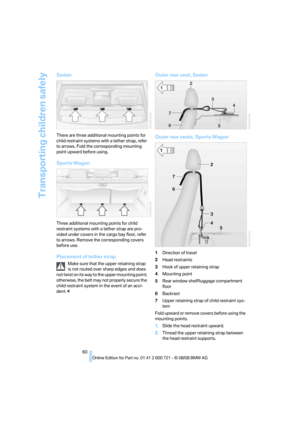
There are three additional mounting points for
child restraint systems with a tether strap, refer
to arrows. Fold the corresponding mounting
point upward before using.
Sports Wagon
Three additional mounting points for child
restraint systems with a tether strap are pro-
vided under covers in the cargo bay floor, refer
to arrows. Remove the corresponding covers
before use.
Placement of tether strap
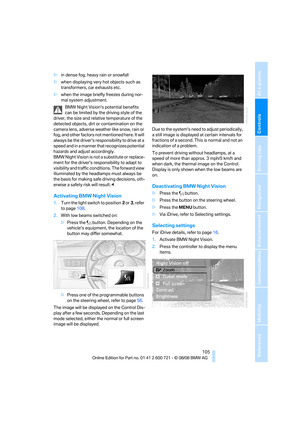
Make sure that the upper retaining strap
is not routed over sharp edges and does
not twist on its way to the upper mounting point;
otherwise, the belt may not properly secure the
child restraint system in the event of an acci-
dent.<
Outer rear seat, Sedan
Outer rear seats, Sports Wagon
1Direction of travel
2Head restraints
3Hook of upper retaining strap
4Mounting point
5Rear window shelf/luggage compartment
floor
6Backrest
7Upper retaining strap of child restraint sys-
tem
Fold upward or remove covers before using the
mounting points.
1.Slide the head restraint upward.
2.Thread the upper retaining strap between
the head restraint supports.
Page 63 of 294

Controls
61Reference
At a glance
Driving tips
Communications
Navigation
Entertainment
Mobility
3.Sports Wagon: thread the retaining strap
between the backrest and the roll-up cover.
Make sure that the rear backrest is locked in
position.
4.Attach the retaining strap hook to the
mounting point.
5.Slide the head restraint into the bottom
position.
6.Pull the retaining strap taut.
Center rear seat
1.Fold the center armrest somewhat toward
the front.
2.Guide retaining strap through the opening.
3.Fold back the center armrest.
4.Sports Wagon: thread the retaining strap
between the backrest and the roll-up cover.
Make sure that the rear backrest is locked in
position.5.Attach the retaining strap hook to the
mounting point.
6.Pull the retaining strap taut.
On trips
If the vehicle is equipped with rear side
airbags, make sure that children do not
lean out of the child's seat towards the door
panels. Otherwise injuries can be caused if the
side airbags are triggered.<
Child-safety locks for rear doors
Slide down the safety lever on the rear doors:
the door can now be opened from the outside
only.
Safety switch for power windows
Always press the safety switch for the power
windows, refer to page43, when children are
riding in the rear of the vehicle.
Page 64 of 294

Driving
62
Driving
Ignition lock
Inserting remote control into ignition
lock
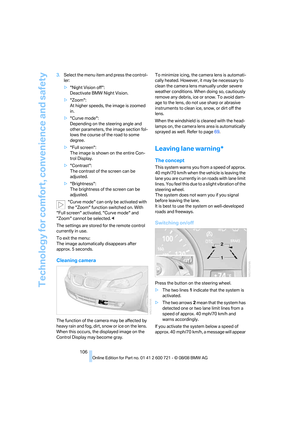
Insert the remote control all the way into the
ignition lock.
Radio readiness switches on.
Some electronic systems/consumers are ready
for operation.
Comfort access*
With comfort access, only insert the remote
control into the ignition lock in exceptional
cases, refer to page40.
Removing remote control from ignition
lock
Do not pull the remote control out of the
ignition lock using force, as otherwise
damage may result.<
Before removing the remote control, first press
it in as far as possible to release the locking
device.
The ignition is switched off if it was still
switched on.
Automatic and sport automatic
transmission
The remote control can only be removed when
transmission position P is selected: interlock.
Start/Stop button
Pressing the Start/Stop button switches the
radio readiness or the ignition on and off.
The engine is started when you press the
Start/Stop button and depress the clutch
if the car has manual transmission or the brake if
the car has automatic transmission.<
Radio readiness
Some electronic systems/consumers are ready
for operation. The time and outside tempera-
ture are displayed in the instrument cluster.
Radio readiness is switched off:
>when the remote control is removed from
the ignition lock
>with comfort access
* by touching the sur-
face on the door handle, refer to Locking on
page41
Ignition on
All electronic systems/consumers are ready for
operation. The odometer and the trip odometer
are displayed in the instrument cluster, refer to
page79.
Please switch off the ignition and the
electronic systems/consumers which are
not required when the engine is not running to
save the battery.<