Page 119 of 524

When you turn the knob, the multi-
inf ormation display changes to
vertical bars that show you the
current level.
You will hear a tone when you reach
the maximum or minimum
brightness. The brightness level
goes out about 5 seconds af ter you
stop adjusting.To reduce glare at night, the
instrument panel illumination dims
when you turn the light switch to
or position. Turning the
knob to the right until you hear a
tone will cancel the reduced
brightness.
The instrument panel will illuminate
with reduced brightness when you
unlock and open the driver’s door.
The brightness will increase slightly
when you insert the key in the
ignitionswitch,thengotonormal
brightness when you turn the
ignition switch to the ON (II)
position. If you do not insert the key in the
ignition switch af ter opening the
driver’s door, the illumination turns
of f about 30 seconds af ter you close
the door.
If you insert the key but do not turn
the ignition switch to the ON (II)
position, the illumination turns of f in
about 10 seconds.
Instrument Panel Brightness
116
BRIGHTNESS LEVEL
�\f���—�\f���—�\f���y���\f�����������y���
�)�!�
���\f�\f�y�\f�
���
�y
2009 TSX
Page 120 of 524

Push the button under the audio
controls to turn on the hazard
warning lights (f our-way f lashers).
This causes all f our outside turn
signal lights and both turn signal
indicators in the instrument panel to
f lash. Use the hazard warning lights
if you need to park in a dangerous
area near heavy traffic, or if your
vehicle is disabled.The rear window def ogger will clear
fog, frost, and thin ice from the
window. Push the def ogger button to
turn it on and of f . The indicator in
the button comes on to show the
def ogger is on. It also shuts of f when
you turn of f the ignition switch. You
have to turn the defogger on again
when you restart the vehicle.The def ogger will shut itself of f
withinabout10to30minutes
according to the outside temperature
(over 32°F, 0°C).
Make sure the rear window is clear
and you have good visibility bef ore
starting to drive.
The def ogger and antenna wires on
the inside of the rear window can be
accidentally damaged. When
cleaning the glass, always wipe side-
to-side.
Pushing this button also turns the
mirror heaters on or of f . For more
inf ormation, see page .
146
Rear Window Def ogger
Hazard Warning Button
Hazard Warning Button, Rear Window Def ogger
Inst rument s and Cont rols
117
HAZARD WARNING BUTTON
�\f���—�\f���—�\f���y���\f�����������y���
�)�!�
���\f�\f�y�\f�
�����y
2009 TSX
Page 121 of 524
Move the steering wheel so it
points toward your chest, not
toward your f ace. Make sure you
can see the instrument panel
gauges and indicators.
Make any steering wheel
adjustments before you start driving.
Pull the lever under the steering
column toward you until it stops.
Push the lever f orward f ully to
lock the steering wheel in position.
Make sure you have securely
locked the steering wheel in place
by trying to move it up, down, in,
and out.
Make sure the lever is positioned
securely at the bottom of the
steeringcolumnasshown.
1.
3.
4.
2.
Steering Wheel A djustments
118
To adjust
To lock
LEVER
Adjusting the steering wheel
position while driving may
cause you to lose control of the
vehicle and be seriously injured
inacrash.
Adjust the steering wheel only
when the vehicle is stopped.
�����—�����—�����y�������������
�y���
�)�!�
�������y���
�����y
2009 TSX
Page 125 of 524

�µ
�µ
�µ
The ignition switch has f our
positions: LOCK (0), ACCESSORY
(I), ON (II), and START (III). If you turn the ignition key to the
ACCESSORY (I) position with the
driver’s door closed, you will see a
‘‘ACCESSORY (I) POSITION’’
message on the multi-inf ormation
display to inf orm you of the key
position.
This is the normal key
position when driving. Several of the
indicators on the instrument panel
come on as a test when you turn the
ignition switch f rom the
ACCESSORY (I) to the ON (II)
position.
If the f ront wheels are turned, the
anti-thef t lock may make it dif f icult
to turn the key. Firmly turn the
steering wheel to the lef t or right as
you turn the key. You can insert or
remove the key only in this position.
To turn the key, push it in slightly. If
your vehicle has an automatic
transmission, the shif t lever must
also be in Park.
You can
operate the audio system and the
accessory power sockets in this
position.
If you leave the key in the ignition
switch in the ACCESSORY (I)
position and open the driver’s door,
you will see a ‘‘RETURN IGNITION
SWITCH TO LOCK (0) POSITION’’
message on the multi-inf ormation
display and hear a reminder beeper.
Ignition Switch
ON (II)
LOCK (0)
A CCESSORY (I)
122
�\f���—�\f���—�\f���y���\f�������
���y���
�)�!�
���\f�\f�y�\f�
�����y
2009 TSX
Page 156 of 524
To apply the parking brake, pull the
lever up f ully. To release it, pull up
slightly, push the button, and lower
the lever. The parking brake
indicator on the instrument panel
should go out when the parking
brake is f ully released (see page ).If you drive without releasing the
parking brake, a beeper will sound,
and you will also see a ‘‘RELEASE
PARKING BRAKE’’ message on the
multi-inf ormation display.
61
Parking Brake
Inst rument s and Cont rols
153
PARKING BRAKE LEVER
Driving the vehicle with the parking
brake applied can damage the rear
brakes and hubs. A beeper will sound if
the vehicle is put into gear with the
parking brake on.
�\f���—�\f���—�\f���y���\f�������\f���y���
�)�!�
���\f�\f�y�\f�
�����y
2009 TSX
Page 166 of 524
The courtesy light between the
spotlights comes on when you turn
the parking lights on. To adjust its
brightness, turn the instrument
panel brightness control knob on the
dashboard, with the ignition switch
in the ON (II) position (see page).
In addition to the courtesy light on
the ceiling, the driver’s f oot ambient
light comes on. 115
Interior Lights
Inst rument s and Cont rols
163
COURTESY LIGHT
�\f���—�\f���—�\f���y���\f����\f����
�y���
�)�!�
���\f�\f�y�\f�
�����y
2009 TSX
Page 185 of 524

�µ�µ
�µ
�µ �µ
�µ �µ
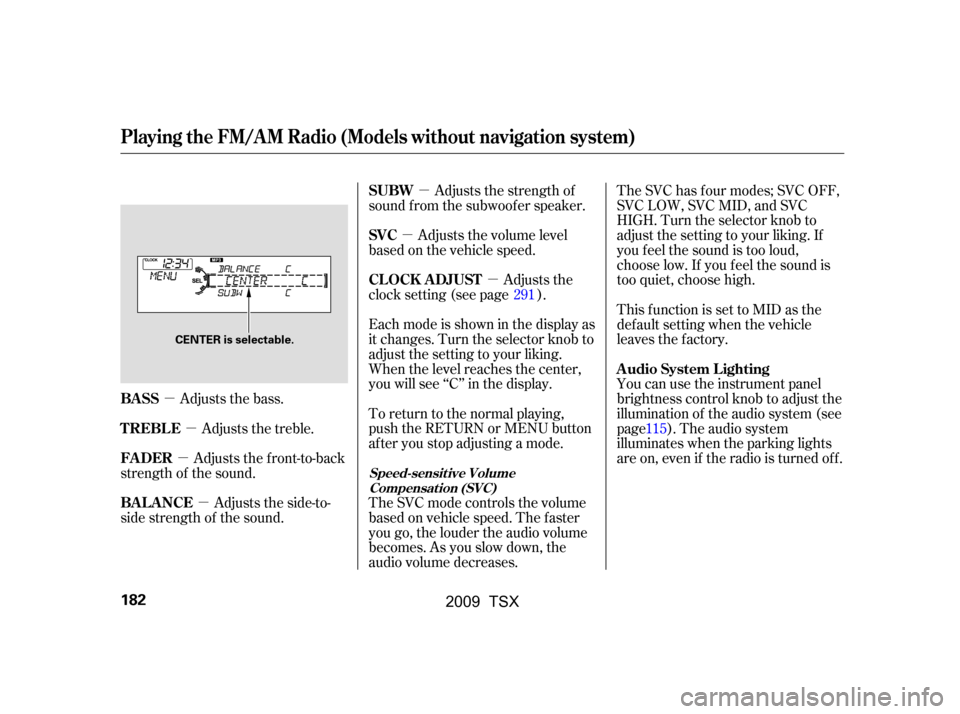
Adjusts the bass. The SVC has f our modes; SVC OFF,
SVC LOW, SVC MID, and SVC
HIGH. Turn the selector knob to
adjust the setting to your liking. If
you f eel the sound is too loud,
choose low. If you f eel the sound is
too quiet, choose high.
This f unction is set to MID as the
def ault setting when the vehicle
leaves the factory.
You can use the instrument panel
brightness control knob to adjust the
illumination of the audio system (see
page). The audio system
illuminates when the parking lights
are on, even if the radio is turned of f .
Adjusts the side-to-
side strength of the sound. Adjusts the front-to-back
strength of the sound. Adjusts the treble. Eachmodeisshowninthedisplayas
it changes. Turn the selector knob to
adjust the setting to your liking.
When the level reaches the center,
you will see ‘‘C’’ in the display.
To return to the normal playing,
push the RETURN or MENU button
af ter you stop adjusting a mode.
The SVC mode controls the volume
based on vehicle speed. The f aster
you go, the louder the audio volume
becomes. As you slow down, the
audio volume decreases.Adjusts the strength of
sound f rom the subwoof er speaker.
Adjusts the volume level
basedonthevehiclespeed.
Adjusts the
clock setting (see page ).
115
291
BASS A udio System L ighting
BAL ANCE
FADER
TREBLE SUBW
SVC
CL OCK ADJUST
Speed-sensit ive Volume
Compensat ion (SVC)
Playing the FM/A M Radio (Models without navigation system)
182
CENTER is selectable.
�\f���—�\f���—�\f���y���\f�����������y���
�)�!�
���\f�\f�y�\f�
�����y
2009 TSX
Page 296 of 524

The security system helps to protect
your vehicle and valuables f rom thef t.
The horn sounds and a combination
of headlights, parking lights, side
marker lights and taillights f lashes if
someone attempts to break into your
vehicle or remove the audio unit.
This alarm continues for two
minutes, then the system resets. To
reset an alarming system bef ore the
two minutes have elapsed, unlock
the driver’s door with the key or the
remote transmitter.
The security system automatically
sets 15 seconds after you lock the
doors, hood, and trunk. For the
system to activate, you must lock the
doors f rom the outside with the key,
driver’s lock tab, door lock master
switch, or remote transmitter. The
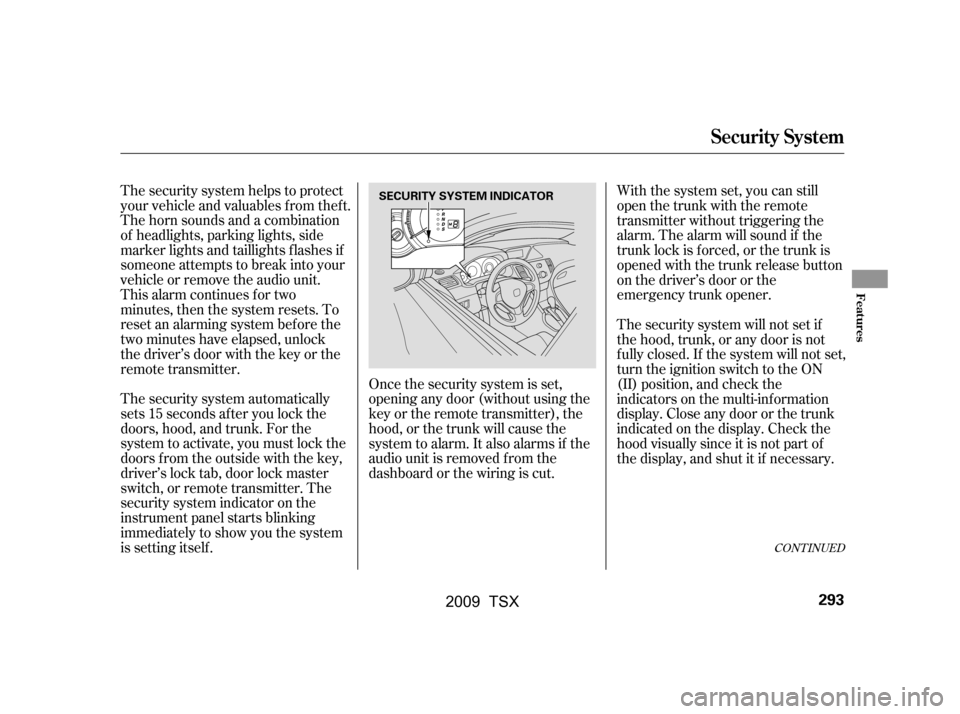
security system indicator on the
instrument panel starts blinking
immediately to show you the system
is setting itself .Once the security system is set,
opening any door (without using the
key or the remote transmitter), the
hood, or the trunk will cause the
system to alarm. It also alarms if the
audio unit is removed f rom the
dashboard or the wiring is cut.With the system set, you can still
open the trunk with the remote
transmitter without triggering the
alarm. The alarm will sound if the
trunk lock is f orced, or the trunk is
opened with the trunk release button
on the driver’s door or the
emergency trunk opener.
The security system will not set if
the hood, trunk, or any door is not
f ully closed. If the system will not set,
turn the ignition switch to the ON
(II) position, and check the
indicators on the multi-information
display. Close any door or the trunk
indicatedonthedisplay.Checkthe
hood visually since it is not part of
the display, and shut it if necessary.
CONT INUED
Security System
Features
293
SECURITY SYSTEM INDICATOR
�\f���—�\f���—�\f���y���
��
�
������y���
�)�!�
���\f�\f�y�\f�������y
2009 TSX