Page 183 of 524
�Û�Ý
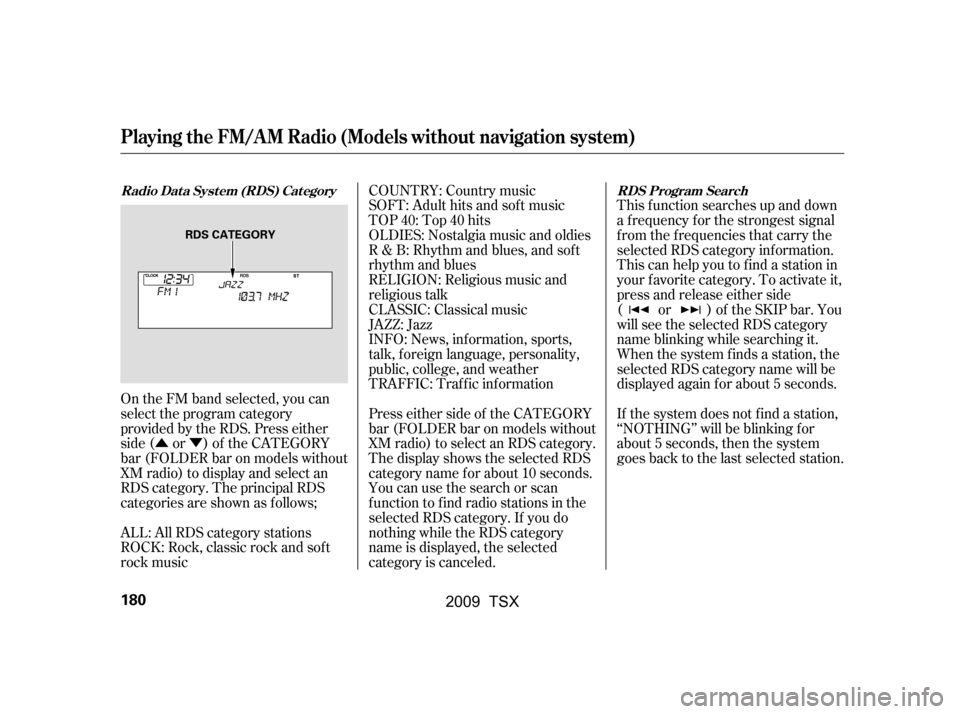
On the FM band selected, you can
select the program category
provided by the RDS. Press either
side ( or ) of the CATEGORY
bar (FOLDER bar on models without
XM radio) to display and select an
RDS category. The principal RDS
categories are shown as follows;
ALL: All RDS category stations
ROCK: Rock, classic rock and sof t
rock music SOFT: Adult hits and sof t music
TOP 40: Top 40 hits
OLDIES: Nostalgia music and oldies
R & B: Rhythm and blues, and sof t
rhythm and blues
RELIGION: Religious music and
religious talk
CLASSIC: Classical music
JAZZ: Jazz
INFO: News, inf ormation, sports,
talk, f oreign language, personality,
public, college, and weather
TRAFFIC: Traffic information
Press either side of the CATEGORY
bar (FOLDER bar on models without
XM radio) to select an RDS category.
The display shows the selected RDS
category name f or about 10 seconds.
You can use the search or scan
function to find radio stations in the
selected RDS category. If you do
nothing while the RDS category
name is displayed, the selected
category is canceled.
COUNTRY: Country music
This f unction searches up and down
a f requency f or the strongest signal
f rom the f requencies that carry the
selected RDS category inf ormation.
This can help you to find a station in
your favorite category. To activate it,
press and release either side
( or ) of the SKIP bar. You
will see the selected RDS category
name blinking while searching it.
When the system finds a station, the
selected RDS category name will be
displayed again for about 5 seconds.
If the system does not find a station,
‘‘NOTHING’’ will be blinking f or
about 5 seconds, then the system
goes back to the last selected station.
Radio Data System (RDS) Category RDS Program Search
Playing the FM/A M Radio (Models without navigation system)
180
RDS CATEGORY
�\f���—�\f���—�\f���y���\f�����������y���
�)�!�
���\f�\f�y�\f�
�����y
2009 TSX
Page 184 of 524
The scan f unction samples all
stations with strong signals on the
selected RDS category. To activate it,
press and release the SCAN button.
You will see SCAN in the display.
The system will scan f or a station
with a strong signal in the selected
RDS category. You will also see the
selected RDS category name
blinking while searching it. When it
f inds one, it will stop and play that
station f or about 10 seconds.
If you do nothing, the system will
scan f or the next strong station and
play it f or 10 seconds. When it plays
a station that you want to listen to,
press the SCAN button again.
If the system does not find a station,
‘‘NOTHING’’ will be blinking f or
about 5 seconds, then the system
goes back to the last selected station.You can use the RDS program
search or scan f unction even if the
PS name display f unction is of f . In
this case, the display shows a
f requency in place of a PS name.
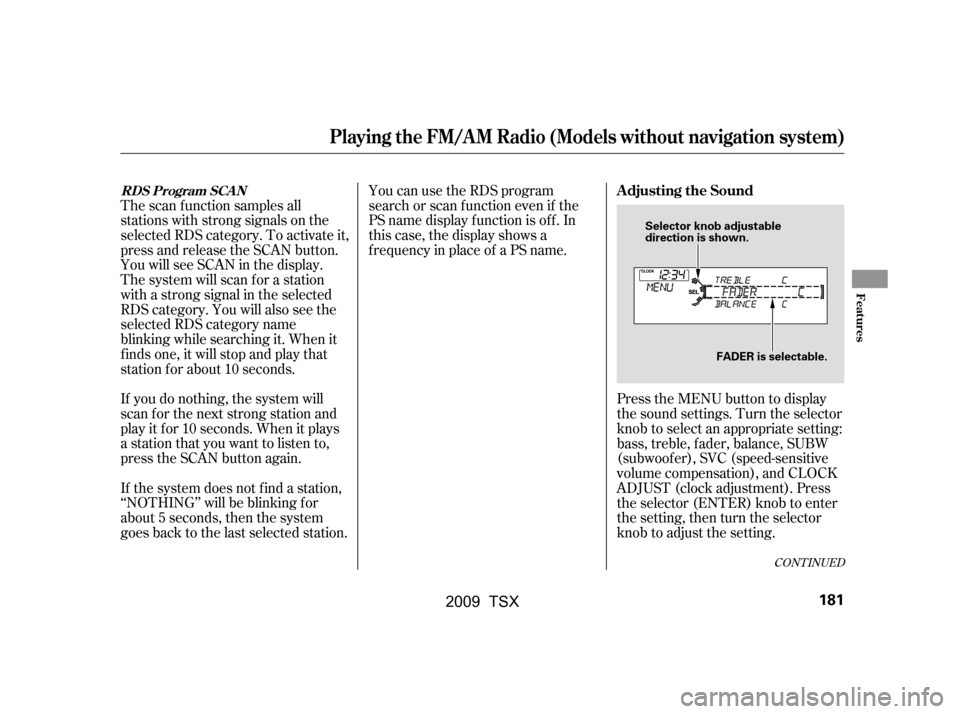
Press the MENU button to display
the sound settings. Turn the selector
knob to select an appropriate setting:
bass, treble, fader, balance, SUBW
(subwoof er), SVC (speed-sensitive
volume compensation), and CLOCK
ADJUST (clock adjustment). Press
the selector (ENTER) knob to enter
the setting, then turn the selector
knob to adjust the setting.
CONT INUED
RDS Program SCANAdjusting the Sound
Playing the FM/A M Radio (Models without navigation system)
Features
181
Selector knob adjustable
direction is shown.FADER is selectable.
�\f���—�\f���—�\f���y���\f�����������y���
�)�!�
���\f�\f�y�\f�
�����y
2009 TSX
Page 185 of 524
�µ�µ
�µ
�µ �µ
�µ �µ
Adjusts the bass. The SVC has f our modes; SVC OFF,
SVC LOW, SVC MID, and SVC
HIGH. Turn the selector knob to
adjust the setting to your liking. If
you f eel the sound is too loud,
choose low. If you f eel the sound is
too quiet, choose high.
This f unction is set to MID as the
def ault setting when the vehicle
leaves the factory.
You can use the instrument panel
brightness control knob to adjust the
illumination of the audio system (see
page). The audio system
illuminates when the parking lights
are on, even if the radio is turned of f .
Adjusts the side-to-
side strength of the sound. Adjusts the front-to-back
strength of the sound. Adjusts the treble. Eachmodeisshowninthedisplayas
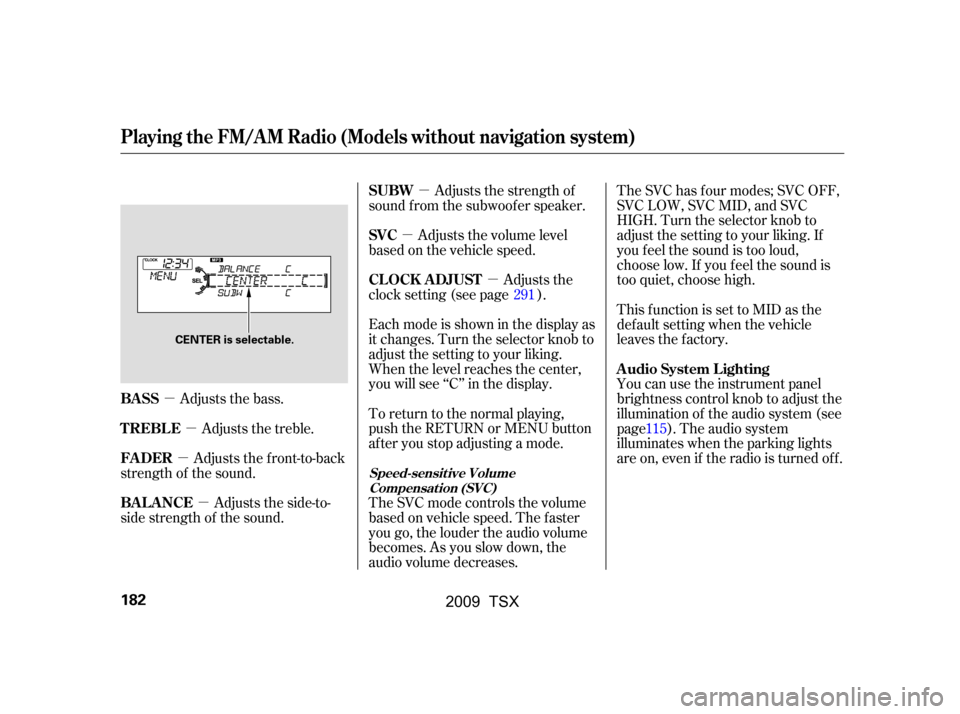
it changes. Turn the selector knob to
adjust the setting to your liking.
When the level reaches the center,
you will see ‘‘C’’ in the display.
To return to the normal playing,
push the RETURN or MENU button
af ter you stop adjusting a mode.
The SVC mode controls the volume
based on vehicle speed. The f aster
you go, the louder the audio volume
becomes. As you slow down, the
audio volume decreases.Adjusts the strength of
sound f rom the subwoof er speaker.
Adjusts the volume level
basedonthevehiclespeed.
Adjusts the
clock setting (see page ).
115
291
BASS A udio System L ighting
BAL ANCE
FADER
TREBLE SUBW
SVC
CL OCK ADJUST
Speed-sensit ive Volume
Compensat ion (SVC)
Playing the FM/A M Radio (Models without navigation system)
182
CENTER is selectable.
�\f���—�\f���—�\f���y���\f�����������y���
�)�!�
���\f�\f�y�\f�
�����y
2009 TSX
Page 188 of 524
�µ�Ý�Û�µ
�µ
The SCAN f unction gives
you a sampling of all channels while
in the channel mode. In the category
mode, only the stations within that
category are scanned. To activate
scan, press the SCAN button. The
system plays each channel in
numerical order f or a f ew seconds,
then selects the next channel. When
you hear a channel you want to
continue listening to, press the
button again. Press
either side of the CATEGORY bar to
select another category.
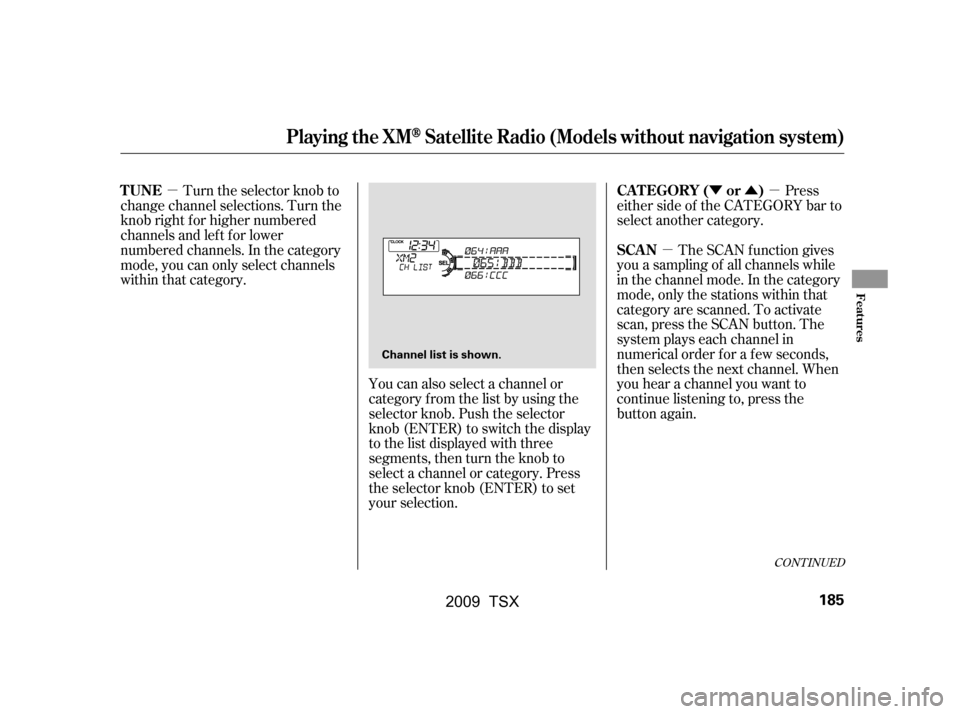
You can also select a channel or
category from the list by using the
selector knob. Push the selector
knob (ENTER) to switch the display
to the list displayed with three
segments, then turn the knob to
select a channel or category. Press
the selector knob (ENTER) to set
your selection.
Turn the selector knob to
change channel selections. Turn the
knob right f or higher numbered
channels and lef t f or lower
numbered channels. In the category
mode, you can only select channels
within that category.
CONT INUED
SCAN
CATEGORY ( or )
TUNE
Playing the XMSatellite Radio (Models without navigation system)
Features
185
Channel list is shown.
�\f���—�\f���—�\f���y���\f�������
���y���
�)�!�
���\f�\f�y�\f�
���\f�y
2009 TSX
Page 194 of 524
NOTE:
If a f ile on an MP3 or WMA disc is
protected by digital rights
management (DRM), the audio unit
displays UNSUPPORTED, and then
skips to the next f ile.Insert a disc about half way into the
disc slot. The drive will pull the disc
intherestof thewaytoplayit.You
operate the disc player with the
same controls used f or the radio.
The number of the current track is
showninthedisplay.Whenplayinga
disc in MP3 or WMA, the numbers
of the current f older and f ile are
shown. The system will continuously
play a disc until you change modes.
You cannot load and play 3-inch
(8-cm) discs in this unit.
For inf ormation on how to handle
and protect compact discs, see page
. Each time you press the TITLE
button, the display shows you the
text data on a disc, if the disc was
recorded with text data.
You can see the album, artist, and
track name in the display. If a disc is
recorded in MP3 or WMA, you can
see the f older and f ile name, and the
artist, album, and track tag.
When you press and release the
TITLE button while a disc without
text data is playing, you will see ‘‘NO
INFO’’ on the display.
With the f older name, you will see
the FOLDER indicator in the display.
The TRACK indicator is shown with
the file or track name.
256
CONT INUED
To Load a Disc Text Data Display Function
Playing a Disc (Models without navigation system)
Features
191
�\f���—�\f���—�\f���y���\f�����������y���
�)�!�
���\f�\f�y�\f�
�����y
2009 TSX
Page 199 of 524
�µ�µ
The SCAN f unction
samples all the tracks on the disc in
the order they are recorded on the
disc (all f iles in the selected f older in
MP3 or WMA mode). To activate the
scan feature, press and release the
SCAN button. You will see SCAN in
the display. You will get a 10 second
sampling of each track/f ile in the
disc/f older. Press and hold the
SCAN button to get out of scan
mode and play the last track sampled. This f eature, when
activated, samples the first file in
each f older on the disc in the order
they are recorded. To activate the
f older scan f eature, press and
release the SCAN button repeatedly.
You will see F-SCAN in the display.
The system will then play the first
f ile in the main f olders f or about 10
seconds. If you do nothing, the
system will then play the f ollowing
f irst f iles f or 10 seconds each. When
it plays a file that you want to
continue listening to, press and hold
the SCAN button.
You can also select the scan feature
from the menu items with the
selector knob (see page ).
You can also select the folder scan
f eature f rom the menu items with
the selector knob (see page ).Pressing either side of the skip bar,
or selecting a dif f erent disc (using
the preset buttons) or f older (using
the FOLDER or CATEGORY bar)
turns off the SCAN or F-SCAN
feature.
Each time you press and release the
SCAN button, the mode changes
between scan and normal playing.
Each time you press and release the
SCAN button, the mode changes
f rom f ile scan to f older scan, then to
normal playing.
194
194In MP3 or WMA mode
In MP3 or WMA modeSCANF-SCAN
Playing a Disc (Models without navigation system)
196
�\f���—�\f���—�\f���y���\f�������
�
�y���
�)�!�
���\f�\f�y�\f���\f�
�y
2009 TSX
Page 200 of 524

Press the eject button ( ) to
remove the disc. If you eject the disc,
but do not remove it f rom the slot,
the system will automatically reload
the disc af ter 10 seconds and begin
playing.
You can also eject the disc when the
ignition switch is of f .
To play the radio when a disc is
playing,presstheAM,FMorXM(if
equipped) button. Press the AUX
button to switch to an appropriate
audio unit (if it is connected to the
auxiliary input jack or the USB
adapter cable). Press the CD button
again to switch back to the disc
player.For inf ormation on how to handle
and protect compact discs, see page
.
If you turn the system of f while a
disc is playing, either with the VOL/
knob or by turning of f the
ignition switch, the disc will stay in
the drive. When you turn the system
back on, the disc will begin playing
where it lef t of f . 256
To Stop Playing a Disc Protecting Discs
Playing a Disc (Models without navigation system)
Features
197
�\f���—�\f���—�\f���y���\f�������
���y���
�)�!�
���\f�\f�y�\f���\f���y
2009 TSX
Page 204 of 524
Do not connect your iPod using a
HUB.
DonotkeeptheiPodinthe
vehicle. Direct sunlight and high
heat will damage it.
Do not use an extension cable
between the USB adapter cable
equipped with your vehicle and
your dock connector.In AAC f ormat, DRM (digital rights
management) f iles cannot be played.
If the system finds a DRM file, the
audio unit displays UNPLAYABLE,
andthenskipstothenextfile.
Unclip the USB connector by
pivoting it, and pull out the USB
adapter cable in the console
compartment. Install the dock connector to the
USB adapter cable securely.
Connect your dock connector to
the iPod correctly and securely.
We recommend backing up your
data bef ore playing it.
1. 2.
3.
CONT INUED
Playing an iPod(Models without navigation system)
Connect ing an iPodFeatures
201
NOTE:DOCK CONNECTOR
USB ADAPTER CABLE
USB ADAPTER CABLE
USB CONNECTOR
�\f���—�\f���—�\f���y���\f�����������y���
�)�!�
���\f�\f�y�\f���\f���y
2009 TSX