Page 203 of 275
Volvo does not recommend the use of oil additives.
Always add oil of the same type and viscosity as already used.
Never fill oil above the MAX mark. This could cause an increase in oil consumption.
Checking and adding oil
NOTE
Before checking the oil:
The car should be parked on a level surface when the oil is checked.
If the engine is warm , wait for at least 10-15 minutes after the engine has been switched off before checking the
oil.
Checking the oil
1. Pull out the dipstick and wipe it with a lint-free rag.
2. Reinsert the dipstick, pull it out, and check the oil level. The level must be between the MIN and MAX marks.
3. Add oil if necessary. If the level is close to the MIN mark, add approximately 0.5 US quarts (0.5 liters) of oil.
4. Recheck the level and add more oil if necessary until the level is near the MAX mark.
213 06 Maintenance and specifications
Engine oil
WARNING
Page 204 of 275

Do not allow oil to spill onto or come into contact with hot exhaust pipe surfaces.
NOTE
Synthetic oil is not used when the oil is changed at the normal maintenance intervals except at owner request and at
additional charge. Please consult your Volvo retailer.
214 06 Maintenance and specifications
Fluids
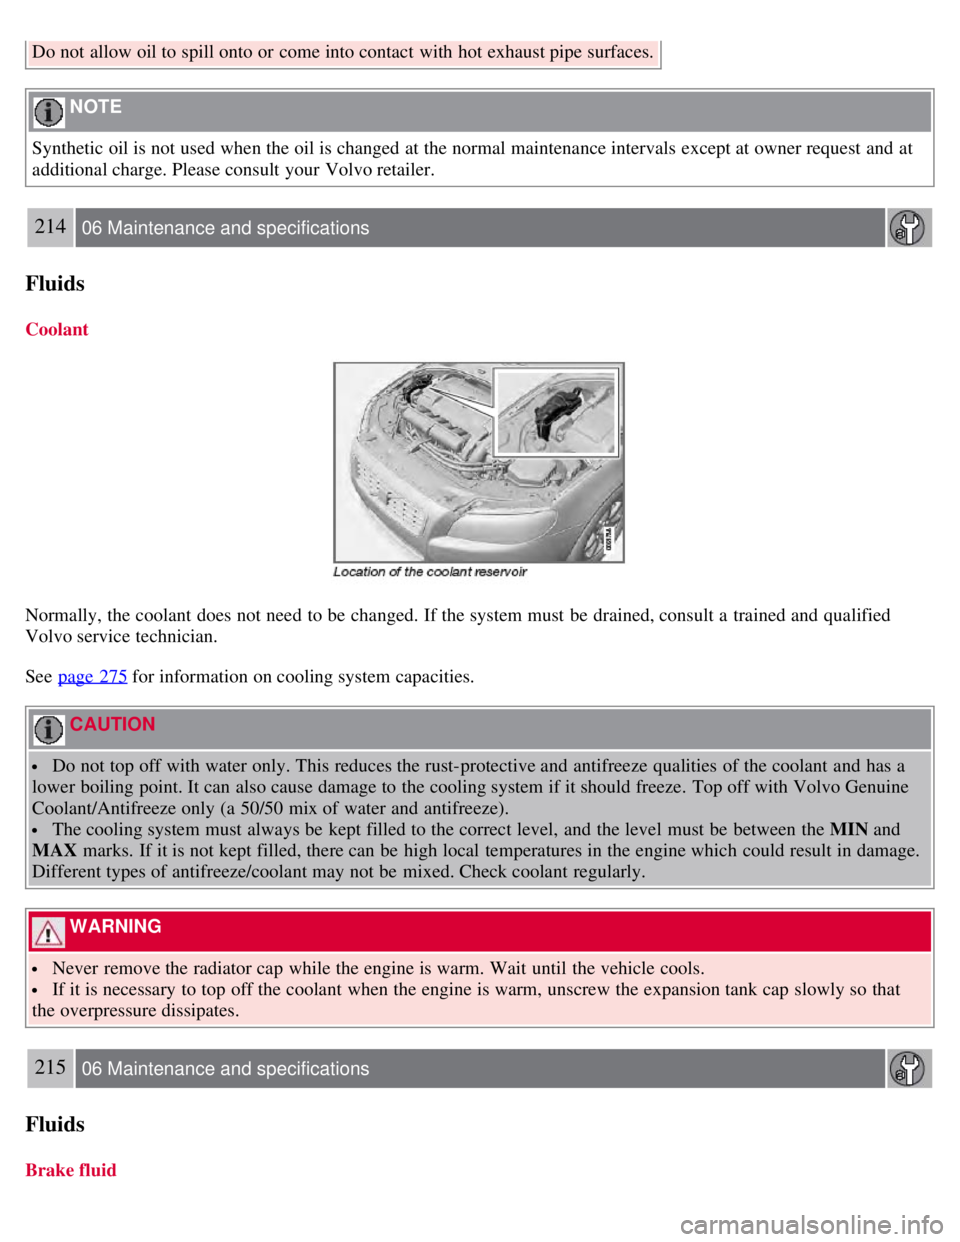
Coolant
Normally, the coolant does not need to be changed. If the system must be drained, consult a trained and qualified
Volvo service technician.
See page 275
for information on cooling system capacities.
CAUTION
Do not top off with water only. This reduces the rust-protective and antifreeze qualities of the coolant and has a
lower boiling point. It can also cause damage to the cooling system if it should freeze. Top off with Volvo Genuine
Coolant/Antifreeze only (a 50/50 mix of water and antifreeze).
The cooling system must always be kept filled to the correct level, and the level must be between the MIN and
MAX marks. If it is not kept filled, there can be high local temperatures in the engine which could result in damage.
Different types of antifreeze/coolant may not be mixed. Check coolant regularly.
WARNING
Never remove the radiator cap while the engine is warm. Wait until the vehicle cools.
If it is necessary to top off the coolant when the engine is warm, unscrew the expansion tank cap slowly so that
the overpressure dissipates.
215 06 Maintenance and specifications
Fluids
Brake fluid
Page 205 of 275

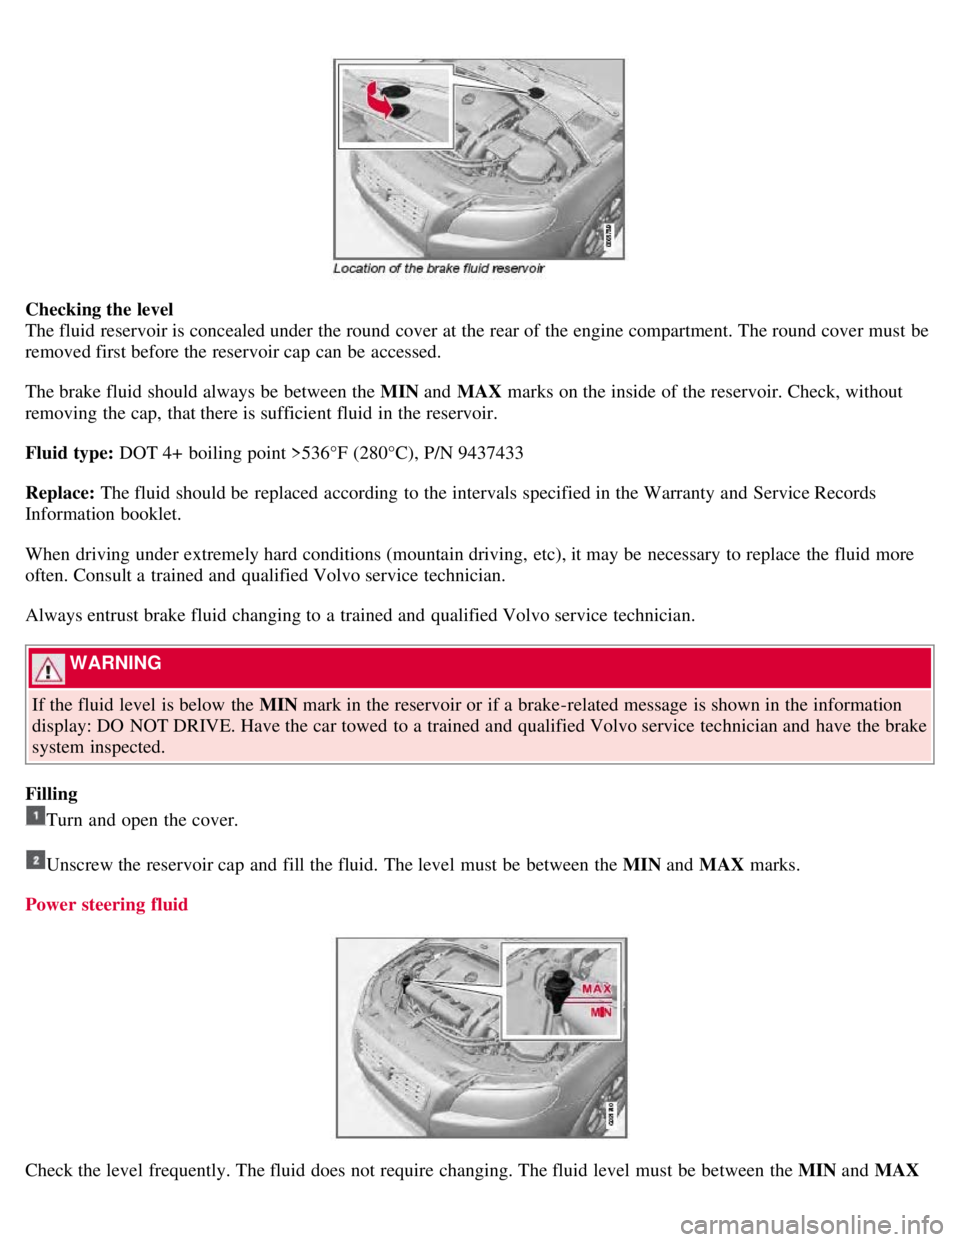
Checking the level
The fluid reservoir is concealed under the round cover at the rear of the engine compartment. The round cover must be
removed first before the reservoir cap can be accessed.
The brake fluid should always be between the MIN and MAX marks on the inside of the reservoir. Check, without
removing the cap, that there is sufficient fluid in the reservoir.
Fluid type: DOT 4+ boiling point >536°F (280°C), P/N 9437433
Replace: The fluid should be replaced according to the intervals specified in the Warranty and Service Records
Information booklet.
When driving under extremely hard conditions (mountain driving, etc), it may be necessary to replace the fluid more
often. Consult a trained and qualified Volvo service technician.
Always entrust brake fluid changing to a trained and qualified Volvo service technician.
WARNING
If the fluid level is below the MIN mark in the reservoir or if a brake-related message is shown in the information
display: DO NOT DRIVE. Have the car towed to a trained and qualified Volvo service technician and have the brake
system inspected.
Filling
Turn and open the cover.
Unscrew the reservoir cap and fill the fluid. The level must be between the MIN and MAX marks.
Power steering fluid
Check the level frequently. The fluid does not require changing. The fluid level must be between the MIN and MAX
Page 218 of 275
The windshield and headlight washers share a common reservoir.
The washer fluid reservoir is located on the driver's side of the engine compartment. During cold weather, the reservoir
should be filled with windshield washer solvent containing antifreeze. For capacities, see page 275
.
226 06 Maintenance and specifications
Battery
Warning symbols on the battery
NOTE
A used battery should be disposed of in an environmentally responsible manner. Consult your Volvo retailer or take
the battery to a recycling station.
Handling
Check that the battery cables are correctly connected and tightened.
Never disconnect the battery when the engine is running (for example, when replacing the battery).
Page 248 of 275

Skin: Wash affected areas of skin with soap and water. Get medical attention if symptoms occur.
Eyes: Flush with plenty of water for least 15 minutes, occasionally lifting the upper and lower eyelids. Get
medical attention if symptoms occur.
Inhalation: Move the person to fresh air. If irritation persists, get medical attention
1Certain markets only.
258 06 Maintenance and specifications
Wheels and tires
Inflating tires
The tire sealing system can be used to inflate the tires. To do so:
1. Park the car in a safe place.
2. The compressor should be switched off. Ensure that the on/off switch is in position 0 (the 0 side of the switch should
be pressed down).
3. Take out the electrical wire and hose.
4. Remove the valve cap from the tire's inflation valve and screw the hose connector onto the valve as tightly as
possible by hand.
5. Connect the electrical wire to the nearest 12-volt socket in the vehicle.
6. Start the vehicle's engine.
WARNING
The vehicle's engine should be running when the tire sealing system is used to avoid battery drain. Therefore, be
sure the vehicle is parked in a well ventilated place, or outdoors, before using the system.
Children should never be left unattended in the vehicle when the engine is running.
7. Check the tire's inflation pressure on the gauge. Switch off the compressor briefly to get a clear reading from the
pressure gauge.
8. Refer to the tables on pages 240 and 241
for the correct tire inflation pressure. If the tire needs to be inflated, start
the tire sealing system's compressor (press the on/off switch to position I ). If necessary, release air from the tire by
turning the air release knob counterclockwise.
CAUTION
The compressor should not be used for more than 10 minutes at a time to avoid overheating.
9. Turn off the compressor (press the on/off switch to position 0) when the correct inflation pressure has been reached.
10. Unscrew the hose from the tire's inflation valve and reinstall the valve cap.
11. Disconnect the electrical wire from the 12-volt socket.
Page 265 of 275
Geartronic110-111
general description110- 111
oil275
shiftlock override111
Axle weight 247
B
Battery
changing 227-228
maintenance227
remote control, replacing59
specifications276
warning symbols226
Black box 6, 208
Blind Spot Information System(BLIS)179-181
Booster cushion, integrated45-47
Booster cushions41
Brake lights91
emergency brake lights91
Brake support 166
Brake system
checking fluid level 215
emergency brake assistance114
fluid275
general information113
warning light77
Bulbs
footwell lighting 222
headlights216- 218
introduction216
license plate lights221
side marker lights219
specifications223
taillight219- 221
trunk lighting222
C
Capacity weight 247
Catalytic converter196
CD player/changer138-139
Central locking system, introduction52
Chains250
Check engine light75
Child restraint systems34-35
booster cushions41
convertible seats38- 40
Page 267 of 275
Driving through water189
E
ECC128-133
Economical driving188
Electric parking brake116
Electronic Climate Control128-131
air distribution table133
Interior Air Quality System131
ventilated seats129
Emergency brake lights 91
Emergency locking retractor33
Emergency starting109
Emergency towing204-205
Emission inspection readiness210
Engine
overheating 77
specifications271
starting107
starting with keyless drive108
Engine compartment overview 211
Engine oil
checking 212
low pressure warning light76
specifications272
volumes274
Environment 9
Eyelets for anchoring loads198
F
Federal Clean Air Act208
Flat tires
tire sealing system 256
Fluid specifications 275
Fog lights
front 76
front, changing bulbs219
front/rear91
Four C (active chassis system) 153
Front airbags19-21
disconnecting passenger's side airbag22- 24
Front fog lights76, 91
changing bulbs219
Front park assist 176-178
Front seats84
heated129
Page 270 of 275
Locks, child safety48
Long loads, ski hatch199
Low beams89
Low fuel level warning light76
Low oil pressure warning light76
M
Main instrument panel124-125
Maintenance208
performed by the owner209
Malfunction indicator light 75
Manual parking brake115
Menu system122
overview123
Messages in the instrument panel 124-125
Mirrors
defroster 100
power door99
rearview, auto-dim function100
retractable99
vanity185
Moonroof 101-102
Motor oil
checking 210
specifications272
volumes274
O
Occupant safety 14
Occupant weight sensor22-24
Octane ratings193
Octane recommendations193
Odometer, trip78
Oil
checking 212
low pressure warning light76
specifications272
volumes274
On Call Roadside Assistance 277
Opening the trunk from the inside65
Overhead courtesy lighting93-94
Overheating, engine77
Oxygen sensors, heated197
P
Pacemaker (keyless drive warning)62
Paint, touching up266