2008 VOLKSWAGEN BEETLE warning
[x] Cancel search: warningPage 18 of 138

Downloaded from www.Manualslib.com manuals search engine Legend for Fig . 13 See
A I D o not drive on!
Bonne t ope n or not prope rly closed. ~page 277
B 0 Do not drive on! ~page 57 Tailgate open or no t closed prope rly .
C Do not drive on! C ,D Ve hicle door ope n or n ot pr ope rly clos ed. ~page 55
Warn ing and information messages
The sy~tem runs a che ck o n ce rtain components
and function s in the vehicle whe n the ignition is
sw itched on or w hil e the ve hi cle is in motion . Mal
fun tions ar e indic ated by r ed and yellow warning
s ymbol s 1
) wi th te t message s in the instrument
c l
1ster d is pla y ~page 16. An acoustic warning is
a ls o so unded i n certa in ca se s. Di fferent instrument
clu ster design s
will h av e diffe rent dis plays .
Type of mes
sage
Symbol col
our
opened manually.
To do so, choose Vehicle
status or Vehicle in the selection menu
~page 26.
Priori ty 1 warn
in g re port The
symbol flashes or lights up -sometimes together with an acoustic
warning signal.
Red i> Do not drive on! Danger! ~A
Check function and resolve problem. Seek expert assistance if neces
sary.
The symbol flashes or lights up -sometimes together with an acoustic
warning signal.
Prio rity 2 warn
ing report Yellow If there is a fault, or if service fluids are running low, your vehicle could
be damaged or break down
~CD.
Check the fault as soon as possible . Seek expert assistance if neces
sary.
Information
message Information about various procedures within the vehicle .
a) Displa yed in colour on an i nstrumen t cluster wit h co lour d isplay .
Mileage displays
The odometer re gi sters the total distance travelled
by the car.
T he
trip recorde r(trip) shows the distance travel
led since the trip reco rder was last reset. The final
d ig it show s dis tan ces
of 100 m.
• Press button ::::>Fig . 12 0 briefly to reset the
tri p record
er to 0 .
Time
• To se t th e t ime , press and hold button
~Fig. 12 0 while the doors are closed until the
word Time appears in the display .
• Releas e the button . The time is shown in the
d is p l
ay and the hour setting is marked .
1
) D isp layed in col our on an instrum ent clu ste r with col our di sp la y.
O ve rview of the ve hicle
• Then press the button repeatedly until the re
quired hour is displayed . Press and hold the button
to scroll through quickly.
• Once you have set the hour, wait until the mi
nutes display is marked .
• Then press the button repeatedly until the re
quired minute is displayed. Press and hold the but
ton to scroll through quickly.
• Release the button to finish setting the clock.
You can also set the time in the infotainment sys
tem using the@) button and the ~ and
[T tme and date] function buttons ~page 31. ..,.
Page 19 of 138
Downloaded from www.Manualslib.com manuals search engine Outsldo temperature display
If Ill~ ut ·id I mpera ture f lis ba-
lm -t4''C (+39~F), the display als o sh ows a snow-
0,1'-mbol (i e w rning) . This symbo l re m ains lit
up until th ou tside t mp erature rises above +6°C
(+ 4 ·'F)-£.
hicl is s ta tionary. tl1e auxiliary hea te r is
wit h d on ( p age 264) or the ve hi cle is tr ave l
tin A t v ry I w speeds , the te mper atur e disp laye d
m y be slightly higl1er th a n th e actual outside te m
per lure due to hea t ra di ated from the e ngine .
Th e meas uring range
lies be tw ee n -45 °C (-49 °F)
and +76"C
(+169 °F) .
Compass display
When the ignition and navigation system are
switched on, the instrument cluster display shows
the current direction
of travel.
Selector lever positions (automatic gearbox)
The gear selec ted is displayed on the side of the
selecto r leve r and on the di
spla y in th e instrument
cluster . The dis play may show which gear has
been selected if
the lever is in 0/S, or in Tiptronic
mode
~page 169 .
Gear-change indicator (manual gearbox)
While the vehicle is in mot ion , the instrum ent clus
ter may show which gear should be selec ted to re
duce fuel cons umption
~page 169.
Speed warning for winter tyres
A display in the instrument clu ste r indicates when
the set maximum speed has been exceeded
~page 26.
Speed warning settings can be mad e and adjusted
in the infotai nment system using the
@) button and
the
0 and (T yres) function buttons ~page 3 1.
Start/stop system status display
The instrumen t cluste r display shows informat ion
about the current status
~page 1 96 .
Vehicle battery charge level (SOC)
In some models , the battery charge le vel (SOC1l)
is displayed as a percentage .
To displa y the ch arge leve l, pr ess and hold button
~Fig. 12 0 with the ignition switched off until SOC
appea rs in the display .
1> State of ch arg e
Engine code
Press and ho ld button ~Fig. 12 0 (fo r approxi
mately 15 seco nds) to show the vehicle's engine
code in
the display . The ignition should be swit ch
ed on but the engin e should not be running.
-~--
A WARNING l
Failure to observe illuminated warning lamps
and text messages can lead to your vehicle
breaking down in traffic, and can cause acci
dent and serious injury.
• Never ignore any illuminated warning
lamps or text messages.
• Stop the vehicle as soon as possible and
when safe to do so.
• Broken-down vehicles increase the risk of
accidents both for you and for other road
users. If necessary , switch on the hazard
warning lights and set up the warning trian
gle to warn other road users.
• Stop the vehicle at a safe distance away
from moving traffic and ensure that no part of
the exhaust system can come into contact
with any inflammable material underneath the
vehicle, e.g . dry grass or fuel.
~A WARNING
Streets and bridges can be iced over at out
side temperatures above freezing point.
• There may be black ice on the roads at
outside temperatures above +4°C (+39 °F) and
also when no snowflake symbol is displayed
as a black ice warning.
• You should never rely solely on the out
side temperature display!
and text messages can lead to your vehicle be
ing damaged.
m Di~erent instrument cluste~s are available ,
L!J wh1ch means that the vers1ons and displays
may vary.
In displays without warning or informa
tion texts , faults are indicated exclusively
by the in
dicator la mps.
m D epe nding on the vehicle equipment level,
W some settings and displays may also appear
in the infotainment system.
..,..
Instrument cluster 23
Page 20 of 138
Downloaded from www.Manualslib.com manuals search engine L
l:l If several w arning reports a re detecte d, the
L!J symbols will appear f or s eve ra l seconds, on e
a ft e r a
noth er. T he symbols will continue to appear
until the fa ults a re rectifie d .
l:l If w arni ng messages about malfunctions are
L!J displa ye d when th e ig nition is switched on, it
m ay
not be possib le to a dju st some settings as de-
Service interval display
A
scribed, or the information display m ay appea r dif
f e rently .
If this is the case, take the ve hicl e to a
qualified
workshop to have the m alfunction re cti -
fied .
<
B
BSG-0022
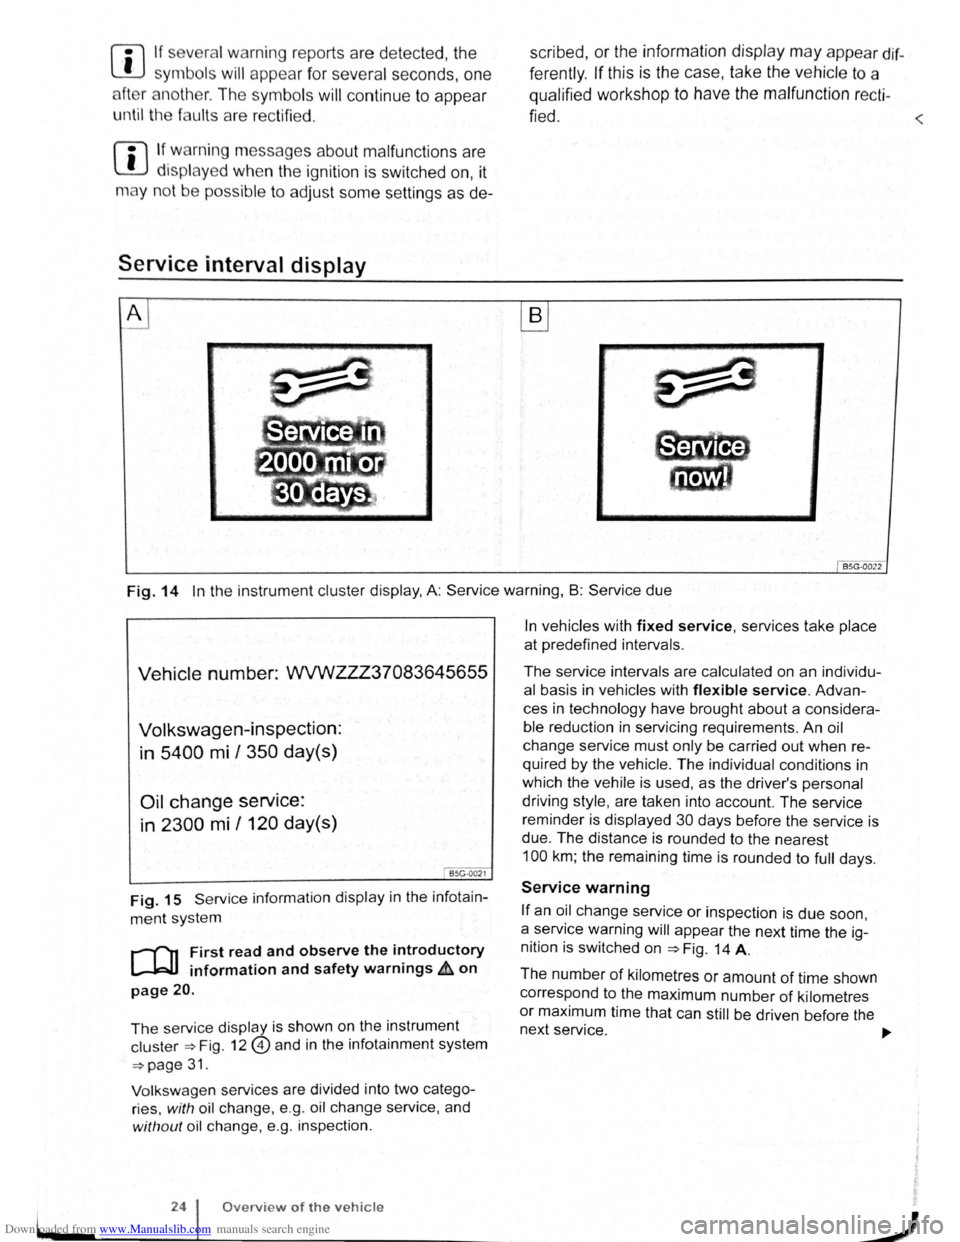
Fig. 14 In th e instrum ent cluster display , A: Service warning, B : Serv ice due
Vehicle number: WVWZZZ37083645655
Volkswagen-inspection:
in
5400 mi I 350 day(s)
Oil change service:
in 2300 mi /120 day(s)
I BSG-0021
Fig. 15 Servi ce informatio n displ ay in the infot ain
m ent sy ste m
r-f"n First read and observe the introductory
l-J=JJ information and safety warnings£ on
page 20 .
The se rvice disp la y i s s hown on th e instrum ent
cl us te r ~Fig. 12@) a nd in th e infota inment syste m
~page 3 1.
V ol
ksw age n se rvi ces are divid ed into two cate go
r ies,
w ith oil c h a nge, e.g . o il ch a ng e se rvice , and
with out oil cha nge, e.g. in spectio n .
24 Overview of the vehicle
In ve hicles with fixed service, services ta ke place
at prede fin ed int ervals .
The service intervals are calculated on an individu
al basis in ve hicles with flexible service. Advan
c es in technology have brought about a considera
ble redu ction in servi cing re quirements . An oil
chang e service must only be carried out when re
quired by the vehicle. The individual conditions in
which the ve hile is used , as the driver's pe rsonal
driv i
ng style , are taken into account. The se rvice
reminder is displayed 30 da ys befor e the service is
due . The dista nce is round ed to the nearest
100 km ; th e re maining time is rounded to full days.
Service warning
If an oil change service or inspection is due soon,
a service warning
will appear th e next time the ig
nition is switched on
~Fig. 14 A.
Th e numb er
of kilometr es or amount of time shown
c orr espond to the maximum number
of kilometr es
or maximum time that can still be driv en b efo re the
n ext servic
e. ..,..
J
Page 22 of 138
Downloaded from www.Manualslib.com manuals search engine Volkswagen information system
o::n Introduction
This chapter contains information on the following subjects:
Overview of the menu structure . . . . . . . . . . . . 26
Using the selection menu in the instrument cluster . . . . . . . . . . . . . . . . . . . . . . . . . . . . . . . . . 27 Button for the driver assist systems 28
Selection menu . . . . . . . . . . . . . . . . . . . . . . . . . 28 Driving data . . . . . . . . . . . . . . . . . . . . . . . . . . . . 29
Assist systems menu . . . . . . . . . . . . . 30
When the ignition is switched on, the various display functions can be accessed via the selection menu, e.g . the driving data disp lay (multifunction display (MFD)).
There are no buttons on the windscreen wiper lever in vehicles equipped with a multifunction steering wheel. Operation is exclusiv ely via the buttons on the multifunction steering wheel.
The scope of the menus and information shown in the instrument cluster display depends on the vehicle electronics and the vehicle equ ipment level.
A
qualified workshop can program and modify other functions depending on the vehicle equipment
level. Volkswagen recommends us ing a Volkswagen dealership for this purpose.
If any priority 1 warn ing reports are being displayed, you will be unable to access any menus or information displays. A few warning messages can
Overview of the menu structure
r-'('n First read and observe the introductory l....-J=,ll information and safety warnings & on
page 26.
The following menu structure shows how the Volkswagen information system menus in the instrument cluster display are structured . The size and layout of the Volkswagen information system menu depends on the vehicle electronics and the
level of vehicle equipment.
Driving data ~page 29
• Since start
• Since refuel
• Long-term
• Traffic sign recognition
26 Overview of the vehicle
be confirmed and hidden by pressing the OK/RESET button on the windscreen wiper lever or the OK button on the multifunction steering wheel.
Additional information and warnings:
• lnfotainment system ~page 31
• Driver assist systems ~page 196
• Radio or navigation system ~Booklet Radio or ~Booklet Navigation system
• Provision for mobile telephone ~Booklet Provision for mobile telephone
A WARNING -Accidents and injuries can occur if the driver is distracted.
• Never open the menus on the instrument cluster display while the vehicle is in motion.
r::l After starting the engine with a discharged ~ vehicle battery, or after the battery has been
changed , system settings (time, date, personal
convenience settings and programming) may have
been changed or deleted .
Check and correct the
settings as necessary once the vehicle battery has
been sufficiently charged.
• Digital speed
• Fuel range
• Convenience consumers
Driver assist systems ~page 28
• Lane Assist on/off
• Front Assist on/off
• Adaptive cruise control (ACC)
Navigation ~Booklet Navigation system
Audio ~Booklet Radio or ~Booklet Navigation system
Telephone ~Booklet Provision for a mobile tel· ephone
Vehicle status ~page 28
,J
--------
Page 23 of 138
Downloaded from www.Manualslib.com manuals search engine 0
0
Using the selection menu in the instrument cluster
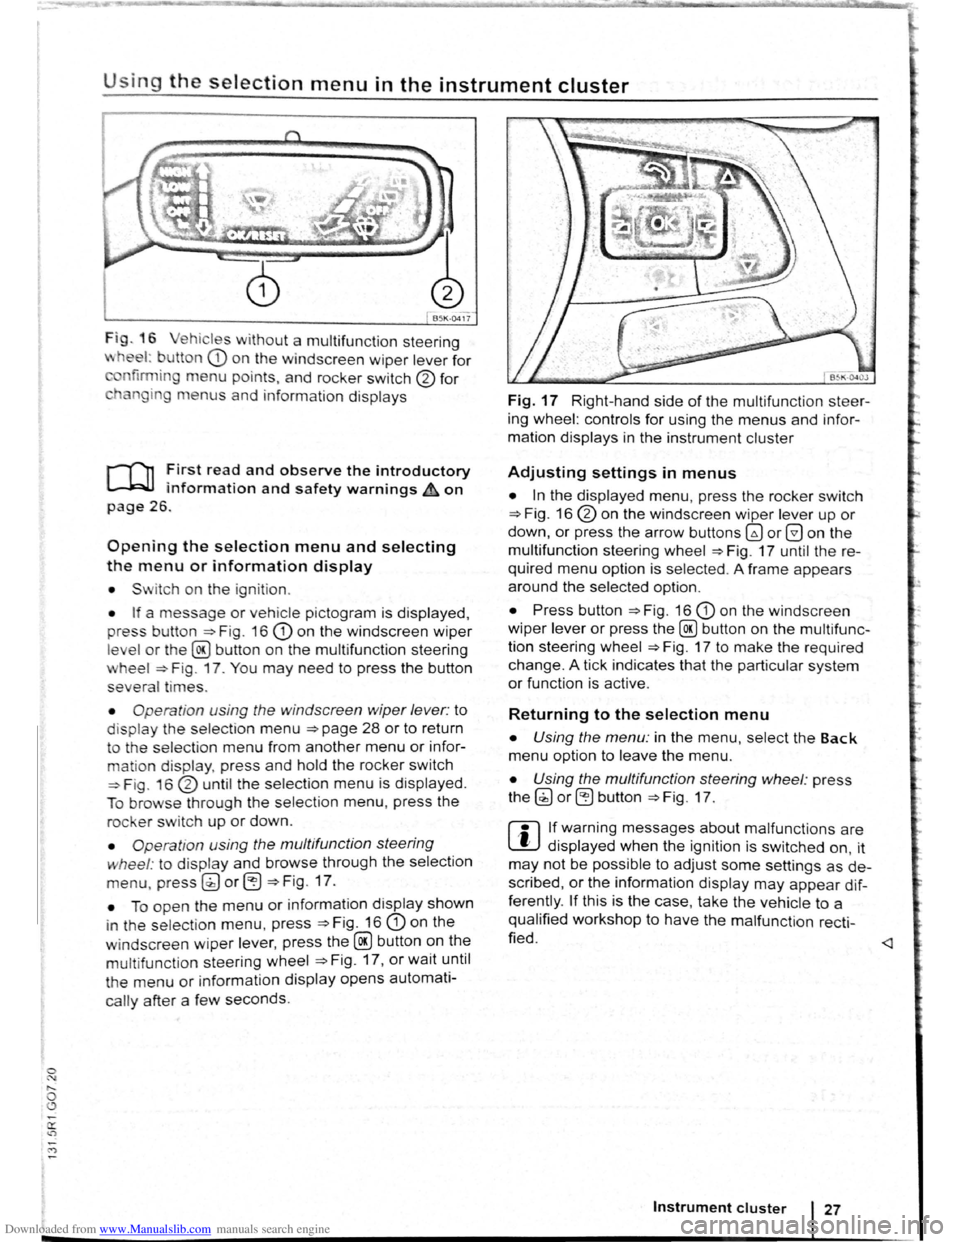
Fig . 16 ehicl es w ithout a multifunct ion steering
wheel: b utton CD o n th e windscreen wiper lever for
nfirmin g menu points, and ro cker switch 0 for
h n gin g m e
nus and info rm ation displays
r-T'n First read and observe the introductory
l.-.W.I information and safety warnings&, on
page 26.
Opening the selection menu and selecting
the menu or information display
• Sw itch on th e ig nit io n.
• If a messag e or vehicle p ictogram is displayed,
p res s bu tton
=>F ig . 16 CD on the windscreen wiper
level or the @ button on the multifunction steering
wheel => F ig . 17. You may need to press the button
several ti
mes .
• Opera tion u sin g the windscreen wiper lever: to
dis p lay the selection menu =>page 28 or to return
to the selection menu from another menu or infor
mation dis play, press and hold the rocker switch
=>Fig. 1 6 0 until the select ion menu is displayed.
To
brows e through the select ion menu, press the
rocker switch up or down.
• Operatio n using the multifunction steering
wh
eel : to display and browse through the selection
menu, press g) or eJ =>Fig. 17.
• To open the menu or information display shown
i n th e s election
menu, press =>Fig . 16 CD on the
w i
ndscreen wiper lever, press the @ button on the
multifunct ion steering wheel =>Fig . 17, or wait until
th e
menu or information display opens automati
cally after a few seconds.
Fig. 17 Right-hand side of the multifunction steer
ing wheel: controls
for using the menus and infor
mation displays in the instrument cluster
Adjusting settings in menus
• In the displayed menu, press the rocker switch
=>Fig. 16 0 on the windscreen wiper lever up or
down, or press the arrow buttons~ or G on the
multifunction steering wheel
=>Fig. 17 until the re
quired menu option is selected . A frame appea rs
around the selected option .
• Press button =>Fig. 16 CD on the windscreen
wiper lever
or press the@ button on the mult ifunc
tion steering wheel
=>Fig. 17 to make the requir ed
change.
A tick indicates that the part icular system
or function is act ive .
Returning to the selection menu
• Using the menu: in the menu , select the Back
menu option to leave the menu .
• Using the multifunction steering wheel: p ress
the (;) or ~ button => Fig . 17 .
r:l If warning messages about malfunctions are
L!J displayed when the ignition is switched on, it
may not be possible to adjust some settings as de
scribed ,
or the information display may appear dif
ferently .
If this is the case, take the vehicle to a
qualified workshop to have the malfunction
recti
fied .
Instrument cluster 27
Page 25 of 138
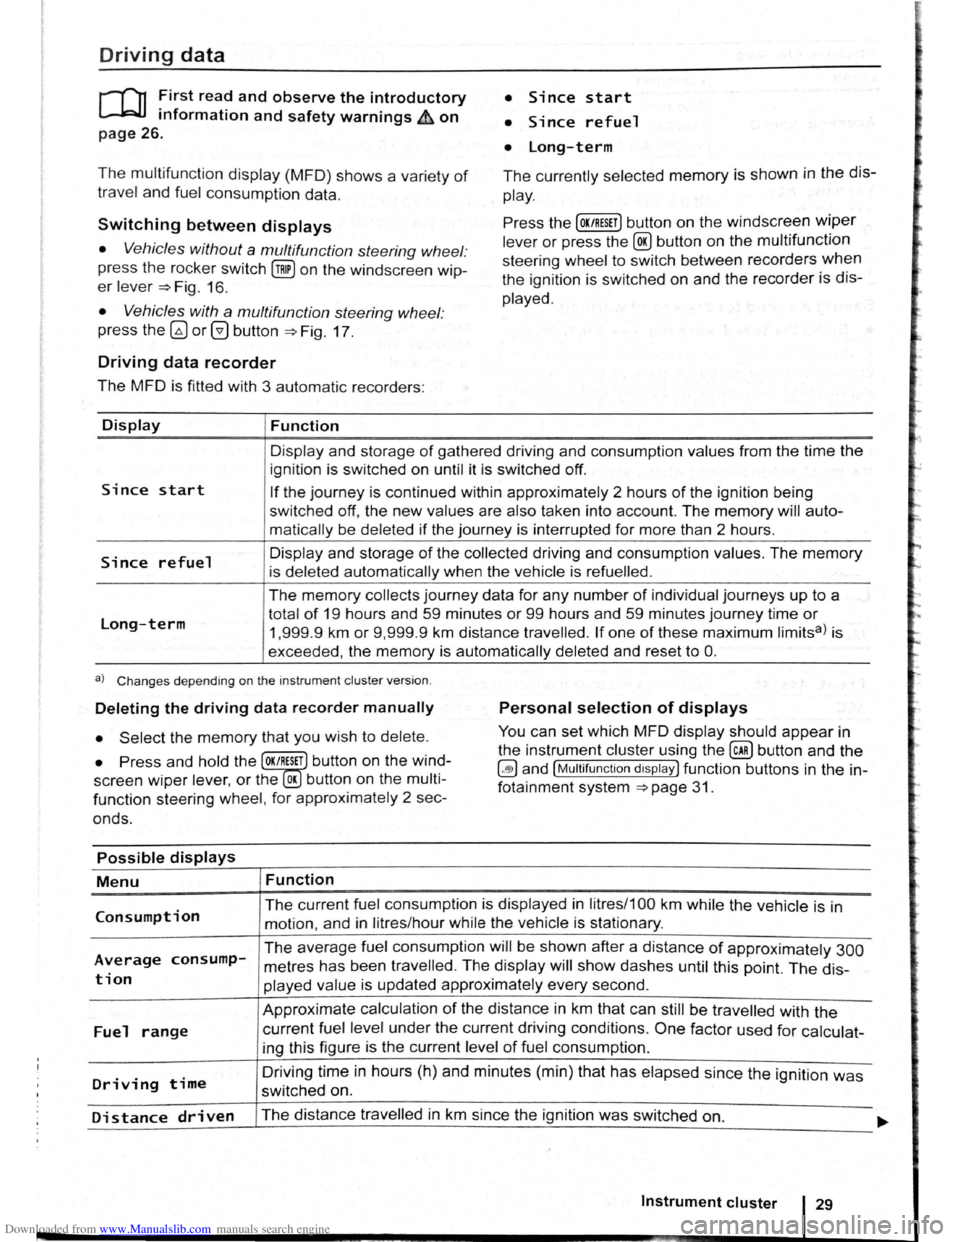
Downloaded from www.Manualslib.com manuals search engine Driving data
r-T'n ~irst rea~ and observe the introductory
L......kJJ mformat1on and safety warnings ~on
page 26.
• Since start
• Since refuel
• long-term
The multifunction display (MFD) shows a variety of
travel and fuel consumption data.
The currently selected memory is shown in the dis
play.
Switching between displays Press the [OK/RESET] button on the windscreen wiper
lever or press the @ button on the multifunction
steering wheel to switch between recorders
when
the ignition is switched on and the recorder is dis
played.
• Vehicles without a multifunction steering wheel:
press the rocker switch
(!ill on the windscreen wip
er lever ~Fig. 16.
• Vehicles with a multifunction steering wheel:
press
the~ or@ button ~Fig. 17 .
Driving data recorder
The MFD is fitted with 3 automatic recorders:
Display
Since start
Since refuel
Long-term
Function
Display and storage of gathered driving and consumption values from the time the
ignition is switched on until it is switched off.
If the journey is continued within approximately 2 hours of the ignition being
switched
off, the new values are also taken into account. The memory will auto
matically be deleted
if the journey is interrupted for more than 2 hours.
Display and storage
of the collected driving and consumption values. The memory
is deleted automatically when the vehicle is refuelled .
The memory collects journey data for any number of individual journeys up to a
total
of 19 hours and 59 minutes or 99 hours and 59 minutes journey time or
1,999.9 km or 9,999 .9 km distance travelled. If one of these maximum limitsa) is
exceeded, the
memory is automatically deleted and reset to 0.
a) Changes depending on the instrument cluster version.
Deleting the driving data recorder manually Personal selection of displays
• Select the memory that you wish to delete. You can set which MFD display should appear in
the instrument cluster using the
@ill button and the
~and [Multifunction display) function buttons in the in
fotainment system
~page 31.
• Press and hold the OK/RESET button on the wind
screen
wiper lev er, or the OK button on the multi
function steering wheel, for approximately 2 sec
onds.
Possible displays
Menu
Consumption
Average consump
tion
Fuel range
Driving time
Function
The current fuel consumption is displayed in litres/1 00 km while the vehicle is in
motion, and in litres/hour while the vehicle is stationary.
The average fuel consumption will be shown after a distance of approximately 300
metres has been travelled . The display will show dashes until this point. The dis
played value is updated approximately every second.
Approximate calculation
of the distance in km that can still be travelled with the
current fuel level under the current driving conditions . One factor used for calculat
ing this figure is the current level
of fuel consumption .
Driving
time in hours (h) and minutes (min) that has elapsed since the ignition was
switched on.
Distance driven The distance travelled in km since the ignition was switched on. ..... ~~~--------~--------------------------~----------------------------~
Instrument cluster 29
Page 26 of 138
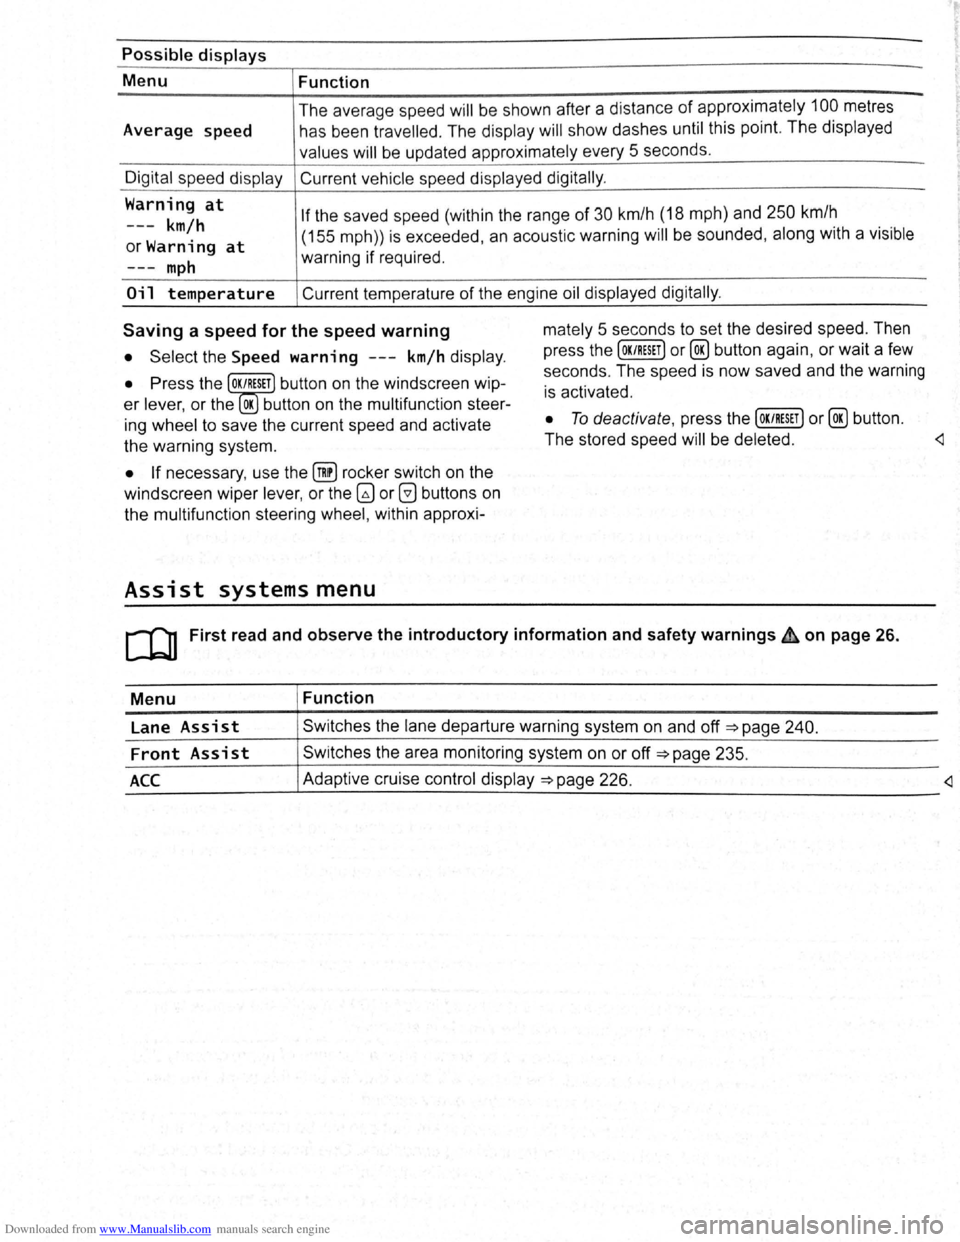
Downloaded from www.Manualslib.com manuals search engine Possible displays
Menu Function
Average speed The
average sp ee d
will be shown after a distan ce of appro ximately 100 metres
h as be en trav e
lled . The display will show dashes until this point. The displayed
valu es
will be updated approximately every 5 se conds .
Digit al sp ee d display Current vehicle speed displayed digitally .
Warning
at
---km/h
orWarning at
If the saved speed (within the range of 30 km/h (18 mph) and 250 km/h
m
ph
(155 mph)) is exceeded , an acoustic warning will be sounded , along with a vis ible
warning if required .
Oil temperature Current temperature of the engine oil displayed digitally .
Saving a speed for the speed warning
• Select the Speed warning ---km/h display .
• Press the OK/RESET button on the windscreen wip
er lever, or the OK button on the multifunction steer
ing wheel to save the current speed and activate
the warning system.
• If necessary , use the @!) rocker switch on the
windscreen wiper lever, or the
G) or 0 buttons on
the multifunction steering wheel, within approxi-
Assist systems menu
mately 5 seconds to set the desired speed. Then
press the
[OK/RESET] or@ button again, or wait a few
seconds . The speed is now saved and the warning
is activated .
• To deactivate , press the [OK/RESET] or@ button .
The stored speed
will be deleted .
Menu Function
Lane
Assist Swi tches the lane departure warning system on and off =>page 240.
Front Assist Switches the area monitoring system on or off =>page 235.
_A_c_c ____________ ~A_d_a~p_tiv_e __ cr_u_is_e_c_o_n_tr_o_ld_i~sp_l~ay~=>~p_a~g~e~2~2~6~·----------------------------
Page 27 of 138
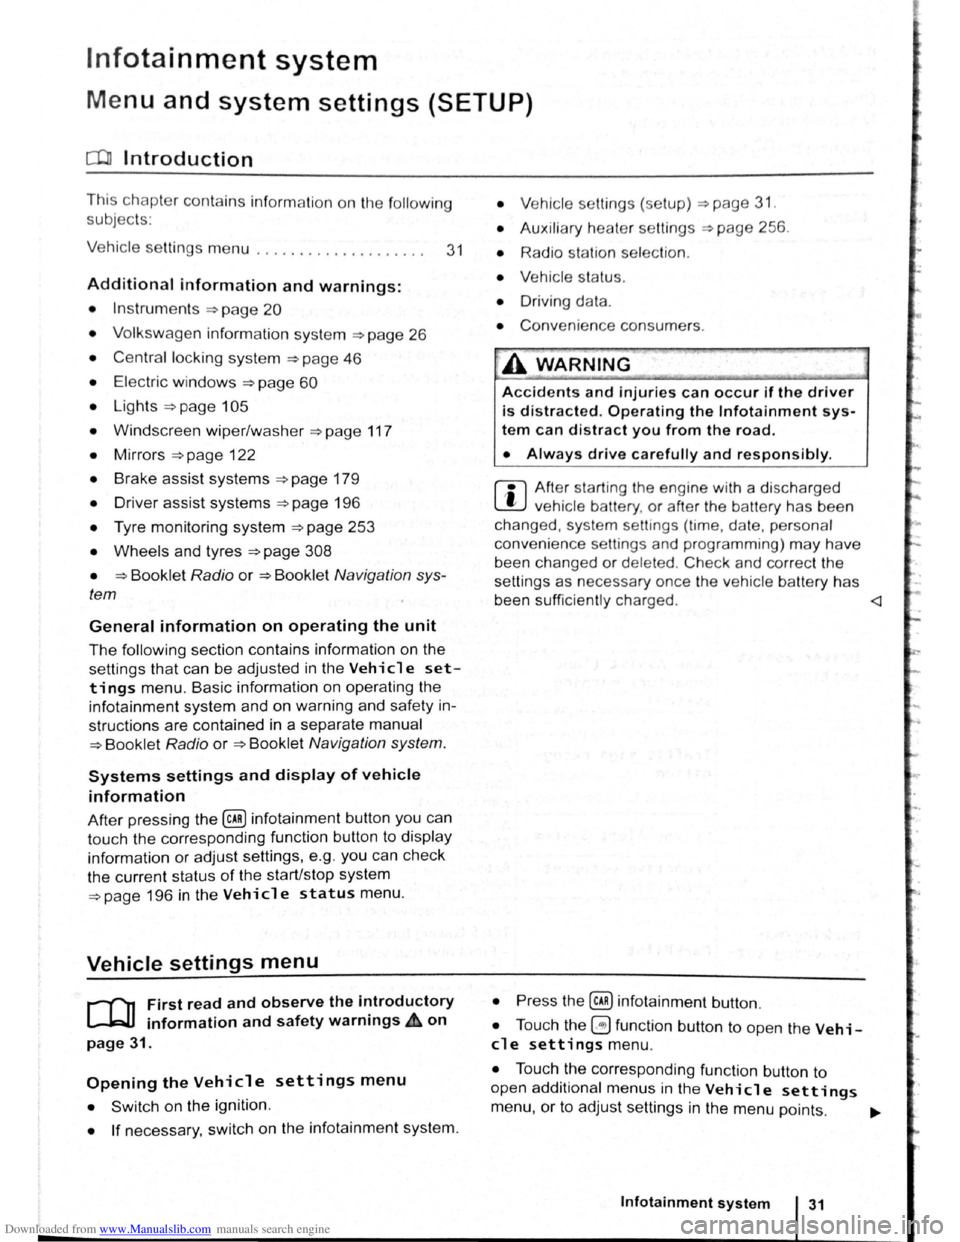
Downloaded from www.Manualslib.com manuals search engine lnfotainment system
Menu and system settings (SETUP)
o:n Introduction
This chapte r con ta in s info rm ation on th e fo llo w in g
su bjects :
V ehi cle se ttin
gs menu . . . . . . . . . . . . . . . . . . . . 31
Additional information and warnings:
• Instrum ents ~page 20
•
V olks wage n informa tion syst em ~page 26
• C entral locking system ~page 46
• Electric windows ~page 60
•
Lights ~page 105
• Windscreen wiper/ wa she r ~page 117
• Mirrors ~page 122
• Brake assist systems ~page 179
• Driver assist systems ~page 196
• Tyre monitoring system ~page 253
• Wheels and tyres ~page 308
•
~Booklet Radio or ~Booklet Navigation sys
tem
General information on operating the unit
The following section contains information on the
settings that can be adjusted in the
Vehicle set
tings menu . Basic information on operating the
i nfotainment system and on warning and safety in
structions are contained in a separate manual
~Booklet Radio or ~Booklet Navigation system.
Systems settings and display of vehicle
information
After pressing the (ill] infotainment button you can
t
ouch the corresponding function button to displ ay
information
or adjust settings , e .g . you can check
the current status
of the start/stop system
~page 196 in the Vehicle status menu .
Vehicle settings menu
r-f"'n First read and observe the i~troductory
L-1=J.1 information and safety warnmgs A on
page 31.
Opening the Vehicle settings menu
• Switch on the ignition .
• If necessary, switch on the infotainment system.
• Vehi cle se ttings (setup) ~page 31.
• Auxili ary hea te r sett ings ~page 256.
• Radio sta tio n selection .
• Vehicle status .
• Driving da ta .
• Conv enien ce consumers .
A WARNING
Accidents and injuries can occur if the driver
is distracted. Operating the lnfotainment sy s
tem can distract you from the road.
• Always drive carefully and responsibly.
r::l Aft er sta rt ing the engine with a disc harged
L!J ve hi cle battery , or after the battery has been
chang ed,
system settings (time, da te , personal
conveni ence settings and program ming)
may have
be en chang ed or de leted . Ch eck and correc t
the
s e ttin gs as necessa ry once the ve hi cle ba tte ry has
been sufficiently charged .
• Touch the 0 function button to open the Vehi
cl e settings menu.
• Touc h the corresponding function button to
open additional menus in the
Vehicle settings
menu, or to adjust settings in the menu points. ...,.
lnfotainment system 31
..