Page 2 of 260

BASIC FUNCTIONS
22
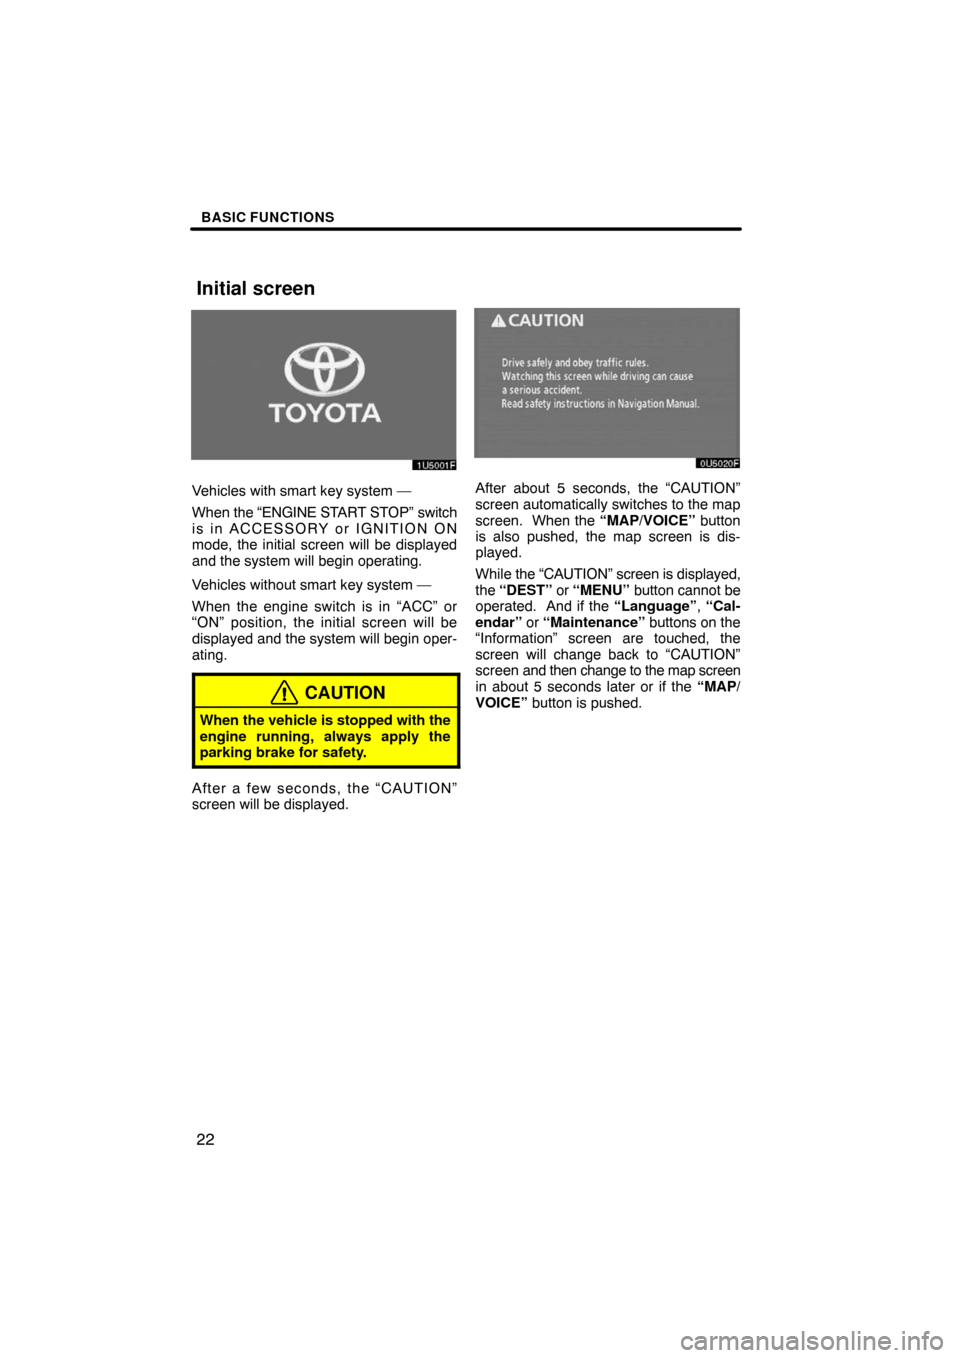
Vehicles with smart key system —
When the “ENGINE START STOP” switch
is in ACCESSORY or IGNITION ON
mode, the initial screen will be displayed
and the system will begin operating.
Vehicles without smart key system —
When the engine switch is in “ACC” or
“ON” position, the initial screen will be
displayed and the system will begin oper-
ating.
CAUTION
When the vehicle is stopped with the
engine running, always apply the
parking brake for safety.
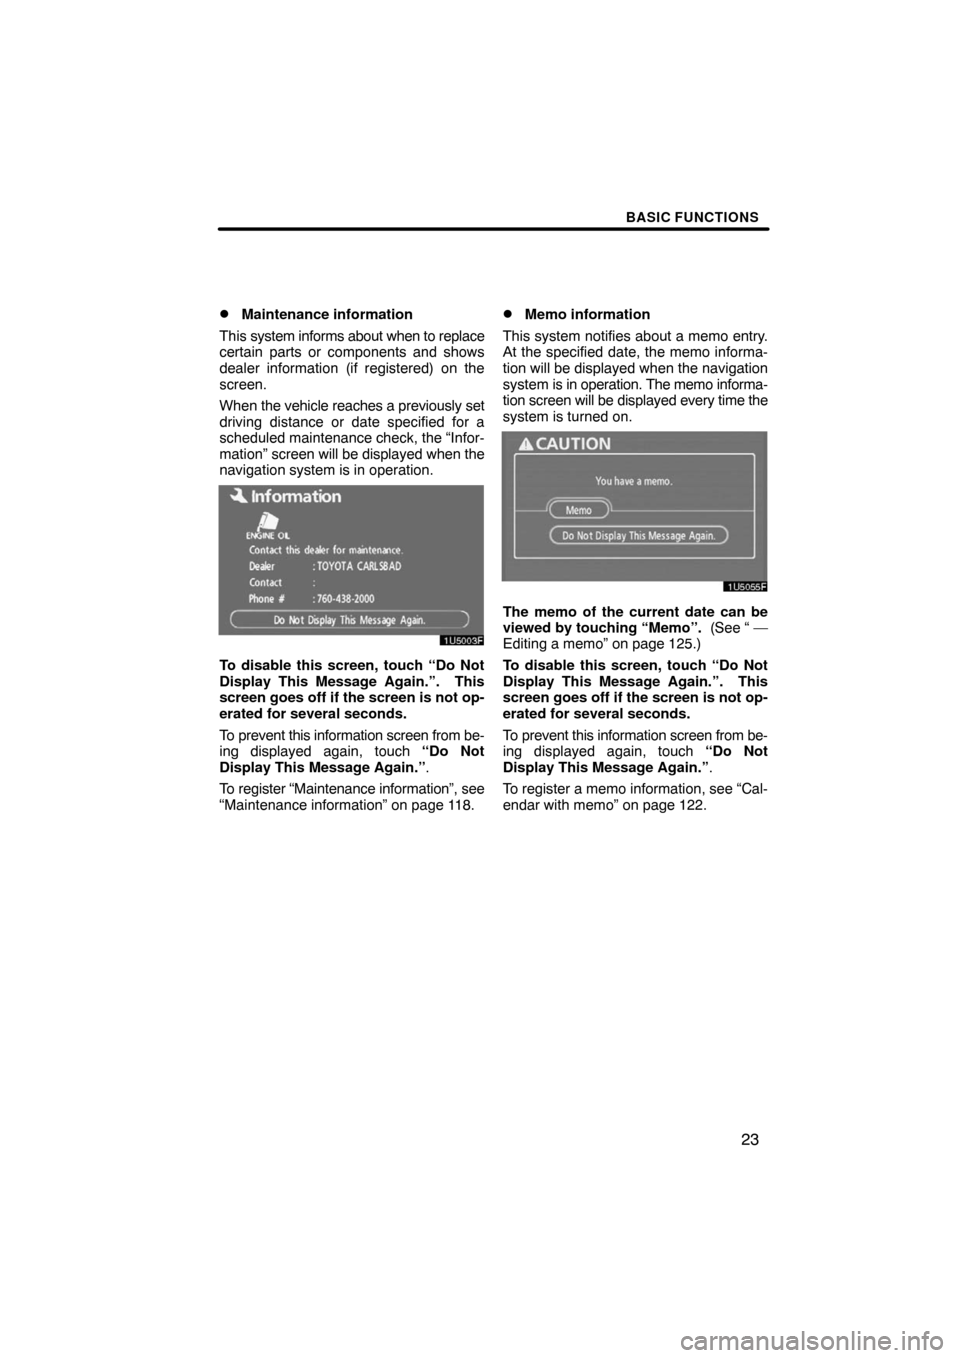
After a few seconds, the “CAUTION”
screen will be displayed.
After about 5 seconds, the “CAUTION”
screen automatically switches to the map
screen. When the “MAP/VOICE” button
is also pushed, the map screen is dis-
played.
While the “CAUTION” screen is displayed,
the “DEST” or “MENU” button cannot be
operated. And if the “Language”, “Cal-
endar” or “Maintenance” buttons on the
“Information” screen are touched, the
screen will change back to “CAUTION”
screen and then change to the map screen
in about 5 seconds later or if the “MAP/
VOICE” button is pushed.
Initial screen
Page 3 of 260

BASIC FUNCTIONS
23 �
Maintenance information
This system informs about when to replace
certain parts or components and shows
dealer information (if registered) on the
screen.
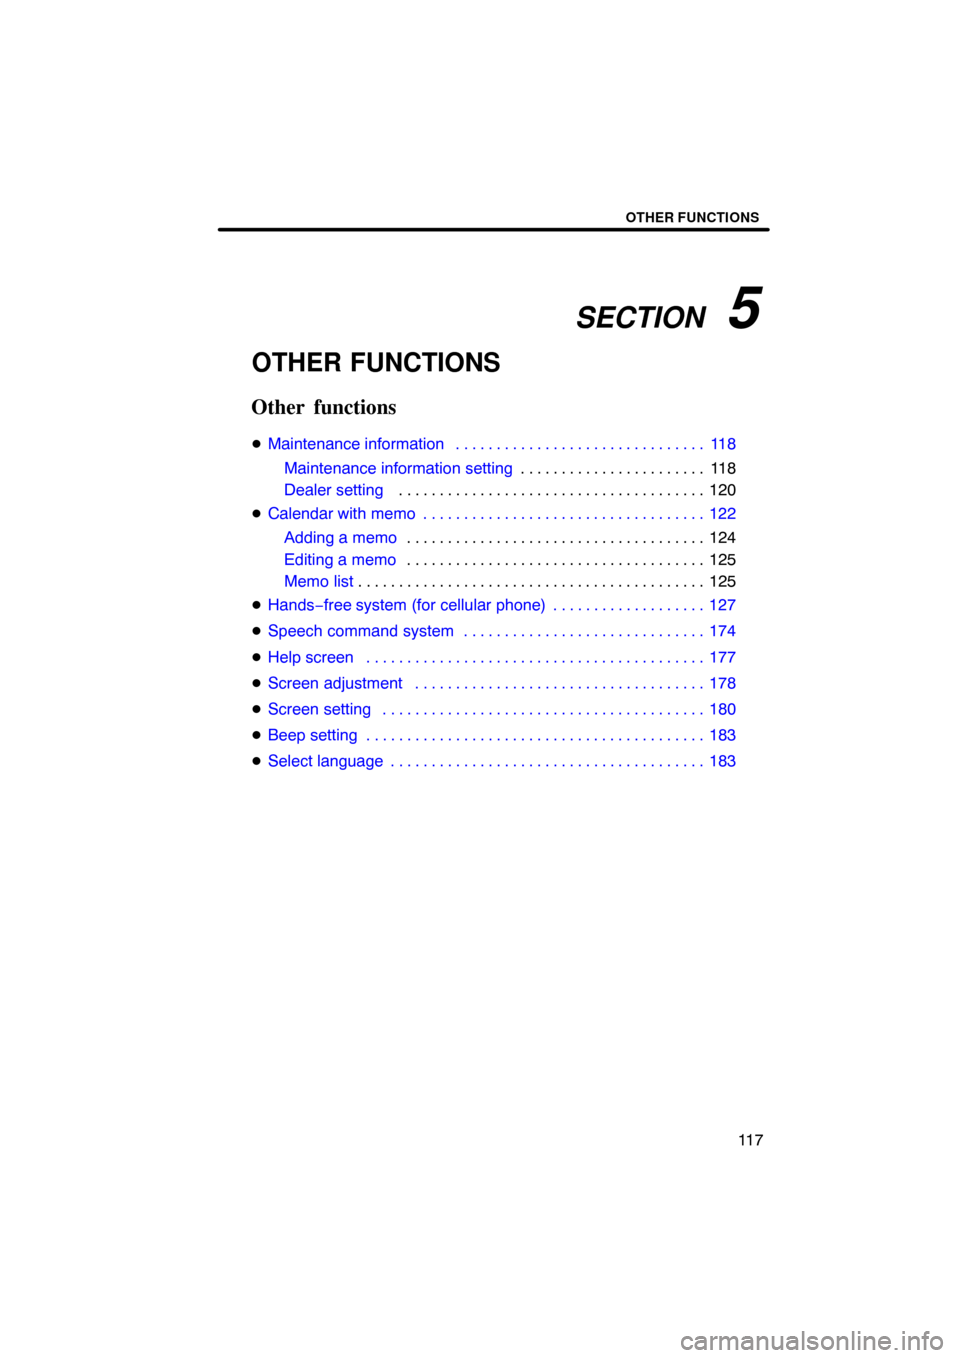
When the vehicle reaches a previously set
driving distance or date specified for a
scheduled maintenance check, the “Infor-
mation” screen will be displayed when the
navigation system is in operation.
To disable this screen, touch “Do Not
Display This Message Again.”. This
screen goes off if the screen is not op-
erated for several seconds.
To prevent this information screen from be-
ing displayed again, touch “Do Not
Display This Message Again.”.
To register “Maintenance information”, see
“Maintenance information” on page 118.
�Memo information
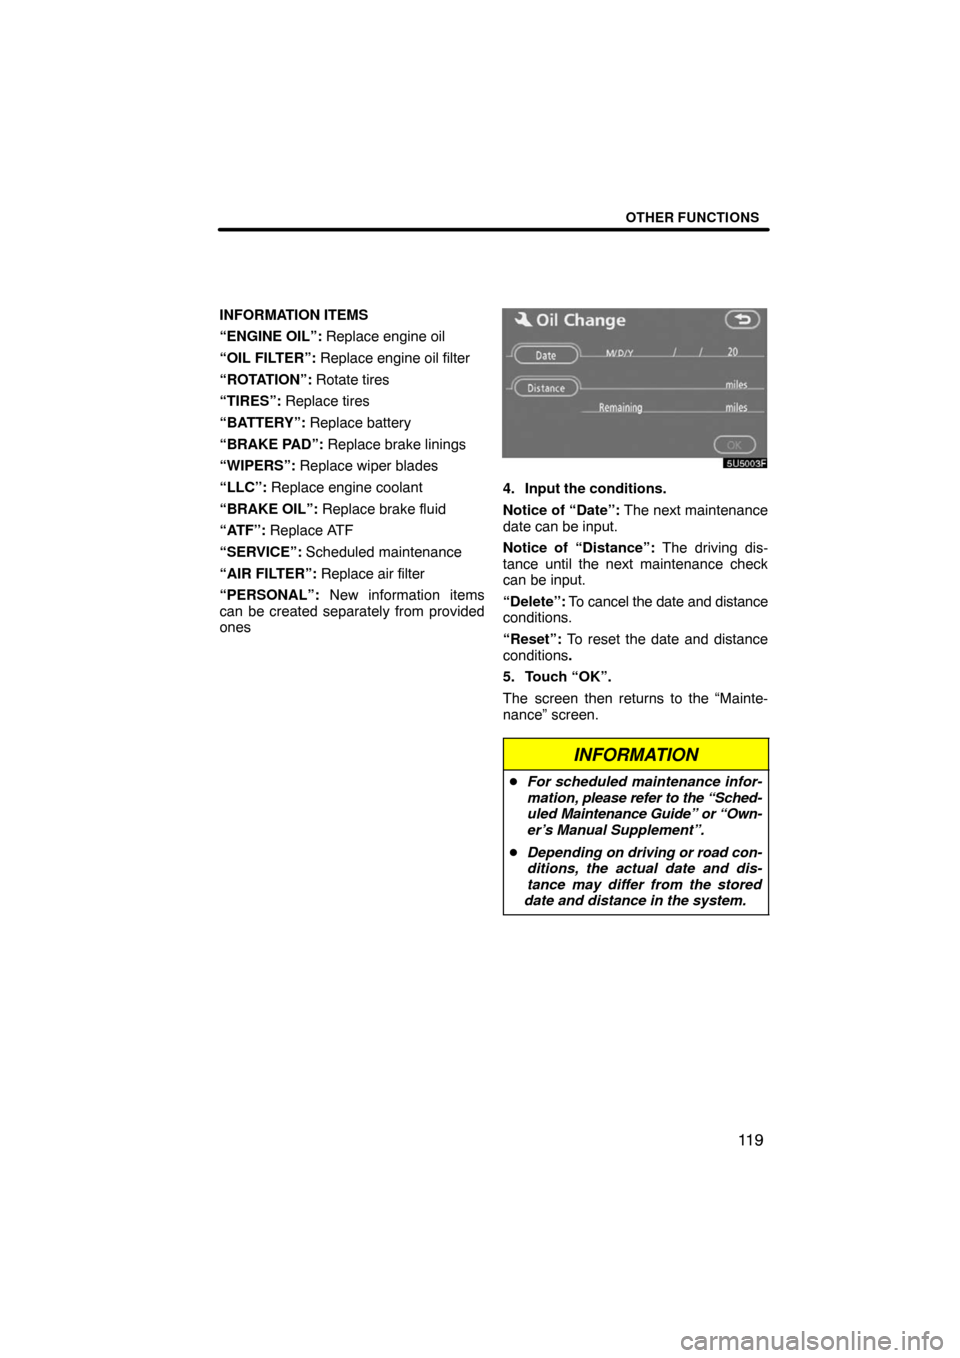
This system notifies about a memo entry.
At the specified date, the memo informa-
tion will be displayed when the navigation
system is in operation. The memo informa-
tion screen will be displayed every time the
system is turned on.
The memo of the current date can be
viewed by touching “Memo”. (See “ —
Editing a memo” on page 125.)
To disable this screen, touch “Do Not
Display This Message Again.”. This
screen goes off if the screen is not op-
erated for several seconds.
To prevent this information screen from be-
ing displayed again, touch “Do Not
Display This Message Again.”.
To register a memo information, see “Cal-
endar with memo” on page 122.
Page 70 of 260
ADVANCED FUNCTIONS
90
INFORMATION
During route guidance, the voice
guidance continues even if the navi-
gation screen is changed to other
screens.
“Adaptive Volume Control”: By turning
“Adaptive Volume Control” on, the volume
is turned up automatically when the ve-
hicle speed exceeds 50 mph (80 km/h).
To turn the “Adaptive Volume Control”
system on, touch the button. The indicator
will be highlighted.The system can memorize the following
settings for up to three users.
�Map direction
�Map scale
�Map configuration
�Guidance mode
�Setup
�Volume
�Language
�Route trace
�Travel time/arrival time
�Right screen of dual map
�Route preference
�Maintenance notification
1. Push the “MENU” button.
2. Touch “Select User”.
User selection
Page 97 of 260

SECTION 5
OTHER FUNCTIONS
11 7
OTHER FUNCTIONS
Other functions
�Maintenance information 118. . . . . . . . . . . . . . . . . . . . . . . . . . . . . . .
Maintenance information setting11 8 . . . . . . . . . . . . . . . . . . . . . . .
Dealer setting 120 . . . . . . . . . . . . . . . . . . . . . . . . . . . . . . . . . . . . . .
�Calendar with memo 122. . . . . . . . . . . . . . . . . . . . . . . . . . . . . . . . . . .
Adding a memo124 . . . . . . . . . . . . . . . . . . . . . . . . . . . . . . . . . . . . .
Editing a memo125 . . . . . . . . . . . . . . . . . . . . . . . . . . . . . . . . . . . . .
Memo list125 . . . . . . . . . . . . . . . . . . . . . . . . . . . . . . . . . . . . . . . . . . .
�Hands−free system (for cellular phone) 127. . . . . . . . . . . . . . . . . . .
�Speech command system 174. . . . . . . . . . . . . . . . . . . . . . . . . . . . . .
�Help screen 177. . . . . . . . . . . . . . . . . . . . . . . . . . . . . . . . . . . . . . . . . .
�Screen adjustment 178. . . . . . . . . . . . . . . . . . . . . . . . . . . . . . . . . . . .
�Screen setting 180. . . . . . . . . . . . . . . . . . . . . . . . . . . . . . . . . . . . . . . .
�Beep setting 183. . . . . . . . . . . . . . . . . . . . . . . . . . . . . . . . . . . . . . . . . .
�Select language 183. . . . . . . . . . . . . . . . . . . . . . . . . . . . . . . . . . . . . . .
Page 98 of 260
OTHER FUNCTIONS
11 8
When the Navigation System is turned on,
the “Information” screen displays when it is
time to replace a part or certain compo-
nents. (See page 23.)
1. Push the “INFO” button.
2. Touch “Maintenance”.
3. Touch the desired touch�screen
button.
For details of each touch−screen button,
see “INFORMATION ITEMS” on page 119.
“Delete All”: To cancel all conditions
which have been inputted.
“Reset All”: To reset the item which has
satisfied a condition.
“Set Dealer”: To register or edit dealer in-
formation. (See “ — Dealer setting” on
page 120.)
If “ON” is selected, the system gives main-
tenance information with the “Information”
screen when the system is turned on. (See
page 23.)
If “OFF” is selected, the “Information”
screen is disabled.
When the vehicle needs to be serviced, the
touch−screen button color will change to
orange.
Maintenance information —
— Maintenance information
setting
Page 99 of 260

OTHER FUNCTIONS
11 9
INFORMATION ITEMS
“ENGINE OIL”: Replace engine oil
“OIL FILTER”: Replace engine oil filter
“ROTATION”: Rotate tires
“TIRES”: Replace tires
“BATTERY”: Replace battery
“BRAKE PAD”: Replace brake linings
“WIPERS”: Replace wiper blades
“LLC”: Replace engine coolant
“BRAKE OIL”: Replace brake fluid
“ATF”: Replace ATF
“SERVICE”: Scheduled maintenance
“AIR FILTER”: Replace air filter
“PERSONAL”: New information items
can be created separately from provided
ones
4. Input the conditions.
Notice of “Date”: The next maintenance
date can be input.
Notice of “Distance”: The driving dis-
tance until the next maintenance check
can be input.
“Delete”: To cancel the date and distance
conditions.
“Reset”: To reset the date and distance
conditions.
5. Touch “OK”.
The screen then returns to the “Mainte-
nance” screen.
INFORMATION
�For scheduled maintenance infor-
mation, please refer to the “Sched-
uled Maintenance Guide” or “Own-
er’s Manual Supplement”.
�Depending on driving or road con-
ditions, the actual date and dis-
tance may differ from the stored
date and distance in the system.
Page 100 of 260
OTHER FUNCTIONS
120
It is possible to register a dealer in the sys-
tem. With dealer information registered,
route guidance to the dealer is available.
1. Push the “INFO” button.
2. Touch “Maintenance”.
3. Touch “Set Dealer” on the “Mainte-
nance” screen.
4. If the dealer has not been registered,
enter the location of the dealer in the
same way as for a destination search.
(See “Destination search” on page 41.)
When “Set Dealer” registration is finished,
the “Edit Dealer” screen will be displayed.
5. Touch the touch�screen button to
be edited.
“Dealer”: To enter the name of a dealer.
(See page 121.)
“Contact”: To enter the name of a dealer
member. (See page 121.)
“Location”: To set a location. (See page
121.)
“Phone #”: To set a telephone number.
(See page 122.)
“Delete Dealer”: To delete the dealer in-
formation displayed on the screen.
“Enter
”: To set the displayed dealer as
a destination. (See “Starting route guid-
ance” on page 60.)
— Dealer setting
Page 162 of 260
OTHER FUNCTIONS
182
(d) Delete personal data
The following personal data can be de-
leted or returned to their default set-
tings:
�Maintenance conditions
�Maintenance information “off” set-
ting
�Memory points
�Areas to avoid
�Previous points
�Route trace
�User selection settings
�Phone book data
�Dialed numbers and received calls
�Speed dial
�Bluetooth� phone data
�Security code
This function is available only when the
vehicle is not moving.
1. Touch “Delete personal data”. The
“Delete personal data” screen appears.
2. Touch “Delete”. The “Confirmation
to delete all personal data” screen ap-
pears.
3. Touch “Yes”.