Page 191 of 400
194
3−2. Using the audio system
Using the radio
Type A
Type B
Vo l u m e
Station selector
Seeking the frequencyAdjusting the
frequency
AM/FM mode buttons
Scanning for receivable stations
Power
Vo l u m e
Scanning for receivable stations
Station selector
Seeking the frequencyAdjusting the frequency
(AM, FM mode) or
channel (SAT mode)
AM⋅SAT/FM mode buttons
Power
Display text message
(SAT mode)
Page 192 of 400
195
3−2. Using the audio system
3
Interior features
Setting station presets (excluding XM® Satellite Radio)
Search for desired stations by turning or or
pressing “
” or “
” on or .
Press and hold the button (from or
to or
) that the station is to be set to until you hear a beep.
Scanning radio stations (excluding XM® Satellite Radio)
� Scanning the preset radio stations
Press and hold or until you hear a beep.
Preset stations will be played for 5 seconds each.
When the desired station is reached, press the button once
again.
� Scanning all radio stations within range
Press or .
All stations with reception will be played for 5 seconds each.
When the desired station is reached, press the button once
again.
XM® Satellite Radio (type B)
� Receiving XM
® Satellite Radio
Press and select the XM
® band.
The display changes as follows each time is pressed.
AM
SAT1 SAT2
SAT3
Page 193 of 400
196 3−2. Using the audio system
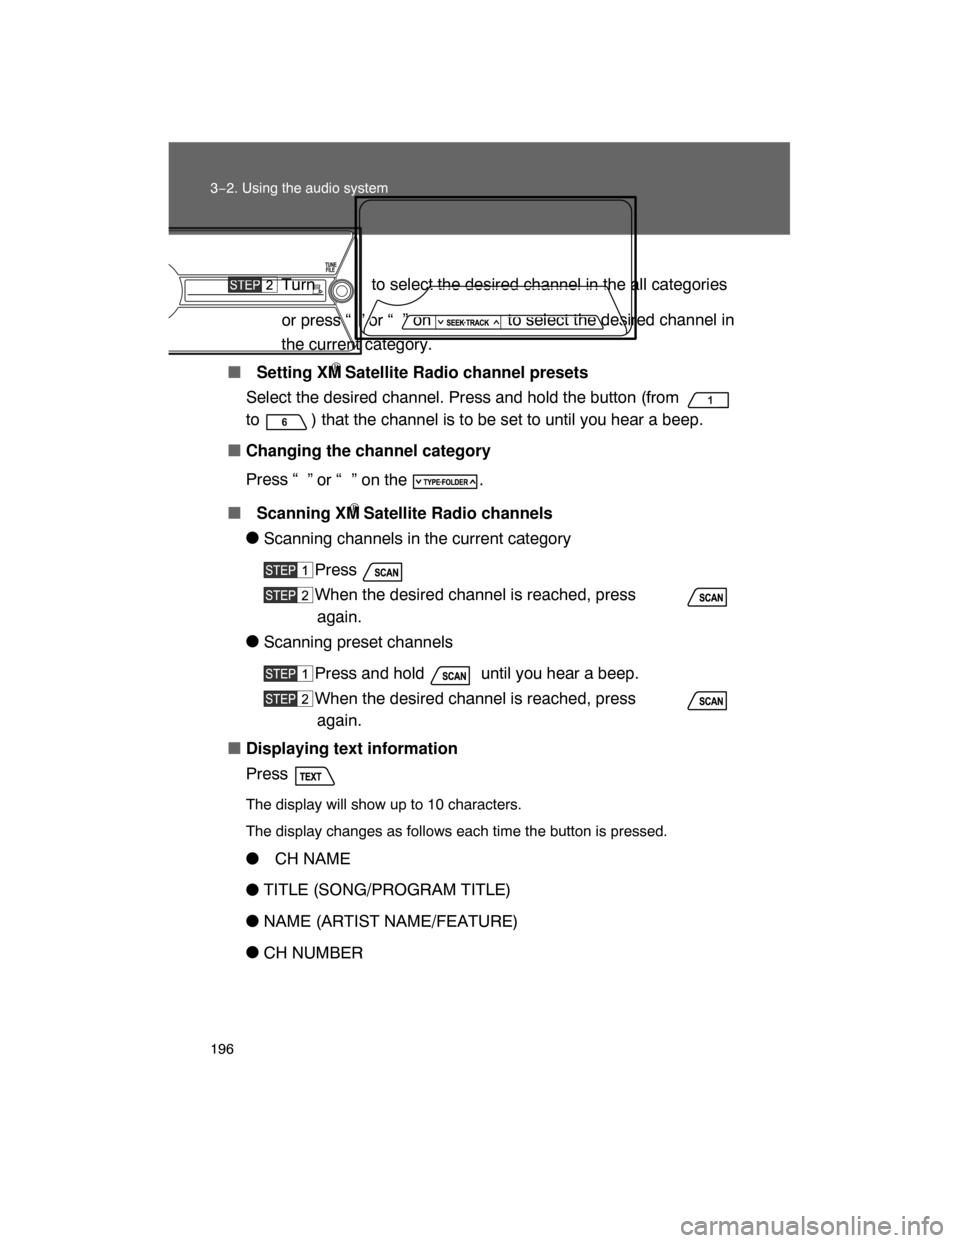
Turn to select the desired channel in the all categories
or press “ ” or “” on to select the desired channel in
the current category.
� Setting XM
® Satellite Radio channel presets
Select the desired channel. Press and hold the button (from
to ) that the channel is to be set to until you hear a beep.
�
Changing the channel category
Press “
” or “ ” on the .
� Scanning XM
® Satellite Radio channels
�
Scanning channels in the current category
Press .
When the desired channel is reached, press
again.
�
Scanning preset channels
Press and hold until you hear a beep.
When the desired channel is reached, press
again.
�
Displaying text information
Press .
The display will show up to 10 characters.
The display changes as follows each time the button is pressed.
� CH NAME
�TITLE (SONG/PROGRAM TITLE)
�
NAME (ARTIST NAME/FEATURE)
�
CH NUMBER
Page 194 of 400

197
3−2. Using the audio system
3
Interior features
� When the battery is disconnected
Stations presets are erased.
�Reception sensitivity
�Maintaining perfect radio reception at all times is difficult due to the con−
tinually changing position of the antenna, differences in signal strength
and surrounding objects, such as trains, transmitters, etc.
� The radio antenna is mounted on the right−side front fender. The antenna
can be removed from the base by turning it.
�
XM
® Satellite Radio
An XM
® Satellite Radio is a tuner designed exclusively to receive broadcasts
provided under a separate subscription. Availability is limited to the 48 con−
tiguous states and 10 Canadian provinces.
�
XM
® subscriptions
For detailed information about XM® Satellite Radio or to subscribe:
U.S.A.—
Visit on the web at www.xmradio.com
or call 1−800−967−2346.
Canada—
Visit on the web at www.xmradio.ca
or call 1−877−438−9677.
� Radio ID
You will need the radio ID when activating XM
® service or reporting a
problem. Select “CH000” using , and the receiver’s 8−character ID
number will appear.
� Satellite tuner
The tuner supports only Audio Services (Music and Talk) and the accom−
panying Text Information of XM
® Satellite Radio.
Page 195 of 400

198 3−2. Using the audio system
� If the satellite radio does not operate normally
If a problem occurs with the XM
® tuner, a message will appear on the dis−
play. Refer to the table below to identify the problem, and take the suggested
corrective action.
ANTENNAThe XM
® antenna is not connected. Check
whether the XM® antenna cable is attached
securely.
There is a short−circuit in the antenna or the sur−
rounding antenna cable. See a Toyota certified
dealer.
UPDATINGYou have not subscribed to the XM
® Satellite
Radio. The radio is being updated with the latest
encryption code. Contact the XM
® Satellite Radio
for subscription information. When a contract is
canceled, you can choose the “CH000” and all
free−to−air channels.
The premium channel you selected is not autho−
rized. Wait for about 2 seconds until the radio
returns to the previous channel or “CH001”. If it
does not change automatically, select another
channel. If you want to listen to the premium chan−
nel, contact the XM
® Satellite Radio.
NO SIGNALThe XM
® signal is too weak at the current location.
Wait until your vehicle reaches a location with a
stronger signal.
LOADING
The unit is acquiring audio or program information.
Wait until the unit has received the information.
OFF AIR
The channel you selected is not broadcasting any
programming. Select another channel.
−−−−−
There is no song/program title or artist name/fea−
ture associated with the channel at that time. No
action needed.
Page 196 of 400
 or
1−877−438−9677 (Canada).
� Certifications for the radio tuner
Thi")
199
3−2. Using the audio system
3
Interior features
Contact the XM® Listener Care Center at 1−800−967−2346 (U.S.A.) or
1−877−438−9677 (Canada).
� Certifications for the radio tuner
This equipment has been tested and found to comply with the limits for a
class B digital device, pursuant to Part 15 of the FCC Rules. These limits are
designed to provide reasonable protection against harmful interference in a
residential installation. This equipment generates, uses and can radiate
radio frequency energy and, if not installed and used in accordance with the
instructions, may cause harmful interference to radio communications. How−
ever, there is no guarantee that interference will not occur in a particular
installation.
If this equipment does cause harmful interference to radio or television
reception, which can be determined by turning the equipment off and on, the
user is encouraged to try to correct the interference by trying one or more of
the following:
� Reorienting or relocate the receiving antenna.
�Increasing the separation between the equipment and receiver.
�Connecting the equipment into an outlet on a circuit different from that to
which the receiver is connected.
� Consulting the dealer or an experienced radio/TV technician for help.
NOTICE
� To prevent damage, remove the antenna in the following cases.
� The antenna will touch the ceiling of a garage.
�
A cover will be put on the vehicle.
−−−
The channel you selected is no longer available.
Wait for about 2 seconds until the radio returns to
the previous channel or “CH001”. If it does not
change automatically, select another channel.
Page 197 of 400
200
3−2. Using the audio system
Using the CD player
Type A
Type B
Random playback
Track selectionRepeat playPlayback
CD eject
Display text message
CD selection (with external
CD changer only)
Fast−forward
Search playback
Reverse
Vo l u m ePower
Vo l u m e
Random playbackTrack selection Repeat playPlaybackPower
CD eject
Display text message
CD selection
Search playback
Reverse
Fast−forward
Page 198 of 400
201
3−2. Using the audio system
3
Interior features
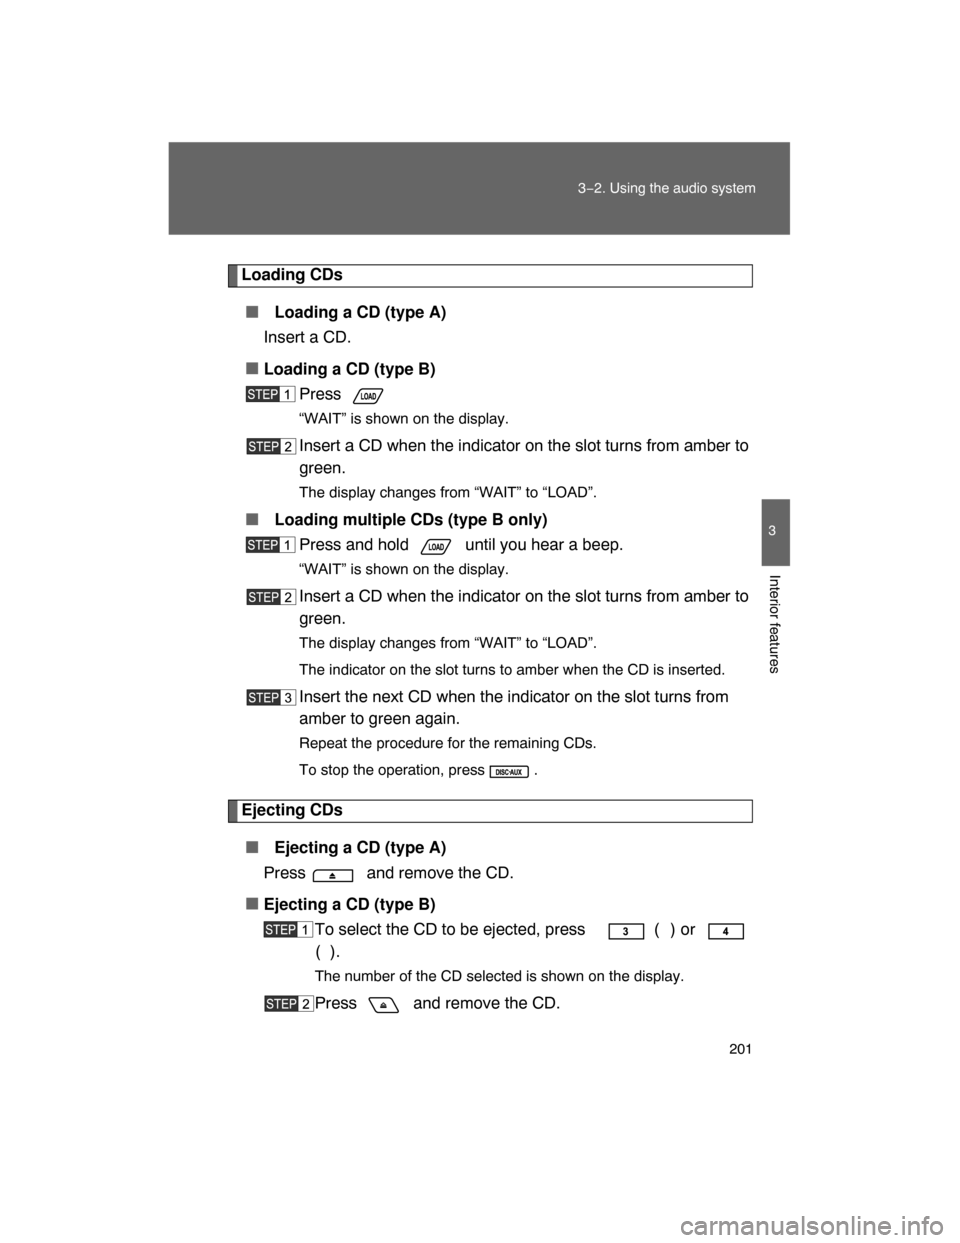
Loading CDs
� Loading a CD (type A)
Insert a CD.
�
Loading a CD (type B)
Press .
“WAIT” is shown on the display.
Insert a CD when the indicator on the slot turns from amber to
green.
The display changes from “WAIT” to “LOAD”.
� Loading multiple CDs (type B only)
Press and hold until you hear a beep.
“WAIT” is shown on the display.
Insert a CD when the indicator on the slot turns from amber to
green.
The display changes from “WAIT” to “LOAD”.
The indicator on the slot turns to amber when the CD is inserted.
Insert the next CD when the indicator on the slot turns from
amber to green again.
Repeat the procedure for the remaining CDs.
To stop the operation, press .
Ejecting CDs
� Ejecting a CD (type A)
Press and remove the CD.
�
Ejecting a CD (type B)
To select the CD to be ejected, press
() or
().
The number of the CD selected is shown on the display.
Press and remove the CD.


Search for desired stations by turning or or
pressing “
” or “
” on or .")

Fast�")