2008 SUZUKI SX4 electronic
[x] Cancel search: electronicPage 8 of 278
0-2
80J21-03E
IMPORTANT
WARNING/CAUTION/NOTE
Please read this manual and follow its
instructions carefully. To emphasize spe-
cial information, the symbol and the
words WARNING, CAUTION and NOTE
have special meanings. Pay special atten-
tion to the messages highlighted by these
signal words:
NOTE:
Indicates special infor mation to make
maintenance easier or instructions clearer.
75F135
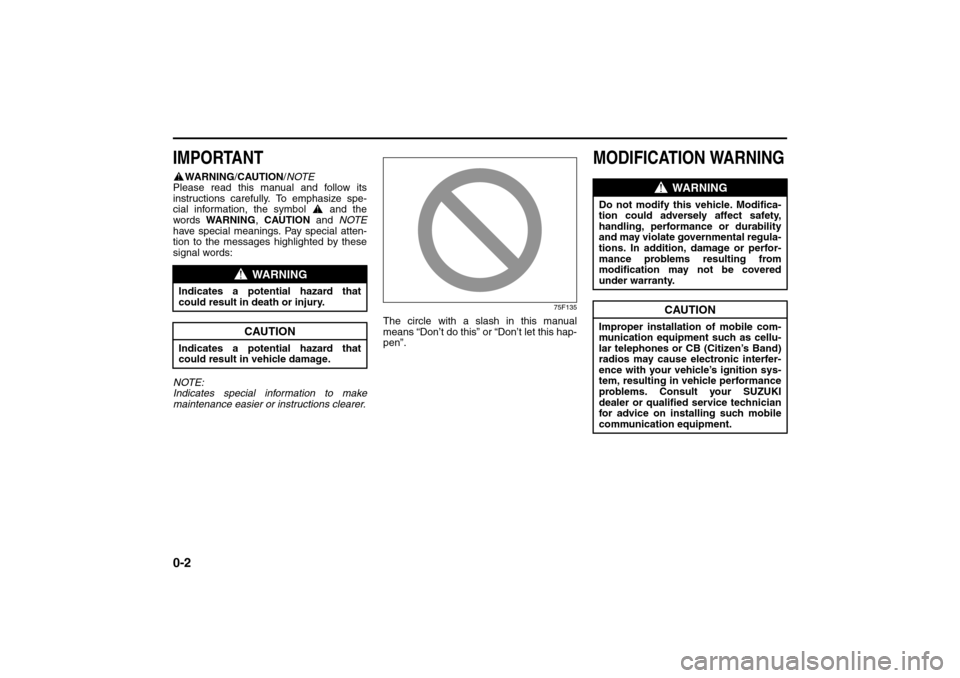
The circle with a slash in this manual
means “Don’t do this” or “Don’t let this hap-
pen”.
MODIFICATION WARNING
WARNING
Indicates a potential hazard that
could result in death or injury.
CAUTION
Indicates a potential hazard that
could result in vehicle damage.
WARNING
Do not modify this vehicle. Modifica-
tion could adversely affect safety,
handling, performance or durability
and may violate governmental regula-
tions. In addition, damage or perfor-
mance problems resulting from
modification may not be covered
under warranty.
CAUTION
Improper installation of mobile com-
munication equipment such as cellu-
lar telephones or CB (Citizen’s Band)
radios may cause electronic interfer-
ence with your vehicle’s ignition sys-
tem, resulting in vehicle performance
problems. Consult your SUZUKI
dealer or qualified service technician
for advice on installing such mobile
communication equipment.
Page 19 of 278

2-6
BEFORE DRIVING
80J21-03E
NOTE:
The keyless start system may not function
correctly in certain environments or under
certain operating conditions such as the
following:
When there are strong signals coming
from a television, power station or a cel-
lular phone.
When the remote controller is in contact
with or covered by a metal object.
When a radio wave type remote keyless
entry is used nearby.
When the remote controller is placed
near an electronic device such as per-
sonal computer.
Some additional precautions you should
take and information you should be aware
of are:
Make sure the ignition key is stowed in
the remote controller. If the remote con-
troller becomes unreliable, you will notbe able to lock or unlock the doors or
start the engine.
Be sure that the driver always carries the
remote controller.
If you lose one of the remote controllers,
ask your SUZUKI dealer as soon as pos-
sible for a replacement. Be sure to have
your dealer program the new remote
controller code in your vehicle’s memory
so that the old code is erased, or per-
form the programming procedure your-
self according to the instructions in this
section.
You can use up to four remote controllers
and ignition keys for your vehicle. Ask
your SUZUKI dealer for details.
The battery life of the remote controller
is about two years, but it can vary
depending on usage conditions.
80JC026
To stow the ignition key into the remote
controller, push the key in the remote con-
troller until you hear a click.
80JC027
To remove the key from the remote control-
ler, push the button (A) in the direction of
the arrow and pull the key out from the
remote controller.
CAUTION
The remote controller is a sensitive
electronic instrument. To avoid dam-
aging the remote controller:
Do not expose it to impacts, mois-
ture or high temperature such as by
leaving it on the dashboard under
direct sunlight.
Keep the remote controller away
from magnetic objects such as a
television.
(A)
Door Locks: 3, 5, 8
Page 21 of 278
2-8
BEFORE DRIVING
80J21-03E
66J017
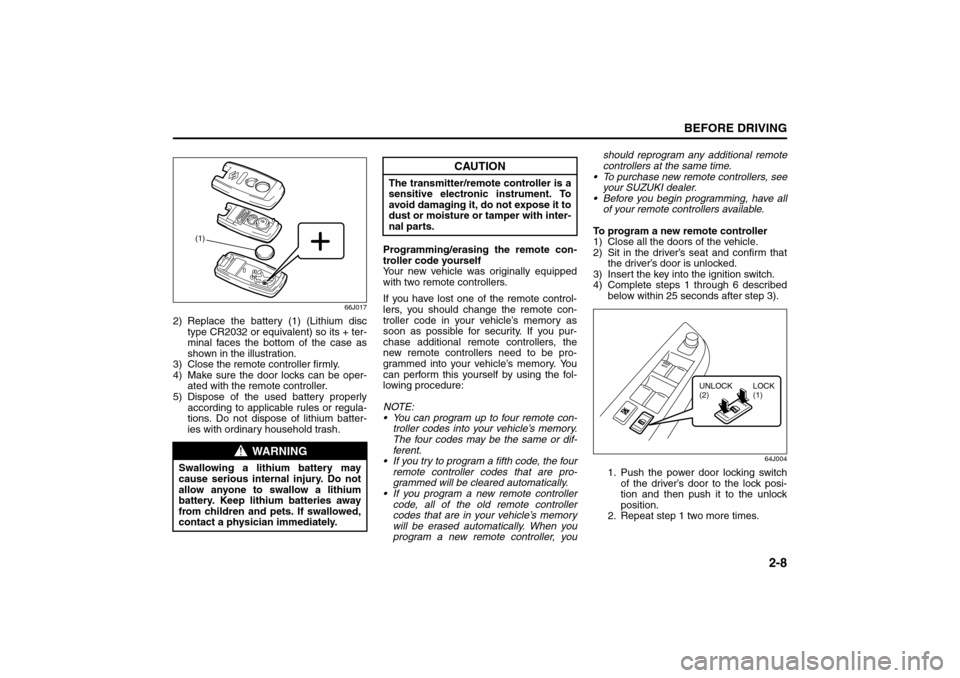
2) Replace the battery (1) (Lithium disc
type CR2032 or equivalent) so its + ter-
minal faces the bottom of the case as
shown in the illustration.
3) Close the remote controller firmly.
4) Make sure the door locks can be oper-
ated with the remote controller.
5) Dispose of the used battery properly
according to applicable rules or regula-
tions. Do not dispose of lithium batter-
ies with ordinary household trash.Programming/erasing the remote con-
troller code yourself
Your new vehicle was originally equipped
with two remote controllers.
If you have lost one of the remote control-
lers, you should change the remote con-
troller code in your vehicle’s memory as
soon as possible for security. If you pur-
chase additional remote controllers, the
new remote controllers need to be pro-
grammed into your vehicle’s memory. You
can perform this yourself by using the fol-
lowing procedure:
NOTE:
You can program up to four remote con-
troller codes into your vehicle’s memory.
The four codes may be the same or dif-
ferent.
If you try to program a fifth code, the four
remote controller codes that are pro-
grammed will be cleared automatically.
If you program a new remote controller
code, all of the old remote controller
codes that are in your vehicle’s memory
will be erased automatically. When you
program a new remote controller, youshould reprogram any additional remote
controllers at the same time.
To purchase new remote controllers, see
your SUZUKI dealer.
Before you begin programming, have all
of your remote controllers available.
To program a new remote controller
1) Close all the doors of the vehicle.
2) Sit in the driver’s seat and confirm that
the driver’s door is unlocked.
3) Insert the key into the ignition switch.
4) Complete steps 1 through 6 described
below within 25 seconds after step 3).
64J004
1. Push the power door locking switch
of the driver’s door to the lock posi-
tion and then push it to the unlock
position.
2. Repeat step 1 two more times.
WARNING
Swallowing a lithium battery may
cause serious internal injury. Do not
allow anyone to swallow a lithium
battery. Keep lithium batteries away
from children and pets. If swallowed,
contact a physician immediately.
(1)
CAUTION
The transmitter/remote controller is a
sensitive electronic instrument. To
avoid damaging it, do not expose it to
dust or moisture or tamper with inter-
nal parts.
UNLOCK
(2)LOCK
(1)
Windows: 3, 8
Page 25 of 278
2-12
BEFORE DRIVING
80J21-03E
Programming/removing a transmitter
code yourself
Your new vehicle was originally equipped
with two transmitters.
If you have lost one of the transmitters, you
should change the transmitter code in your
vehicle’s memory as soon as possible for
security. If you purchase additional trans-
mitters, the new transmitters need to be
programmed into your vehicle’s memory.
You can perform this yourself by using the
following procedure:
NOTE:
You can program up to three transmitter
codes into your vehicle’s memory. The
three codes may be the same or differ-
ent.
If you try to program a fourth code, the
oldest code will be cleared automatically.
To purchase new transmitters, see your
SUZUKI dealer.
Before you begin programming, have all
of your transmitters available.To program a new transmitter
1) Confirm that all the doors are closed
and the ignition key is out of the ignition
switch.
2) Open the driver’s door.
3) Insert the key, turn the ignition switch to
the “ON” position, turn the ignition
switch to the “LOCK” position and
remove the key within 10 seconds.
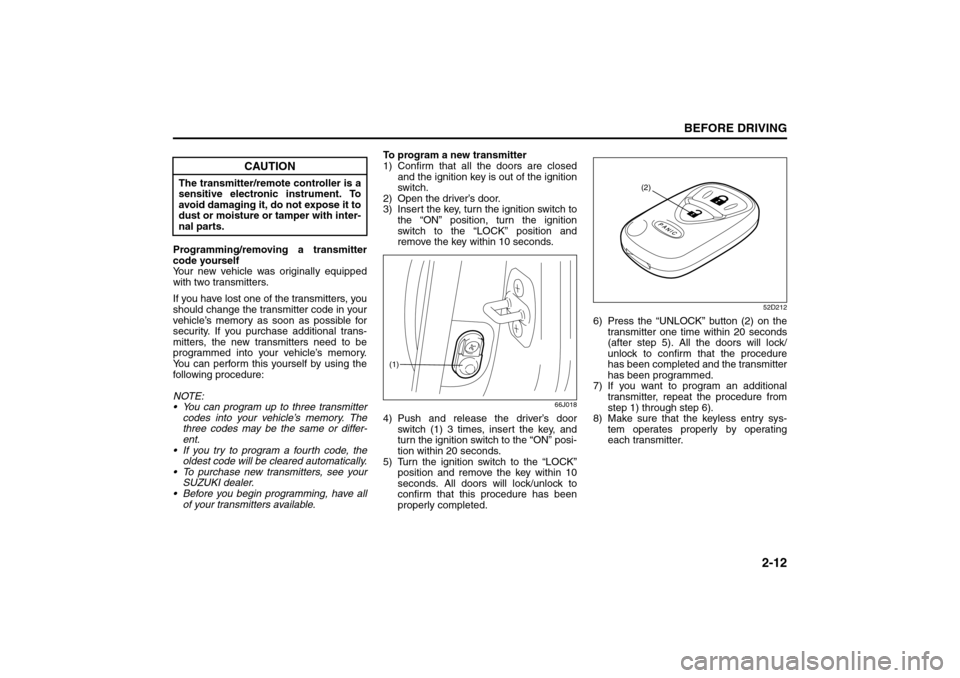
66J018
4) Push and release the driver’s door
switch (1) 3 times, insert the key, and
turn the ignition switch to the “ON” posi-
tion within 20 seconds.
5) Turn the ignition switch to the “LOCK”
position and remove the key within 10
seconds. All doors will lock/unlock to
confirm that this procedure has been
properly completed.
52D212
6) Press the “UNLOCK” button (2) on the
transmitter one time within 20 seconds
(after step 5). All the doors will lock/
unlock to confirm that the procedure
has been completed and the transmitter
has been programmed.
7) If you want to program an additional
transmitter, repeat the procedure from
step 1) through step 6).
8) Make sure that the keyless entry sys-
tem operates properly by operating
each transmitter.
CAUTION
The transmitter/remote controller is a
sensitive electronic instrument. To
avoid damaging it, do not expose it to
dust or moisture or tamper with inter-
nal parts.
(1)
(2)
Seat Adjustment: 3
Page 52 of 278
2-39BEFORE DRIVING
80J21-03E
Seat Belt Pretensioner System
(for front seat belt only)
52D011
Your vehicle is equipped with a seat belt
pretensioner system at the front seating
positions. You can use the pretensioner
seat belts in the same manner as ordinary
seat belts.
The seat belt pretensioner system works
with the SUPPLEMENTAL RESTRAINT
SYSTEM (advanced air bags). The crash
sensors and the electronic controller of the
air bag system also control the seat belt
pretensioners. The pretensioners are trig-
gered only when there is a frontal crash
severe enough to trigger the front air bags
and the seat belts are fastened. If the seat
belts are not fastened, the respective pre-
tensioner system will not be activated. For
precautions and general information
including servicing the pretensioner sys-
tem, refer to the “Supplemental Restraint
System (air bags)” section in addition to
this “Seat Belt Pretensioner System” sec-
tion, and follow all those precautions.
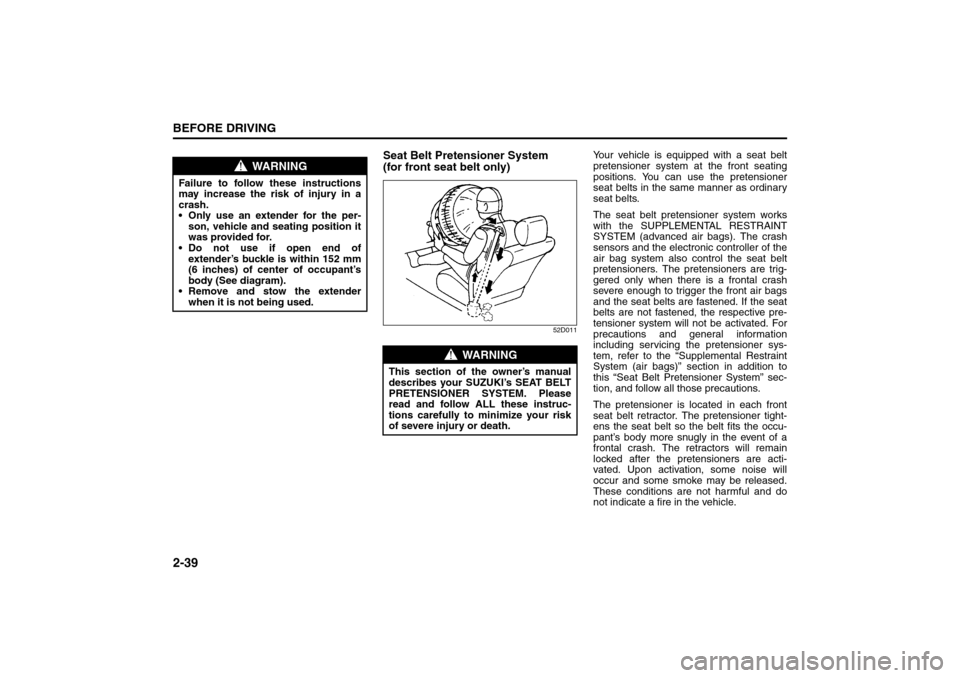
The pretensioner is located in each front
seat belt retractor. The pretensioner tight-
ens the seat belt so the belt fits the occu-
pant’s body more snugly in the event of a
frontal crash. The retractors will remain
locked after the pretensioners are acti-
vated. Upon activation, some noise will
occur and some smoke may be released.
These conditions are not harmful and do
not indicate a fire in the vehicle.
WARNING
Failure to follow these instructions
may increase the risk of injury in a
crash.
Only use an extender for the per-
son, vehicle and seating position it
was provided for.
Do not use if open end of
extender’s buckle is within 152 mm
(6 inches) of center of occupant’s
body (See diagram).
Remove and stow the extender
when it is not being used.
WARNING
This section of the owner’s manual
describes your SUZUKI’s SEAT BELT
PRETENSIONER SYSTEM. Please
read and follow ALL these instruc-
tions carefully to minimize your risk
of severe injury or death.
Supplemental Restraint System (advanced air bags):
3, 9, 12
Page 68 of 278

3-3STEERING COLUMN CONTROLS
80J21-03E
If the keyless start system red indicator
light illuminates, the remote controller
may not be in the vehicle or the battery
of the remote controller may be unreli-
able.
NOTE:
If the battery of the remote controller
runs down or there are strong radio
waves or noise, the operating range may
be narrower or the remote controller may
be inoperative.
If the remote controller is too close to the
door glass, it may not operate.
The ignition switch may not turn when
the remote controller is on the instru-
ment panel, in the glove box, in the door
pocket, in the sun visor or on the floor.
You can also turn the ignition switch by
inserting the ignition key into the slot.The ignition switch has the following four
positions:
LOCK (1)
This is the normal parking position. It is the
only position in which the key can be
removed. It locks the ignition, and prevents
normal use of the steering wheel.
For vehicles with an automatic transaxle,
the gearshift lever must be in the “P” (Park)
position to turn the key to the “LOCK” posi-
tion.
To release the steering lock, turn the igni-
tion switch clockwise to one of the other
positions. If you have trouble turning the
ignition switch to unlock the steering, try
turning the steering wheel slightly to the
right or left while turning the switch.
NOTE:
You must push the ignition switch in to turn
it to the “ACC” position. Also you must
push the ignition switch in to return it to the
“LOCK” position.
ACC (2)
Accessories such as the radio can oper-
ate, but the engine is off.
ON (3)
This is the normal operating position. All
electrical systems are on.START (4)
This is the position for starting the engine
using the starter motor. The switch should
be released from this position as soon as
the engine starts.
Ignition switch reminder
(When using the keyless start system)
A buzzer sounds intermittently to remind
you to return the ignition switch to the
“LOCK” position if it is in the “ACC” position
when the driver’s door is opened.
Ignition key reminder
(When using the ignition key)
A buzzer sounds intermittently to remind
you to remove the ignition key if it is in the
ignition switch when the driver’s door is
opened.
CAUTION
The remote controller is a sensitive
electronic instrument. To avoid dam-
aging the remote controller:
Do not expose it to impacts, mois-
ture or high temperature such as by
leaving it on the dashboard under
direct sunlight.
Keep the remote controller away
from magnetic objects such as a
television.
Lighting/Turn Signal Control Lever: 8
Page 82 of 278
4-5INSTRUMENT PANEL
80J21-03E
NOTE:
Because the disc brake system is self-
adjusting, the fluid level will drop as the
brake pads become worn.
Replenishing the brake fluid reservoir is
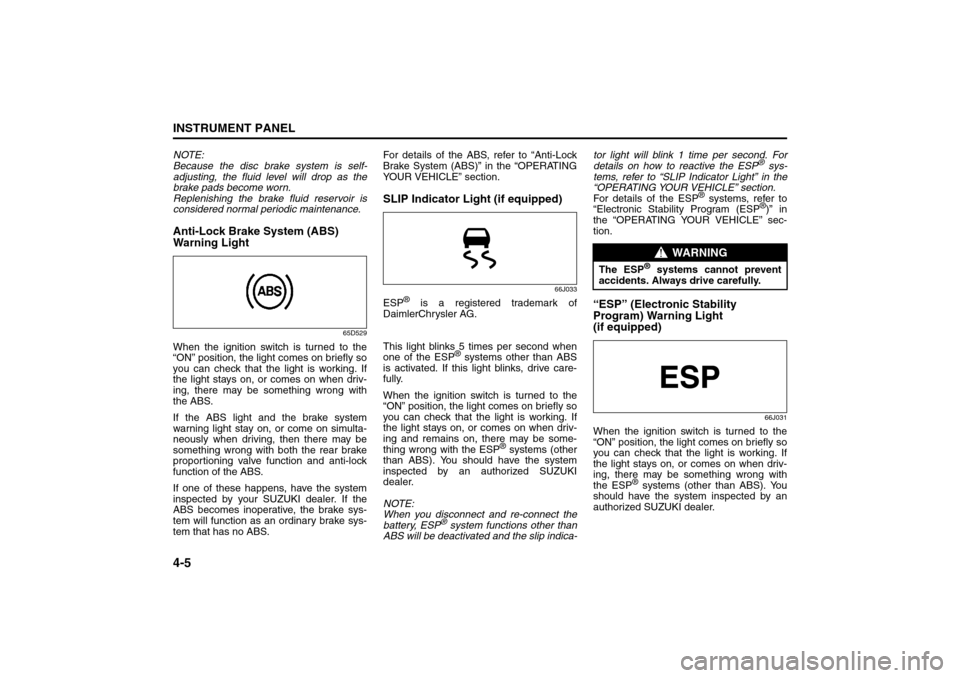
considered normal periodic maintenance.Anti-Lock Brake System (ABS)
Warning Light
65D529
When the ignition switch is turned to the
“ON” position, the light comes on briefly so
you can check that the light is working. If
the light stays on, or comes on when driv-
ing, there may be something wrong with
the ABS.
If the ABS light and the brake system
warning light stay on, or come on simulta-
neously when driving, then there may be
something wrong with both the rear brake
proportioning valve function and anti-lock
function of the ABS.
If one of these happens, have the system
inspected by your SUZUKI dealer. If the
ABS becomes inoperative, the brake sys-
tem will function as an ordinary brake sys-
tem that has no ABS.For details of the ABS, refer to “Anti-Lock
Brake System (ABS)” in the “OPERATING
YOUR VEHICLE” section.
SLIP Indicator Light (if equipped)
66J033
ESP
® is a registered trademark of
DaimlerChrysler AG.
This light blinks 5 times per second when
one of the ESP
® systems other than ABS
is activated. If this light blinks, drive care-
fully.
When the ignition switch is turned to the
“ON” position, the light comes on briefly so
you can check that the light is working. If
the light stays on, or comes on when driv-
ing and remains on, there may be some-
thing wrong with the ESP
® systems (other
than ABS). You should have the system
inspected by an authorized SUZUKI
dealer.
NOTE:
When you disconnect and re-connect the
battery, ESP
® system functions other than
ABS will be deactivated and the slip indica-tor light will blink 1 time per second. For
details on how to reactive the ESP
® sys-
tems, refer to “SLIP Indicator Light” in the
“OPERATING YOUR VEHICLE” section.
For details of the ESP
® systems, refer to
“Electronic Stability Program (ESP
®)” in
the “OPERATING YOUR VEHICLE” sec-
tion.
“ESP” (Electronic Stability
Program) Warning Light
(if equipped)
66J031
When the ignition switch is turned to the
“ON” position, the light comes on briefly so
you can check that the light is working. If
the light stays on, or comes on when driv-
ing, there may be something wrong with
the ESP
® systems (other than ABS). You
should have the system inspected by an
authorized SUZUKI dealer.
WARNING
The ESP
® systems cannot prevent
accidents. Always drive carefully.
Warning and Indicator Lights: 8
Page 83 of 278
4-6
INSTRUMENT PANEL
80J21-03E
For details of the ESP
® systems, refer to
“Electronic Stability Program (ESP
®)” in
the “OPERATING YOUR VEHICLE” sec-
tion.
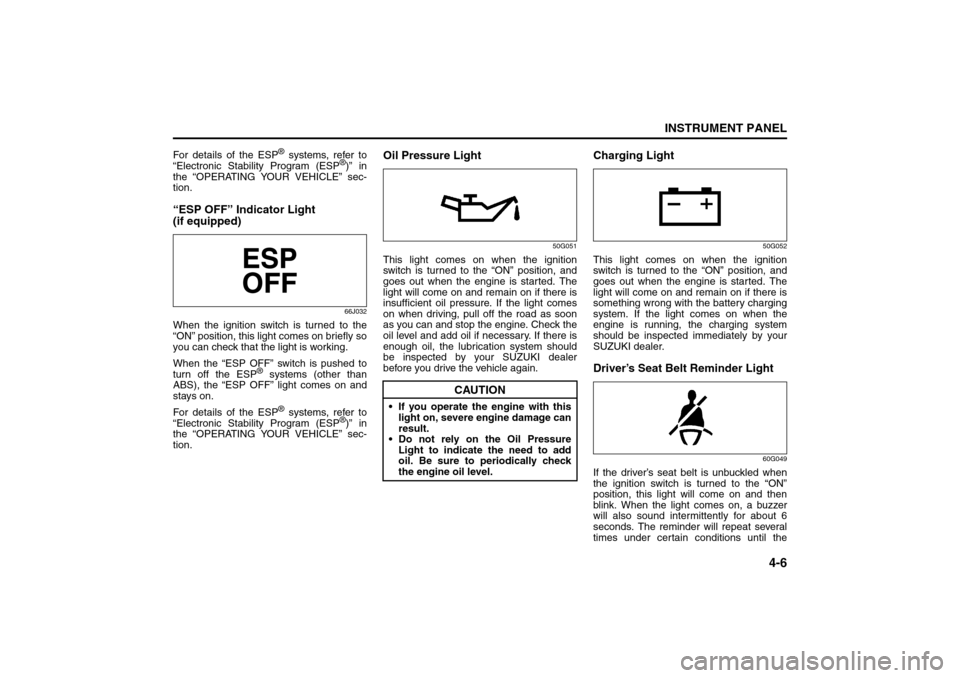
“ESP OFF” Indicator Light
(if equipped)
66J032
When the ignition switch is turned to the
“ON” position, this light comes on briefly so
you can check that the light is working.
When the “ESP OFF” switch is pushed to
turn off the ESP
® systems (other than
ABS), the “ESP OFF” light comes on and
stays on.
For details of the ESP
® systems, refer to
“Electronic Stability Program (ESP
®)” in
the “OPERATING YOUR VEHICLE” sec-
tion.
Oil Pressure Light
50G051
This light comes on when the ignition
switch is turned to the “ON” position, and
goes out when the engine is started. The
light will come on and remain on if there is
insufficient oil pressure. If the light comes
on when driving, pull off the road as soon
as you can and stop the engine. Check the
oil level and add oil if necessary. If there is
enough oil, the lubrication system should
be inspected by your SUZUKI dealer
before you drive the vehicle again.
Charging Light
50G052
This light comes on when the ignition
switch is turned to the “ON” position, and
goes out when the engine is started. The
light will come on and remain on if there is
something wrong with the battery charging
system. If the light comes on when the
engine is running, the charging system
should be inspected immediately by your
SUZUKI dealer.Driver’s Seat Belt Reminder Light
60G049
If the driver’s seat belt is unbuckled when
the ignition switch is turned to the “ON”
position, this light will come on and then
blink. When the light comes on, a buzzer
will also sound intermittently for about 6
seconds. The reminder will repeat several
times under certain conditions until the
CAUTION
If you operate the engine with this
light on, severe engine damage can
result.
Do not rely on the Oil Pressure
Light to indicate the need to add
oil. Be sure to periodically check
the engine oil level.
Warning and Indicator Lights: 8