2008 SUBARU TRIBECA start stop button
[x] Cancel search: start stop buttonPage 39 of 409
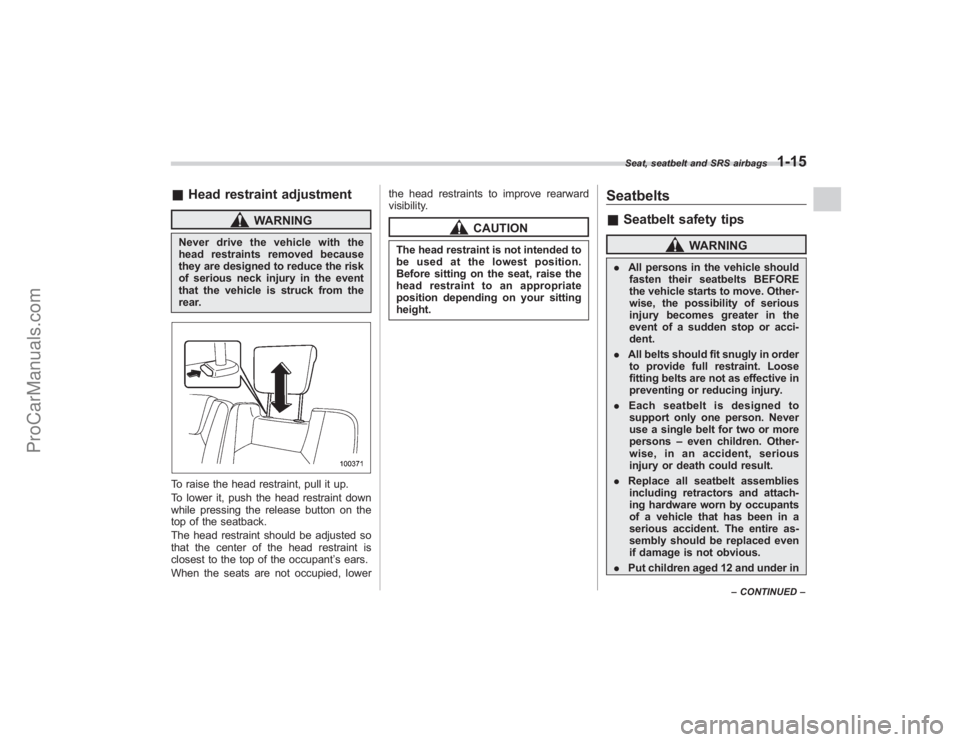
&Head restraint adjustment
WARNING
Never drive the vehicle with the
head restraints removed because
they are designed to reduce the risk
of serious neck injury in the event
that the vehicle is struck from the
rear.To raise the head restraint, pull it up.
To lower it, push the head restraint down
while pressing the release button on the
top of the seatback.
The head restraint should be adjusted so
that the center of the head restraint is
closest to the top of the occupant ’s ears.
When the seats are not occupied, lower the head restraints to improve rearward
visibility.
CAUTION
The head restraint is not intended to
be used at the lowest position.
Before sitting on the seat, raise the
head restraint to an appropriate
position depending on your sitting
height.
Seatbelts&
Seatbelt safety tips
WARNING
. All persons in the vehicle should
fasten their seatbelts BEFORE
the vehicle starts to move. Other-
wise, the possibility of serious
injury becomes greater in the
event of a sudden stop or acci-
dent.
. All belts should fit snugly in order
to provide full restraint. Loose
fitting belts are not as effective in
preventing or reducing injury.
. Each seatbelt is designed to
support only one person. Never
use a single belt for two or more
persons –even children. Other-
wise, in an accident, serious
injury or death could result.
. Replace all seatbelt assemblies
including retractors and attach-
ing hardware worn by occupants
of a vehicle that has been in a
serious accident. The entire as-
sembly should be replaced even
if damage is not obvious.
. Put children aged 12 and under inSeat, seatbelt and SRS airbags
1-15
–CONTINUED –
ProCarManuals.com
Page 157 of 409
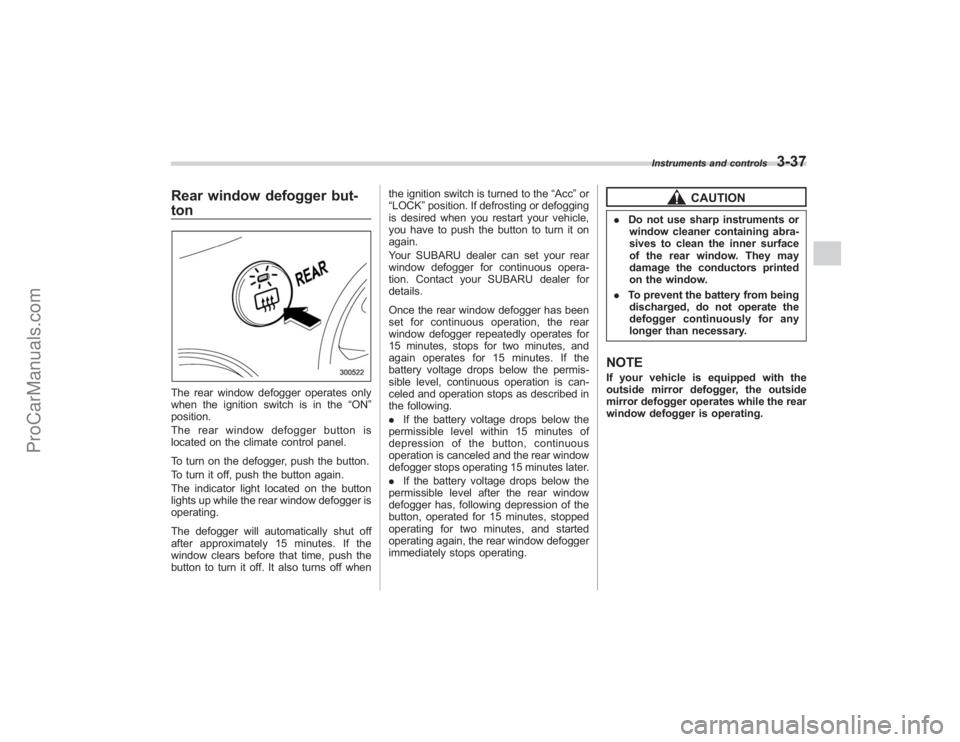
Rear window defogger but-
tonThe rear window defogger operates only
when the ignition switch is in the“ON”
position.
The rear window defogger button is
located on the climate control panel.
To turn on the defogger, push the button.
To turn it off, push the button again.
The indicator light located on the button
lights up while the rear window defogger is
operating.
The defogger will automatically shut off
after approximately 15 minutes. If the
window clears before that time, push the
button to turn it off. It also turns off when the ignition switch is turned to the
“Acc ”or
“LOCK” position. If defrosting or defogging
is desired when you restart your vehicle,
you have to push the button to turn it on
again.
Your SUBARU dealer can set your rear
window defogger for continuous opera-
tion. Contact your SUBARU dealer for
details.
Once the rear window defogger has been
set for continuous operation, the rear
window defogger repeatedly operates for
15 minutes, stops for two minutes, and
again operates for 15 minutes. If the
battery voltage drops below the permis-
sible level, continuous operation is can-
celed and operation stops as described in
the following.
. If the battery voltage drops below the
permissible level within 15 minutes of
depression of the button, continuous
operation is canceled and the rear window
defogger stops operating 15 minutes later.
. If the battery voltage drops below the
permissible level after the rear window
defogger has, following depression of the
button, operated for 15 minutes, stopped
operating for two minutes, and started
operating again, the rear window defogger
immediately stops operating.
CAUTION
. Do not use sharp instruments or
window cleaner containing abra-
sives to clean the inner surface
of the rear window. They may
damage the conductors printed
on the window.
. To prevent the battery from being
discharged, do not operate the
defogger continuously for any
longer than necessary.NOTEIf your vehicle is equipped with the
outside mirror defogger, the outside
mirror defogger operates while the rear
window defogger is operating.
Instruments and controls
3-37
ProCarManuals.com
Page 188 of 409
5-12
Audio
.If you insert a disc that cannot be
played by the player, “CHECK DISC ”
will appear on the display and the
player will revert to the previously
selected mode.
. The player is designed to be able to
play music CD-Rs and music CD-RWs,
but it may not be able to play certain
ones.
. CDs (i.e., 8 cm/3 inch CDs) are not
supported, and if inserted, they will be
immediately ejected.
! When CD is in the player
When the “CD”button (1) is pressed, the
player will start playback.NOTEAfter the last song finishes, the player
will automatically return to track 1 (the
first song on the disc).
! To stop playback of a CD
When the “POWER-VOL ”button is
pressed during playback of a CD, the CD
stops playing temporarily. To let the CD
resume playing, press the button again.
! To select a song from its beginning
! Forward direction
Briefly press the “
”side of the TUNE
TRACK button (2) to skip to the beginning of the next track/file (track). Each time this
side of the button is pressed, the indicated
track/file (track) number will increase.
NOTEIn an MP3 folder, skipping past the last
track/file (track) will take you back to
the first track/file (track) in the folder.
!
Backward direction
Briefly press the “
”side of the TUNE
TRACK button (2) to skip to the beginning
of the current track/file (track). Each time
this side of the button is pressed, the
indicated track/file (track) number will
decrease.
NOTEIn an MP3 folder, skipping past the last
track/file (track) will take you back to
the first track/file (track) in the folder.
! Fast-forwarding and fast-reversing
! Fast-forwarding
Press the “
”side of the TUNE TRACK
button (2) continuously to fast-forward the
track/file.
Release the button to stop fast-forwarding.
NOTEIf you fast-forward past the last track/
file (track) on the disc, the player will select the first track/file (track) on the
disc and start playing it.
!
Fast-reversing
Press the “
”side of the TUNE TRACK
button (2) continuously to fast-reverse the
track/file (track).
Release the button to stop fast-reversing.
NOTEIf you fast-reverse to the beginning of
the first track/file (track) on the disc,
the fast-reversing will stop and the
player will start playing the first track/
file (track) on the disc.
! Folder selection (MP3 disc)
Press the “
”side of the SEEK FLDR
button (2) briefly to select the next folder.
Pressing the “”side of the same button
the first time makes the player go back to
the beginning of the currently selected file;
pressing it a second time makes it go back
to the previously selected file.
NOTEOnly MP3 folders are recognized when
an attempt to select the next or pre-
vious folder is made. If no appropriate
folder exists on the disc, pressing the
“
” or “
”side of the SEEK FLDR
button has no effect.
ProCarManuals.com
Page 199 of 409
!How to insert a CD(s)
! Inserting a CD
1. Briefly press the “LOAD”button (10). If
the magazine in the player has an idle
position where you can insert a disc, the
disc number indicator associated with the
idle position will blink.
If no indicator blinks, it means that there is
no idle position in the magazine.
2. After the disc number indicator has
started to flash, insert the disc when
“LOAD” flashes on the display. The disc
will then be automatically drawn in, and
the player will begin to play back the first
track of the disc.
. To insert more discs in succession,
repeat Steps 1 and 2. The magazine will
be loaded with discs in the ascending
order of position number.
If you do not insert any disc in 15 seconds
after you have pressed the “LOAD”button,
the player will begin to play back the first
track of the last disc you have inserted.
. The disc indicator steadily lights up if a
disc is already inserted in the correspond-
ing position of the magazine.
. While the player is in the loading mode,
if you press “FM AM”button, the player will
enter the standby mode. Press the “CD”
button (1) to start playback. !
Inserting a disc in a desired position
1. Briefly press the “LOAD”button (10). If
the magazine in the player has an idle
position where you can insert a disc, the
disc number indicator associated with the
idle position will blink.
The positions in the magazine the indica-
tor of which steadily lights up are already
loaded with discs.
2. Press the disc select button (9) at the
position where you want to insert a disc.
3. Insert the disc when “LOAD”flashes
on the display. The disc will then be
automatically drawn in, and the player will
begin to play the first track on the disc.
. If you wish to insert another disc,
repeat the procedure beginning with step
1.
If you do not insert any disc in 15 seconds
after you have pressed the “LOAD” button,
the player will begin to play back the first
track of the last disc you have inserted.
. While the player is in the loading mode,
if you press “FM AM”button, the player will
enter standby mode. Press the “CD ”
button (1) to start playback.
! Loading all the magazine (Full disc
loading mode)
1. If you continue to press the “LOAD
”button
(10) for more than 1.5 seconds, the
player will produce beep sound and will
enter the full disc loading mode.
2. A “disc number ”indicator will blink,
and “ALL LOAD ”will be on display for a
period of 15 seconds. If a disc is success-
fully loaded during this period, the disc
number indicator will stop blinking and will
steadily light.
3. When the loading of a disc is com-
plete, the next disc number indicator will
blink. Then repeat Step 2.
4. When the magazine is filled with discs
by repeating Steps 2 and 3, the player will
start playback of the discs, beginning with
the one inserted first.
If you fail to insert any disc during each 15
seconds interval, the full disc loading
mode will be canceled, and the player will
start playback of the disc inserted first.
! How to play back a CD or make a
pause
! When there is no CD inserted:
Insert a CD by referring to “How to insert a
CD(s) ”.
When a CD is loaded, the player will start
playback of the CD, beginning with the
first track.
Audio
5-23
– CONTINUED –
ProCarManuals.com
Page 200 of 409
5-24
Audio
!When there are CDs loaded:
Press a desired one of the disc select
buttons (9) the disc number indicator of
which steadily lights up. The player will
then start playback of the selected CD,
beginning with the first track.
If a disc that the player cannot read has
been loaded, “CHECK DISC ”will appear
on the display and the player will not play
anything.
! To select a song from its beginning
! Forward direction
Briefly press the “
”side of the TUNE
TRACK button (2) to skip to the beginning
of the next track/file (track). Each time the
button is pressed, the indicated track/file
(track) number will increase.
NOTEIn an MP3 folder, skipping past the last
track/file (track) will take you back to
the first track/file (track) in the folder.
! Backward direction
Briefly press the “
”side of the TUNE
TRACK button (2) to skip to the beginning
of the current track/file (track). Each time
the button is pressed, the indicated track/
file (track) number will decrease.
NOTEIn an MP3 folder, skipping past the first
track/file (track) will take you to the last
track/file (track) in the folder.
! Fast-forwarding and fast-reversing
! Fast-forwarding
Press the “
”side of the TUNE TRACK
button (2) continuously to fast-forward the
track/file.
Release the button to stop fast-forwarding.
NOTEIf you fast-forward to the end of the last
track/file (track), fast-forwarding will
stop and the player will start playback
beginning with the first track/file
(track).
! Fast-reversing
Press the “
”side of the TUNE TRACK
button (2) continuously to fast-reverse the
track/file.
Release the button to stop fast-reversing.
NOTEIf you fast-reverse to the beginning of
the first track/file (track), fast-reversing
will stop and the player will start play-
back. !
Repeating
! To repeat the currently playing track/
file (track)
To repeat a track/file (track), briefly press
the “RPT ”button (6) while the track/file
(track) is playing. The display will show
“RPT ”, and the track/file (track) will be
repeated.
To cancel the track/file (track) repeat-play
mode, briefly press the “RPT ”button
twice. The “RPT”indication will go off,
and the normal playback mode will be
resumed.
NOTE. Each time you briefly press the
button, the mode will change to the
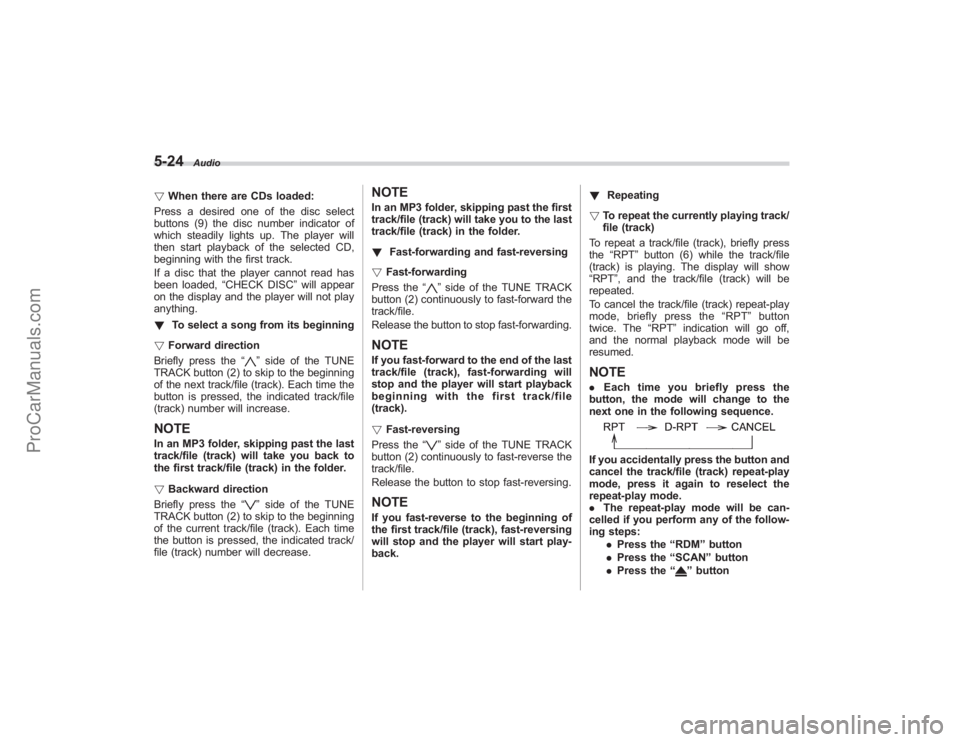
next one in the following sequence.If you accidentally press the button and
cancel the track/file (track) repeat-play
mode, press it again to reselect the
repeat-play mode.
. The repeat-play mode will be can-
celled if you perform any of the follow-
ing steps:
.Press the “RDM ”button
. Press the “SCAN” button
. Press the “
”button
ProCarManuals.com
Page 243 of 409
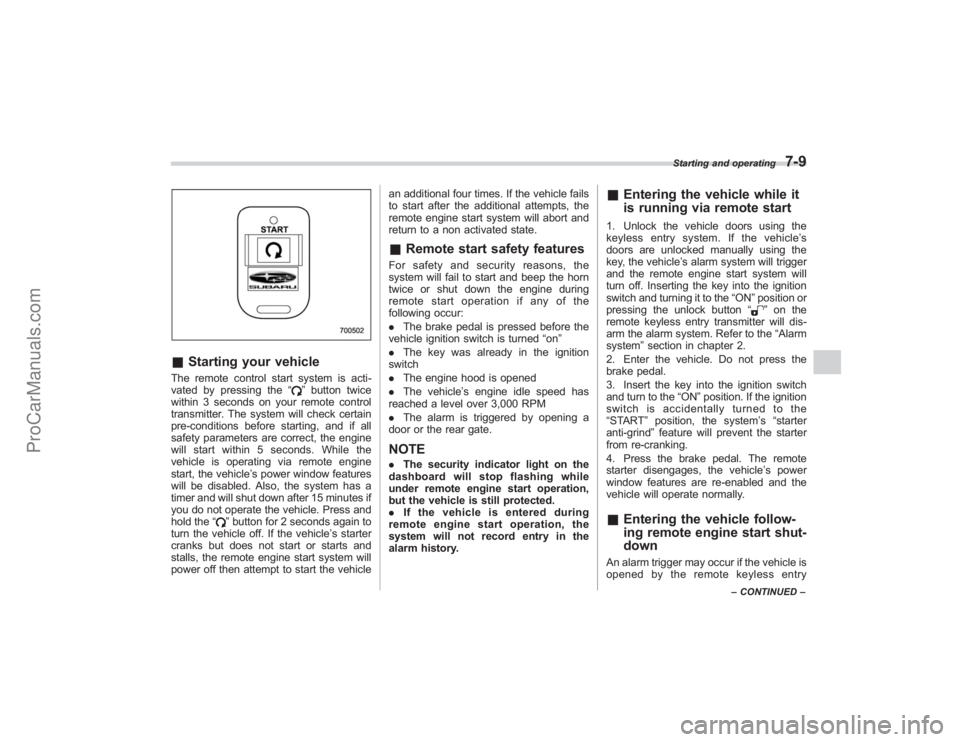
&Starting your vehicleThe remote control start system is acti-
vated by pressing the “
”button twice
within 3 seconds on your remote control
transmitter. The system will check certain
pre-conditions before starting, and if all
safety parameters are correct, the engine
will start within 5 seconds. While the
vehicle is operating via remote engine
start, the vehicle’ s power window features
will be disabled. Also, the system has a
timer and will shut down after 15 minutes if
you do not operate the vehicle. Press and
hold the “
”button for 2 seconds again to
turn the vehicle off. If the vehicle ’s starter
cranks but does not start or starts and
stalls, the remote engine start system will
power off then attempt to start the vehicle an additional four times. If the vehicle fails
to start after the additional attempts, the
remote engine start system will abort and
return to a non activated state.
&
Remote start safety featuresFor safety and security reasons, the
system will fail to start and beep the horn
twice or shut down the engine during
remote start operation if any of the
following occur:
. The brake pedal is pressed before the
vehicle ignition switch is turned “on ”
. The key was already in the ignition
switch
. The engine hood is opened
. The vehicle’ s engine idle speed has
reached a level over 3,000 RPM
. The alarm is triggered by opening a
door or the rear gate.NOTE. The security indicator light on the
dashboard will stop flashing while
under remote engine start operation,
but the vehicle is still protected.
. If the vehicle is entered during
remote engine start operation, the
system will not record entry in the
alarm history.
& Entering the vehicle while it
is running via remote start1. Unlock the vehicle doors using the
keyless entry system. If the vehicle ’s
doors are unlocked manually using the
key, the vehicle’ s alarm system will trigger
and the remote engine start system will
turn off. Inserting the key into the ignition
switch and turning it to the “ON”position or
pressing the unlock button “
”on the
remote keyless entry transmitter will dis-
arm the alarm system. Refer to the “Alarm
system ”section in chapter 2.
2. Enter the vehicle. Do not press the
brake pedal.
3. Insert the key into the ignition switch
and turn to the “ON”position. If the ignition
switch is accidentally turned to the
“START ”position, the system ’s “starter
anti-grind ”feature will prevent the starter
from re-cranking.
4. Press the brake pedal. The remote
starter disengages, the vehicle ’s power
window features are re-enabled and the
vehicle will operate normally.
& Entering the vehicle follow-
ing remote engine start shut-
downAn alarm trigger may occur if the vehicle is
opened by the remote keyless entry
Starting and operating
7-9
–CONTINUED –
ProCarManuals.com
Page 247 of 409
collected and stored in memory to
allow the transmission to shift at the
most appropriate times for the current
condition of your vehicle. Optimized
shifting will be restored as the vehicle
continues to be driven for a while.&Selector lever
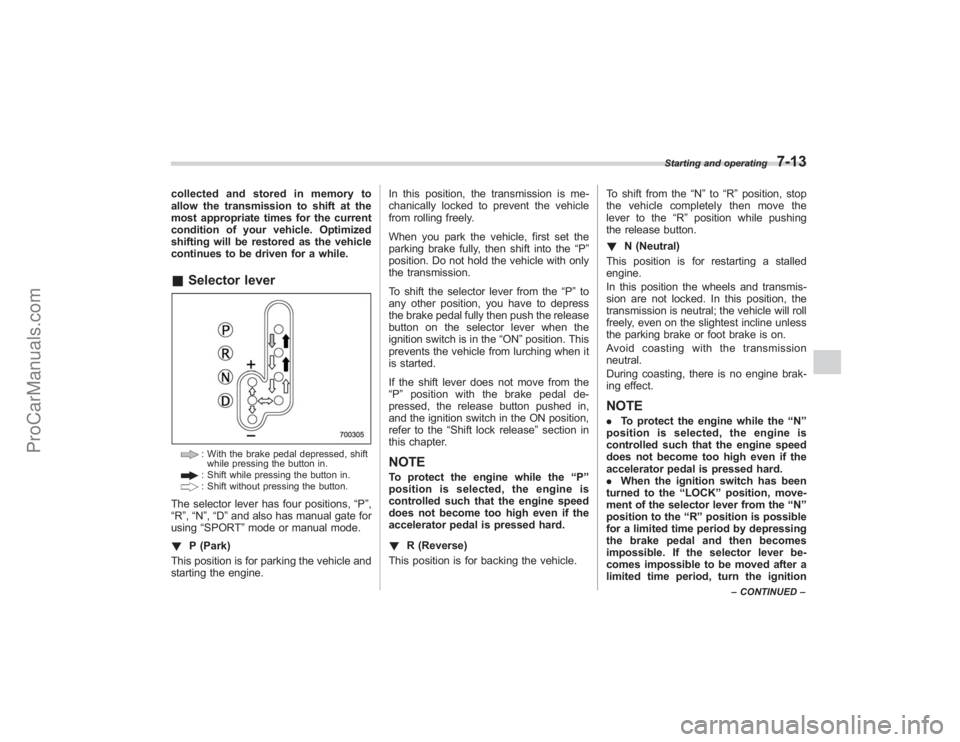
: With the brake pedal depressed, shift
while pressing the button in.: Shift while pressing the button in.: Shift without pressing the button.
The selector lever has four positions, “P”,
“R ”,“N ”,“D ”and also has manual gate for
using “SPORT ”mode or manual mode.
! P (Park)
This position is for parking the vehicle and
starting the engine. In this position, the transmission is me-
chanically locked to prevent the vehicle
from rolling freely.
When you park the vehicle, first set the
parking brake fully, then shift into the
“P”
position. Do not hold the vehicle with only
the transmission.
To shift the selector lever from the “P”to
any other position, you have to depress
the brake pedal fully then push the release
button on the selector lever when the
ignition switch is in the “ON”position. This
prevents the vehicle from lurching when it
is started.
If the shift lever does not move from the
“ P ” position with the brake pedal de-
pressed, the release button pushed in,
and the ignition switch in the ON position,
refer to the “Shift lock release ”section in
this chapter.
NOTETo protect the engine while the “P ”
position is selected, the engine is
controlled such that the engine speed
does not become too high even if the
accelerator pedal is pressed hard.
! R (Reverse)
This position is for backing the vehicle. To shift from the
“N ”to “R”position, stop
the vehicle completely then move the
lever to the “R”position while pushing
the release button.
! N (Neutral)
This position is for restarting a stalled
engine.
In this position the wheels and transmis-
sion are not locked. In this position, the
transmission is neutral; the vehicle will roll
freely, even on the slightest incline unless
the parking brake or foot brake is on.
Avoidcoastingwiththetransmission
neutral.
During coasting, there is no engine brak-
ing effect.
NOTE. To protect the engine while the “N ”
position is selected, the engine is
controlled such that the engine speed
does not become too high even if the
accelerator pedal is pressed hard.
. When the ignition switch has been
turned to the “LOCK ”position, move-
ment of the selector lever from the “N ”
position to the “R ” position is possible
for a limited time period by depressing
the brake pedal and then becomes
impossible. If the selector lever be-
comes impossible to be moved after a
limited time period, turn the ignition
Starting and operating
7-13
– CONTINUED –
ProCarManuals.com
Page 249 of 409
If you inadvertently have turned the igni-
tion switch to the“LOCK”position with the
selector lever in the “N”position, proceed
as follows. By referring to the “Shift lock
release ”section in this chapter, remove
the cover. Then, with a screwdriver in-
serted into the hole, move the selector
lever to the “P”position while pressing the
release button. If the selector lever re-
verse inhibiting function fails, have the
vehicle inspected by the nearest SUBARU
dealer.& Selection of manual modeWith the vehicle either moving or station-
ary, move the selector lever from the “D”
position to the manual gate then move it to
the “+”end or “−”end of the manual gate
to select manual mode.
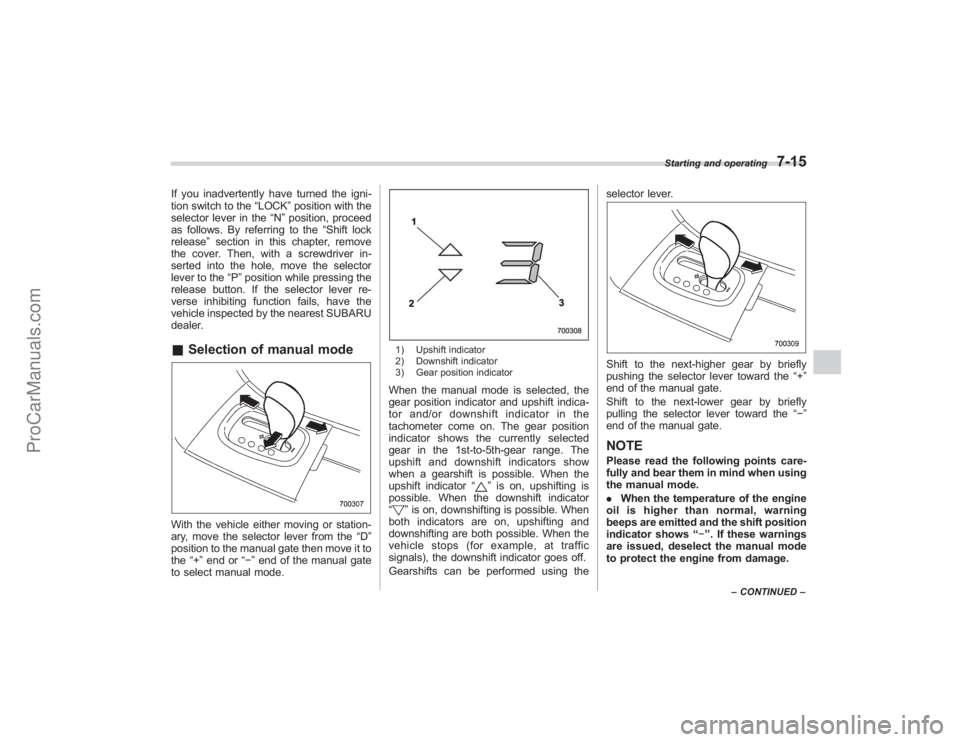
1) Upshift indicator
2) Downshift indicator
3) Gear position indicatorWhen the manual mode is selected, the
gear position indicator and upshift indica-
tor and/or downshift indicator in the
tachometer come on. The gear position
indicator shows the currently selected
gear in the 1st-to-5th-gear range. The
upshift and downshift indicators show
when a gearshift is possible. When the
upshift indicator “
”is on, upshifting is
possible. When the downshift indicator
“
” is on, downshifting is possible. When
both indicators are on, upshifting and
downshifting are both possible. When the
vehicle stops (for example, at traffic
signals), the downshift indicator goes off.
Gearshifts can be performed using the selector lever.
Shift to the next-higher gear by briefly
pushing the selector lever toward the
“+”
end of the manual gate.
Shift to the next-lower gear by briefly
pulling the selector lever toward the “−”
end of the manual gate.NOTEPlease read the following points care-
fully and bear them in mind when using
the manual mode.
. When the temperature of the engine
oil is higher than normal, warning
beeps are emitted and the shift position
indicator shows “− ”. If these warnings
are issued, deselect the manual mode
to protect the engine from damage.
Starting and operating
7-15
– CONTINUED –
ProCarManuals.com