2008 SUBARU OUTBACK battery
[x] Cancel search: batteryPage 167 of 444
3-48Instruments and controls
NOTE
When the control dial is turned fully
upward, the illumination brightness
becomes the maximum and the auto-
matic dimming function does not work
at all. Parking light switch
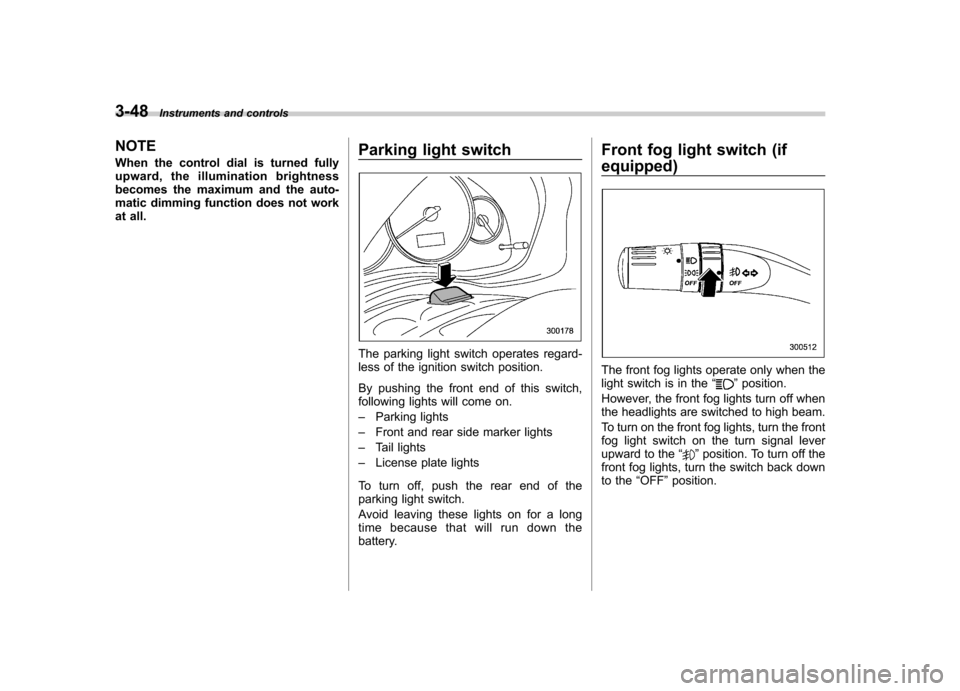
The parking light switch operates regard-
less of the ignition switch position.
By pushing the front end of this switch,
following lights will come on. –
Parking lights
– Front and rear side marker lights
– Tail lights
– License plate lights
To turn off, push the rear end of the
parking light switch.
Avoid leaving these lights on for a long
time because that will run down the
battery. Front fog light switch (if
equipped)
The front fog lights operate only when the
light switch is in the
“”position.
However, the front fog lights turn off when
the headlights are switched to high beam.
To turn on the front fog lights, turn the front
fog light switch on the turn signal lever
upward to the “
”position. To turn off the
front fog lights, turn the switch back down
to the “OFF ”position.
Page 172 of 444
speed is low; shorter when the vehicle
speed is high).
When you subsequently move the selec-
tor lever of the automatic transmission tothe“R ”position, the rear wiper will switch
to continuous operation. When you move
the selector lever from the “R ”position to
some other position, the rear wiper will
return to intermittent operation. ! Washer
To wash the rear window while the rear
wiper is operating, turn the knob on the
end of the wiper control lever upward tothe “
”position. The washer fluid sprays
until you release the knob.
To wash the rear window when the rear
wiper is not in use, turn the knob on the
end of the wiper control lever downward tothe “
”position. The washer fluid sprays
and the wiper operates until you release
the knob. Windshield wiper deicer (if equipped)
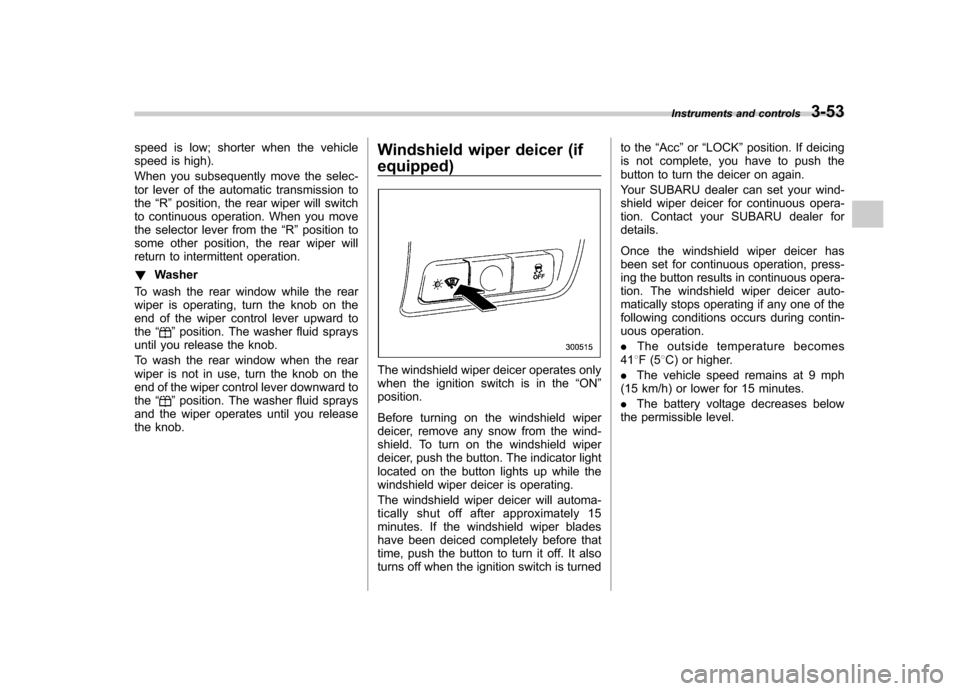
The windshield wiper deicer operates only
when the ignition switch is in the
“ON ”
position.
Before turning on the windshield wiper
deicer, remove any snow from the wind-
shield. To turn on the windshield wiper
deicer, push the button. The indicator light
located on the button lights up while the
windshield wiper deicer is operating.
The windshield wiper deicer will automa-
tically shut off after approximately 15
minutes. If the windshield wiper blades
have been deiced completely before that
time, push the button to turn it off. It also
turns off when the ignition switch is turned to the
“Acc ”or “LOCK ”position. If deicing
is not complete, you have to push the
button to turn the deicer on again.
Your SUBARU dealer can set your wind-
shield wiper deicer for continuous opera-
tion. Contact your SUBARU dealer fordetails.
Once the windshield wiper deicer has
been set for continuous operation, press-
ing the button results in continuous opera-
tion. The windshield wiper deicer auto-
matically stops operating if any one of the
following conditions occurs during contin-
uous operation. . The outside temperature becomes
41 8F(5 8C) or higher.
. The vehicle speed remains at 9 mph
(15 km/h) or lower for 15 minutes.. The battery voltage decreases below
the permissible level. Instruments and controls
3-53
Page 173 of 444
3-54Instruments and controls
Rear window defogger but- ton
Vehicle with manual climate control sys- tem
Vehicle with automatic climate control system
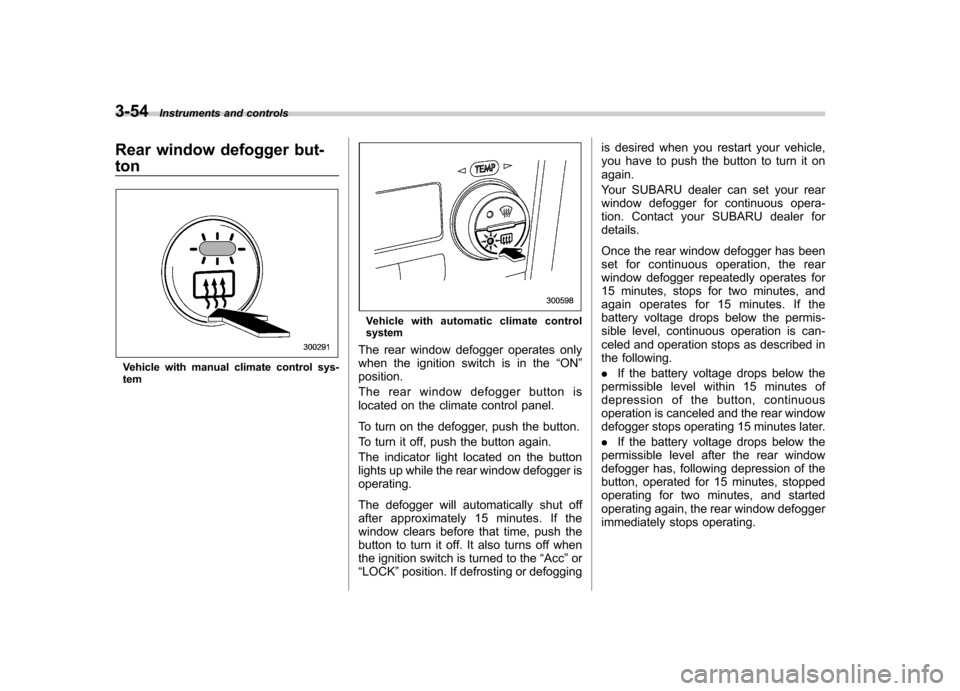
The rear window defogger operates only
when the ignition switch is in the “ON ”
position.
The rear window defogger button is
located on the climate control panel.
To turn on the defogger, push the button.
To turn it off, push the button again.
The indicator light located on the button
lights up while the rear window defogger isoperating.
The defogger will automatically shut off
after approximately 15 minutes. If the
window clears before that time, push the
button to turn it off. It also turns off when
the ignition switch is turned to the “Acc ”or
“ LOCK ”position. If defrosting or defogging is desired when you restart your vehicle,
you have to push the button to turn it onagain.
Your SUBARU dealer can set your rear
window defogger for continuous opera-
tion. Contact your SUBARU dealer fordetails.
Once the rear window defogger has been
set for continuous operation, the rear
window defogger repeatedly operates for
15 minutes, stops for two minutes, and
again operates for 15 minutes. If the
battery voltage drops below the permis-
sible level, continuous operation is can-
celed and operation stops as described in
the following. .
If the battery voltage drops below the
permissible level within 15 minutes of
depression of the button, continuous
operation is canceled and the rear window
defogger stops operating 15 minutes later. . If the battery voltage drops below the
permissible level after the rear window
defogger has, following depression of the
button, operated for 15 minutes, stopped
operating for two minutes, and started
operating again, the rear window defogger
immediately stops operating.
Page 174 of 444

CAUTION
. Do not use sharp instruments or
window cleaner containing abra-
sives to clean the inner surface
of the rear window. They may
damage the conductors printed
on the window.
. To prevent the battery from being
discharged, do not operate the
defogger continuously for any
longer than necessary.
NOTE
If your vehicle is equipped with the
outside mirror defogger, the outside
mirror defogger operates while the rear
window defogger is operating. Mirrors
Always check that the inside and outside
mirrors are properly adjusted before you
start driving. &
Inside mirror
The inside mirror has a day and night
position. Pull the tab at the bottom of the
mirror toward you for the night position.
Push it away for the day position. The
night position reduces glare from head-lights. &
Auto-dimming mirror/com-
pass (if equipped)
1) Left button
2) Auto dimming indicator
3) Photosensor
4) Right button
The auto-dimming mirror/compass has an
anti-glare feature which automatically re-
duces glare coming from headlights of
vehicles behind you. It also contains a
built-in compass. . By pressing and releasing the left
button, the automatic dimming function is
toggled on or off. When the automatic
dimming function is on, the auto dimming
indicator light (green) located to the right
of the button will illuminate. . By pressing and releasing the right Instruments and controls
3-55
– CONTINUED –
Page 177 of 444

3-58Instruments and controls
“LOCK ”position. If defrosting or defogging
is desired when you restart your vehicle,
you have to push the button to turn it onagain. NOTE . While the outside mirror defogger is
operating, the rear window defogger
also operates.. When the rear window defogger has
been set for continuous operation, the
outside mirror defogger also operates
continuously. Refer to the “Rear win-
dow defogger button ”section in this
chapter.
CAUTION
To prevent the battery from being
discharged, do not operate the de-
fogger continuously for any longer
than necessary. Tilt/telescopic steering wheel
WARNING
. Do not adjust the steering wheel
tilt/telescopic position while driv-
ing. This may cause loss of
vehicle control and result in
personal injury.
. If the lever cannot be raised to
the fixed position, adjust the
steering wheel again. It is dan-
gerous to drive without locking
the steering wheel. This may
cause loss of vehicle control
and result in personal injury.
1. Adjust the seat position. Refer to the “
Front seats ”section (chapter 1).
2. Pull the tilt/telescopic lock lever down.
3. Move the steering wheel to the desired level.
4. Pull the lever up to lock the steering
wheel in place.
5. Make sure that the steering wheel is
securely locked by moving it up and down,
and forward and backward.
Page 202 of 444
NOTE
While you are holding down either side
of the TUNE/TRACK button, the tuning
frequency will not stop changing even
if the frequency of a receivable station
is reached. !Stereo indicator
The stereo indicator “ST ”will come on
when an FM stereo broadcast is received. ! Seek tuning (SEEK)
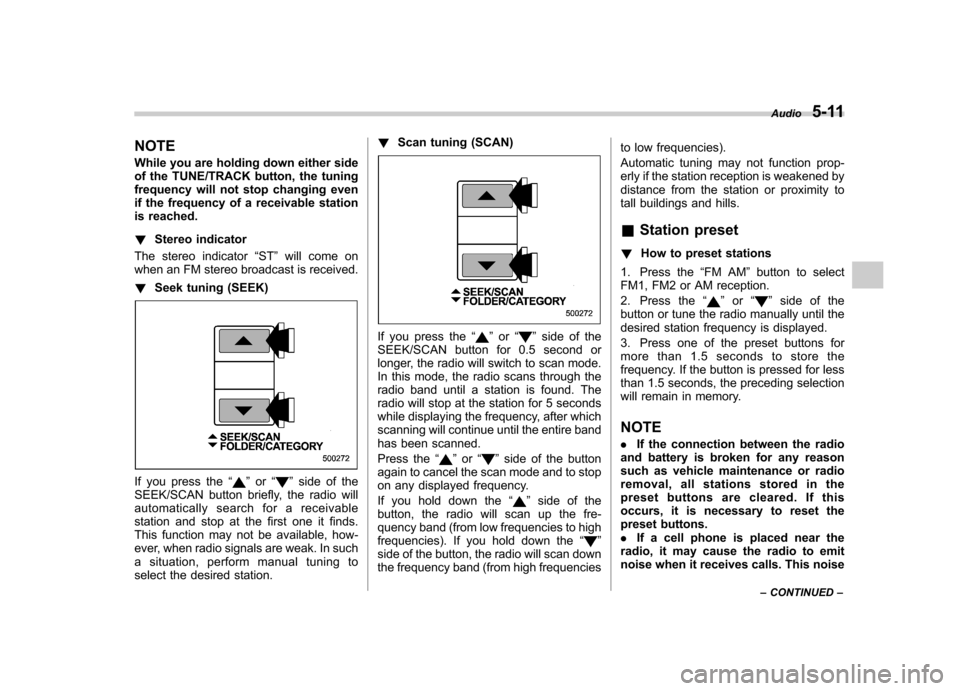
If you press the “”or “”side of the
SEEK/SCAN button briefly, the radio will
automatically search for a receivable
station and stop at the first one it finds.
This function may not be available, how-
ever, when radio signals are weak. In such
a situation, perform manual tuning to
select the desired station. !
Scan tuning (SCAN)
If you press the “”or “”side of the
SEEK/SCAN button for 0.5 second or
longer, the radio will switch to scan mode.
In this mode, the radio scans through the
radio band until a station is found. The
radio will stop at the station for 5 seconds
while displaying the frequency, after which
scanning will continue until the entire band
has been scanned.
Press the “
”or “”side of the button
again to cancel the scan mode and to stop
on any displayed frequency.
If you hold down the “
”side of the
button, the radio will scan up the fre-
quency band (from low frequencies to high
frequencies). If you hold down the “
”
side of the button, the radio will scan down
the frequency band (from high frequencies to low frequencies).
Automatic tuning may not function prop-
erly if the station reception is weakened by
distance from the station or proximity to
tall buildings and hills. &
Station preset
! How to preset stations
1. Press the “FM AM ”button to select
FM1, FM2 or AM reception.
2. Press the “
”or “”side of the
button or tune the radio manually until the
desired station frequency is displayed.
3. Press one of the preset buttons for
more than 1.5 seconds to store the
frequency. If the button is pressed for less
than 1.5 seconds, the preceding selection
will remain in memory. NOTE . If the connection between the radio
and battery is broken for any reason
such as vehicle maintenance or radio
removal, all stations stored in the
preset buttons are cleared. If this
occurs, it is necessary to reset the
preset buttons.. If a cell phone is placed near the
radio, it may cause the radio to emit
noise when it receives calls. This noise Audio
5-11
– CONTINUED –
Page 205 of 444
5-14Audio
! Channel scan
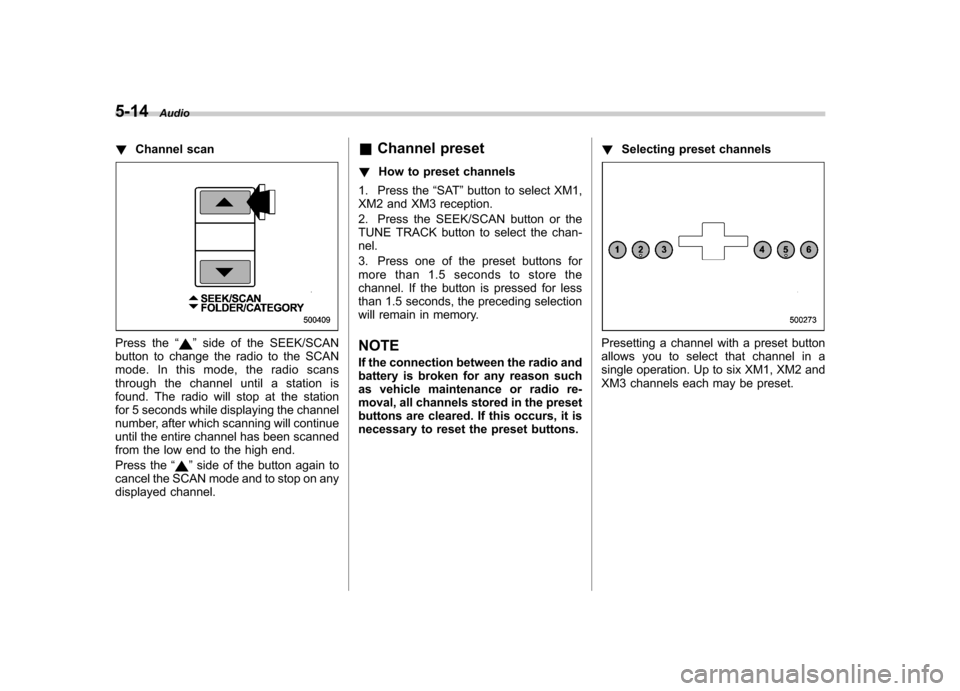
Press the “”side of the SEEK/SCAN
button to change the radio to the SCAN
mode. In this mode, the radio scans
through the channel until a station is
found. The radio will stop at the station
for 5 seconds while displaying the channel
number, after which scanning will continue
until the entire channel has been scanned
from the low end to the high end.
Press the “
”side of the button again to
cancel the SCAN mode and to stop on any
displayed channel. &
Channel preset
! How to preset channels
1. Press the “SAT ”button to select XM1,
XM2 and XM3 reception.
2. Press the SEEK/SCAN button or the
TUNE TRACK button to select the chan-nel.
3. Press one of the preset buttons for
more than 1.5 seconds to store the
channel. If the button is pressed for less
than 1.5 seconds, the preceding selection
will remain in memory.
NOTE
If the connection between the radio and
battery is broken for any reason such
as vehicle maintenance or radio re-
moval, all channels stored in the preset
buttons are cleared. If this occurs, it is
necessary to reset the preset buttons. !
Selecting preset channels
Presetting a channel with a preset button
allows you to select that channel in a
single operation. Up to six XM1, XM2 and
XM3 channels each may be preset.
Page 222 of 444
6-2Interior equipment
Interior light
When leaving your vehicle, make sure the
light is turned off to avoid battery dis-charge. &Dome light
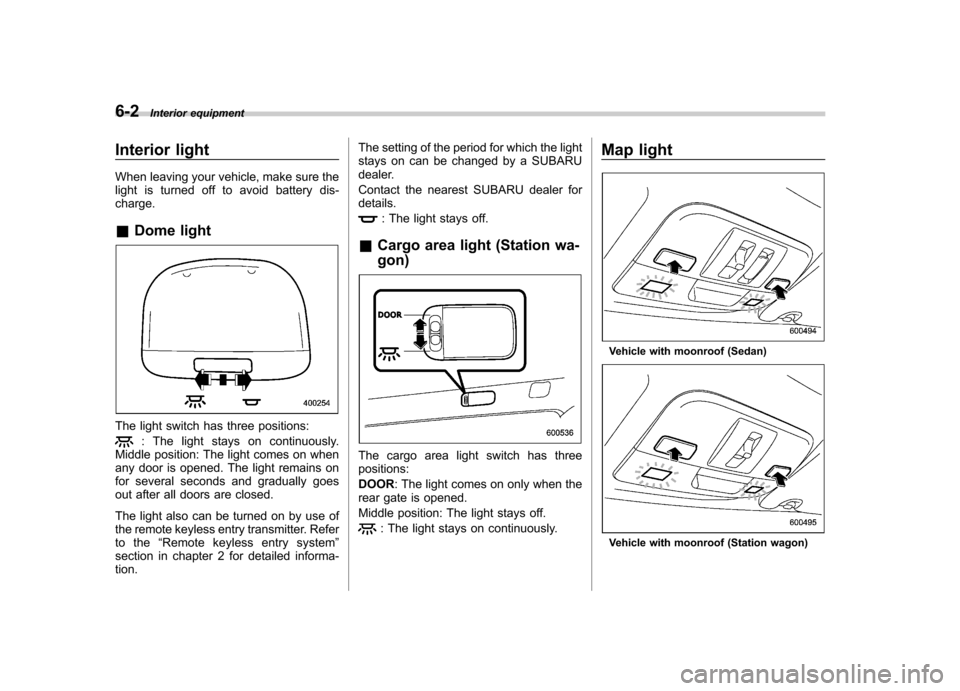
The light switch has three positions:
: The light stays on continuously.
Middle position: The light comes on when
any door is opened. The light remains on
for several seconds and gradually goes
out after all doors are closed.
The light also can be turned on by use of
the remote keyless entry transmitter. Refer
to the “Remote keyless entry system ”
section in chapter 2 for detailed informa-tion. The setting of the period for which the light
stays on can be changed by a SUBARU
dealer.
Contact the nearest SUBARU dealer for details.
: The light stays off.
& Cargo area light (Station wa- gon)
The cargo area light switch has three positions: DOOR : The light comes on only when the
rear gate is opened.
Middle position: The light stays off.
: The light stays on continuously. Map light
Vehicle with moonroof (Sedan)
Vehicle with moonroof (Station wagon)