2008 SUBARU OUTBACK ignition
[x] Cancel search: ignitionPage 211 of 444
5-20Audio
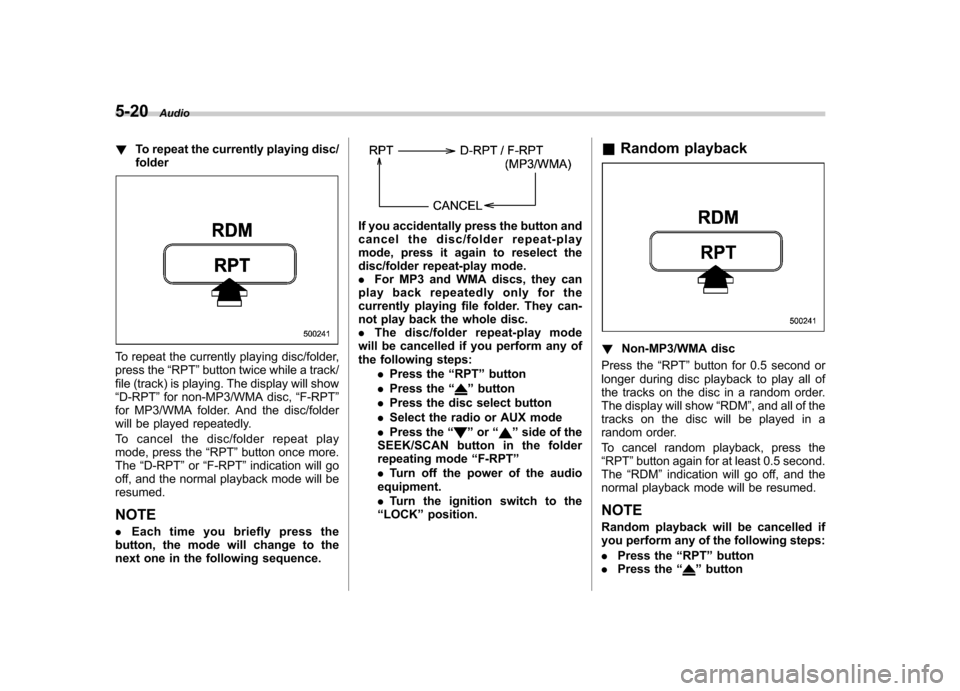
! To repeat the currently playing disc/ folder
To repeat the currently playing disc/folder,
press the “RPT ”button twice while a track/
file (track) is playing. The display will show“ D-RPT ”for non-MP3/WMA disc, “F-RPT ”
for MP3/WMA folder. And the disc/folder
will be played repeatedly.
To cancel the disc/folder repeat play
mode, press the “RPT ”button once more.
The “D-RPT ”or “F-RPT ”indication will go
off, and the normal playback mode will beresumed.
NOTE . Each time you briefly press the
button, the mode will change to the
next one in the following sequence.
If you accidentally press the button and
cancel the disc/folder repeat-play
mode, press it again to reselect the
disc/folder repeat-play mode.. For MP3 and WMA discs, they can
play back repeatedly only for the
currently playing file folder. They can-
not play back the whole disc.. The disc/folder repeat-play mode
will be cancelled if you perform any of
the following steps:
.Press the “RPT ”button
. Press the “
”button
. Press the disc select button
. Select the radio or AUX mode
. Press the “
”or “”side of the
SEEK/SCAN button in the folder
repeating mode “F-RPT ”
. Turn off the power of the audio
equipment. . Turn the ignition switch to the
“ LOCK ”position. &
Random playback
! Non-MP3/WMA disc
Press the “RPT ”button for 0.5 second or
longer during disc playback to play all of
the tracks on the disc in a random order.
The display will show “RDM ”, and all of the
tracks on the disc will be played in a
random order.
To cancel random playback, press the “ RPT ”button again for at least 0.5 second.
The “RDM ”indication will go off, and the
normal playback mode will be resumed.
NOTE
Random playback will be cancelled if
you perform any of the following steps: . Press the “RPT ”button
. Press the “
”button
Page 212 of 444
.Press the disc select button
. Select the radio or AUX mode
. Press the “LOAD ”button when
there is free space in the CD magazine. . Turn off the power of the audio
equipment.. Turn the ignition switch to the
“ LOCK ”position.
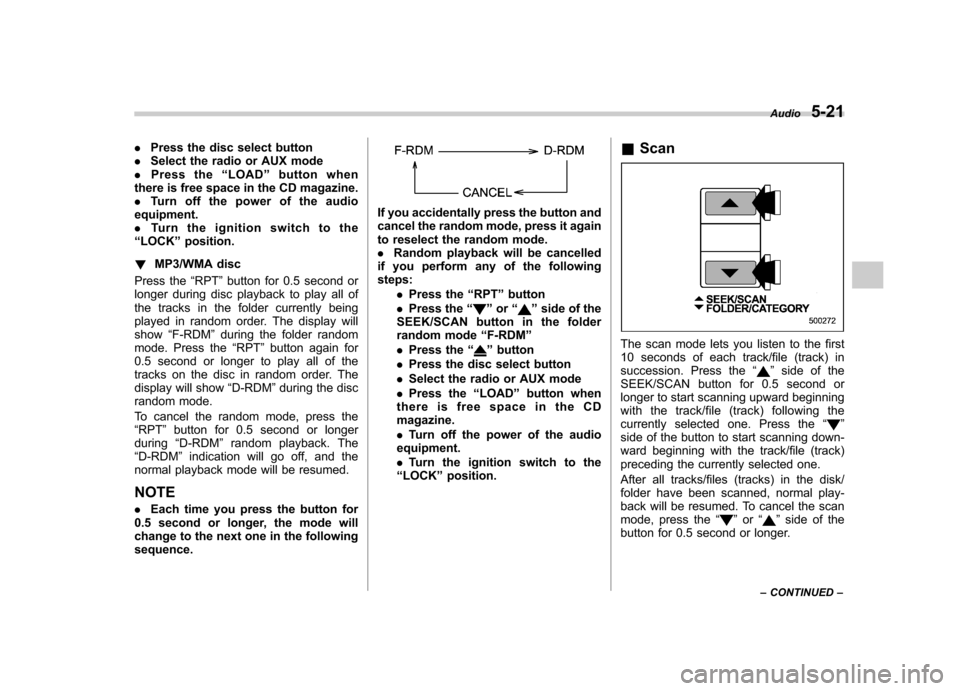
! MP3/WMA disc
Press the “RPT ”button for 0.5 second or
longer during disc playback to play all of
the tracks in the folder currently being
played in random order. The display willshow “F-RDM ”during the folder random
mode. Press the “RPT ”button again for
0.5 second or longer to play all of the
tracks on the disc in random order. The
display will show “D-RDM ”during the disc
random mode.
To cancel the random mode, press the “ RPT ”button for 0.5 second or longer
during “D-RDM ”random playback. The
“ D-RDM ”indication will go off, and the
normal playback mode will be resumed.
NOTE . Each time you press the button for
0.5 second or longer, the mode will
change to the next one in the followingsequence.
If you accidentally press the button and
cancel the random mode, press it again
to reselect the random mode.. Random playback will be cancelled
if you perform any of the followingsteps:
.Press the “RPT ”button
. Press the “
”or “”side of the
SEEK/SCAN button in the folder
random mode “F-RDM ”
. Press the “
”button
. Press the disc select button
. Select the radio or AUX mode
. Press the “LOAD ”button when
thereisfreespaceintheCD magazine. . Turn off the power of the audio
equipment.. Turn the ignition switch to the
“ LOCK ”position. &
ScanThe scan mode lets you listen to the first
10 seconds of each track/file (track) in
succession. Press the “
”side of the
SEEK/SCAN button for 0.5 second or
longer to start scanning upward beginning
with the track/file (track) following the
currently selected one. Press the “
”
side of the button to start scanning down-
ward beginning with the track/file (track)
preceding the currently selected one.
After all tracks/files (tracks) in the disk/
folder have been scanned, normal play-
back will be resumed. To cancel the scan
mode, press the “
”or “”side of the
button for 0.5 second or longer. Audio
5-21
– CONTINUED –
Page 213 of 444
5-22Audio
NOTE
The scan mode will be cancelled if you
perform any of the following steps: . Press the “RPT ”button
. Press the “
”or “”side of the
TUNE/TRACK button . Press the “
”or “”side of the
SEEK/SCAN button . Press the “
”button
. Press the disc select button
. Select the radio or AUX mode
. Press the “LOAD ”button when
there is free space in the CD magazine. . Turn off the power of the audio
equipment.. Turn the ignition switch to the
“ LOCK ”position. &
Display selection
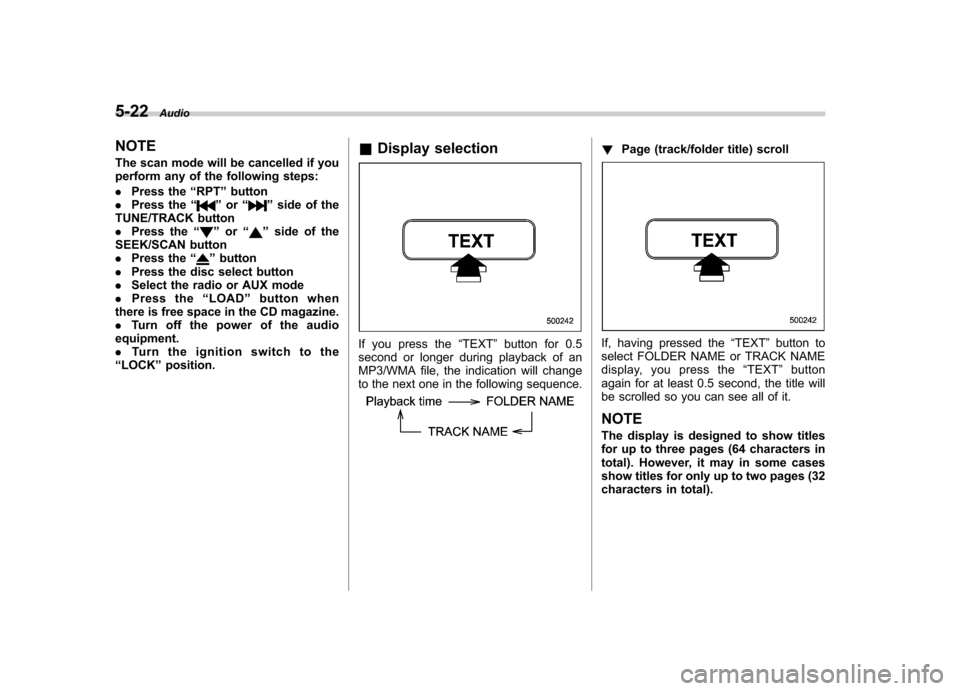
If you press the “TEXT ”button for 0.5
second or longer during playback of an
MP3/WMA file, the indication will change
to the next one in the following sequence.
! Page (track/folder title) scroll
If, having pressed the “TEXT ”button to
select FOLDER NAME or TRACK NAME
display, you press the “TEXT ”button
again for at least 0.5 second, the title will
be scrolled so you can see all of it. NOTE
The display is designed to show titles
for up to three pages (64 characters in
total). However, it may in some cases
show titles for only up to two pages (32
characters in total).
Page 214 of 444
&Folder selection
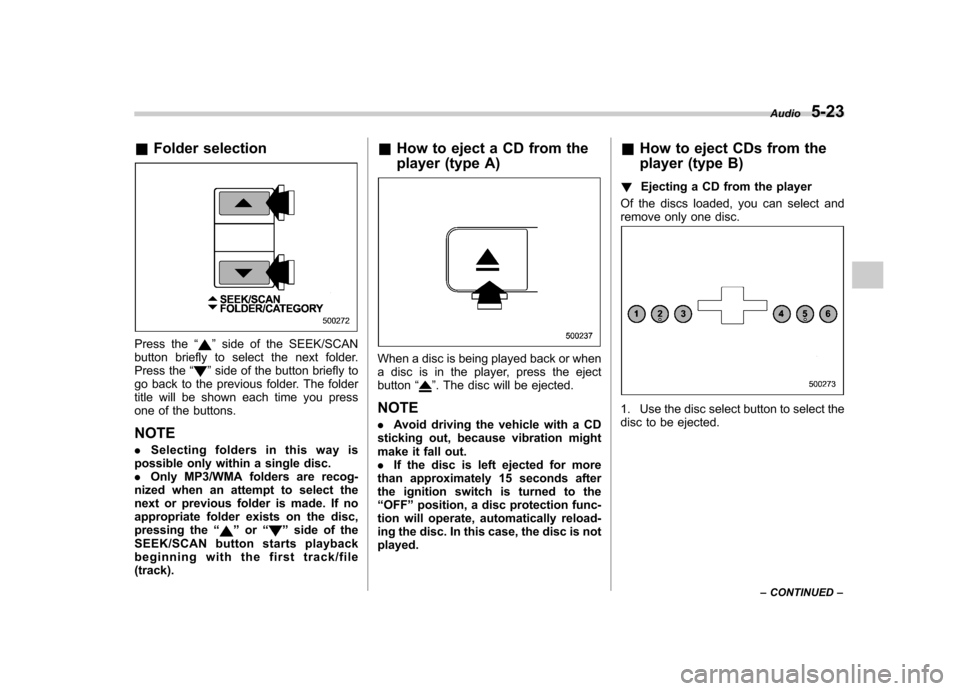
Press the “”side of the SEEK/SCAN
button briefly to select the next folder.
Press the “
”side of the button briefly to
go back to the previous folder. The folder
title will be shown each time you press
one of the buttons. NOTE . Selecting folders in this way is
possible only within a single disc. . Only MP3/WMA folders are recog-
nized when an attempt to select the
next or previous folder is made. If no
appropriate folder exists on the disc,
pressing the “
”or “”side of the
SEEK/SCAN button starts playback
beginning with the first track/file(track). &
How to eject a CD from the
player (type A)
When a disc is being played back or when
a disc is in the player, press the ejectbutton “
”. The disc will be ejected.
NOTE . Avoid driving the vehicle with a CD
sticking out, because vibration might
make it fall out.. If the disc is left ejected for more
than approximately 15 seconds after
the ignition switch is turned to the“ OFF ”position, a disc protection func-
tion will operate, automatically reload-
ing the disc. In this case, the disc is not played. &
How to eject CDs from the
player (type B)
! Ejecting a CD from the player
Of the discs loaded, you can select and
remove only one disc.
1. Use the disc select button to select the
disc to be ejected. Audio
5-23
– CONTINUED –
Page 224 of 444
6-4Interior equipment
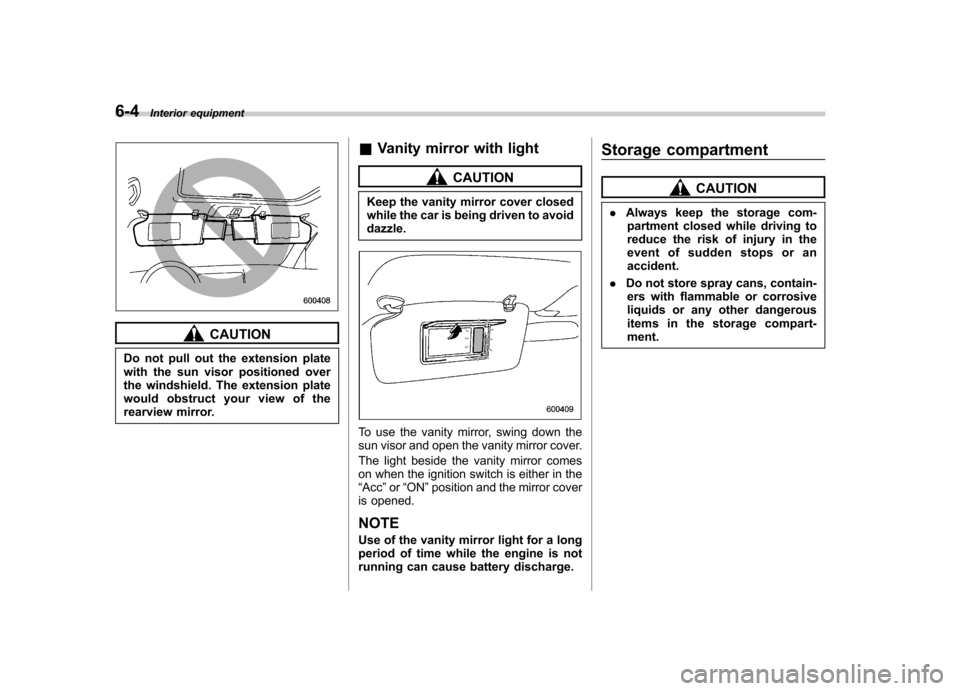
CAUTION
Do not pull out the extension plate
with the sun visor positioned over
the windshield. The extension plate
would obstruct your view of the
rearview mirror. &
Vanity mirror with light
CAUTION
Keep the vanity mirror cover closed
while the car is being driven to avoiddazzle.
To use the vanity mirror, swing down the
sun visor and open the vanity mirror cover.
The light beside the vanity mirror comes
on when the ignition switch is either in the“ Acc ”or “ON ”position and the mirror cover
is opened.
NOTE
Use of the vanity mirror light for a long
period of time while the engine is not
running can cause battery discharge. Storage compartment
CAUTION
. Always keep the storage com-
partment closed while driving to
reduce the risk of injury in the
event of sudden stops or anaccident.
. Do not store spray cans, contain-
ers with flammable or corrosive
liquids or any other dangerous
items in the storage compart-ment.
Page 229 of 444
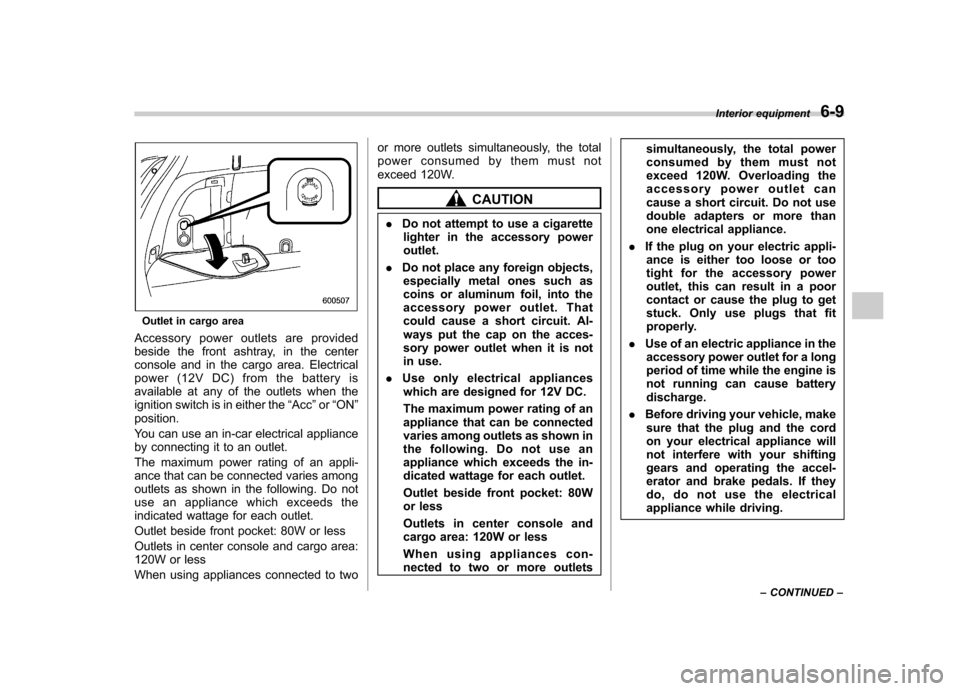
Outlet in cargo area
Accessory power outlets are provided
beside the front ashtray, in the center
console and in the cargo area. Electrical
power (12V DC) from the battery is
available at any of the outlets when the
ignition switch is in either the “Acc ”or “ON ”
position.
You can use an in-car electrical appliance
by connecting it to an outlet.
The maximum power rating of an appli-
ance that can be connected varies among
outlets as shown in the following. Do not
use an appliance which exceeds the
indicated wattage for each outlet.
Outlet beside front pocket: 80W or less
Outlets in center console and cargo area:
120W or less
When using appliances connected to two or more outlets simultaneously, the total
power consumed by them must not
exceed 120W.
CAUTION
. Do not attempt to use a cigarette
lighter in the accessory power outlet.
. Do not place any foreign objects,
especially metal ones such as
coins or aluminum foil, into the
accessory power outlet. That
could cause a short circuit. Al-
ways put the cap on the acces-
sory power outlet when it is not
in use.
. Use only electrical appliances
which are designed for 12V DC.
The maximum power rating of an
appliance that can be connected
varies among outlets as shown in
the following. Do not use an
appliance which exceeds the in-
dicated wattage for each outlet.
Outlet beside front pocket: 80W
or less
Outlets in center console and
cargo area: 120W or less
When using appliances con-
nected to two or more outlets simultaneously, the total power
consumed by them must not
exceed 120W. Overloading the
accessory power outlet can
cause a short circuit. Do not use
double adapters or more than
one electrical appliance.
. If the plug on your electric appli-
ance is either too loose or too
tight for the accessory power
outlet, this can result in a poor
contact or cause the plug to get
stuck. Only use plugs that fit
properly.
. Use of an electric appliance in the
accessory power outlet for a long
period of time while the engine is
not running can cause batterydischarge.
. Before driving your vehicle, make
sure that the plug and the cord
on your electrical appliance will
not interfere with your shifting
gears and operating the accel-
erator and brake pedals. If they
do, do not use the electrical
appliance while driving. Interior equipment
6-9
– CONTINUED –
Page 249 of 444
7-8Starting and operating
not properly operating or there is one or
more diagnostic trouble codes stored invehicle ’s computer with the “CHECK
ENGINE ”warning light/MIL illuminated.
. A state emission inspection may reject
(not pass or fail) a vehicle if the number of
OBD system readiness monitors “Not
Ready ”is greater than one. Under this
condition, the vehicle operator should be
instructed to drive his/her vehicle for a few
days to set the monitors and return for an
emission re-inspection. . Owners of rejected or failing vehicles
should contact their SUBARU Dealer for service. Preparing to drive
You should perform the following checks
and adjustments every day before you
start driving.
1. Check that all windows, mirrors, and
lights are clean and unobstructed.
2. Check the appearance and condition
of the tires. Also check tires for properinflation.
3. Look under the vehicle for any sign of leaks.
4. Check that the hood, trunk (Sedan)
and rear gate (Station wagon) are fullyclosed.
5. Check the adjustment of the seat.
6. Check the adjustment of the inside
and outside mirrors.
7. Fasten your seatbelt. Check that your
passengers have fastened their seatbelts.
8. Check the operation of the warning
and indicator lights when the ignition
switch is turned to the
“ON ”position.
9. Check the gauges, indicator and warn-
ing lights after starting the engine. NOTE
Engine oil, engine coolant, brake fluid,
washer fluid and other fluid levels
should be checked daily, weekly or at
fuel stops.
Page 250 of 444
Starting the engine
CAUTION
Do not operate the starter motor
continuously for more than 10 sec-
onds. If the engine fails to start after
operating the starter for 5 to 10
seconds, wait for 10 seconds or
more before trying again.
& Manual transmission vehicle
1. Apply the parking brake.
2. Turn off unnecessary lights and ac- cessories.
3. Press the clutch pedal to the floor and
shift the shift lever into neutral.
Hold the clutch pedal to the floor while
starting the engine. The starter motor will
only operate when the clutch pedal is
pressed fully to the floor.
4. Turn the ignition switch to the “ON ”
position and check the operation of the
warning and indicator lights. Refer to the“ Warning and indicator lights ”section
(chapter 3).
5. Turn the ignition switch to the “START ”
position without depressing the accelera-
tor pedal. Release the key immediately
after the engine has started. If the engine does not start, try thefollowing.
(1) Turn the ignition switch to the“LOCK ”position and wait for at least
10 seconds. After checking that the
parking brake is firmly set, turn the
ignition switch to the “START ”position
while depressing the accelerator pedal
slightly (approximately a quarter of the
full stroke). Release the accelerator
pedal as soon as the engine starts.
(2) If this fails to start the engine, turn
the ignition switch back to the “LOCK ”
position and wait for at least 10
seconds. Then fully depress the accel-
erator pedal and turn the ignition
switch to the “START ”position. If the
engine starts, quickly release the
accelerator pedal.
(3) If this fails to start the engine, turn
the ignition switch again to the “LOCK ”
position. After waiting for 10 seconds
or longer, turn the ignition switch to the“ START ”position without depressing
the accelerator pedal.
(4) If the engine still refuses to start,
contact your nearest SUBARU dealer
for assistance. 6. Confirm that all warning and indicator
lights have gone off after the engine has
started. The fuel injection system auto-
matically lowers the idle speed as the
engine warms up.
& Automatic transmission ve- hicle
CAUTION
If you restart the engine while the
vehicle is moving, shift the selector
lever into the “N ” position. Do not
attempt to place the selector lever of
a moving vehicle into the “P ” posi-
tion.
1. Apply the parking brake.
2. Turn off unnecessary lights and ac- cessories.
3. Shift the selector lever to the “P ”or “N ”
position (preferably “P ” position). The
starter will only operate when the select
lever is at the “P ”or “N ”position.
4. Turn the ignition switch to the “ON ”
position and check the operation of the
warning and indicator lights. Refer to the“ Warning and indicator lights ”section
(chapter 3).
5. Turn the ignition switch to the “START ”
position without depressing the accelera-
Starting and operating
7-9
– CONTINUED –