2008 Seat Ibiza SC CD player
[x] Cancel search: CD playerPage 6 of 70

Contents3
Turning the iPod® on and off. . . . . . . . . . . . . .
Control of the iPod® through the sound
system. . . . . . . . . . . . . . . . . . . . . . . . . . . . . . . . . . .
USB* Connection . . . . . . . . . . . . . . . . . . .
Connecting a memory stick / MP3 player. . .
Authorised memory devices and radios . . . .
Playing music files with the radio. . . . . . . . . .
MP3 mode. . . . . . . . . . . . . . . . . . . . . . . . . . . .
Notes about CD-R (Recordable CD)/ CD-RW
(Rewritable CD). . . . . . . . . . . . . . . . . . . . . . . . . . .
What are MP3 files?. . . . . . . . . . . . . . . . . . . . . . .
Supported recording formats. . . . . . . . . . . . . .
ID3 field data. . . . . . . . . . . . . . . . . . . . . . . . . . . . .
Structure of folders and files . . . . . . . . . . . . . .
Display mode (SCAN button) . . . . . . . . . . . . . .
Activating hidden functions using buttons
1- 6 . . . . . . . . . . . . . . . . . . . . . . . . . . . . . . . . . . . . . .
PROG-System. . . . . . . . . . . . . . . . . . . . . . . .
PROG settings. . . . . . . . . . . . . . . . . . . . . . . . . . . .
Settings. . . . . . . . . . . . . . . . . . . . . . . . . . . . . . . . . .
Possible functions and settings of the PROG-
System. . . . . . . . . . . . . . . . . . . . . . . . . . . . . . . . . . .
Coding. . . . . . . . . . . . . . . . . . . . . . . . . . . . . . . . .
Coding (anti-theft protection, function lock)
Activating the code
. . . . . . . . . . . . . . . . . . . . . . .
Select and activate the CODE function . . . . .
Entering the safety code . . . . . . . . . . . . . . . . . .
Waiting times . . . . . . . . . . . . . . . . . . . . . . . . . . . .
Making the radio operational again. . . . . . . .
Deactivating the code (removing block). . . .
Other information . . . . . . . . . . . . . . . . . .
Radio Data System (RDS). . . . . . . . . . . . . . . . . .
Conditions for radio reception. . . . . . . . . . . . .
Care and maintenance. . . . . . . . . . . . .
Warranty . . . . . . . . . . . . . . . . . . . . . . . . . . . . . . . . .
Technical specifications. . . . . . . . . . .
Technical specifications. . . . . . . . . . . . . . . . . . .
Index . . . . . . . . . . . . . . . . . . . . . . . . . . . . . . . . . . 39
39
42
42
43
45
47
47
47
47
48
49
50
52
54
54
54
5557
57
57
58
58
59
59
60
61
61
61
62
62
63
63
64
Page 15 of 70
Brief instructions 12
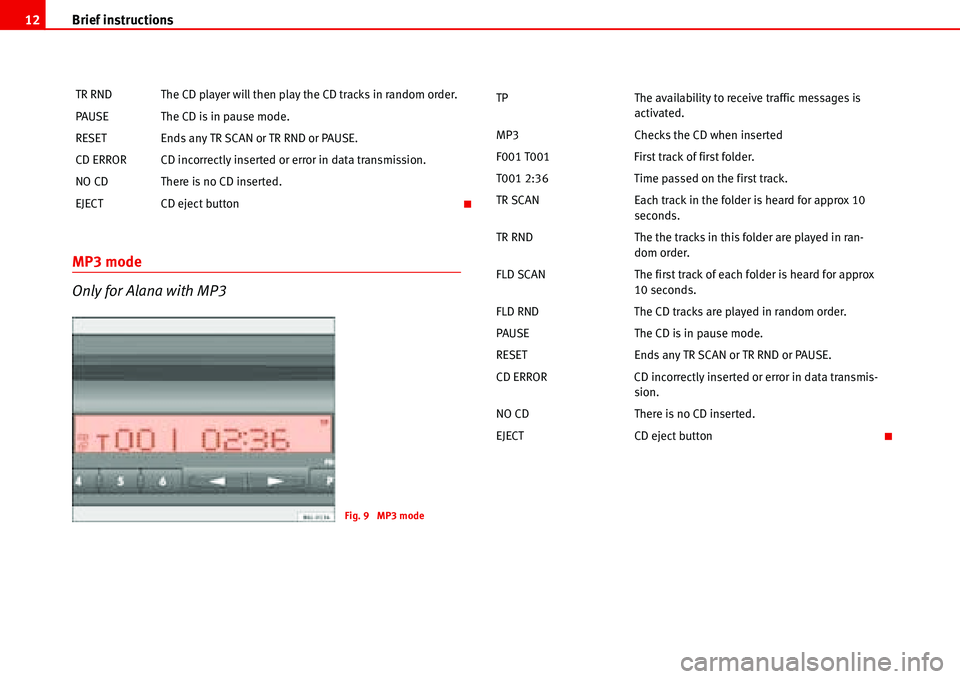
MP3 mode
Only for Alana with MP3
TR RND The CD player will then play the CD tracks in random order.
PAUSE The CD is in pause mode.
RESET Ends any TR SCAN or TR RND or PAUSE.
CD ERROR CD incorrectly inserted or error in data transmission.
NO CD There is no CD inserted.
EJECT CD eject button
Fig. 9 MP3 mode
TP The availability to receive traffic messages is
activated.
MP3 Checks the CD when inserted
F001 T001 First track of first folder.
T001 2:36 Time passed on the first track.
TR SCAN Each track in the folder is heard for approx 10
seconds.
TR RND The the tracks in this folder are played in ran-
dom order.
FLD SCAN The first track of each folder is heard for approx
10 seconds.
FLD RND The CD tracks are played in random order.
PAUSE The CD is in pause mode.
RESET Ends any TR SCAN or TR RND or PAUSE.
CD ERROR CD incorrectly inserted or error in data transmis-
sion.
NO CD There is no CD inserted.
EJECT CD eject button
Page 16 of 70
Brief instructions13
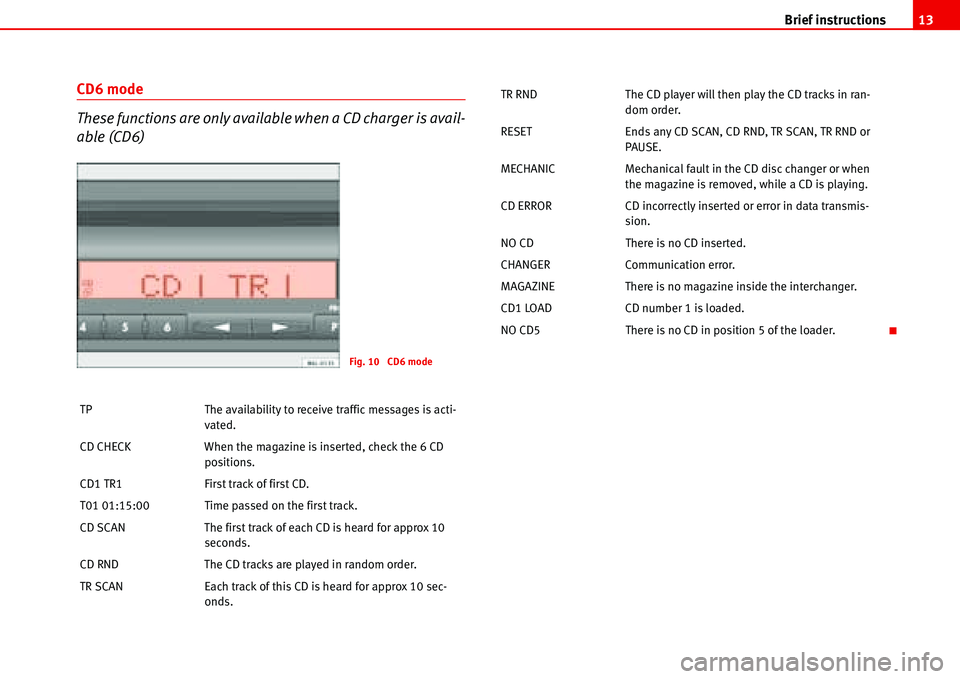
CD6 mode
These functions are only available when a CD charger is avail-
able (CD6)
TP The availability to receive traffic messages is acti-
vated.
CD CHECK When the magazine is inserted, check the 6 CD
positions.
CD1 TR1 First track of first CD.
T01 01:15:00 Time passed on the first track.
CD SCAN The first track of each CD is heard for approx 10
seconds.
CD RND The CD tracks are played in random order.
TR SCAN Each track of this CD is heard for approx 10 sec-
onds.
Fig. 10 CD6 mode
TR RND The CD player will then play the CD tracks in ran-
dom order.
RESET Ends any CD SCAN, CD RND, TR SCAN, TR RND or
PAUSE.
MECHANIC Mechanical fault in the CD disc changer or when
the magazine is removed, while a CD is playing.
CD ERROR CD incorrectly inserted or error in data transmis-
sion.
NO CD There is no CD inserted.
CHANGER Communication error.
MAGAZINE There is no magazine inside the interchanger.
CD1 LOAD CD number 1 is loaded.
NO CD5 There is no CD in position 5 of the loader.
Page 33 of 70
Compact Disc 30
Device for broadcasting traffic messages
while CD is playing
Activate TP
Press the button briefly. TP is shown on the display.
While the traffic message is being broadcast, the CD/CD6 stops playing.
Deactivate TP
Press the button briefly again.
While the traffic message is being broadcast, only the broadcasting of that
message is deactivated.
The player returns to CD/CD6 mode. The word “TP” remains on the display.
During normal CD/CD6 operating mode: if the “TP” function is deactivated.
“TP” goes from the display.
Ending CD mode
Select another operating mode.
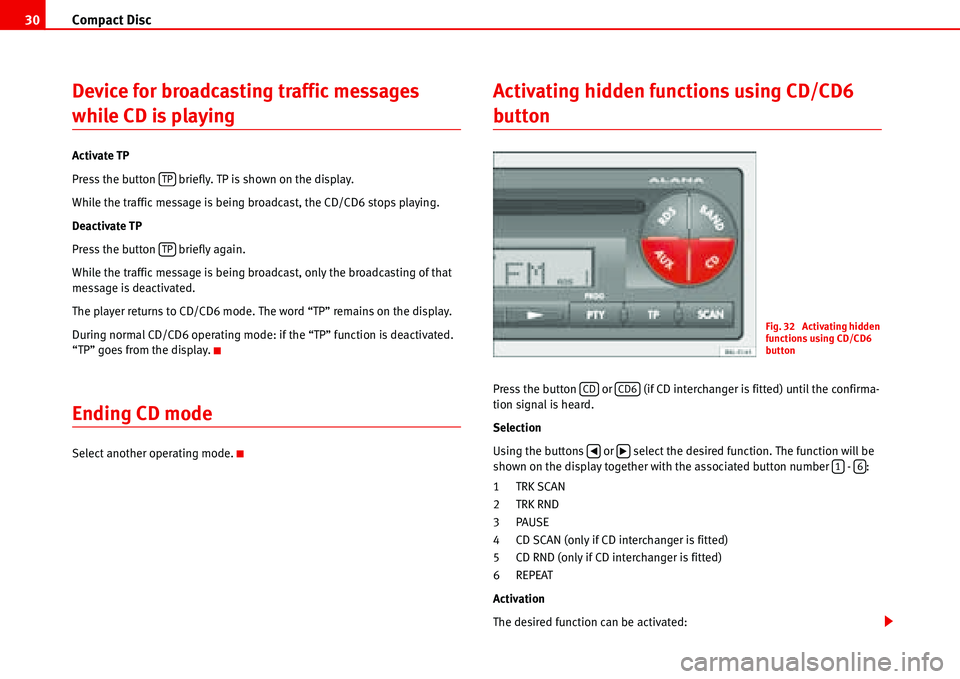
Activating hidden functions using CD/CD6
button
Press the button or (if CD interchanger is fitted) until the confirma-
tion signal is heard.
Selection
Using the buttons or select the desired function. The function will be
shown on the display together with the associated button number - :
1TRK SCAN
2TRK RND
3PAUSE
4 CD SCAN (only if CD interchanger is fitted)
5 CD RND (only if CD interchanger is fitted)
6 REPEAT
Activation
The desired function can be activated:
TP
TP
Fig. 32 Activating hidden
functions using CD/CD6
button
CDCD6
�‚�b16
Page 35 of 70
AUX* mode 32
AUX* mode
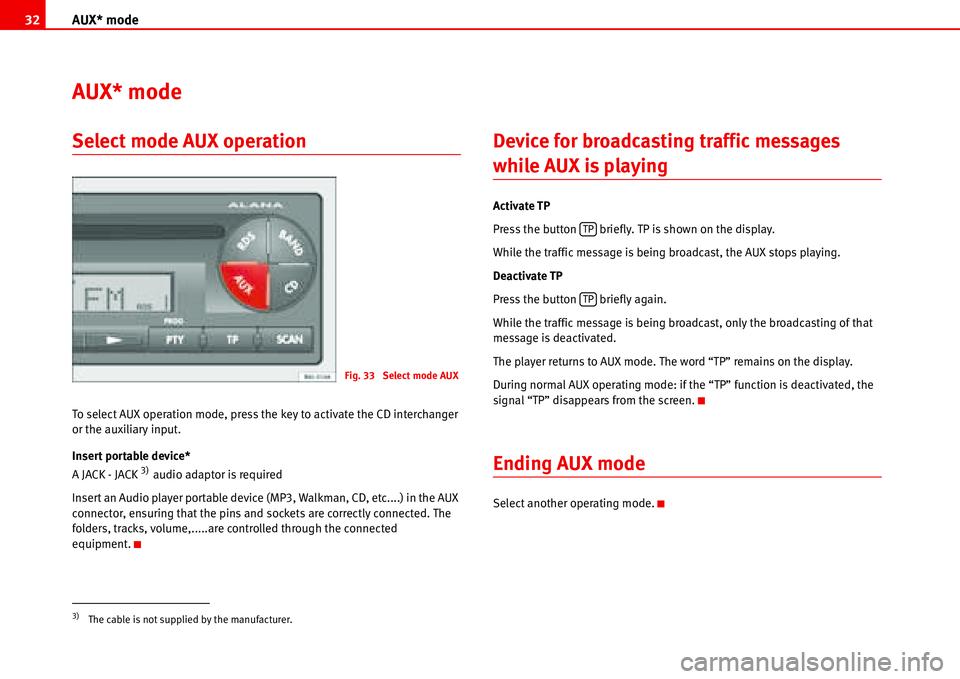
Select mode AUX operation
To select AUX operation mode, press the key to activate the CD interchanger
or the auxiliary input.
Insert portable device*
A JACK - JACK
3) audio adaptor is required
Insert an Audio player portable device (MP3, Walkman, CD, etc....) in the AUX
connector, ensuring that the pins and sockets are correctly connected. The
folders, tracks, volume,.....are controlled through the connected
equipment.
Device for broadcasting traffic messages
while AUX is playing
Activate TP
Press the button briefly. TP is shown on the display.
While the traffic message is being broadcast, the AUX stops playing.
Deactivate TP
Press the button briefly again.
While the traffic message is being broadcast, only the broadcasting of that
message is deactivated.
The player returns to AUX mode. The word “TP” remains on the display.
During normal AUX operating mode: if the “TP” function is deactivated, the
signal “TP” disappears from the screen.
Ending AUX mode
Select another operating mode.
3)The cable is not supplied by the manufacturer.
Fig. 33 Select mode AUX
TP
TP
Page 37 of 70
Apple* iPod ® connection 34
Apple* iPod ® connection
General information
iPod® by Apple
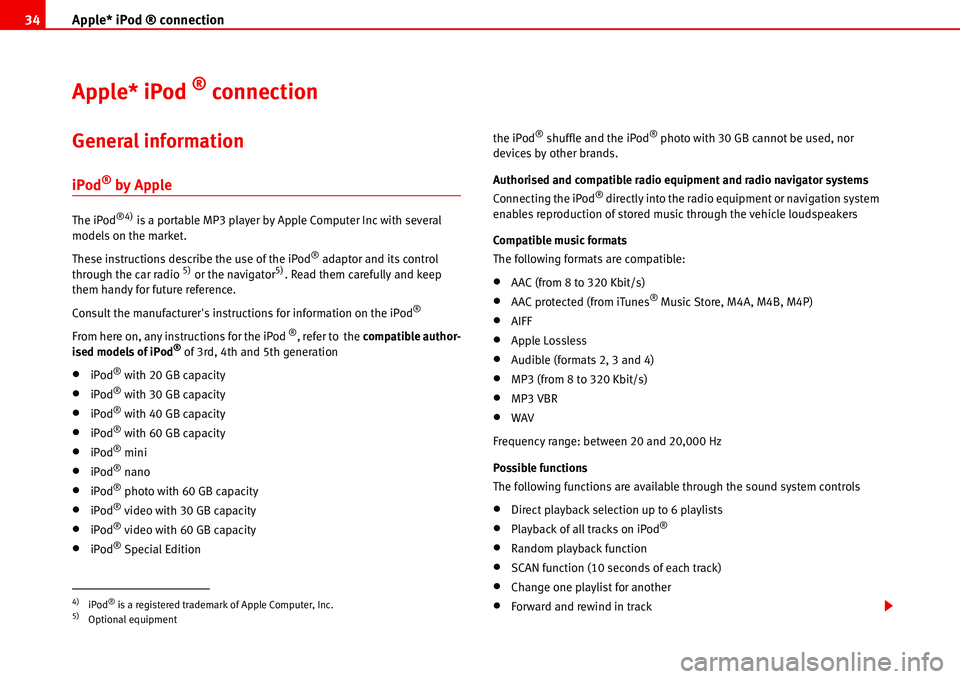
The iPod®4) is a portable MP3 player by Apple Computer Inc with several
models on the market.
These instructions describe the use of the iPod
® adaptor and its control
through the car radio 5) or the navigator5). Read them carefully and keep
them handy for future reference.
Consult the manufacturer's instructions for information on the iPod
®
From here on, any instructions for the iPod ®, refer to the compatible author-
ised models of iPod® of 3rd, 4th and 5th generation
•iPod® with 20 GB capacity
•iPod® with 30 GB capacity
•iPod® with 40 GB capacity
•iPod® with 60 GB capacity
•iPod® mini
•iPod® nano
•iPod® photo with 60 GB capacity
•iPod® video with 30 GB capacity
•iPod® video with 60 GB capacity
•iPod® Special Editionthe iPod
® shuffle and the iPod® photo with 30 GB cannot be used, nor
devices by other brands.
Authorised and compatible radio equipment and radio navigator systems
Connecting the iPod
® directly into the radio equipment or navigation system
enables reproduction of stored music through the vehicle loudspeakers
Compatible music formats
The following formats are compatible:
•AAC (from 8 to 320 Kbit/s)
•AAC protected (from iTunes® Music Store, M4A, M4B, M4P)
•AIFF
•Apple Lossless
•Audible (formats 2, 3 and 4)
•MP3 (from 8 to 320 Kbit/s)
•MP3 VBR
•WAV
Frequency range: between 20 and 20,000 Hz
Possible functions
The following functions are available through the sound system controls
•Direct playback selection up to 6 playlists
•Playback of all tracks on iPod®
•Random playback function
•SCAN function (10 seconds of each track)
•Change one playlist for another
•Forward and rewind in track4)iPod® is a registered trademark of Apple Computer, Inc.5)Optional equipment
Page 45 of 70
USB* Connection 42
USB* Connection
Connecting a memory stick / MP3 player
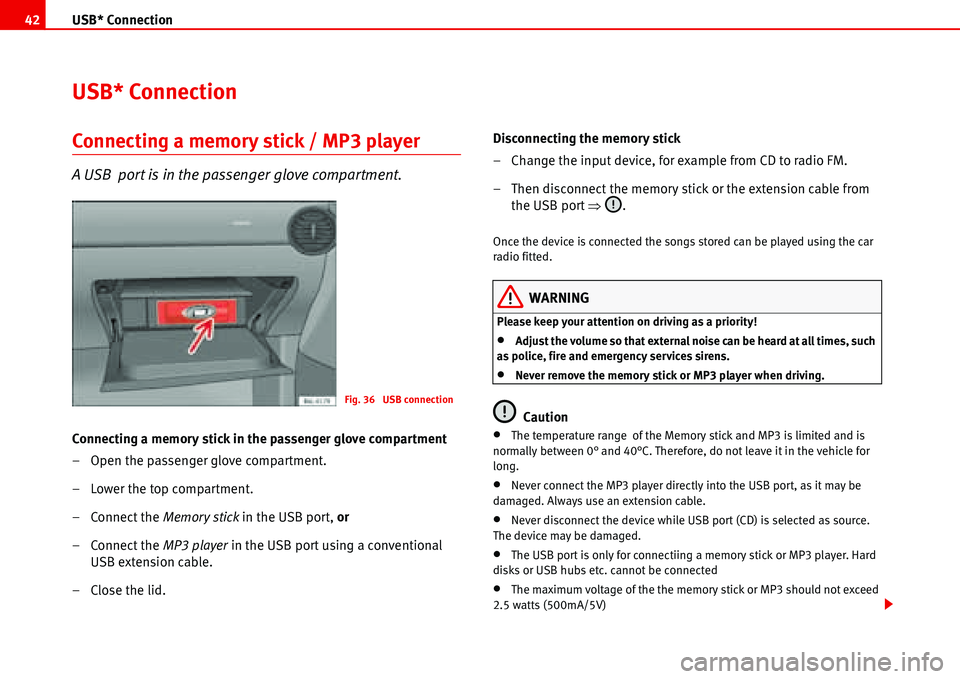
A USB port is in the passenger glove compartment.
Connecting a memory stick in the passenger glove compartment
– Open the passenger glove compartment.
– Lower the top compartment.
– Connect the Memory stick in the USB port, or
– Connect the MP3 player in the USB port using a conventional
USB extension cable.
– Close the lid.Disconnecting the memory stick
– Change the input device, for example from CD to radio FM.
– Then disconnect the memory stick or the extension cable from
the USB port �Ÿ.
Once the device is connected the songs stored can be played using the car
radio fitted.
WARNING
Please keep your attention on driving as a priority!
•Adjust the volume so that external noise can be heard at all times, such
as police, fire and emergency services sirens.
•Never remove the memory stick or MP3 player when driving.
Caution
•The temperature range of the Memory stick and MP3 is limited and is
normally between 0° and 40°C. Therefore, do not leave it in the vehicle for
long.
•Never connect the MP3 player directly into the USB port, as it may be
damaged. Always use an extension cable.
•Never disconnect the device while USB port (CD) is selected as source.
The device may be damaged.
•The USB port is only for connectiing a memory stick or MP3 player. Hard
disks or USB hubs etc. cannot be connected
•The maximum voltage of the the memory stick or MP3 should not exceed
2.5 watts (500mA/5V)
Fig. 36 USB connection
Page 46 of 70
USB* Connection43
•Never insert metal objects into the USB port, as it may shortcircuit.
Note
•The memory stick, the MP3 player or the USB extension cable are not
standard equipment for your vehicle.
•If the USB port does not detect the memory stick after 15 seconds, discon-
nect it and reconnect it.
•In some cases the MP3 must be activated to make the connection with the
USB port. Consult the instructions of your MP3 player.
Authorised memory devices and radios
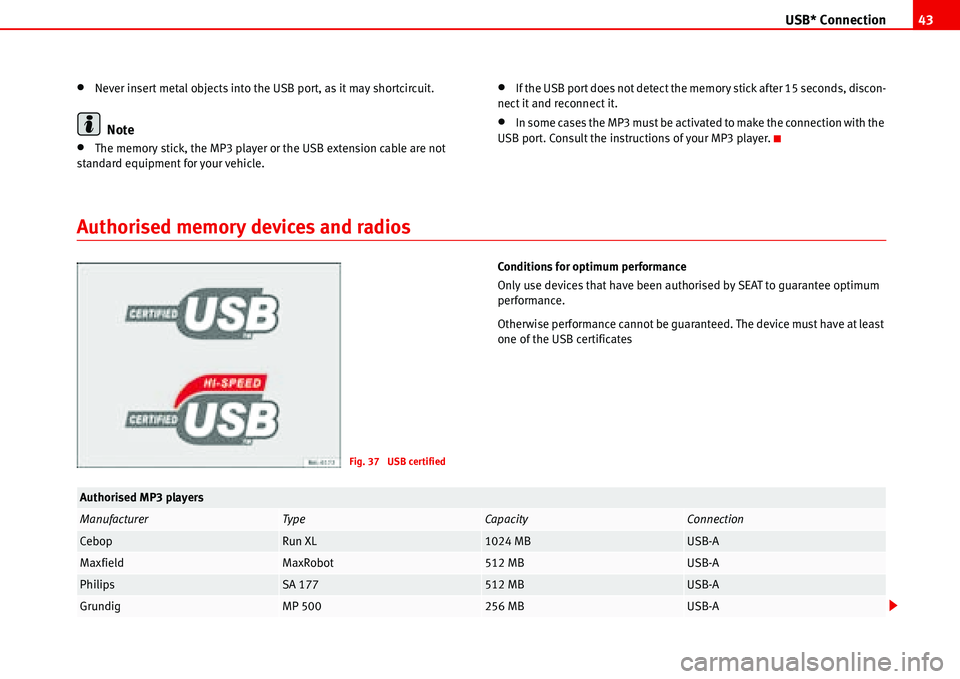
Conditions for optimum performance
Only use devices that have been authorised by SEAT to guarantee optimum
performance.
Otherwise performance cannot be guaranteed. The device must have at least
one of the USB certificates
Fig. 37 USB certified
Authorised MP3 players
ManufacturerTypeCapacityConnection
CebopRun XL1024 MBUSB-A
MaxfieldMaxRobot512 MBUSB-A
PhilipsSA 177512 MBUSB-A
GrundigMP 500256 MBUSB-A