2008 Seat Ibiza 5D fuel
[x] Cancel search: fuelPage 6 of 260
Contents
4Your vehicle maintenance and cleaning
. . . .
General notes . . . . . . . . . . . . . . . . . . . . . . . . . . .
Vehicle exterior maintenance . . . . . . . . . . . . . . .
Vehicle interior maintenance . . . . . . . . . . . . . . .
Accessories, parts replacement and
modifications
. . . . . . . . . . . . . . . . . . . . . . . . . . . .
Accessories and spare parts . . . . . . . . . . . . . . . .
Technical modifications . . . . . . . . . . . . . . . . . . .
Roof aerial* . . . . . . . . . . . . . . . . . . . . . . . . . . . . .
Mobile telephones and two-way radios . . . . . . .
Fitting a towing bracket* . . . . . . . . . . . . . . . . . . .
Checking and refilling levels
. . . . . . . . . . . . . .
Refuelling . . . . . . . . . . . . . . . . . . . . . . . . . . . . . . .
Petrol . . . . . . . . . . . . . . . . . . . . . . . . . . . . . . . . . .
Diesel . . . . . . . . . . . . . . . . . . . . . . . . . . . . . . . . . .
Working in the engine compartment . . . . . . . . .
Engine oil . . . . . . . . . . . . . . . . . . . . . . . . . . . . . . .
Coolant . . . . . . . . . . . . . . . . . . . . . . . . . . . . . . . . .
Washer fluid and windscreen wiper blades . . . .
Brake fluid . . . . . . . . . . . . . . . . . . . . . . . . . . . . . .
Battery . . . . . . . . . . . . . . . . . . . . . . . . . . . . . . . . .
Wheels . . . . . . . . . . . . . . . . . . . . . . . . . . . . . . . . .
If and when
. . . . . . . . . . . . . . . . . . . . . . . . . . . . . .
Vehicle tools, spare wheel . . . . . . . . . . . . . . . . .
Wheel change . . . . . . . . . . . . . . . . . . . . . . . . . . .
Tyre repair kit (Tyre-Mobility-System)* . . . . . . . .
Fuses . . . . . . . . . . . . . . . . . . . . . . . . . . . . . . . . . .
Bulb change . . . . . . . . . . . . . . . . . . . . . . . . . . . . .
Jump-starting . . . . . . . . . . . . . . . . . . . . . . . . . . . .
Towing and tow-starting . . . . . . . . . . . . . . . . . . .
Te c h n i c a l D a t a
. . . . . . . . . . . . . . . . . . . . . . .
General notes on the technical data
. . . . . . .
Outstanding information . . . . . . . . . . . . . . . . . .
Data on fuel consumption . . . . . . . . . . . . . . . . . Towing a trailer . . . . . . . . . . . . . . . . . . . . . . . . . .
Wheels . . . . . . . . . . . . . . . . . . . . . . . . . . . . . . . . .
Techn ical Data
. . . . . . . . . . . . . . . . . . . . . . . . . . . .
Checking fluid levels . . . . . . . . . . . . . . . . . . . . . .
Petrol engine 1.2 51kW (70 CV) . . . . . . . . . . . . .
Petrol engine 1.4l 63 kW (85 bhp) . . . . . . . . . . .
Petrol engine 1.6l 77 kW (105 bhp) . . . . . . . . . .
Diesel engine 1.4 litre TDI 59 kW (80 bhp) . . . .
Diesel engine 1.9l TDI 66 kW (90 bhp) . . . . . . .
Diesel engine 1.9l TDI 77 kW (105 bhp) . . . . . .
Dimensions and capacities . . . . . . . . . . . . . . . .
Index
. . . . . . . . . . . . . . . . . . . . . . . . . . . . . . . . . .
164
164
165
171
173
173
173
174
174
176
178
178
179
180
181
184
188
190
193
195
197
203
203
204
209
211
218
226
229
233
233
233
235 236
236
238
238
239
240
241
243
244
245
247
249
Ibiza250_angles Seite 4 Dienstag, 5. August 2008 1:11 13
Page 54 of 260
Cockpit
52Rev counter
The rev. counter displays the engine speed in revolutions per
minute.The start of the red zone ⇒page 51, fig. 30 indicates the maximum
engine speed operating at service temperature. However, it is advisable to
change up a into a higher gear, move the selector lever to D or lift your foot
off the accelerator before the needle reaches the red zone.
Caution
The rev counter needle must never enter the red zone on the scale. Risk of
engine damage.
For the sake of the environment
Changing up into higher gears early will help you to save fuel and minimise
engine noise.SpeedometerThe speedometer is equipped with a digital odometer and a trip counter, in
addition to a service intervals display.
During the running-in period, the instructions shown on ⇒page 153 should
be followed.
Digital display in the instrument panelFuel gauge
and reserve indicator
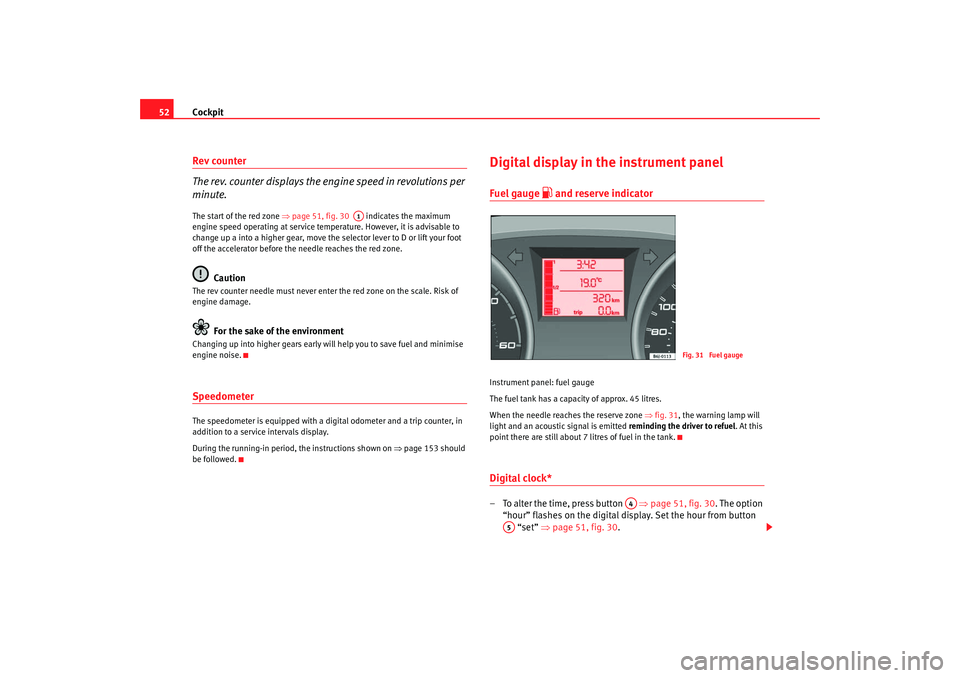
Instrument panel: fuel gauge
The fuel tank has a capacity of approx. 45 litres.
When the needle reaches the reserve zone ⇒fig. 31 , the warning lamp will
light and an acoustic signal is emitted reminding the driver to refuel. At this
point there are still about 7 litres of fuel in the tank.Digital clock* – To alter the time, press button ⇒page 51, fig. 30 . The option
“hour” flashes on the digital display. Set the hour from button “set” ⇒ page 51, fig. 30 .
A1
Fig. 31 Fuel gauge
A4
A5
Ibiza250_angles Seite 52 Dienstag, 5. August 2008 1:11 13
Page 55 of 260
Cockpit53
Safety First
Operating instructions
Practical tips
Te c h n i c a l D a t a
– To set the minutes, press button again and select the minute
option. Set from button “set”.Once the operation has been completed, the system stores the time.Ambient temperature display
The outside temperature is displayed when the ignition is
switched on.At descending temperatures between +4°C down to -7°C and at ascending
temperatures from -5°C up to +6°C in addition to the outside temperature
display, an ice crystal is displayed and if vehicle speed is over 10 km/h an
acoustic buzzer is heard.
The illumination of the crystal symbol ai ms to warn the driver of the risk of
ice, so that he/she proceeds with due care.
When the vehicle is stationary or travelling at very low speeds, the tempera-
ture displayed may be slightly higher than the actual outside temperature as
a result of heat coming from the engine.
Display with multi-function display (MFD)*
The multi-function display (MFD) shows you information on
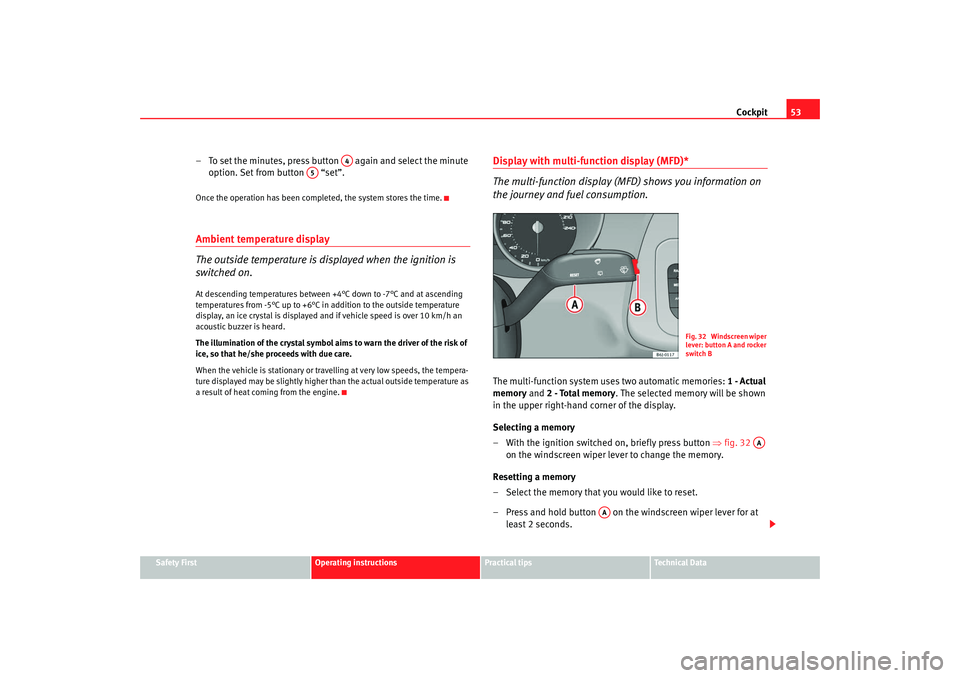
the journey and fuel consumption.The multi-function system uses two automatic memories: 1 - Actual
memory and 2 - Total memory . The selected memory will be shown
in the upper right-hand corner of the display.
Selecting a memory
– With the ignition switched on, briefly press button ⇒fig. 32
on the windscreen wiper lever to change the memory.
Resetting a memory
– Select the memory that you would like to reset.
– Press and hold button on the windscreen wiper lever for at least 2 seconds.
A4
A5
Fig. 32 Windscreen wiper
lever: button A and rocker
switch B
AA
AA
Ibiza250_angles Seite 53 Dienstag, 5. August 2008 1:11 13
Page 56 of 260
Cockpit
54The trip memory 1 collects the travel and consumption rates from the
moment the ignition is switched on until it is switched off. If the journey is
continued within two hours of switching off the ignition, the new values will
be added to the existing trip recorder memory. The memory will automatically
be deleted if the journey is interrupted for more than two hours.
The journey memory 2 collects the journey data for any number of individual
journeys (even if the igniti on is switched off for longer than two hours) up to
a total of 99 hours and 59 minutes travel time, 9,999 km distance travelled
and 999 litres of fuel consumed. The memo ry will automatically be deleted if
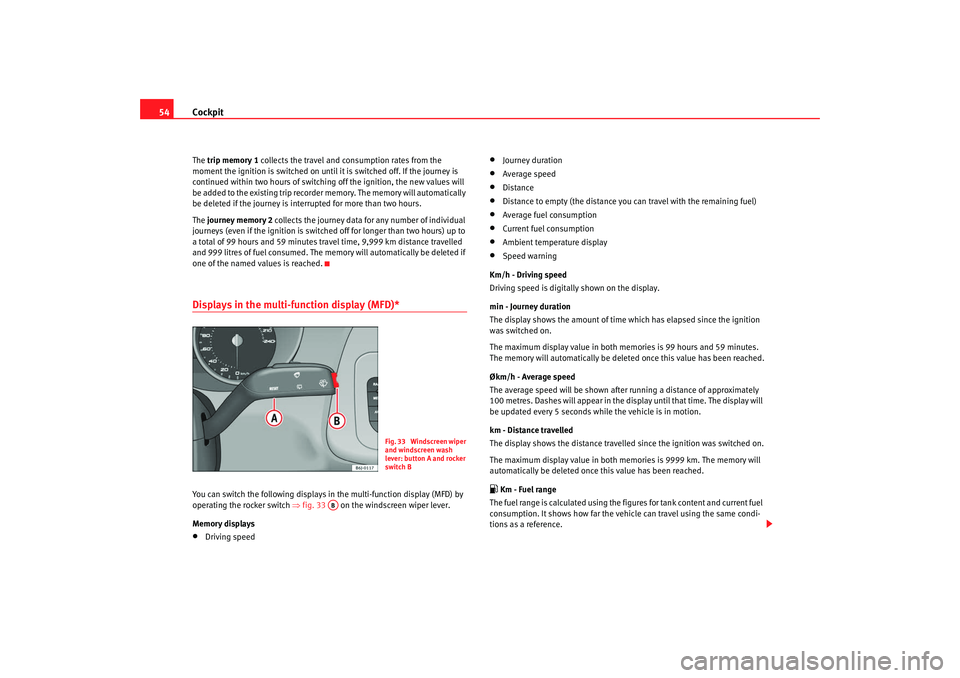
one of the named values is reached.Displays in the multi-function display (MFD)* You can switch the following displays in the multi-function display (MFD) by
operating the rocker switch ⇒fig. 33 on the windscreen wiper lever.
Memory displays•
Driving speed
•
Journey duration
•
Average speed
•
Distance
•
Distance to empty (the distance you can travel with the remaining fuel)
•
Average fuel consumption
•
Current fuel consumption
•
Ambient temperature display
•
Speed warning
Km/h - Driving speed
Driving speed is digitally shown on the display.
min - Journey duration
The display shows the amount of time which has elapsed since the ignition
was switched on.
The maximum display value in both me mories is 99 hours and 59 minutes.
The memory will automatically be deleted once this value has been reached.
Økm/h - Average speed
The average speed will be shown after running a distance of approximately
100 metres. Dashes will appear in the display until that time. The display will
be updated every 5 seconds while the vehicle is in motion.
km - Distance travelled
The display shows the distance travelled since the ignition was switched on.
The maximum display value in both me mories is 9999 km. The memory will
automatically be deleted once this value has been reached.
Km - Fuel range
The fuel range is calculated using the figures for tank content and current fuel
consumption. It shows how far the vehicle can travel using the same condi-
tions as a reference.
Fig. 33 Windscreen wiper
and windscreen wash
lever: button A and rocker
switch B
AB
Ibiza250_angles Seite 54 Dienstag, 5. August 2008 1:11 13
Page 57 of 260
Cockpit55
Safety First
Operating instructions
Practical tips
Te c h n i c a l D a t a
Ø litre/100 km - Average fuel consumption
Average fuel consumption will be shown after having travelled approximately
100 metres. Dashes will appear in the display until that time. The display will
be updated every 5 seconds while the vehicle is in motion. The amount of fuel
used will not be shown.
ltr/100 km or ltr/hr - Current fuel consumption
The display will show the current fuel consumption in litre/km whilst the
vehicle is in motion or in litre/hour when the vehicle is in a stationary position
with the engine running.
Using this display you can see how your driving style affects fuel consump-
tion
⇒page 153.
Ambient temperature display
The measurement margin extends from -45°C to +58°C. At temperatures
lower than +4°C, an “ice crystal symbol” is displayed and a “warning” sounds
if the vehicle is moving at more than 10 km/h (ice warning). This symbol will
flash for about 10 seconds and remains lit until the exterior temperature rises
above +4°C or 6°C if it was already lit.
Set speed indicator
When the required speed has been reached, enter the mode menu “Speed
set” and press button -RESET-. The set speed is stored. If the indicated
speed is exceeded at any time, a warning text is displayed on the screen and
a warning signal is emitted.
3)
This may be deactivated by pressing the button . The speed may be
altered using the rocker switch in steps of 5 km/h within 5 seconds of the
initial memory value.
WARNING
There could be black ice on the road surface even if the “snowflake symbol”
is not shown. You should, for this reason, not rely exclusively on this
display - Risk of accident!
Note
When the vehicle is stationary or travelling at very low speeds, the tempera-
ture displayed may be slightly higher than the actual ambient temperature as
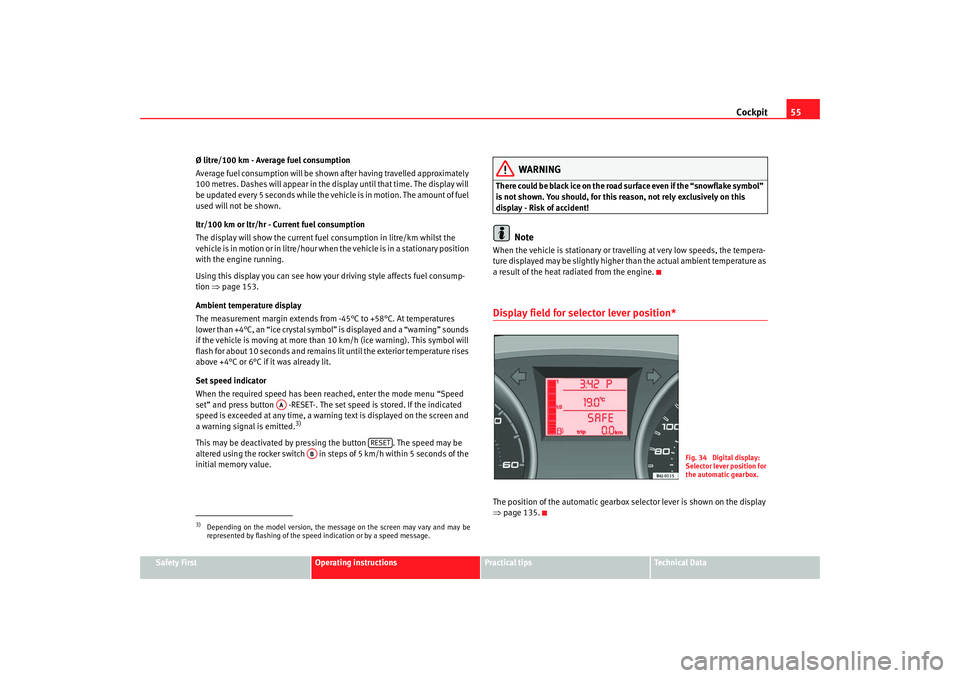
a result of the heat radiated from the engine.Display field for selector lever position*The position of the automatic gearbox selector lever is shown on the display
⇒ page 135.
3)Depending on the model version, the message on the screen may vary and may be
represented by flashing of the speed indication or by a speed message.
AA
RESET
AB
Fig. 34 Digital display:
Selector lever position for
the automatic gearbox.
Ibiza250_angles Seite 55 Dienstag, 5. August 2008 1:11 13
Page 61 of 260
Cockpit59
Safety First
Operating instructions
Practical tips
Te c h n i c a l D a t a
WARNING
•
Failure to observe warning lamps and warning messages can result in
serious personal injuries or damage to your vehicle.
•
The risk of an accident increases if your vehicle breaks down. Use a
warning triangle to draw the attention of other road users in order to
prevent danger to thirds.
•
The engine compartment is a dangerous area! Before you open the
bonnet to work on the engine or in the engine compartment, you must
switch the engine off and allow it to cool to reduce the risk of scalding or
other kind of injuries. Read and observe the relevant warnings
⇒ page 181.
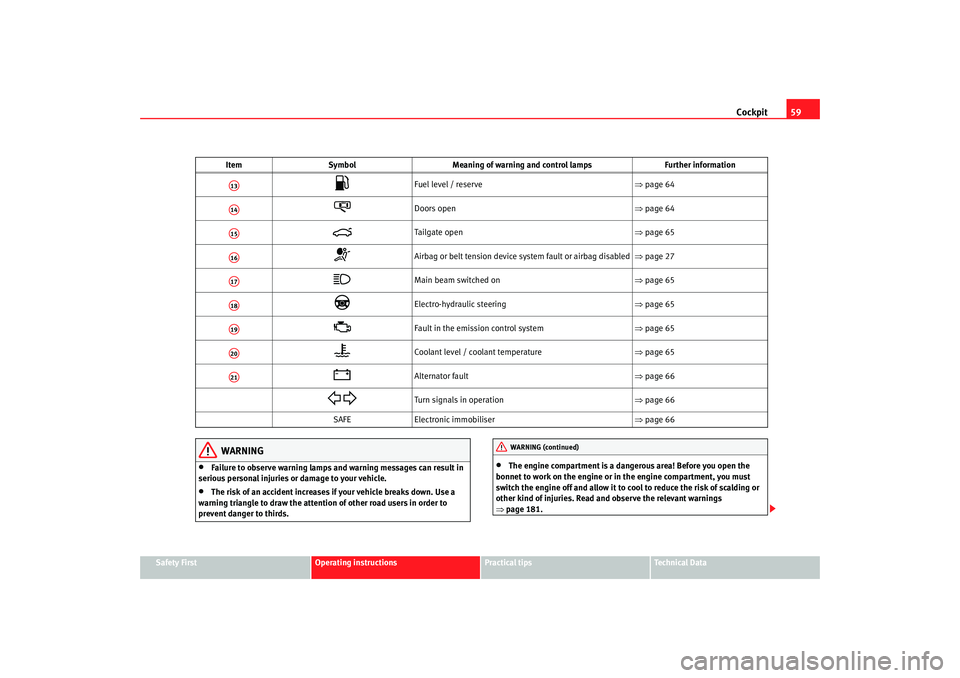
Fuel level / reserve ⇒page 64
Doors open ⇒page 64
Tailgate open ⇒page 65
Airbag or belt tension device system fault or airbag disabled ⇒page 27
Main beam switched on ⇒page 65
Electro-hydraulic steering ⇒page 65
Fault in the emission control system ⇒page 65
Coolant level / coolant temperature ⇒page 65
Alternator fault ⇒page 66
Turn signals in operation ⇒page 66
SAFE Electronic immobiliser ⇒page 66
Item
Symbol Meaning of warning and control lamps Further information
A13A14A15A16A17A18A19A20A21
WARNING (continued)
Ibiza250_angles Seite 59 Dienstag, 5. August 2008 1:11 13
Page 66 of 260
Cockpit
64•
The tyre structure is damaged.
•
The vehicle is unbalanced because of a load.
•
The wheels of one axle are under more pressure (for example, driving with
a trailer or on extreme slopes).
•
The vehicle is fitted with snow chains.
•
The emergency wheel is fitted.
•
The wheel on one axle is changed.
Tyre pressure adjustment
Following the modification to tyre pressure or changing one or more wheels,
the button ⇒ page 63, fig. 37 must be kept pressed while the ignition is on
until an acoustic signal is heard.
If the wheels are under excessive load (for example, driving with a trailer or
heavy load), the tyre pressure must be increased to the recommended value
for a full load (see the sticker on the inside of the fuel flap). If the tyre monitor
system button is pressed down, the new tyre pressures are confirmed.
The tyre pressure monitor indicator
lights up
If the tyre pressure of one wheel is much lower than the value set by the
driver, then the indicator lights up ⇒.
WARNING
•
When the tyre pressure indicator l ights, reduce speed immediately and
avoid any sudden manoeuvre or braking. Stop when possible, and check
the tyre pressure and status.
•
The driver is responsible for maintaining correct tyre pressures. For this
reason, tyre pressures must be regularly checked.
•
Under certain circumstances (for example, when driving in a sportslike
manner, in winter conditions or on a dirt track) the tyre monitor indicator
may light up or function incorrectly.
Note
If the battery is disconnected, the yellow indicator
lights up after the igni-
tion is switched on. This should go out after a brief journey.
Speed selector lever lock*
The footbrake must be depressed when this warning lamp lights up. This is
necessary when the automatic gearbox* selector lever is moved out of posi-
tions P or N.Fuel level / reserve
This symbol lights up to indicate that the fuel tank under the
reserve level.It lights up when only 7 litres of fuel remain in the tank. Moreover, an audible
warning* is heard. It reminds you to fuel up the fuel tank as soon as possible
⇒ page 178.Indicates that the doors are open*
This indicator lights if one of th e doors or the tailgate is open.The warning light
should go off when all the doors are closed correctly.
Ibiza250_angles Seite 64 Dienstag, 5. August 2008 1:11 13
Page 94 of 260
Lights and visibility
92
– Push the light lever to the main beam position
.
– Dipped headlights come on when the door is opened.
You have 2 mins. from when the key is take n out of the ignition switch to when
the lights flash; after this, the Coming ho me function will not activate. To acti-
vate it again, repeat the operation.
When the system is activated, dipped headlights remain on for 30 secs. after
closing the door. If the door is open for more than 3 mins., the system will not
remain active after the 3 mins., which means that the dipped lights will not
light up.
Note
•
If the vehicle is often used during th e night for short trips and the Coming
home function is used, this will discharge the battery considerably. To avoid
this, make longer journeys whenever possible.
•
Observe all relevant statutory requirements when using the lighting
systems described here.
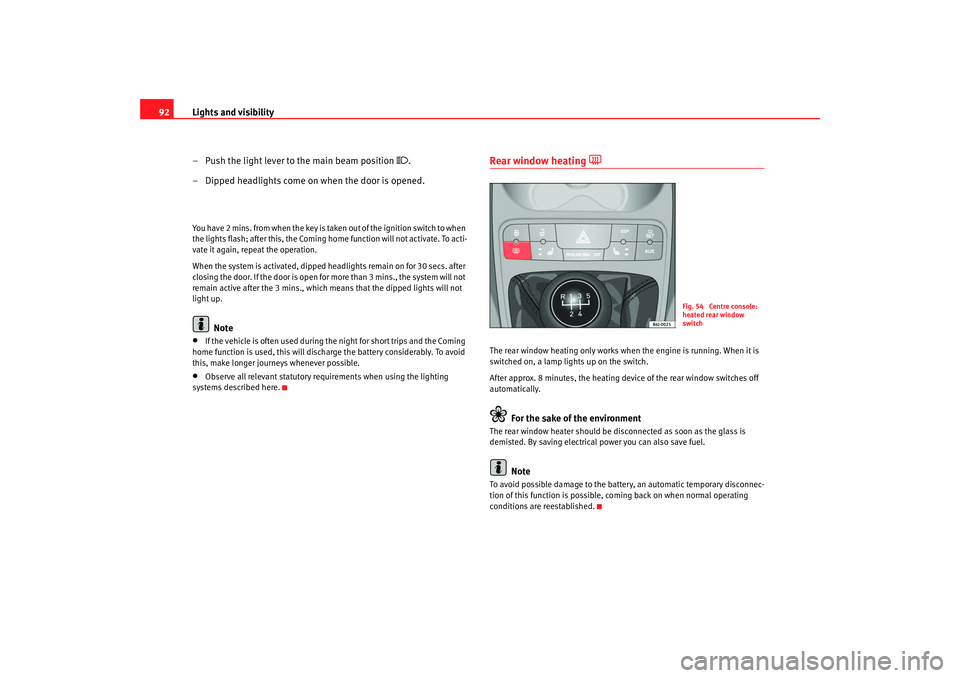
Rear window heating
The rear window heating only works when the engine is running. When it is
switched on, a lamp lights up on the switch.
After approx. 8 minutes, the heating device of the rear window switches off
automatically.
For the sake of the environment
The rear window heater should be disconnected as soon as the glass is
demisted. By saving electrical power you can also save fuel.
Note
To avoid possible damage to the battery, an automatic temporary disconnec-
tion of this function is possible, coming back on when normal operating
conditions are reestablished.
Fig. 54 Centre console:
heated rear window
switch
Ibiza250_angles Seite 92 Dienstag, 5. August 2008 1:11 13