2008 NISSAN QUEST lock
[x] Cancel search: lockPage 119 of 376
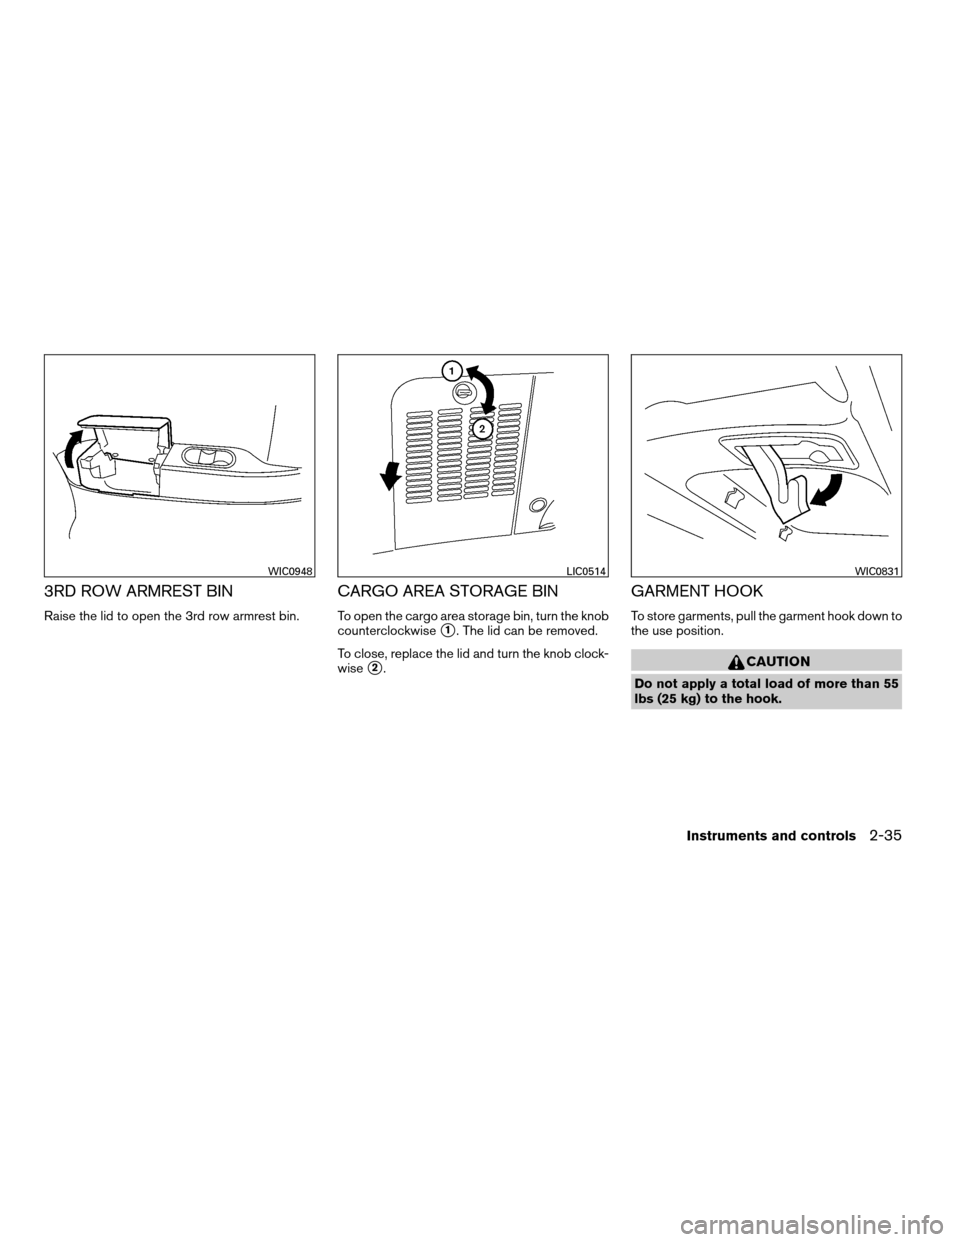
3RD ROW ARMREST BIN
Raise the lid to open the 3rd row armrest bin.
CARGO AREA STORAGE BIN
To open the cargo area storage bin, turn the knob
counterclockwise
s1. The lid can be removed.
To close, replace the lid and turn the knob clock-
wise
s2.
GARMENT HOOK
To store garments, pull the garment hook down to
the use position.
CAUTION
Do not apply a total load of more than 55
lbs (25 kg) to the hook.
WIC0948LIC0514WIC0831
Instruments and controls2-35
ZREVIEW COPYÐ2008 Quest(van)
Owners ManualÐUSA_English(nna)
06/29/07Ðdebbie
X
Page 120 of 376
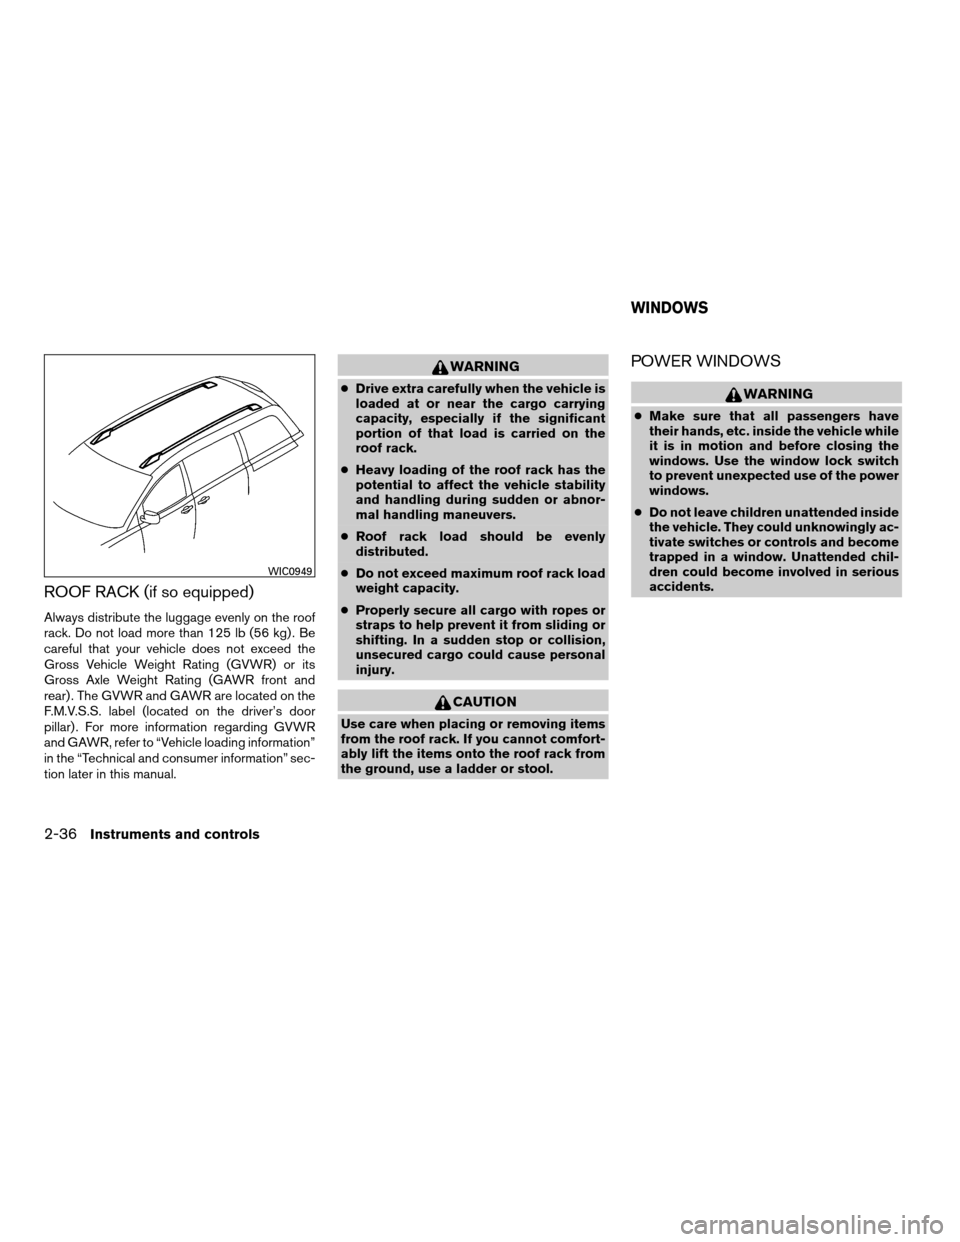
ROOF RACK (if so equipped)
Always distribute the luggage evenly on the roof
rack. Do not load more than 125 lb (56 kg) . Be
careful that your vehicle does not exceed the
Gross Vehicle Weight Rating (GVWR) or its
Gross Axle Weight Rating (GAWR front and
rear) . The GVWR and GAWR are located on the
F.M.V.S.S. label (located on the driver’s door
pillar) . For more information regarding GVWR
and GAWR, refer to “Vehicle loading information”
in the “Technical and consumer information” sec-
tion later in this manual.
WARNING
cDrive extra carefully when the vehicle is
loaded at or near the cargo carrying
capacity, especially if the significant
portion of that load is carried on the
roof rack.
cHeavy loading of the roof rack has the
potential to affect the vehicle stability
and handling during sudden or abnor-
mal handling maneuvers.
cRoof rack load should be evenly
distributed.
cDo not exceed maximum roof rack load
weight capacity.
cProperly secure all cargo with ropes or
straps to help prevent it from sliding or
shifting. In a sudden stop or collision,
unsecured cargo could cause personal
injury.
CAUTION
Use care when placing or removing items
from the roof rack. If you cannot comfort-
ably lift the items onto the roof rack from
the ground, use a ladder or stool.
POWER WINDOWS
WARNING
cMake sure that all passengers have
their hands, etc. inside the vehicle while
it is in motion and before closing the
windows. Use the window lock switch
to prevent unexpected use of the power
windows.
cDo not leave children unattended inside
the vehicle. They could unknowingly ac-
tivate switches or controls and become
trapped in a window. Unattended chil-
dren could become involved in serious
accidents.
WIC0949
WINDOWS
2-36Instruments and controls
ZREVIEW COPYÐ2008 Quest(van)
Owners ManualÐUSA_English(nna)
06/29/07Ðdebbie
X
Page 121 of 376

1. Window lock button
2. Power door lock switch
3. Front passenger’s side automatic
switch
4. Right rear power vent window switch
(if so equipped)
5. Left rear power vent window switch
(if so equipped)
6. Driver’s side automatic switch
Driver’s side power window switch
The driver’s side control panel is equipped with
switches to open or close all of the windows.
The power windows operate when the ignition
switch is in the ON position, or for about 45
seconds after the ignition switch is turned to the
OFF position. If the driver’s or passenger’s door
is opened during this period of about 45 sec-
onds, power to the windows is canceled. To open
a window, push the switch and hold it down. To
close a window, pull the switch and hold it up. To
stop the opening or closing function at any time,
simply release the switch.
Front passenger’s power window
switch
The passenger’s window switch operates only
the corresponding passenger’s window. To open
the window, push the switch and hold it down
s1.
To close the window, pull the switch up
s2.
Locking passengers’ windows
When the window lock button is depressed, only
the driver’s side window can be opened or
closed. Push it again to cancel the window lock
function.
WIC0950WIC0951
Instruments and controls2-37
ZREVIEW COPYÐ2008 Quest(van)
Owners ManualÐUSA_English(nna)
06/29/07Ðcathy
X
Page 123 of 376
The power vent windows operate when the igni-
tion key is in the ON position, or for 45 seconds
after the ignition key is turned to the OFF position.
If the driver’s or passenger’s door is opened
during this 45 second period, power to the vent
windows is cancelled.
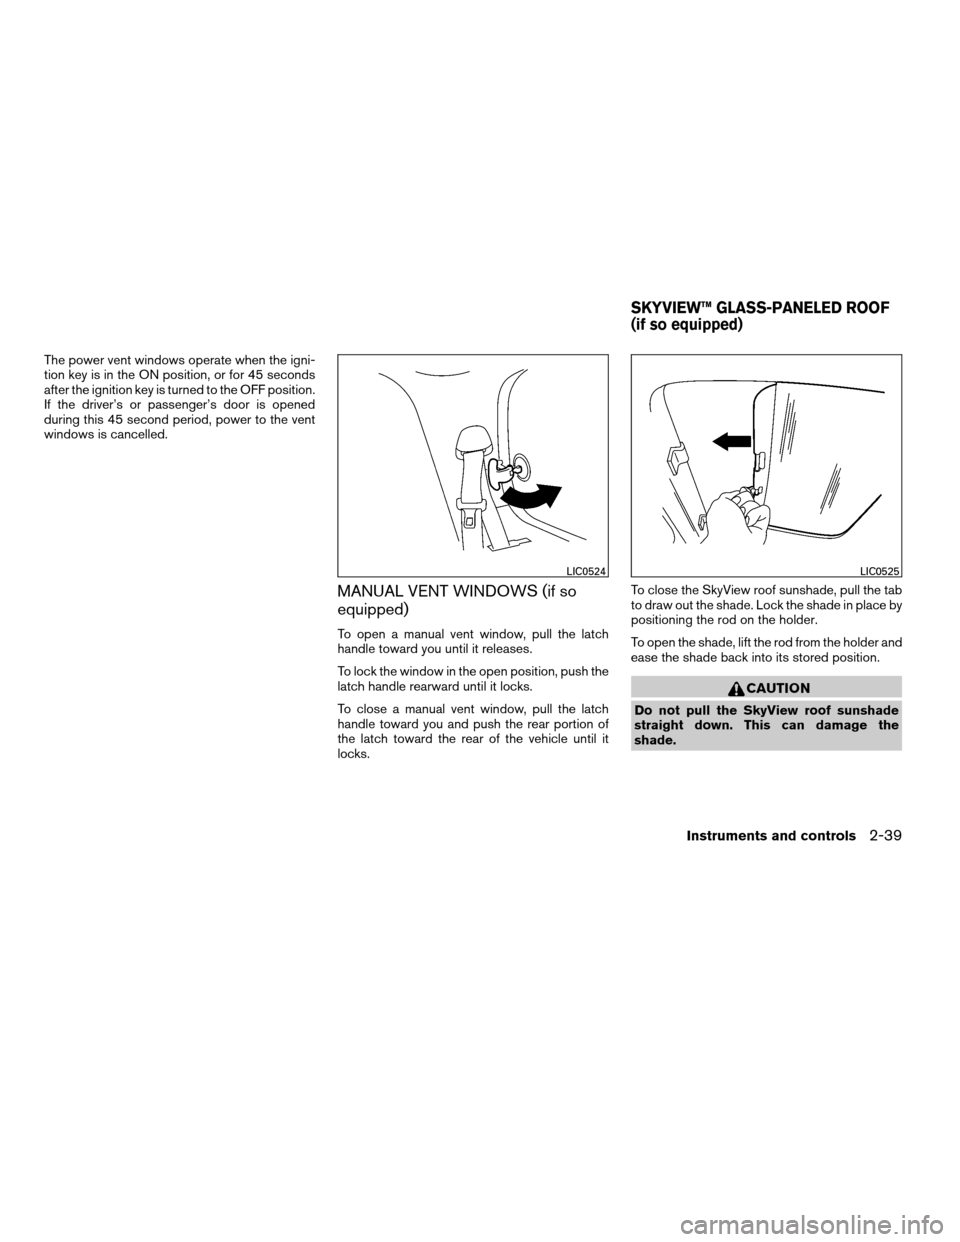
MANUAL VENT WINDOWS (if so
equipped)
To open a manual vent window, pull the latch
handle toward you until it releases.
To lock the window in the open position, push the
latch handle rearward until it locks.
To close a manual vent window, pull the latch
handle toward you and push the rear portion of
the latch toward the rear of the vehicle until it
locks.To close the SkyView roof sunshade, pull the tab
to draw out the shade. Lock the shade in place by
positioning the rod on the holder.
To open the shade, lift the rod from the holder and
ease the shade back into its stored position.
CAUTION
Do not pull the SkyView roof sunshade
straight down. This can damage the
shade.
LIC0524LIC0525
SKYVIEW™ GLASS-PANELED ROOF
(if so equipped)
Instruments and controls2-39
ZREVIEW COPYÐ2008 Quest(van)
Owners ManualÐUSA_English(nna)
06/29/07Ðdebbie
X
Page 126 of 376
cThe doors are unlocked by the keyfob, a key
or the power door lock switch while all doors
are closed and the ignition switch is in the
OFF position.
cThe driver’s door is opened and then closed
while the key is removed from the ignition
switch.
cThe key is removed from the ignition switch
while all doors are closed.
The interior lights will turn off while the 30 second
timer is activated when:
cThe driver’s door is locked by the keyfob, a
key, or the power door lock switch.
cThe ignition switch is turned ON.
The lights will turn off automatically after 30 min-
utes while doors are open to prevent the battery
from becoming discharged.NOTE:
The footwell and door step lights illuminate
when the driver and passenger doors are
open regardless of the lights on demand
switch position. These lights will turn off
automatically after 30 minutes while doors
are open to prevent the battery from be-
coming discharged.
CAUTION
Do not use for extended periods of time
with the engine stopped. This could result
in a discharged battery.
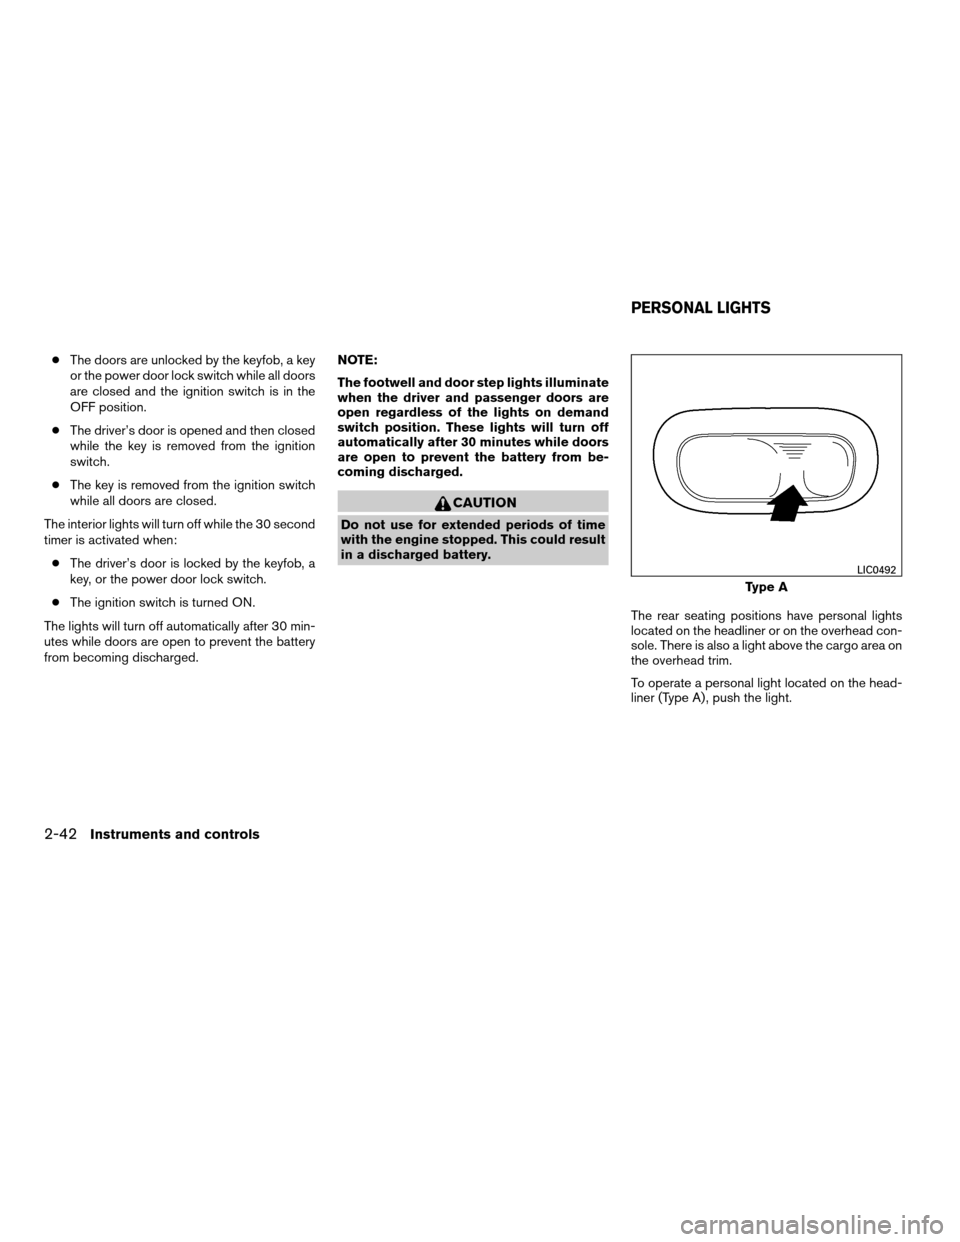
The rear seating positions have personal lights
located on the headliner or on the overhead con-
sole. There is also a light above the cargo area on
the overhead trim.
To operate a personal light located on the head-
liner (Type A) , push the light.
Type A
LIC0492
PERSONAL LIGHTS
2-42Instruments and controls
ZREVIEW COPYÐ2008 Quest(van)
Owners ManualÐUSA_English(nna)
06/29/07Ðdebbie
X
Page 127 of 376
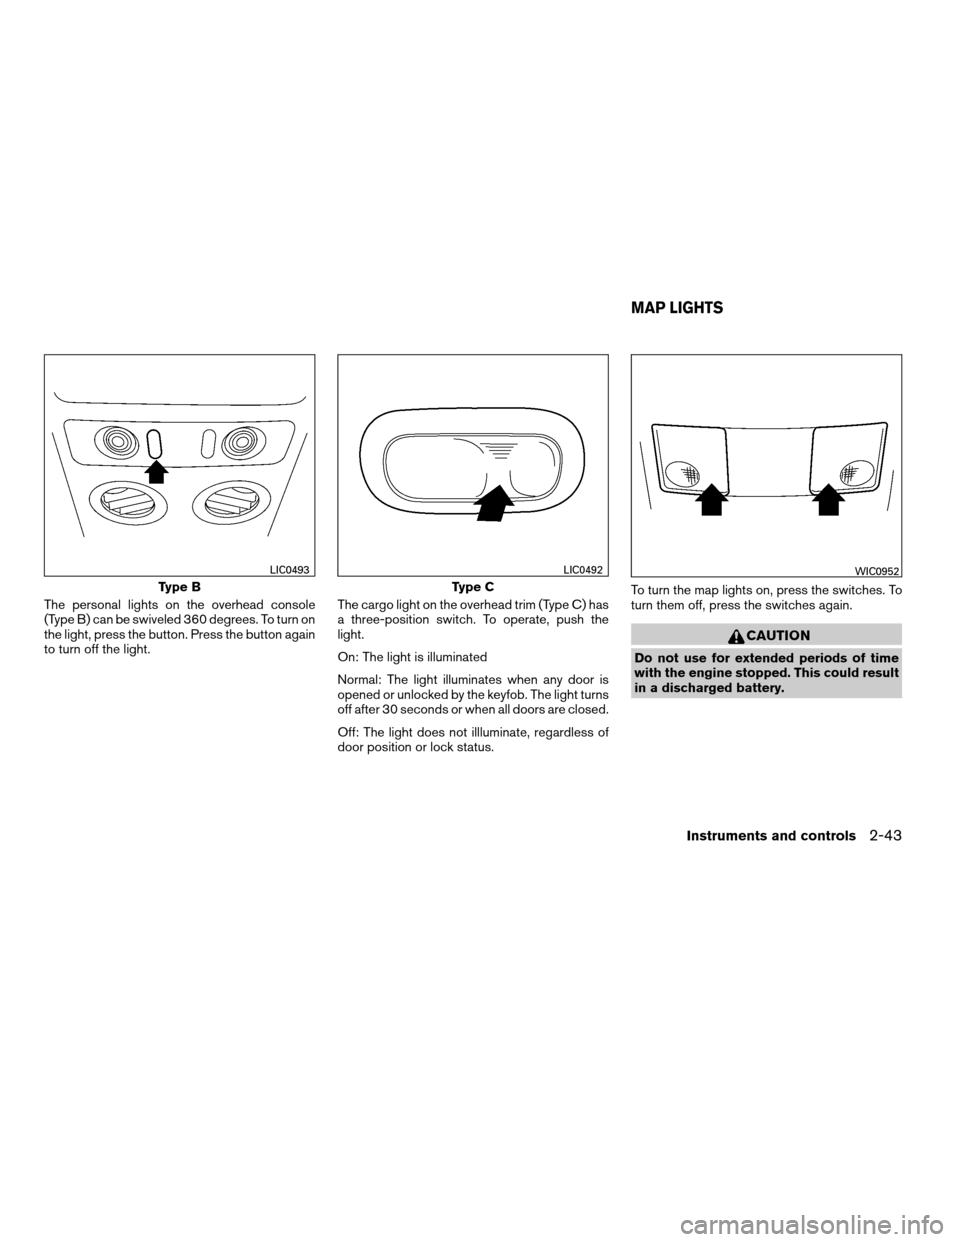
The personal lights on the overhead console
(Type B) can be swiveled 360 degrees. To turn on
the light, press the button. Press the button again
to turn off the light.The cargo light on the overhead trim (Type C) has
a three-position switch. To operate, push the
light.
On: The light is illuminated
Normal: The light illuminates when any door is
opened or unlocked by the keyfob. The light turns
off after 30 seconds or when all doors are closed.
Off: The light does not illluminate, regardless of
door position or lock status.To turn the map lights on, press the switches. To
turn them off, press the switches again.
CAUTION
Do not use for extended periods of time
with the engine stopped. This could result
in a discharged battery.
Type B
LIC0493
Type C
LIC0492WIC0952
MAP LIGHTS
Instruments and controls2-43
ZREVIEW COPYÐ2008 Quest(van)
Owners ManualÐUSA_English(nna)
06/29/07Ðdebbie
X
Page 128 of 376
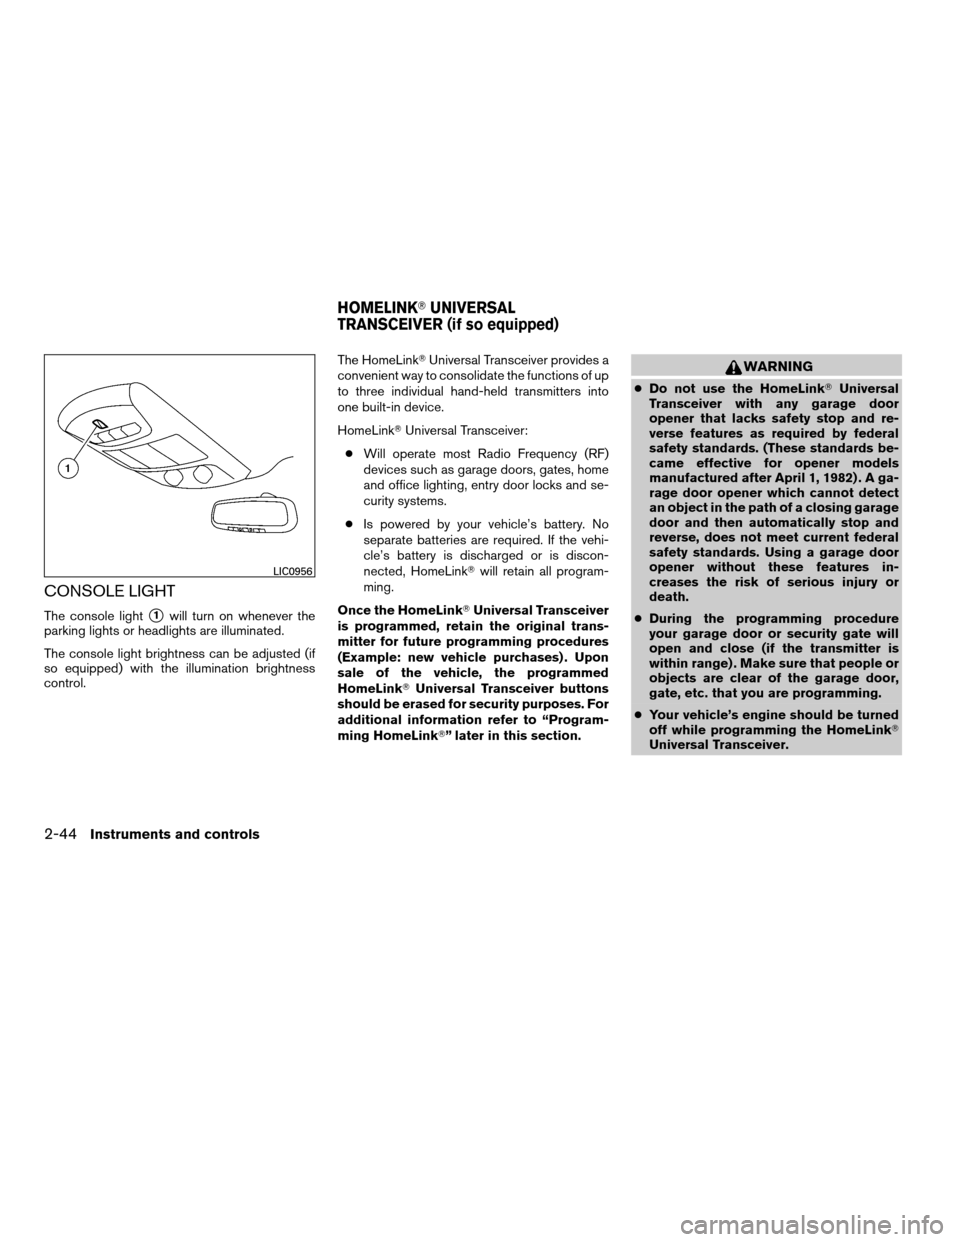
CONSOLE LIGHT
The console lights1will turn on whenever the
parking lights or headlights are illuminated.
The console light brightness can be adjusted (if
so equipped) with the illumination brightness
control.The HomeLinkTUniversal Transceiver provides a
convenient way to consolidate the functions of up
to three individual hand-held transmitters into
one built-in device.
HomeLinkTUniversal Transceiver:
cWill operate most Radio Frequency (RF)
devices such as garage doors, gates, home
and office lighting, entry door locks and se-
curity systems.
cIs powered by your vehicle’s battery. No
separate batteries are required. If the vehi-
cle’s battery is discharged or is discon-
nected, HomeLinkTwill retain all program-
ming.
Once the HomeLinkTUniversal Transceiver
is programmed, retain the original trans-
mitter for future programming procedures
(Example: new vehicle purchases) . Upon
sale of the vehicle, the programmed
HomeLinkTUniversal Transceiver buttons
should be erased for security purposes. For
additional information refer to “Program-
ming HomeLinkT” later in this section.
WARNING
cDo not use the HomeLinkTUniversal
Transceiver with any garage door
opener that lacks safety stop and re-
verse features as required by federal
safety standards. (These standards be-
came effective for opener models
manufactured after April 1, 1982) . A ga-
rage door opener which cannot detect
an object in the path of a closing garage
door and then automatically stop and
reverse, does not meet current federal
safety standards. Using a garage door
opener without these features in-
creases the risk of serious injury or
death.
cDuring the programming procedure
your garage door or security gate will
open and close (if the transmitter is
within range) . Make sure that people or
objects are clear of the garage door,
gate, etc. that you are programming.
cYour vehicle’s engine should be turned
off while programming the HomeLinkT
Universal Transceiver.
LIC0956
HOMELINKTUNIVERSAL
TRANSCEIVER (if so equipped)
2-44Instruments and controls
ZREVIEW COPYÐ2008 Quest(van)
Owners ManualÐUSA_English(nna)
06/29/07Ðdebbie
X
Page 133 of 376

3 Pre-driving checks and adjustments
Keys .............................................3-2
NISSAN vehicle immobilizer system keys..........3-2
Doors............................................3-3
Locking with key................................3-3
Locking with inside lock knob....................3-4
Locking with power door lock switch.............3-5
Operating the manual sliding door
(if so equipped)................................3-5
Using the main ON/OFF switch for the
power sliding door (if so equipped)...............3-6
Operating the power sliding door
(if so equipped)................................3-6
Child safety sliding door lock....................3-9
Remote keyless entry system.......................3-9
How to use remote keyless entry system.........3-10
Hood...........................................3-14
Lift gate.........................................3-14
Operating the manual lift gate...................3-15
Using the main ON/OFF switch for the
power lift gate (if so equipped)..................3-15Operating the power lift gate
(if so equipped)...............................3-16
Lift gate release...............................3-18
Fuel-filler door...................................3-19
Opener operation..............................3-19
Fuel-filler cap.................................3-19
Steering wheel...................................3-21
Tilt operation..................................3-21
Pedal position adjustment (if so equipped)..........3-21
Sun visors.......................................3-22
Vanity mirrors.................................3-22
Mirrors..........................................3-23
Rearview mirror (if so equipped).................3-23
Automatic anti-glare rearview mirror
(if so equipped)...............................3-23
Outside mirrors...............................3-24
Automatic drive positioner (if so equipped)..........3-25
Memory storage function.......................3-26
Entry/exit function.............................3-27
System operation..............................3-27
ZREVIEW COPYÐ2008 Quest(van)
Owners ManualÐUSA_English(nna)
06/29/07Ðdebbie
X