2008 NISSAN QUEST warning
[x] Cancel search: warningPage 170 of 376

HOW TO USE THE TRIP BUTTON
When the TRIP button is pressed, the following
modes will display on the screen.
Warning message (if any)!TRIP 1!TRIP 2!
FUEL ECONOMY!MAINTENANCE!Audio
or OFF!TRIP 1
Each trip display tracks an independent trip and
displays the following:
cElapsed Time - Journey time since the last
reset up to a maximum of 99 hours and 59
minutes.
cDriving Distance - Distance driven (mile or
km) since the last reset.cAverage Speed - Average speed driven
(MPH or km/h) since the last reset.
Resetting trip 1 and trip 2
Each trip screen can be reset to 0. Press the TRIP
button to select the TRIP screen to be reset.
cSelect the “Reset” key on screen by press-
ing the ENTER button, or
cPress the TRIP button for more than approxi-
mately 1.5 seconds.
Fuel economy
Press the TRIP button to display Average Fuel
Economy and Distance To Empty.
Average fuel economy (MPG or L/100 km)
The Average Fuel Economy is calculated based
on fuel consumption since the last reset. The
display is updated every 30 seconds and 1/3
mile (500 m) . After a reset or connecting the
battery cables, the display will show (**.*) .
LHA0552LHA0553
4-8Display screen, heater, air conditioner, audio and phone systems
ZREVIEW COPYÐ2008 Quest(van)
Owners ManualÐUSA_English(nna)
06/29/07Ðdebbie
X
Page 173 of 376
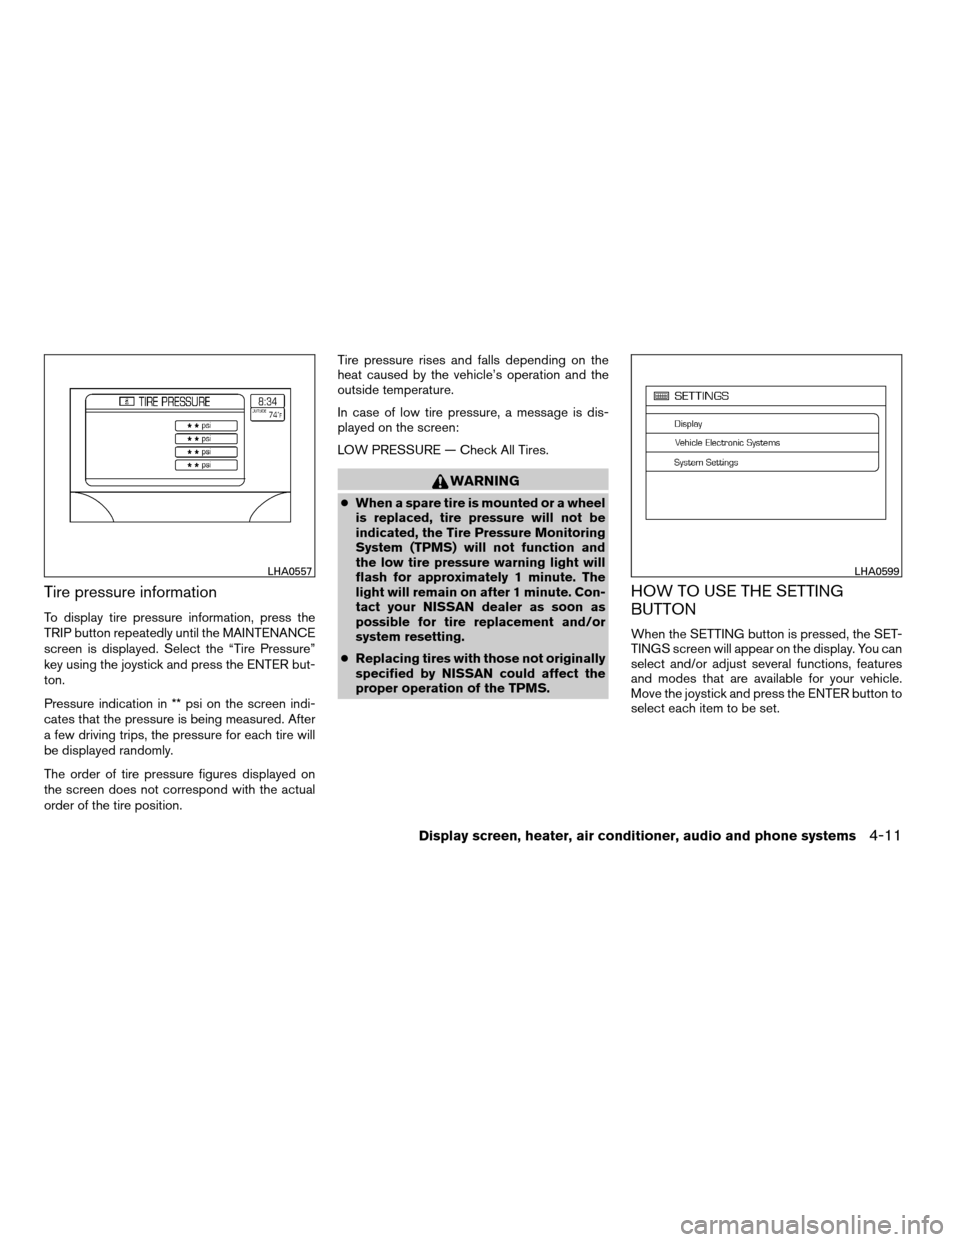
Tire pressure information
To display tire pressure information, press the
TRIP button repeatedly until the MAINTENANCE
screen is displayed. Select the “Tire Pressure”
key using the joystick and press the ENTER but-
ton.
Pressure indication in ** psi on the screen indi-
cates that the pressure is being measured. After
a few driving trips, the pressure for each tire will
be displayed randomly.
The order of tire pressure figures displayed on
the screen does not correspond with the actual
order of the tire position.Tire pressure rises and falls depending on the
heat caused by the vehicle’s operation and the
outside temperature.
In case of low tire pressure, a message is dis-
played on the screen:
LOW PRESSURE — Check All Tires.
WARNING
cWhen a spare tire is mounted or a wheel
is replaced, tire pressure will not be
indicated, the Tire Pressure Monitoring
System (TPMS) will not function and
the low tire pressure warning light will
flash for approximately 1 minute. The
light will remain on after 1 minute. Con-
tact your NISSAN dealer as soon as
possible for tire replacement and/or
system resetting.
cReplacing tires with those not originally
specified by NISSAN could affect the
proper operation of the TPMS.
HOW TO USE THE SETTING
BUTTON
When the SETTING button is pressed, the SET-
TINGS screen will appear on the display. You can
select and/or adjust several functions, features
and modes that are available for your vehicle.
Move the joystick and press the ENTER button to
select each item to be set.
LHA0557LHA0599
Display screen, heater, air conditioner, audio and phone systems4-11
ZREVIEW COPYÐ2008 Quest(van)
Owners ManualÐUSA_English(nna)
06/29/07Ðdebbie
X
Page 180 of 376

HOW TO USE THE BACK BUTTON
This button has two functions.
cGo back to the previous display (cancel) .
If you press the BACK button during setup, the
setup will be canceled and/or the display will
return to the previous screen.
cFinish setup.
In some screens pressing the BACK button ac-
cepts the changes made during setup.
SETTING UP THE START-UP
SCREEN
When you turn the ignition key to ACC or ON, the
system start-up warning is displayed on the
screen. Read the warning and select the “OK”
key by pressing the ENTER button.
If you do not press the ENTER button, the Navi-
gation system will not proceed to the next step in
the Navigation display.
If you do not touch a button or screen key for
more than 1 minute on the system start-up warn-
ing screen, the screen will change to the audio
screen automatically.
To proceed to the next step, refer to the separate
Navigation System Owner’s Manual.HOW TO USE THE TRIP BUTTON
When the TRIP button is pressed, the following
modes will display on the screen.
Warning message (if any)!TRIP 1!TRIP 2!
FUEL ECONOMY!MAINTENANCE!Audio
or OFF!TRIP 1
Each trip display tracks an independent trip and
displays the following:
cElapsed Time - Journey time since the last
reset up to a maximum of 99 hours and 59
minutes.
cDriving Distance - Distance driven (mile or
km) since the last reset.cAverage Speed - Average speed driven
(MPH or km/h) since the last reset.
Resetting trip 1 and trip 2
Each trip screen can be reset to 0. Press the TRIP
button to select the TRIP screen to be reset.
cSelect the “Reset” key on screen by press-
ing the ENTER button, or
cPress the TRIP button for more than approxi-
mately 1.5 seconds.
LHA0552
4-18Display screen, heater, air conditioner, audio and phone systems
ZREVIEW COPYÐ2008 Quest(van)
Owners ManualÐUSA_English(nna)
06/29/07Ðdebbie
X
Page 183 of 376
cThe ignition key is turned ON the next time
the vehicle will be driven.
To return to the previous display after the MAIN-
TENANCE NOTICE screen is displayed, press
the BACK button.
The MAINTENANCE NOTICE screen displays
each time the key is turned ON until one of the
following conditions are met:
c“Reset” key is selected.
c“Display Maintenance Notification” is set to
OFF.
cThe maintenance interval is set again.
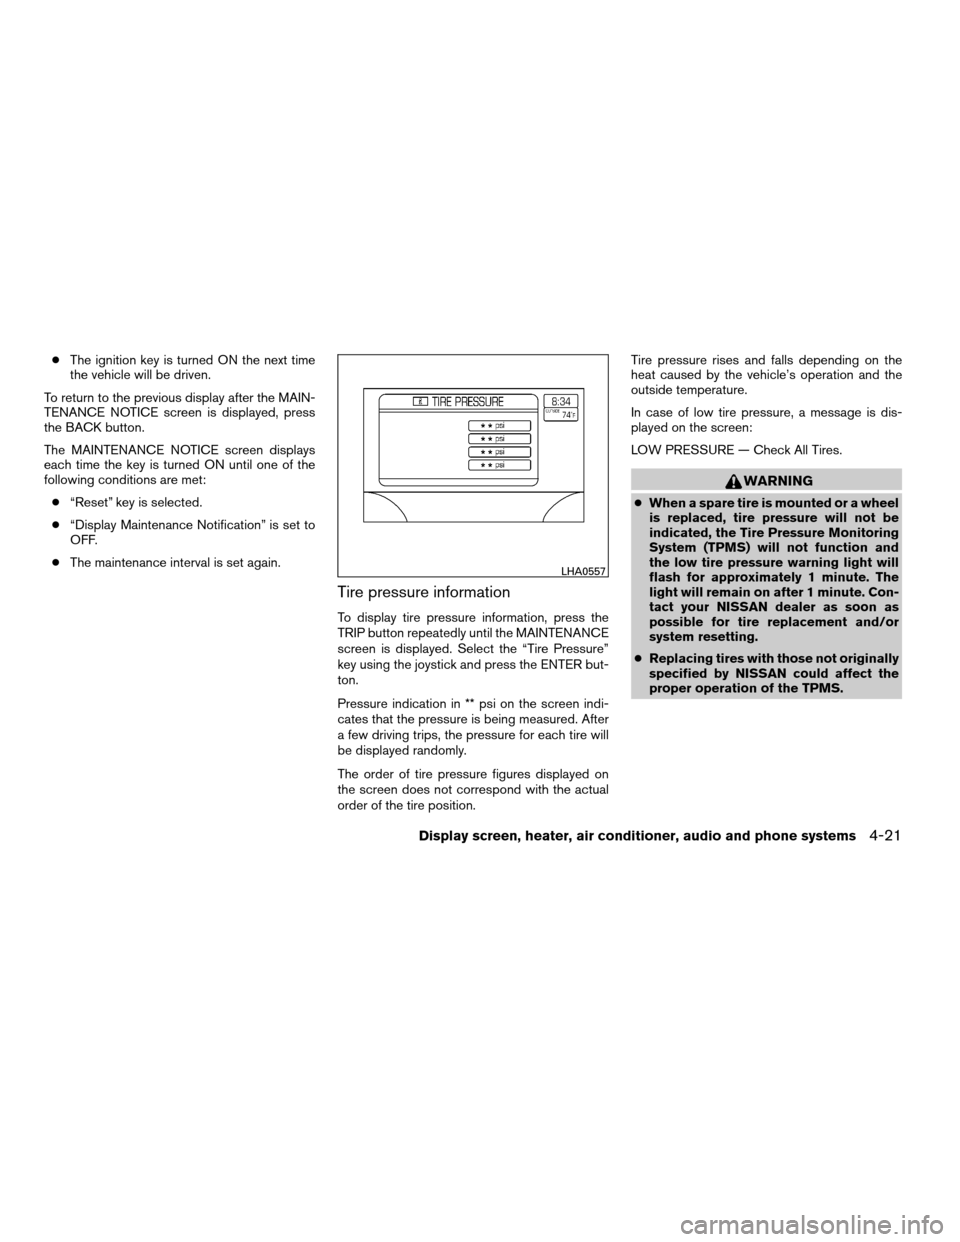
Tire pressure information
To display tire pressure information, press the
TRIP button repeatedly until the MAINTENANCE
screen is displayed. Select the “Tire Pressure”
key using the joystick and press the ENTER but-
ton.
Pressure indication in ** psi on the screen indi-
cates that the pressure is being measured. After
a few driving trips, the pressure for each tire will
be displayed randomly.
The order of tire pressure figures displayed on
the screen does not correspond with the actual
order of the tire position.Tire pressure rises and falls depending on the
heat caused by the vehicle’s operation and the
outside temperature.
In case of low tire pressure, a message is dis-
played on the screen:
LOW PRESSURE — Check All Tires.
WARNING
cWhen a spare tire is mounted or a wheel
is replaced, tire pressure will not be
indicated, the Tire Pressure Monitoring
System (TPMS) will not function and
the low tire pressure warning light will
flash for approximately 1 minute. The
light will remain on after 1 minute. Con-
tact your NISSAN dealer as soon as
possible for tire replacement and/or
system resetting.
cReplacing tires with those not originally
specified by NISSAN could affect the
proper operation of the TPMS.
LHA0557
Display screen, heater, air conditioner, audio and phone systems4-21
ZREVIEW COPYÐ2008 Quest(van)
Owners ManualÐUSA_English(nna)
06/29/07Ðdebbie
X
Page 190 of 376
The GPS time (manual time) corresponding to
the selected zone will be displayed. Pacific zone
has been set as the initial (default) setting.
Beep setting
With this option ON, a beep will sound if any
audio button is pressed.
Navigation settings
Refer to the separate Navigation System Own-
er’s Manual for information regarding these set-
tings.
Guidance voice settings
Refer to the separate Navigation System Own-
er’s Manual for information regarding these set-
tings.
BUTTON
To change the display brightness, press
thebutton. Pressing the button again will
change the display to “DAY” or “NIGHT” display.
Then, adjust the brightness by moving the joy-
stick right or left.
If no operation is done within 10 seconds, or if the
BACK button is pressed, the display will return to
the previous display.When the shift selector lever is shifted into the R
(Reverse) position, the monitor display shows the
view directly to the rear of the vehicle.
WARNING
cThe system is designed as an aid to the
driver in detecting large stationary ob-
jects to help avoid damaging the ve-
hicle. The system will not detect small
objects below the bumper, and may not
detect objects close to the bumper or
on the ground.
cThe rearview camera is a convenience
but it is not a substitute for proper back-
ing. Always turn and check that it is safe
to do so before backing up. Always
back up slowly.
cObjects viewed in the rearview monitor
differ from actual distance because a
wide-angle lens is used.
cMake sure that the lift gate is securely
closed when backing up.
cDo not put anything on the rearview
camera. The rearview camera is in-
stalled beside the license plate light.cWhen washing the vehicle with high-
pressure water, be sure not to spray it
around the camera. Otherwise, water
may enter the camera unit causing wa-
ter condensation on the lens, a mal-
function, fire or an electric shock.
cDo not strike the camera. It is a preci-
sion instrument. Otherwise, it may mal-
function or cause damage resulting in a
fire or an electric shock.
CAUTION
There is a plastic cover over the camera.
Do not scratch the cover when cleaning
dirt or snow from the cover.
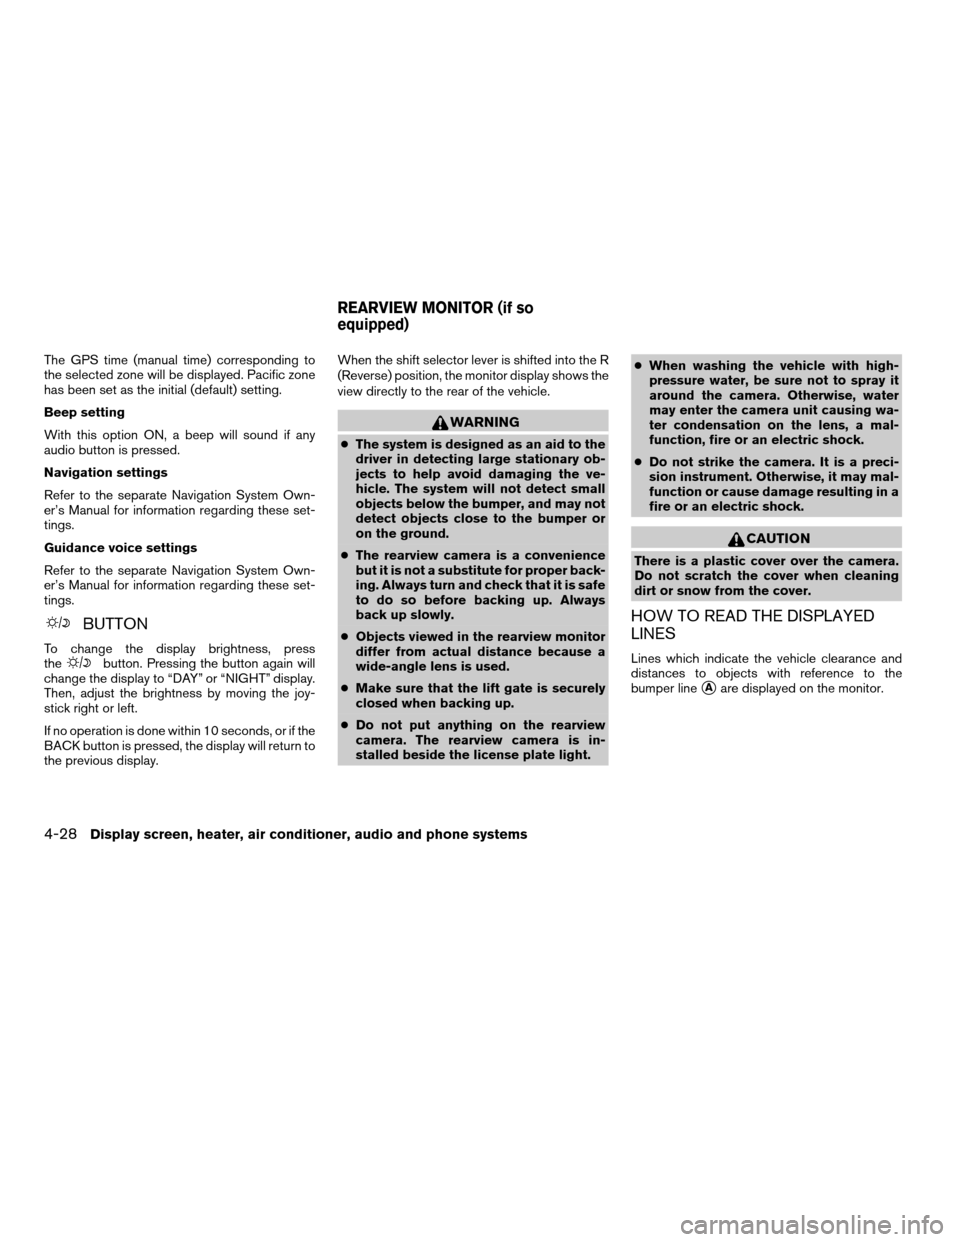
HOW TO READ THE DISPLAYED
LINES
Lines which indicate the vehicle clearance and
distances to objects with reference to the
bumper line
sAare displayed on the monitor.
REARVIEW MONITOR (if so
equipped)
4-28Display screen, heater, air conditioner, audio and phone systems
ZREVIEW COPYÐ2008 Quest(van)
Owners ManualÐUSA_English(nna)
06/29/07Ðdebbie
X
Page 193 of 376
WARNING
cThe air conditioner cooling function op-
erates only when the engine is running.
cDo not leave children or adults who
would normally require the assistance
of others alone in your vehicle. Pets
should also not be left alone. They
could accidentally injure themselves or
others through inadvertent operation of
the vehicle. Also, on hot, sunny days,
temperatures in a closed vehicle could
quickly become high enough to cause
severe or possibly fatal injuries to
people or animals.
cDo not use the recirculation mode for
long periods as it may cause the interior
air to become stale and the windows to
fog up.
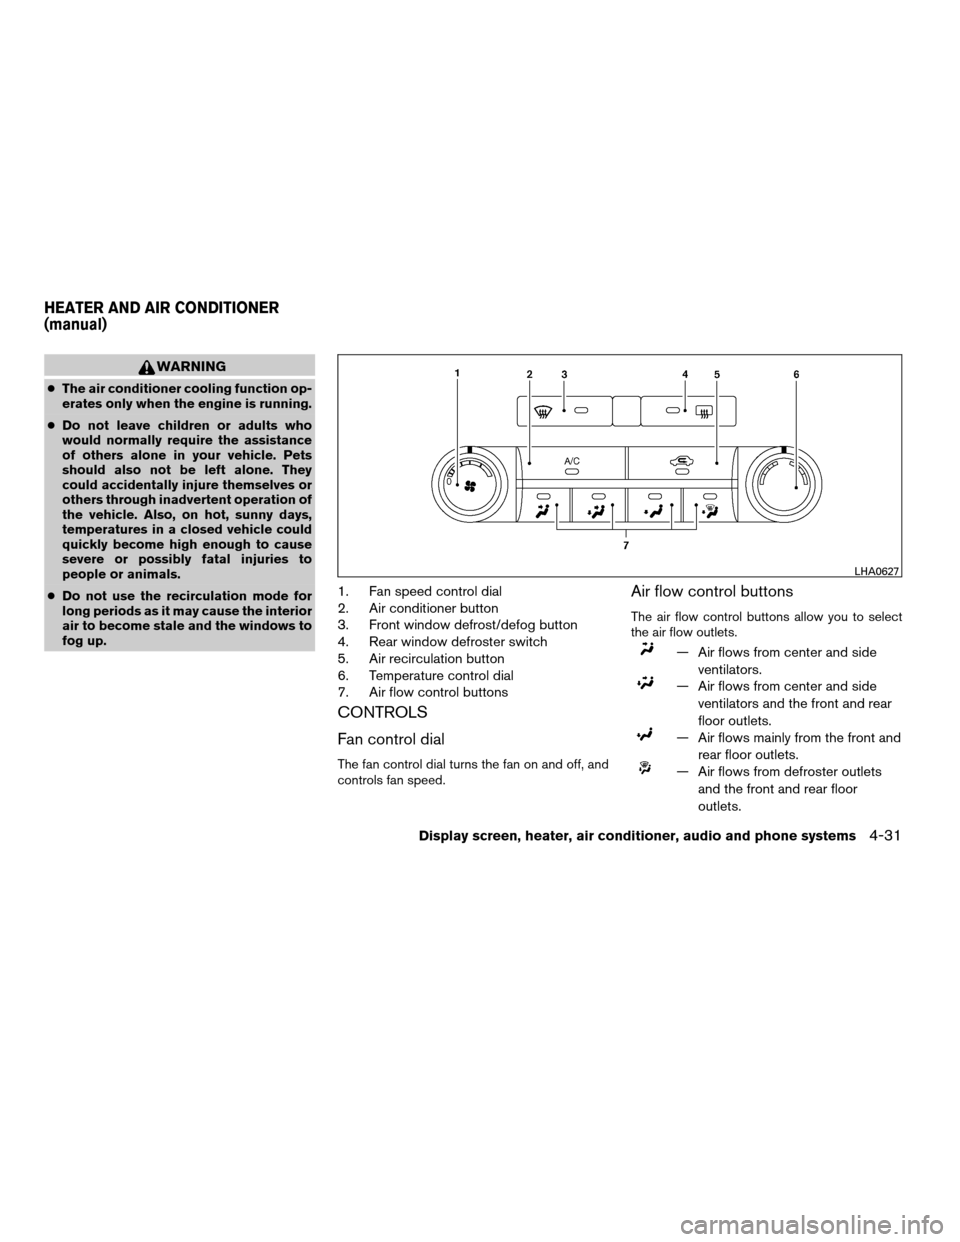
1. Fan speed control dial
2. Air conditioner button
3. Front window defrost/defog button
4. Rear window defroster switch
5. Air recirculation button
6. Temperature control dial
7. Air flow control buttons
CONTROLS
Fan control dial
The fan control dial turns the fan on and off, and
controls fan speed.
Air flow control buttons
The air flow control buttons allow you to select
the air flow outlets.
— Air flows from center and side
ventilators.
— Air flows from center and side
ventilators and the front and rear
floor outlets.
— Air flows mainly from the front and
rear floor outlets.
— Air flows from defroster outlets
and the front and rear floor
outlets.
LHA0627
HEATER AND AIR CONDITIONER
(manual)
Display screen, heater, air conditioner, audio and phone systems4-31
ZREVIEW COPYÐ2008 Quest(van)
Owners ManualÐUSA_English(nna)
06/29/07Ðdebbie
X
Page 202 of 376
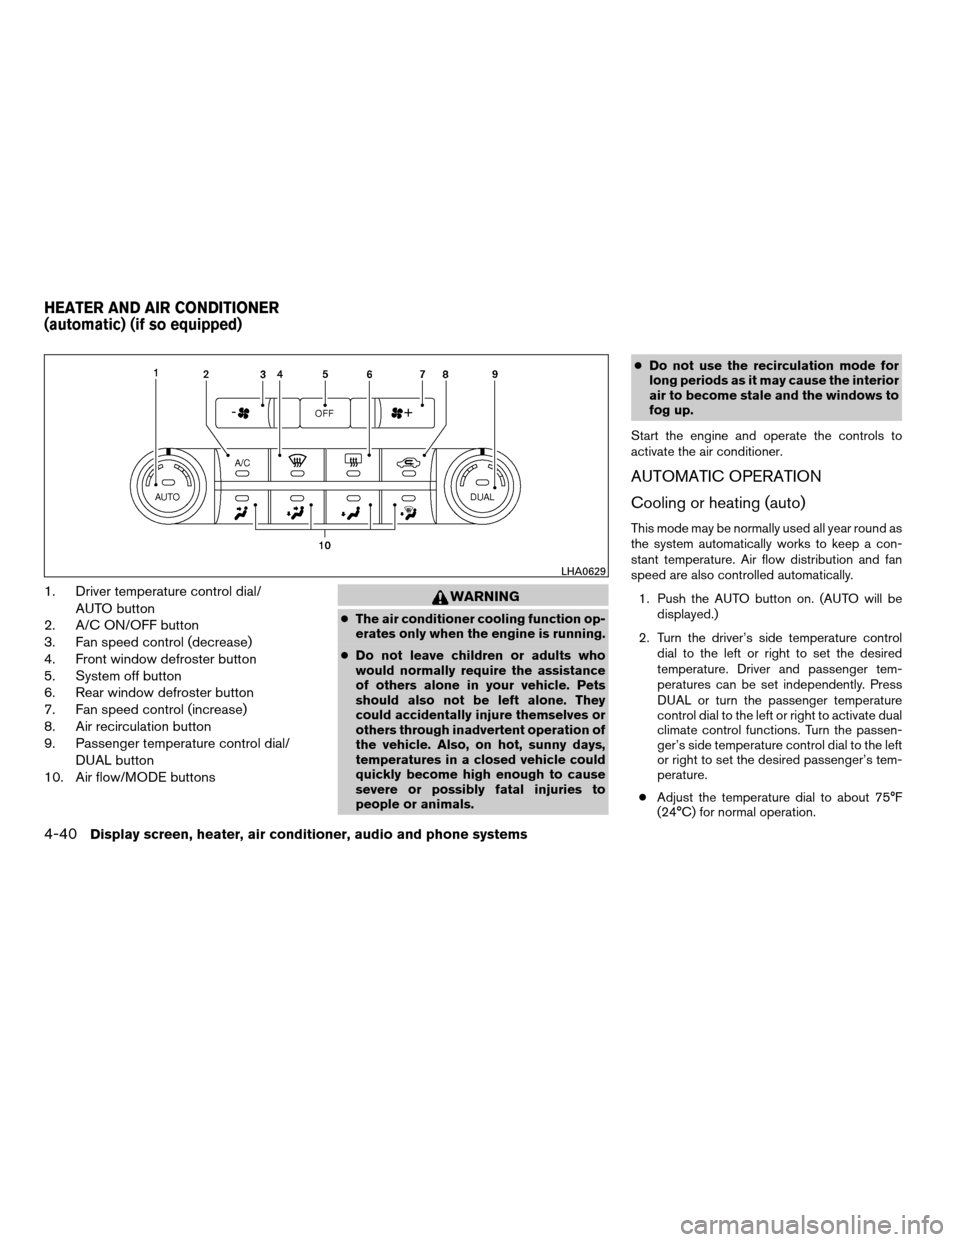
1. Driver temperature control dial/
AUTO button
2. A/C ON/OFF button
3. Fan speed control (decrease)
4. Front window defroster button
5. System off button
6. Rear window defroster button
7. Fan speed control (increase)
8. Air recirculation button
9. Passenger temperature control dial/
DUAL button
10. Air flow/MODE buttonsWARNING
cThe air conditioner cooling function op-
erates only when the engine is running.
cDo not leave children or adults who
would normally require the assistance
of others alone in your vehicle. Pets
should also not be left alone. They
could accidentally injure themselves or
others through inadvertent operation of
the vehicle. Also, on hot, sunny days,
temperatures in a closed vehicle could
quickly become high enough to cause
severe or possibly fatal injuries to
people or animals.cDo not use the recirculation mode for
long periods as it may cause the interior
air to become stale and the windows to
fog up.
Start the engine and operate the controls to
activate the air conditioner.
AUTOMATIC OPERATION
Cooling or heating (auto)
This mode may be normally used all year round as
the system automatically works to keep a con-
stant temperature. Air flow distribution and fan
speed are also controlled automatically.
1. Push the AUTO button on. (AUTO will be
displayed.)
2. Turn the driver’s side temperature control
dial to the left or right to set the desired
temperature. Driver and passenger tem-
peratures can be set independently. Press
DUAL or turn the passenger temperature
control dial to the left or right to activate dual
climate control functions. Turn the passen-
ger’s side temperature control dial to the left
or right to set the desired passenger’s tem-
perature.
cAdjust the temperature dial to about 75°F
(24°C) for normal operation.
LHA0629
HEATER AND AIR CONDITIONER
(automatic) (if so equipped)
4-40Display screen, heater, air conditioner, audio and phone systems
ZREVIEW COPYÐ2008 Quest(van)
Owners ManualÐUSA_English(nna)
06/29/07Ðcathy
X
Page 205 of 376
CONTROLS
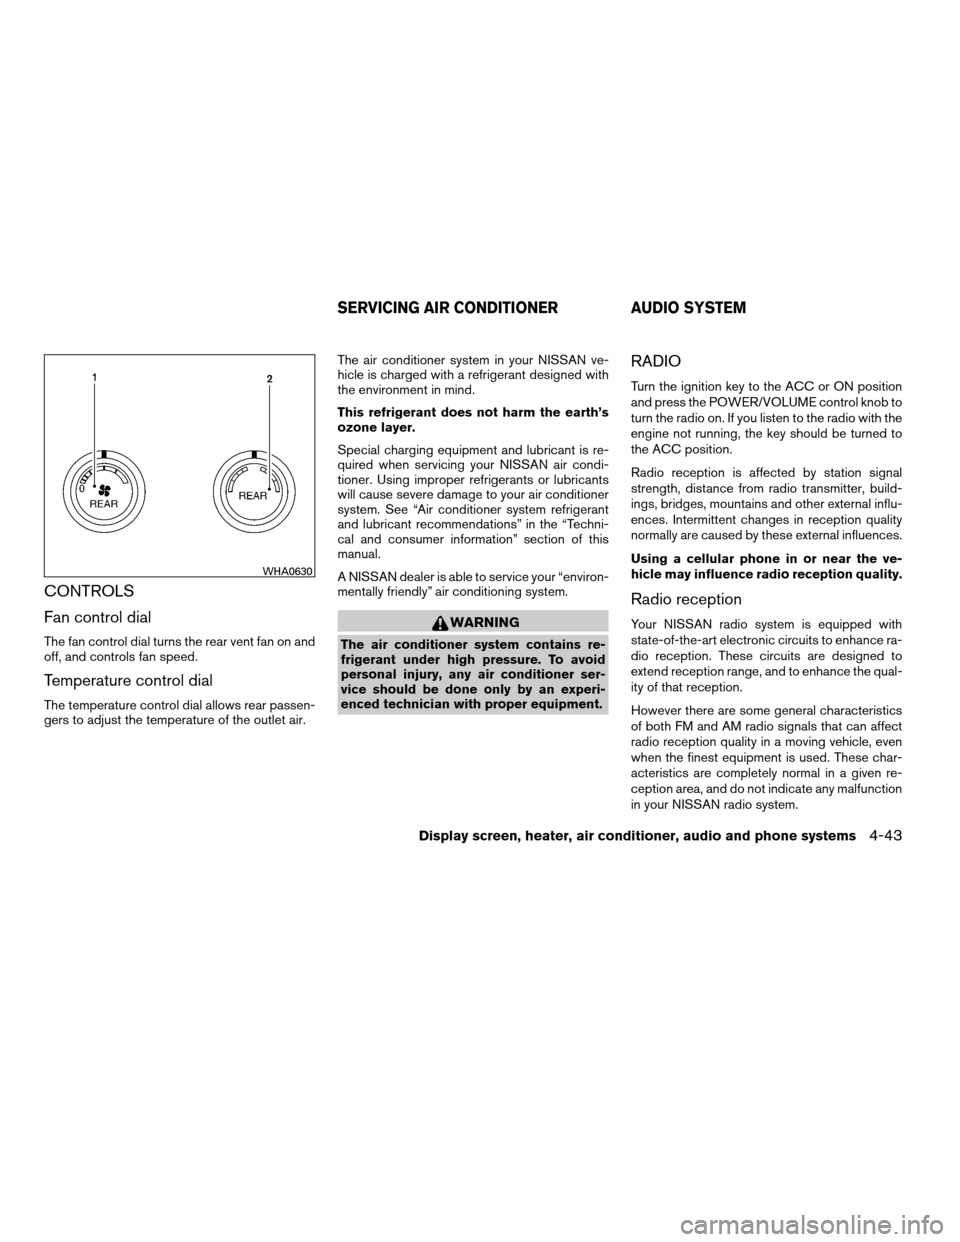
Fan control dial
The fan control dial turns the rear vent fan on and
off, and controls fan speed.
Temperature control dial
The temperature control dial allows rear passen-
gers to adjust the temperature of the outlet air.The air conditioner system in your NISSAN ve-
hicle is charged with a refrigerant designed with
the environment in mind.
This refrigerant does not harm the earth’s
ozone layer.
Special charging equipment and lubricant is re-
quired when servicing your NISSAN air condi-
tioner. Using improper refrigerants or lubricants
will cause severe damage to your air conditioner
system. See “Air conditioner system refrigerant
and lubricant recommendations” in the “Techni-
cal and consumer information” section of this
manual.
A NISSAN dealer is able to service your “environ-
mentally friendly” air conditioning system.
WARNING
The air conditioner system contains re-
frigerant under high pressure. To avoid
personal injury, any air conditioner ser-
vice should be done only by an experi-
enced technician with proper equipment.
RADIO
Turn the ignition key to the ACC or ON position
and press the POWER/VOLUME control knob to
turn the radio on. If you listen to the radio with the
engine not running, the key should be turned to
the ACC position.
Radio reception is affected by station signal
strength, distance from radio transmitter, build-
ings, bridges, mountains and other external influ-
ences. Intermittent changes in reception quality
normally are caused by these external influences.
Using a cellular phone in or near the ve-
hicle may influence radio reception quality.
Radio reception
Your NISSAN radio system is equipped with
state-of-the-art electronic circuits to enhance ra-
dio reception. These circuits are designed to
extend reception range, and to enhance the qual-
ity of that reception.
However there are some general characteristics
of both FM and AM radio signals that can affect
radio reception quality in a moving vehicle, even
when the finest equipment is used. These char-
acteristics are completely normal in a given re-
ception area, and do not indicate any malfunction
in your NISSAN radio system.
WHA0630
SERVICING AIR CONDITIONER AUDIO SYSTEM
Display screen, heater, air conditioner, audio and phone systems4-43
ZREVIEW COPYÐ2008 Quest(van)
Owners ManualÐUSA_English(nna)
06/29/07Ðdebbie
X