2008 NISSAN QASHQAI Output
[x] Cancel search: OutputPage 132 of 297

Downloaded from www.Manualslib.com manuals search engine Band select button
Press the button to change the reception
wave band as follows:
FM1 →FM 2 →FM T →MW →LW →FM1
When button is pressed while the igni-
tion switch is in the Acc or ON position, the radio
will come on at the last received radio station. If the
CD is already playing, pressing the but-
ton will switch off the CD play mode and the last
received radio station will be selected.
FM Auto store
When the button is pressed for more
than 1.5 seconds and the six strongest stations are
stored in the preset (1 to 6) of the FM T band. Dur-
ing the search, a notification message [AU-
TOSTORE] appears in the display and the sound is
muted until the operation is complete. Once com-
pleted, the radio selects preset 1.
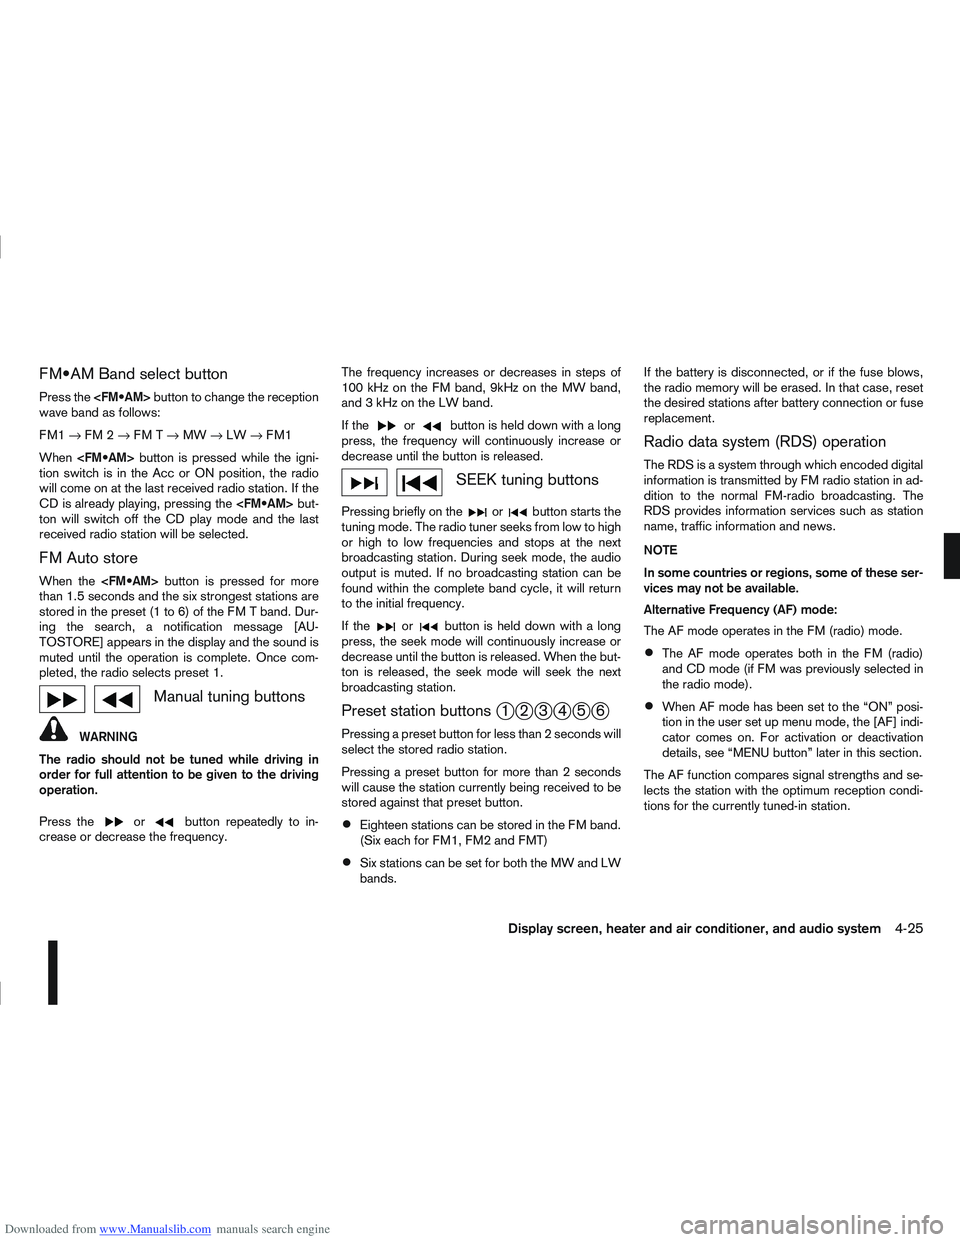
Manual tuning buttons
WARNING
The radio should not be tuned while driving in
order for full attention to be given to the driving
operation.
Press the
orbutton repeatedly to in-
crease or decrease the frequency. The frequency increases or decreases in steps of
100 kHz on the FM band, 9kHz on the MW band,
and 3 kHz on the LW band.
If the
orbutton is held down with a long
press, the frequency will continuously increase or
decrease until the button is released.
SEEK tuning buttons
Pressing briefly on theorbutton starts the
tuning mode. The radio tuner seeks from low to high
or high to low frequencies and stops at the next
broadcasting station. During seek mode, the audio
output is muted. If no broadcasting station can be
found within the complete band cycle, it will return
to the initial frequency.
If the
orbutton is held down with a long
press, the seek mode will continuously increase or
decrease until the button is released. When the but-
ton is released, the seek mode will seek the next
broadcasting station.
Preset station buttonsj1j2j3j4j5j6
Pressing a preset button for less than 2 seconds will
select the stored radio station.
Pressing a preset button for more than 2 seconds
will cause the station currently being received to be
stored against that preset button.
Eighteen stations can be stored in the FM band.
(Six each for FM1, FM2 and FMT)
Six stations can be set for both the MW and LW
bands. If the battery is disconnected, or if the fuse blows,
the radio memory will be erased. In that case, reset
the desired stations after battery connection or fuse
replacement.
Radio data system (RDS) operation
The RDS is a system through which encoded digital
information is transmitted by FM radio station in ad-
dition to the normal FM-radio broadcasting. The
RDS provides information services such as station
name, traffic information and news.
NOTE
In some countries or regions, some of these ser-
vices may not be available.
Alternative Frequency (AF) mode:
The AF mode operates in the FM (radio) mode.
The AF mode operates both in the FM (radio)
and CD mode (if FM was previously selected in
the radio mode).
When AF mode has been set to the “ON” posi-
tion in the user set up menu mode, the [AF] indi-
cator comes on. For activation or deactivation
details, see “MENU button” later in this section.
The AF function compares signal strengths and se-
lects the station with the optimum reception condi-
tions for the currently tuned-in station.
Display screen, heater and air conditioner, and audio system4-25
Page 139 of 297

Downloaded from www.Manualslib.com manuals search engine mPower ON/OFF button
Press thebutton to switch on the audio unit. If
the audio unit was switched off using the ignition
switch, it can also be switched on with the ignition
switch. The source that was playing immediately
before the unit was switched off will resume playing
and the volume will be set to the previous volume
level.
The audio unit can be switched off by pressing
,
or by turning the ignition switch to the “OFF” or
LOCK position.
mVolume (VOL) level control
Turn the
adjust the volume level.
The audio unit is equipped with a speed control vol-
ume function, this means that the audio system au-
tomatically adjusts the volume level in relation to
vehicle speed. For details, see “SPD VOL (Speed
volume) control” later in this section.
Mute button (where fitted)
Press thebutton to mute the sound and [MUTE]
appears in the display. To cancel the mode, use any
of the following options:
– Press
again.
– Turn the
– Press the
Day/Night button (where fitted)
The illumination brightness level is linked to the
headlight switch. When the headlights are switched
“ON” the brightness is dimmed automatically. Press
the button to toggle illumination brightness levels
between daytime setting and nighttime setting inde-
pendent of headlamp status.
RADIO OPERATION
When the(power ON/OFF) button is pressed,
the audio unit will switch on with the last received
radio station, if the audio unit was previously
switched off in radio mode.
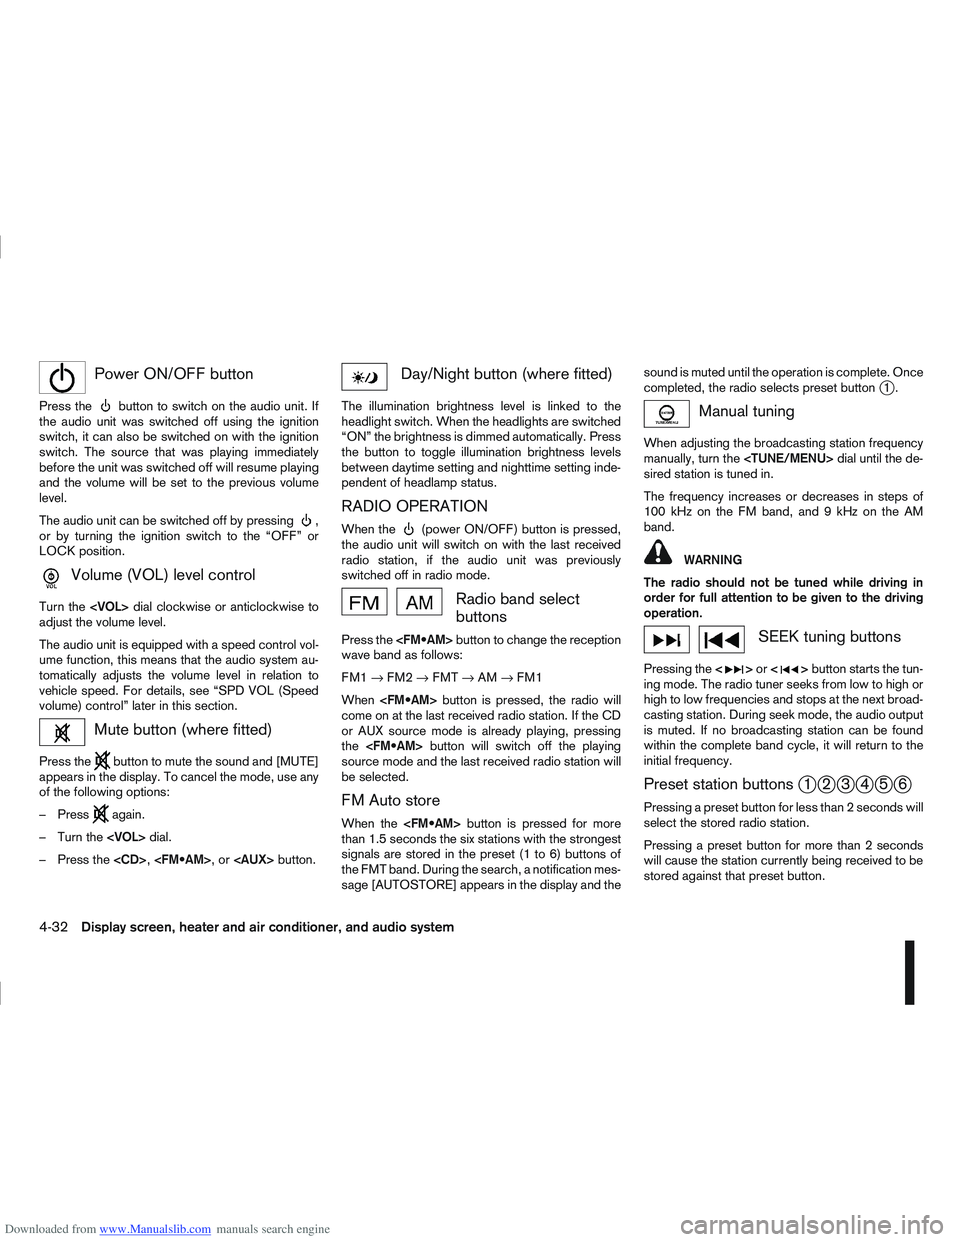
Radio band select
buttons
Press the button to change the reception
wave band as follows:
FM1 →FM2 →FMT →AM →FM1
When button is pressed, the radio will
come on at the last received radio station. If the CD
or AUX source mode is already playing, pressing
the button will switch off the playing
source mode and the last received radio station will
be selected.
FM Auto store
When the button is pressed for more
than 1.5 seconds the six stations with the strongest
signals are stored in the preset (1 to 6) buttons of
the FMT band. During the search, a notification mes-
sage [AUTOSTORE] appears in the display and the sound is muted until the operation is complete. Once
completed, the radio selects preset button
j1.
Manual tuning
When adjusting the broadcasting station frequency
manually, turn the
sired station is tuned in.
The frequency increases or decreases in steps of
100 kHz on the FM band, and 9 kHz on the AM
band.
WARNING
The radio should not be tuned while driving in
order for full attention to be given to the driving
operation.
SEEK tuning buttons
Pressing the <>or <>button starts the tun-
ing mode. The radio tuner seeks from low to high or
high to low frequencies and stops at the next broad-
casting station. During seek mode, the audio output
is muted. If no broadcasting station can be found
within the complete band cycle, it will return to the
initial frequency.
Preset station buttonsj1j2j3j4j5j6
Pressing a preset button for less than 2 seconds will
select the stored radio station.
Pressing a preset button for more than 2 seconds
will cause the station currently being received to be
stored against that preset button.
4-32Display screen, heater and air conditioner, and audio system
Page 141 of 297

Downloaded from www.Manualslib.com manuals search engine Bass control:
Use this control to enhance or attenuate bass re-
sponse sound.
Turn the
clockwise to adjust the bass settings then press
Treble control:
Use this control to enhance or attenuate the treble.
Turn the
clockwise to adjust the treble settings then press
Balance control:
Use this control to adjust the balance of the volume
between the left and right speakers.
Turn the
clockwise to adjust the left/right balance then press
Fade (Fader) control:
Use this control to adjust the balance of the volume
between the front and rear (where fitted) speakers.
Turn the
clockwise to adjust the front/rear balance then press
Use this control to adjust the volume output from the
auxiliary source.
Turn the
clockwise to select [LO], [MID], or [HI] mode then
press
SPD VOL (Speed volume) control:
This mode controls the volume output from the
speakers automatically in relation to vehicle speed.
When [SPD VOL] is displayed, turn the
the volume level.
Adjusting the setting to 0 (zero) turns off the speed
volume feature. Increasing the speed volume setting
results in the audio volume increasing more rapidly
with vehicle speed. Once chosen, press
to save the setting.
Clock setting
The [Clock] set up screen will appear when select-
ing the [Clock] item from the set up menu.
[Set Time]:
Select [Set Time] then adjust the clock as follows:
1. The hour display will start flashing. Turn the
2. Press the
will start flashing.
3. Turn the
minute. 4. Press
[On/Off]:
Set the clock display between on or off when the
audio unit is turned off.
If set in the [ON] position, the clock will be dis-
played when the audio unit is turned off either by
pressing the
button or when the ignition switch
is placed in the “OFF” position.
[Clock Format):
Set the clock display between 24-hour mode and
12-hour clock mode.
Bluetooth®
For activation or deactivation details, see “Blue-
tooth® operation” later in this section.
Language
Select the appropriate language and press the
automatically adapt the language setting.
[French]
[English]
[German]
[Spanish]
[Portuguese]
[Italian]
[Dutch]
[Turkish]
4-34Display screen, heater and air conditioner, and audio system
Page 182 of 297

Downloaded from www.Manualslib.com manuals search engine Place the ignition switch in the “OFF” position.
Models without Intelligent Key system:
Place the ignition switch in the LOCK position.
P (Park):
Use this position when the vehicle is parked or when
starting the engine. Make sure that the vehicle is
completely stopped and move the selector lever
into the P (Park) position. Apply the handbrake.
When parking on a hill, first depress the footbrake
pedal, apply the handbrake, and then move the se-
lector lever into the P (Park) position.
R (Reverse):
Use this position to reverse. Make sure that the
vehicle is completely stopped before selecting the R
(Reverse) position.
When the selector lever is in the R (Reverse) posi-
tion, either the NISSAN Connect monitor (where fit-
ted) or the ultra sonic parking sensor (where fitted)
will be activated. For details, see “Rear-view moni-
tor (where fitted)” or “Around view monitor (where
fitted)” earlier in this section or “Ultrasonic Parking
Sensor (where fitted)” later in this section
N (Neutral):
Neither the forward nor reverse gear is engaged.
The engine can be started in this position. You may
shift to the N (Neutral) position and restart a stalled
engine while the vehicle is moving.
D (Drive):
Use this position for all normal forward driving. L (Low):
Use this position when climbing steep hills slowly or
driving slowly through deep snow, sand or mud, or
for maximum engine braking on steep downhill
grades.
SPORT mode switch
To select the SPORT mode, push the SPORT mode
switch with the selector lever in the D (Drive) posi-
tion. The SPORT mode indicator light
in the
meter panel illuminates. To turn off the SPORT
mode, push the SPORT mode switch again. The
SPORT mode indicator light will turn off. When the
selector lever is shifted to any position other than D,
the SPORT mode will be automatically turned off.
OFF position:
For normal driving and fuel economy, use the OFF
position. ON position:
For driving up or down long slopes where engine
braking is necessary, or for powerful acceleration,
use the ON position. The transmission will automati-
cally select a different gear ratio, allowing the en-
gine to provide high output.
When driving conditions change, push the switch to
turn the SPORT mode off.
Remember not to drive at high speeds for extended
periods of time with the SPORT mode in the ON
position. This reduces fuel economy.
Accelerator downshift
- in the D position -
For passing or climbing hills, depress the accelera-
tor pedal to the floor. This shifts the transmission
down into a lower gear, depending on the vehicle
speed.NSD399
Left-Hand Drive (LHD) model
NSD400
Starting and driving5-19
Page 205 of 297

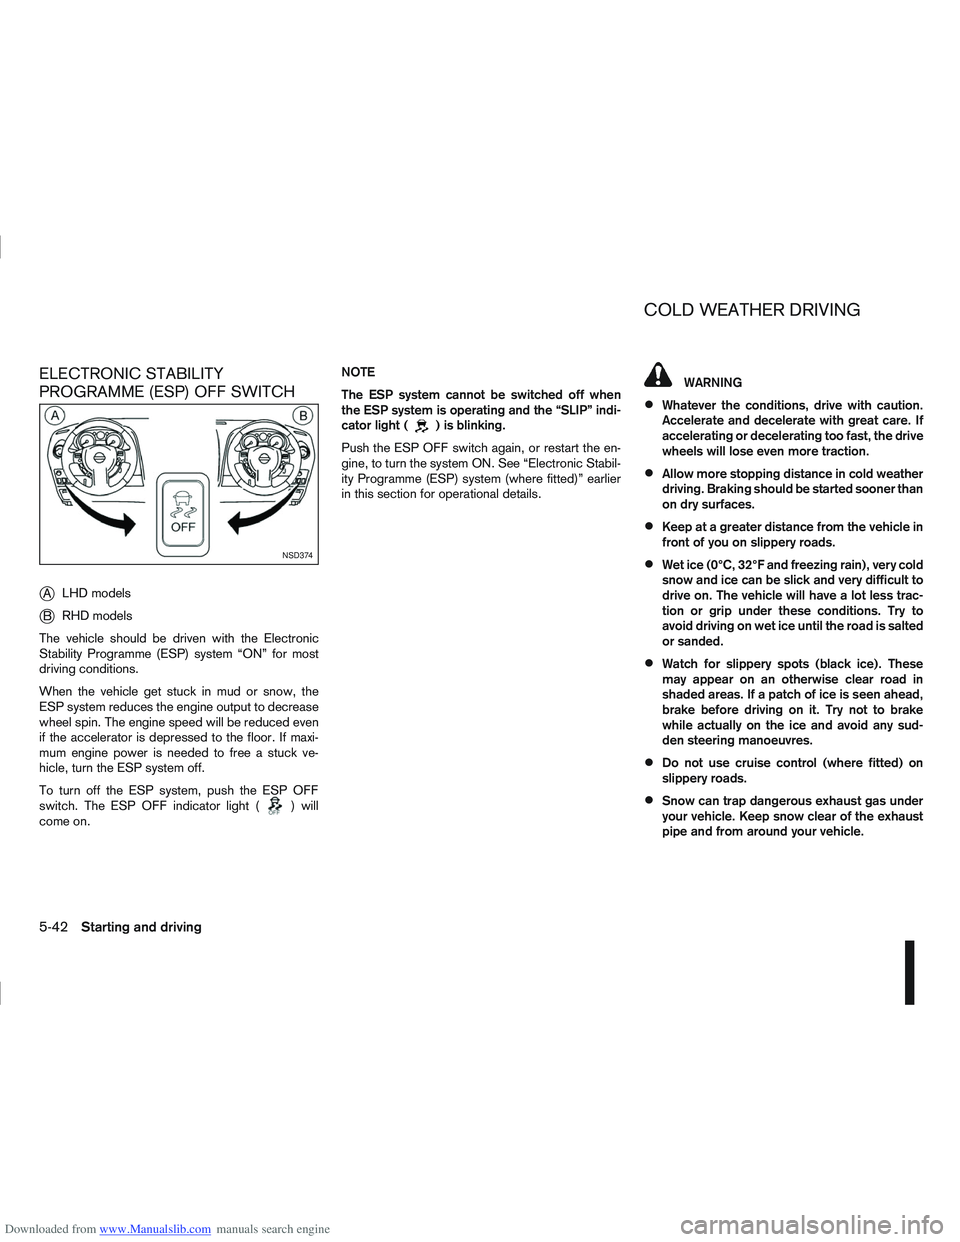
Downloaded from www.Manualslib.com manuals search engine ELECTRONIC STABILITY
PROGRAMME (ESP) OFF SWITCH
j
ALHD models
jB RHD models
The vehicle should be driven with the Electronic
Stability Programme (ESP) system “ON” for most
driving conditions.
When the vehicle get stuck in mud or snow, the
ESP system reduces the engine output to decrease
wheel spin. The engine speed will be reduced even
if the accelerator is depressed to the floor. If maxi-
mum engine power is needed to free a stuck ve-
hicle, turn the ESP system off.
To turn off the ESP system, push the ESP OFF
switch. The ESP OFF indicator light (
) will
come on. NOTE
The ESP system cannot be switched off when
the ESP system is operating and the “SLIP” indi-
cator light (
) is blinking.
Push the ESP OFF switch again, or restart the en-
gine, to turn the system ON. See “Electronic Stabil-
ity Programme (ESP) system (where fitted)” earlier
in this section for operational details.
WARNING
Whatever the conditions, drive with caution.
Accelerate and decelerate with great care. If
accelerating or decelerating too fast, the drive
wheels will lose even more traction.
Allow more stopping distance in cold weather
driving. Braking should be started sooner than
on dry surfaces.
Keep at a greater distance from the vehicle in
front of you on slippery roads.
Wet ice (0°C, 32°F and freezing rain), very cold
snow and ice can be slick and very difficult to
drive on. The vehicle will have a lot less trac-
tion or grip under these conditions. Try to
avoid driving on wet ice until the road is salted
or sanded.
Watch for slippery spots (black ice). These
may appear on an otherwise clear road in
shaded areas. If a patch of ice is seen ahead,
brake before driving on it. Try not to brake
while actually on the ice and avoid any sud-
den steering manoeuvres.
Do not use cruise control (where fitted) on
slippery roads.
Snow can trap dangerous exhaust gas under
your vehicle. Keep snow clear of the exhaust
pipe and from around your vehicle.
NSD374
COLD WEATHER DRIVING
5-42Starting and driving