Page 3 of 32

TABLE OF CONTENTS
Intelligent Key System...............................2
Windshield Wiper/Washer Switch .......................2
Headlight and Turn Signal Control .......................3
Steering Wheel Switches for Audio Control/Bluetooth �
(if so equipped) ..................................4
Cruise Control ...................................4
Auto Climate Control ...............................5
FM/AM/XM �Radio with CD Changer (if so equipped) ...........7
Clock Set/Adjustment ...............................9
Control Panel Display with Navigation System (if so equipped) .......9
Automatic Driver Positioner (if so equipped) .................10
Xtronic Continuously Variable Transmission (CVT) .............11
Vehicle Dynamic Control (VDC) Off Switch .................12
Front-Passenger Air Bag Status Light ....................12
Tire Pressure Monitoring System (TPMS) ..................12
Seat Belt Warning Light and Chime ......................13
Rear Sonar System Off Switch (if so equipped) ...............13
Child Safety Rear Door Lock ..........................13
Fuel-Filler Cap ..................................13
Fuel-Filler Door and Trunk Lid Release Switches ..............14
Trunk Lid Cancel Switch ............................14
Tilt and Telescopic Steering Column (if so equipped) ...........14
Outside Mirror Control Switch .........................14
Moonroof Controls (if so equipped) ......................15
Front Seat Adjustments .............................15
Folding Down the Rear Seats .........................16
Homelink �Universal Transceiver (if so equipped) ..............17
Bluetooth �Hands-Free Phone System (if so equipped) ..........18
Navigation System (if so equipped) ......................20
This easy-to-use Quick Reference Guide is intended to help you more fully
appreciate some of the unique features and functions of your new vehicle.
However, it is not intended to replace your Owner’s Manual. The Owner’s
Manual contains more detailed information to help you better understand the
important safety warnings, features, operation, and maintenance of your
vehicle.
Page 11 of 32

CLOCK SET/ADJUSTMENT
NON-NAVIGATION SYSTEM ONLY (if so equipped)
Press and hold the CLOCK DISPbutton for more than approximately 1.5 seconds.
� Hour Adjust will appear on the screen and the hours will start flashing.
� Press the SEEKorTUNE button to adjust the hour.
� Press the CLOCK DISP button again. Minute Adjust will appear on the screen and the
minutes will start flashing.
� Press the SEEKorTUNE button to adjust the minutes.
� Press the CLOCK DISP button again. “Clock Is Set” will appear on the screen.
NAVIGATION SYSTEM ONLY (if so equipped)
Press theSETTING button, then select SYSTEM
SETTINGS withthejoystick andpress theEN-
TER button. Nextselect CLOCK andpress the
ENTER button to access the following clock set-
tings:
� Hours –Adjust thetime byincreasing or
decreasing by hour.
� Minutes –Adjust thetime byincreasing or
decreasing by minute.
� Auto Adjust –The time willbereset tothe
GPS time.
� Daylight Saving Time – Turn this item on for daylight savings time application.
� Select Time Zone – Choose the time zone.
CONTROL PANEL DISPLAY WITH NAVIGATION SYSTEM (if so
equipped)
TRIP BUTTON
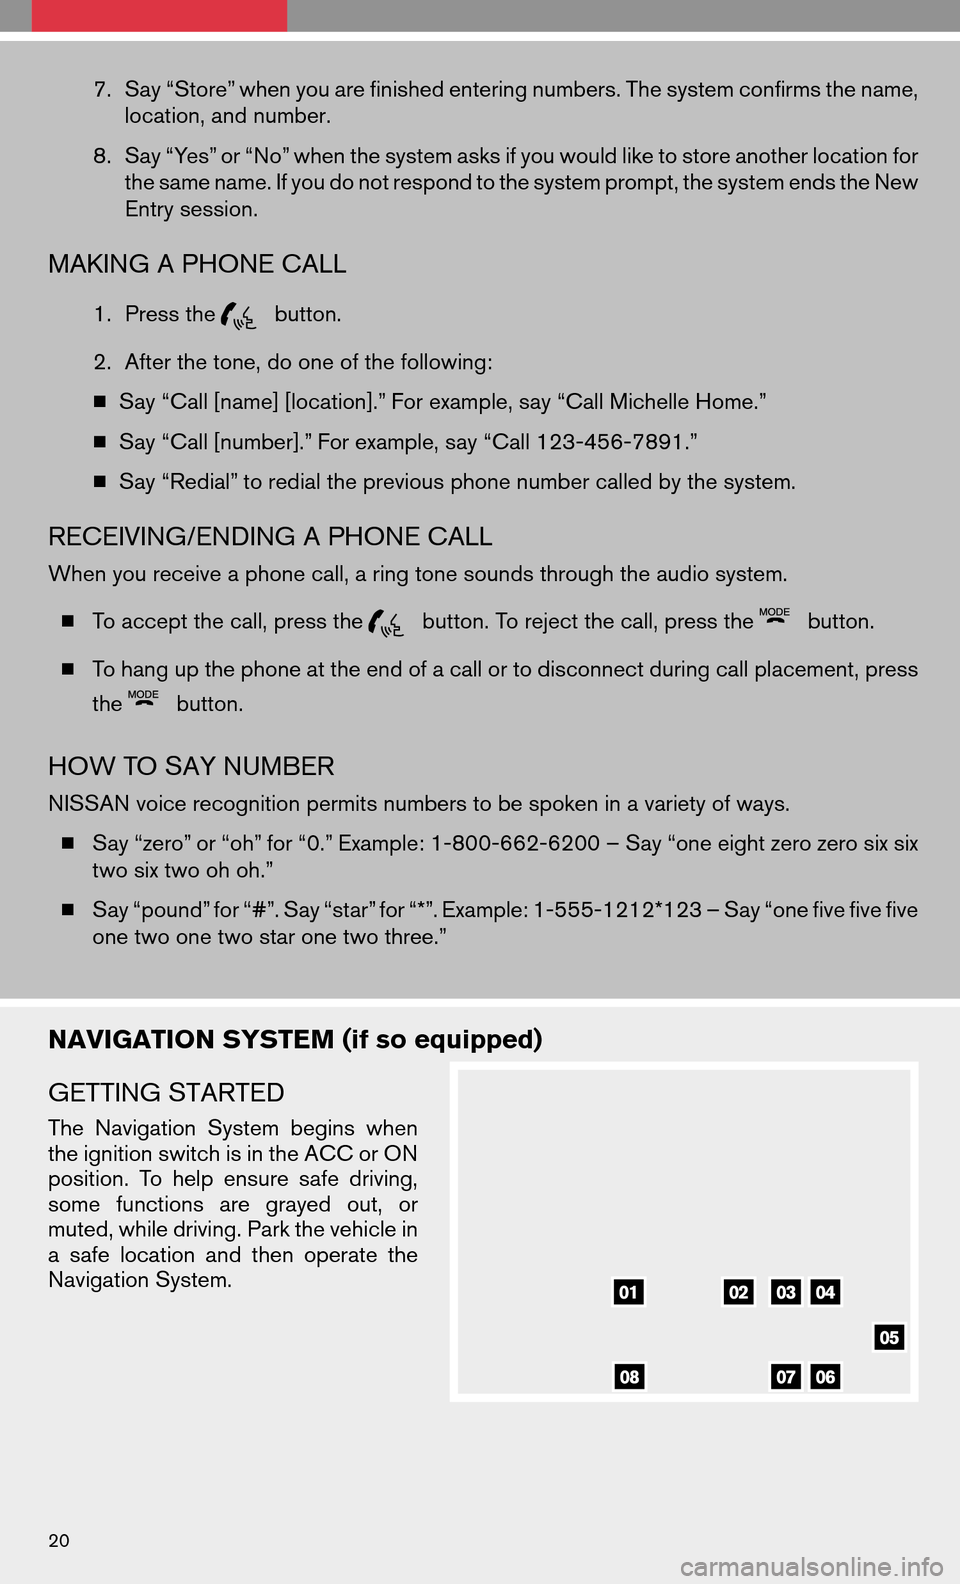
When the TRIPbutton is pressed, the
following modeswilldisplay onthe
screen:
� Warning messages (ifthere are
any)
� TRIP 1 (Elapsed Time, Driving Dis-
tance, Average Speed)
� TRIP 2 (Elapsed Time, Driving Dis-
tance, Average Speed)
� FUEL ECONOMY (Average Fuel Economy, Distance to Empty)
� MAINTENANCE (Engine Oil, Tire Rotation and Tire Pressure)
� OFF
9
Page 22 of 32

7.Say “Store” when you are finished entering numbers. The system confirms the name,
location, and number.
8. Say “Yes” or “No” when the system asks if you would like to store another location for
the same name. If you do not respond to the system prompt, the system ends the New
Entry session.
MAKING A PHONE CALL
1. Press thebutton.
2. After the tone, do one of the following:
� Say “Call [name] [location].” For example, say “Call Michelle Home.”
� Say “Call [number].” For example, say “Call 123-456-7891.”
� Say “Redial” to redial the previous phone number called by the system.
RECEIVING/ENDING A PHONE CALL
When you receive a phone call, a ring tone sounds through the audio system.
� To accept the call, press the
button. To reject the call, press thebutton.
� To hang up the phone at the end of a call or to disconnect during call placement, press
the
button.
HOW TO SAY NUMBER
NISSAN voice recognition permits numbers to be spoken in a variety of ways.
� Say “zero” or “oh” for “0.” Example: 1-800-662-6200 – Say “one eight zero zero six six
two six two oh oh.”
� Say “pound” for “#”. Say “star” for “*”. Example: 1-555-1212*123 – Say “one five five five
one two one two star one two three.”
NAVIGATION SYSTEM (if so equipped)
GETTING STARTED
The Navigation Systembeginswhen
the ignition switch is in the ACC or ON
position. Tohelp ensure safedriving,
some functions aregrayed out,or
muted, while driving. Park the vehicle in
a safe location andthen operate the
Navigation System.
20
Page 23 of 32
BASIC FUNCTIONS
START-UP SCREEN
� Read theprecautions carefully,highlightthe
“OK” keyusing thejoystick andpress the
ENTER button.
NAVIGATION DISPLAY SCREEN
�Displays navigation features and map.
DISABLED WHILE DRIVING
�Not allfeatures canbemanually operated
while the vehicle is in motion. The text for these
restricted features turns from white to gray and
cannot be selected.
DAY/NIGHT BUTTON
� Press thebuttontoswitch be-
tween theday screen (bright) andthenight
screen (dark) . Within 10 seconds of pressing
the
button, you can adjust the
brightness of the map display screen by mov-
ing the joystick right or left.
MOVING AROUND WITHIN A MAP
� To maneuver aroundthenavigation display
screen, tiltthe joystick corresponding tothe
direction thatyouwant tomove across the
map. Keep tilting thejoystick tocontinuously
move across themap inthat direction. Once
you start moving on the map, the cross pointer
appears..
21
Page 24 of 32
SETTING BUTTON
�Press the SETTING buttonto change or
set navigation preferences.
DEST (DESTINATION) BUTTON
� Press theDEST buttontodisplay the
address bookandalternative waysofpro-
gramming a destination.
MAP BUTTON
� Press theMAP buttontodisplay the
current location map screen.
ROUTE BUTTON
� Press the ROUTEbuttonto display vari-
ous ways to modify the route to a destination.
ZOOM OUT/IN BUTTONS
� Press thebuttonorthe
buttonto increase or decrease the scale
of the map display.
BACK BUTTON
� Press the BACKbuttonto return to the previous function shown on the navigation
display.
22
Page 25 of 32
GUIDE VOICE BUTTON
�Press the GUIDE VOICE buttonto hear the current navigation situation.
SWITCHING THE MAP VIEW
�Press the MAPbutton. The current loca-
tion map screen is displayed.
� Press the ENTERbutton.
� Highlight the“Map View” keyand press the
ENTER button.
� Highlight either one of the “Plan View” keys or
one of the “Birdview” keys and press the EN-
TER button to select the map view. Press the
MAP button
or the “Back” key to accept
the changes.
PLAN VIEW
� Displays themap ina2-dimensional environ-
ment similar to a road map.
BIRDVIEW™
� Displays the map in an elevated perspective.
SELECTING A MENU SCREEN
1. To select a preferred menu key, use the joystick to highlight the corresponding key on
the screen and press the ENTERbutton.
2. Depending on the key you selected, a detailed menu screen, a character input screen
or asetting screen, etc.isdisplayed. Onthe screen displayed, makeadjustments,
input information, etc. accordingly.
23