2008 NISSAN ALTIMA HYBRID door lock
[x] Cancel search: door lockPage 147 of 351

TROUBLESHOOTING GUIDE
Verify the location of all Intelligent Keys that are
programmed for the vehicle. If another Intelligent
Key is in range or inside the vehicle, the vehicle
system may respond differently than expected.
Symptom Possible Cause Remedy
When pushing the ignition switch to
stop the Hybrid SystemThe SHIFT P warning appears on the display and the
inside warning chime sounds continuously.The selector lever is not in the P
position.Shift the selector lever to the P
position.
When opening the driver’s door to get
out of the vehicleThe inside warning chime sounds continuously.The ignition switch is in the ACC
position.Push the ignition switch to the OFF
position.
The Intelligent Key is in the Intelligent
Key port.Remove the Intelligent Key from the
Intelligent Key port.
When closing the door after getting out
of the vehicleThe NO KEY warning appears on the display, the out-
side chime sounds 3 times and the inside warning chime
sounds for approximately 3 seconds.The ignition switch is in the ACC or ON
position.Push the ignition switch to the OFF
position.
The NO KEY warning appears on the display and the
outside chime sounds continuously.The ignition switch is in the ACC posi-
tion and the selector lever is not in the
“P” (Park) position.Move the selector lever to the “P”
(Park) position and push the ignition
switch to the OFF position.
When closing the door with the inside
lock knob turned to LOCKThe outside chime sounds for approximately 3 seconds
and all the doors unlock.The Intelligent Key is inside the vehicle
or trunk.Carry the Intelligent Key with you.
When pushing the door handle request
switch to lock the doorThe outside chime sounds for approximately 2 seconds.The Intelligent Key is inside the vehicle
or trunk.Carry the Intelligent Key with you.
A door is not closed securely. Close the door securely.
The door handle request switch is
pushed before the door is closed.Push the door handle request switch
after the door is closed.
When closing the trunk lidThe outside chime sounds for approximately 10 seconds
and the trunk lid opens.The Intelligent Key is inside the trunk.Carry the Intelligent Key with you.
3-16Pre-driving checks and adjustments
ZREVIEW COPYÐ2008 Altima Hybrid Electric
(ahv)
Owners ManualÐUSA_English(nna)
05/31/07Ðdebbie
X
Page 149 of 351

cClosely supervise children when they
are around cars to prevent them from
playing and becoming locked in the
trunk where they could be seriously in-
jured. Keep the car locked, with the rear
seatback and trunk lid securely latched
when not in use, and prevent children’s
access to car keys.
To open the trunk lid, push the opener lever down.
To close the trunk lid, lower and push the trunk lid
down securely.
NOTE:
You can open the trunk lid with the Intelli-
gent Key. Refer to “Intelligent Key system”
earlier in this section.
Cancel switch
When the cancel switch located inside the glove
box is OFF, the trunk lid cannot be opened with
the trunk lid release switch or with the Intelligent
Key.
SECONDARY TRUNK LID RELEASE
To open the trunk lid from the rear seat, fold down
the center armrest/cup holder to access the trunk
compartment access panel. Use your door key to
unlock and open the access panel. Pull the rear
seat trunk release handle
s1. To close the trunk,
push the trunk lid down securely.
LPD0186WIC1130
3-18Pre-driving checks and adjustments
ZREVIEW COPYÐ2008 Altima Hybrid Electric
(ahv)
Owners ManualÐUSA_English(nna)
05/31/07Ðdebbie
X
Page 151 of 351

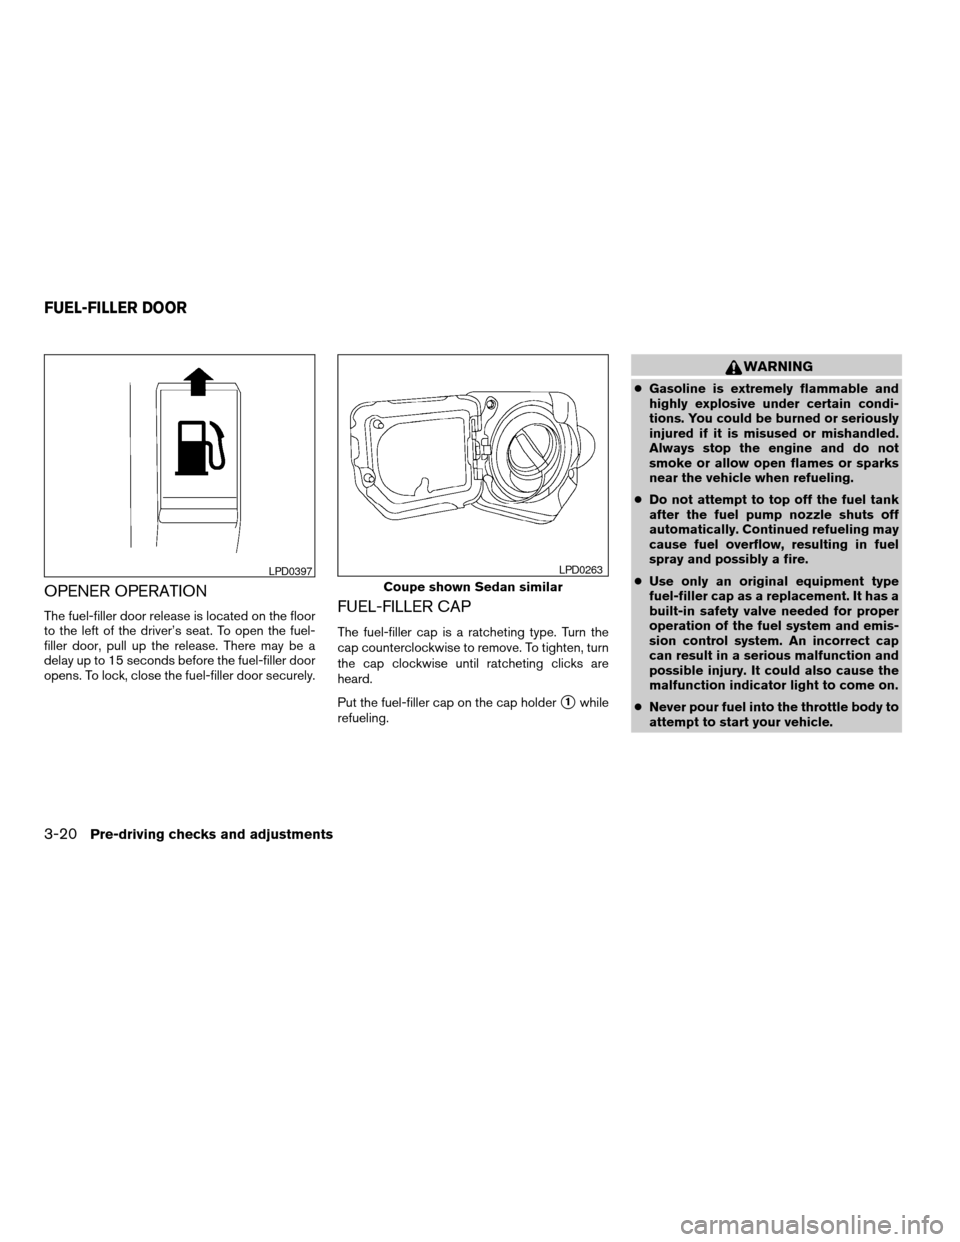
OPENER OPERATION
The fuel-filler door release is located on the floor
to the left of the driver’s seat. To open the fuel-
filler door, pull up the release. There may be a
delay up to 15 seconds before the fuel-filler door
opens. To lock, close the fuel-filler door securely.FUEL-FILLER CAP
The fuel-filler cap is a ratcheting type. Turn the
cap counterclockwise to remove. To tighten, turn
the cap clockwise until ratcheting clicks are
heard.
Put the fuel-filler cap on the cap holder
s1while
refueling.
WARNING
cGasoline is extremely flammable and
highly explosive under certain condi-
tions. You could be burned or seriously
injured if it is misused or mishandled.
Always stop the engine and do not
smoke or allow open flames or sparks
near the vehicle when refueling.
cDo not attempt to top off the fuel tank
after the fuel pump nozzle shuts off
automatically. Continued refueling may
cause fuel overflow, resulting in fuel
spray and possibly a fire.
cUse only an original equipment type
fuel-filler cap as a replacement. It has a
built-in safety valve needed for proper
operation of the fuel system and emis-
sion control system. An incorrect cap
can result in a serious malfunction and
possible injury. It could also cause the
malfunction indicator light to come on.
cNever pour fuel into the throttle body to
attempt to start your vehicle.
LPD0397
Coupe shown Sedan similar
LPD0263
FUEL-FILLER DOOR
3-20Pre-driving checks and adjustments
ZREVIEW COPYÐ2008 Altima Hybrid Electric
(ahv)
Owners ManualÐUSA_English(nna)
05/31/07Ðdebbie
X
Page 224 of 351

5 Starting and driving
Precautions when starting and driving................5-2
Exhaust gas (carbon monoxide)..................5-2
Three-way catalyst..............................5-3
Tire Pressure Monitoring System (TPMS)
(if so equipped)................................5-3
Avoiding collision and rollover....................5-5
Drinking alcohol/drugs and driving................5-6
Push-Button Ignition Switch........................5-6
Push-button ignition switch positions.............5-7
Intelligent key battery discharge..................5-8
Nissan vehicle immobilizer system................5-9
Before starting the Hybrid System...................5-9
Starting the Hybrid System........................5-10
Driving the vehicle................................5-10
Electronically controlled Continuously
Variable Transmission (eCVT)...................5-10
Parking brake....................................5-13
Cruise control....................................5-14
Precautions on cruise control...................5-14Cruise control operations.......................5-14
Break-in schedule................................5-15
Increasing fuel economy...........................5-15
Parking/parking on hills............................5-16
Power steering...................................5-17
Brake system....................................5-17
Brake precautions.............................5-17
Anti-lock Braking System (ABS).................5-19
Traction Control System (TCS).....................5-20
Vehicle Dynamic Control (VDC) system.............5-21
Cold weather driving..............................5-22
Freeing a frozen door lock......................5-22
Anti-freeze....................................5-22
Draining of coolant water.......................5-22
Tire equipment................................5-22
Special winter equipment.......................5-22
Driving on snow or ice.........................5-22
Engine block heater (if so equipped).............5-23
ZREVIEW COPYÐ2008 Altima Hybrid Electric
(ahv)
Owners ManualÐUSA_English(nna)
05/31/07Ðdebbie
X
Page 230 of 351

When the ignition switch is pushed without de-
pressing the brake pedal, the ignition switch po-
sition will illuminate as follows:
With the selector lever in the P (Park) position
push the switch
conce to change to ACC.
ctwo times to change to ON.
cthree times to return to off.
If the ignition switch was repeatedly turned on
and off over a short period of time, the start
function may not work properly. Wait 20 seconds
then restart the Hybrid System.The ignition switch is equipped with an anti-theft
steering lock device.
The ignition lock is designed so that the ignition
switch position cannot be switched to off until the
selector lever is moved to the P (Park) position.
When the ignition switch cannot be switched off,
proceed as follows:
1. Move the selector lever into the P (Park)
position.
2. Push the ignition switch. The ignition switch
position will change to the ON position.
3. Push the ignition switch again to the off
position.
The selector lever can be moved from the P
(Park) position if the ignition switch is in
the ON position and the brake pedal is
depressed.
In order for the steering wheel to be locked, it
must be turned about 1/8 of a right or left turn
from the straight up position.
To lock the steering wheel, push the igni-
tion switch to the off position and cycle any
door from closed to open or open to closed.
LOCK will illuminate on the ignition switch
and the steering wheel will lock. To unlockthe steering wheel, push the ignition switch
while slightly turning the steering wheel
right and left.
If the battery of the vehicle is discharged,
the push-button ignition switch cannot be
activated.
Some indicators and warnings for operation are
displayed on the vehicle information display. See
“Vehicle information display” in the “Instruments
and controls” section.
PUSH-BUTTON IGNITION SWITCH
POSITIONS
LOCK (Normal parking position):
The ignition switch can only be locked in this
position.
The ignition switch will be unlocked when it is
pushed to the ACC position while carrying the
Intelligent Key or with the Intelligent Key inserted
in the port.
The ignition switch will lock when any door is
opened or closed with the ignition switched off.
OFF:
The ignition switch is in the off position when the
Hybrid System is turned off using the ignition
switch. No lights will illuminate on the ignition
switch.WSD0196
Starting and driving5-7
ZREVIEW COPYÐ2008 Altima Hybrid Electric
(ahv)
Owners ManualÐUSA_English(nna)
05/31/07Ðdebbie
X
Page 232 of 351

CAUTION
cNever place anything except the Intelli-
gent Key in the Intelligent Key port. Do-
ing so may cause damage to the
equipment.
cMake sure the Intelligent Key is in the
correct direction when inserting it to
the Intelligent Key port. The engine may
not start if it is in the wrong direction.
cRemove the Intelligent Key from the
Intelligent Key port after the ignition
switch is pushed to the LOCK position.
NISSAN VEHICLE IMMOBILIZER
SYSTEM
The NISSAN Vehicle Immobilizer System will not
allow the engine to start without the use of the
registered key.
If the engine fails to start using a registered key
(for example, when interference is caused by
another registered key, an automated toll road
device or automatic payment device on the key
ring) , restart the engine using the following pro-
cedures:
1. Leave the ignition switch in the ON position
for approximately 5 seconds.2. Turn the ignition switch to the OFF or LOCK
position, and wait approximately 10 sec-
onds.
3. Repeat steps 1 and 2.
4. Restart the engine while holding the device
(which may have caused the interference)
separate from the registered key.
If the no start condition re-occurs, NISSAN rec-
ommends placing the registered key on a sepa-
rate key ring to avoid interference from other
devices.cMake sure the area around the vehicle is
clear.
cCheck fluid levels such as engine oil, cool-
ant, brake fluid, and window washer fluid as
frequently as possible, or at least whenever
you refuel.
cCheck that all windows and lights are clean.
cVisually inspect tires for their appearance
and condition. Also check tires for proper
inflation.
cLock all doors.
cPosition seat and adjust head restraints.
cAdjust inside and outside mirrors.
cFasten seat belts and ask all passengers to
do likewise.
cCheck the operation of warning lights when
the ignition switch is pushed to the ON
position. See “Warning/indicator lights and
audible reminders” in the “Instruments and
controls” section of this manual.
BEFORE STARTING THE HYBRID
SYSTEM
Starting and driving5-9
ZREVIEW COPYÐ2008 Altima Hybrid Electric
(ahv)
Owners ManualÐUSA_English(nna)
05/31/07Ðdebbie
X
Page 245 of 351

FREEING A FROZEN DOOR LOCK
To prevent a door lock from freezing, apply de-
icer through the key hole. If the lock becomes
frozen, heat the key before inserting it into the key
hole or use the remote keyless entry keyfob (if so
equipped) .
ANTI-FREEZE
In the winter when it is anticipated that the tem-
perature will drop below 32°F (0°C) , check the
anti-freeze to assure proper winter protection.
For details, see “Engine cooling system” and
“Inverter cooling system” in the “Maintenance
and do-it-yourself” section of this manual.
DRAINING OF COOLANT WATER
If the vehicle is to be left outside without anti-
freeze, drain the cooling system, including the
engine block. Refill before operating the vehicle.
For details, see “Changing engine coolant” and
“Changing inverter coolant” in the “Maintenance
and do-it-yourself” section of this manual.
TIRE EQUIPMENT
1. SUMMER tires have a tread designed to
provide superior performance on dry pave-
ment. However, the performance of these
tires will be substantially reduced in snowy
and icy conditions. If you operate your ve-
hicle on snowy or icy roads, NISSAN recom-
mends the use of MUD & SNOW or ALL
SEASON TIRES on all four wheels. Please
consult a NISSAN dealer for the tire type,
size, speed rating and availability informa-
tion.
2. For additional traction on icy roads, studded
tires may be used. However, some U.S.
states and Canadian provinces prohibit their
use. Check local, state and provincial laws
before installing studded tires.
Skid and traction capabilities of studded
snow tires on wet or dry surfaces may be
poorer than that of non-studded snow tires.
3. Tire chains may be used. For details, see
“Tire chains” in the “Maintenance and do-it-
yourself” section of this manual.
SPECIAL WINTER EQUIPMENT
It is recommended that the following items be
carried in the vehicle during winter:
cA scraper and stiff-bristled brush to remove
ice and snow from the windows and wiper
blades.
cA sturdy, flat board to be placed under the
jack to give it firm support.
cA shovel to dig the vehicle out of snowdrifts.
cExtra window washer fluid to refill the reser-
voir tank.
DRIVING ON SNOW OR ICE
WARNING
cWet ice (32°F, 0°C and freezing rain) ,
very cold snow or ice can be slick and
very hard to drive on. The vehicle will
have much less traction or “grip” under
these conditions. Try to avoid driving on
wet ice until the road is salted or
sanded.
cWhatever the condition, drive with cau-
tion. Accelerate and slow down with
care. If accelerating or downshifting too
fast, the drive wheels will lose even
more traction.
COLD WEATHER DRIVING
5-22Starting and driving
ZREVIEW COPYÐ2008 Altima Hybrid Electric
(ahv)
Owners ManualÐUSA_English(nna)
05/31/07Ðdebbie
X
Page 253 of 351

4. Lower the vehicle slowly until the tire
touches the ground. Then, with the wheel
nut wrench, tighten the wheel nuts securely
in the sequence illustrated (
sA,sB,sC,sD,
sE) . Lower the vehicle completely.
WARNING
cIncorrect wheel nuts or improperly
tightened wheel nuts can cause the
wheel to become loose or come off.
This could cause an accident.
cDo not use oil or grease on the wheel
studs or nuts. This could cause the nuts
to become loose.
cRetighten the wheel nuts when the ve-
hicle has been driven for 600 miles
(1,000 km) (also in cases of a flat tire,
etc.) .
As soon as possible, tighten the wheel nuts
to the specified torque with a torque
wrench.
Wheel nut tightening torque:
83 ft-lb (112 N·m)
The wheel nuts must be kept tightened to
specification at all times. It is recom-
mended that wheel nuts be tightened to
specifications at each lubrication interval.Adjust tire pressure to the COLD pressure.
COLD pressure: After vehicle has been
parked for three hours or more or driven
less than 1 mile (1.6 km) .
COLD tire pressures are shown on the tire
and loading information label affixed to the
driver side center pillar.
5. Securely store the flat tire and jacking equip-
ment in the vehicle.
6. Place the spare tire cover and the trunk floor
carpeting over the damaged tire.
7. Close the trunk.
WARNING
cAlways make sure that the spare tire
and jacking equipment are properly se-
cured after use. Such items can become
dangerous projectiles in an accident or
sudden stop.
cThe spare tire is designed for emer-
gency use. See specific instructions un-
der the heading “Wheels and tires” in
the “Maintenance and do-it-yourself”
section of this manual.
WARNING
cIf the Hybrid System stops operating
while driving, the power assist for the
brakes and steering will not work. Brak-
ing and steering will be harder.
cIf the Hybrid System stops operating
while driving, do not open any door until
the vehicle comes to a complete stop.
Opening a door will lock the steering
wheel. This may cause the driver to lose
control of the vehicle and could result in
serious vehicle damage or personal
injury.
The Hybrid System may stop operating while
driving if the high voltage battery becomes dis-
charged, the 12-volt battery becomes dis-
charged or the fuel tank is empty. If the Hybrid
System stops operating while driving, perform
the following:
1. Reduce your speed gradually. Pull to the
side of the road to a safe area.
2. Turn on the hazard warning flashers.
3. Set the “POWER” switch at ACC or OFF,
and try to start the Hybrid System.
4. If the Hybrid System will not start, see “Ve-
hicle does not start” in this section.
HYBRID SYSTEM STOPS
OPERATING WHILE DRIVING
6-6In case of emergency
ZREVIEW COPYÐ2008 Altima Hybrid Electric
(ahv)
Owners ManualÐUSA_English(nna)
05/31/07Ðdebbie
X