Page 147 of 569
146 Controls in detail
Lighting
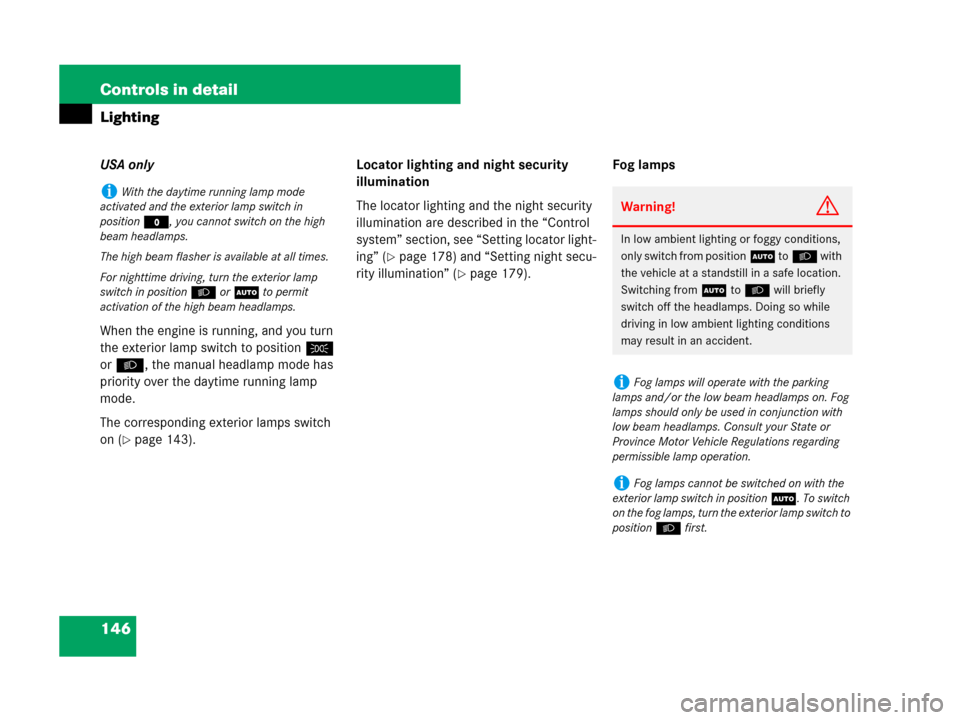
USA only
When the engine is running, and you turn
the exterior lamp switch to positionC
orB, the manual headlamp mode has
priority over the daytime running lamp
mode.
The corresponding exterior lamps switch
on (
�page 143).Locator lighting and night security
illumination
The locator lighting and the night security
illumination are described in the “Control
system” section, see “Setting locator light-
ing” (
�page 178) and “Setting night secu-
rity illumination” (
�page 179).Fog lamps
iWith the daytime running lamp mode
activated and the exterior lamp switch in
positionM, you cannot switch on the high
beam headlamps.
The high beam flasher is available at all times.
For nighttime driving, turn the exterior lamp
switch in positionB orU to permit
activation of the high beam headlamps.
Warning!G
In low ambient lighting or foggy conditions,
only switch from positionU toB with
the vehicle at a standstill in a safe location.
Switching fromU toB will briefly
switch off the headlamps. Doing so while
driving in low ambient lighting conditions
may result in an accident.
iFog lamps will operate with the parking
lamps and/or the low beam headlamps on. Fog
lamps should only be used in conjunction with
low beam headlamps. Consult your State or
Province Motor Vehicle Regulations regarding
permissible lamp operation.
iFog lamps cannot be switched on with the
exterior lamp switch in positionU. To switch
on the fog lamps, turn the exterior lamp switch to
positionB first.
Page 149 of 569
148 Controls in detail
Lighting
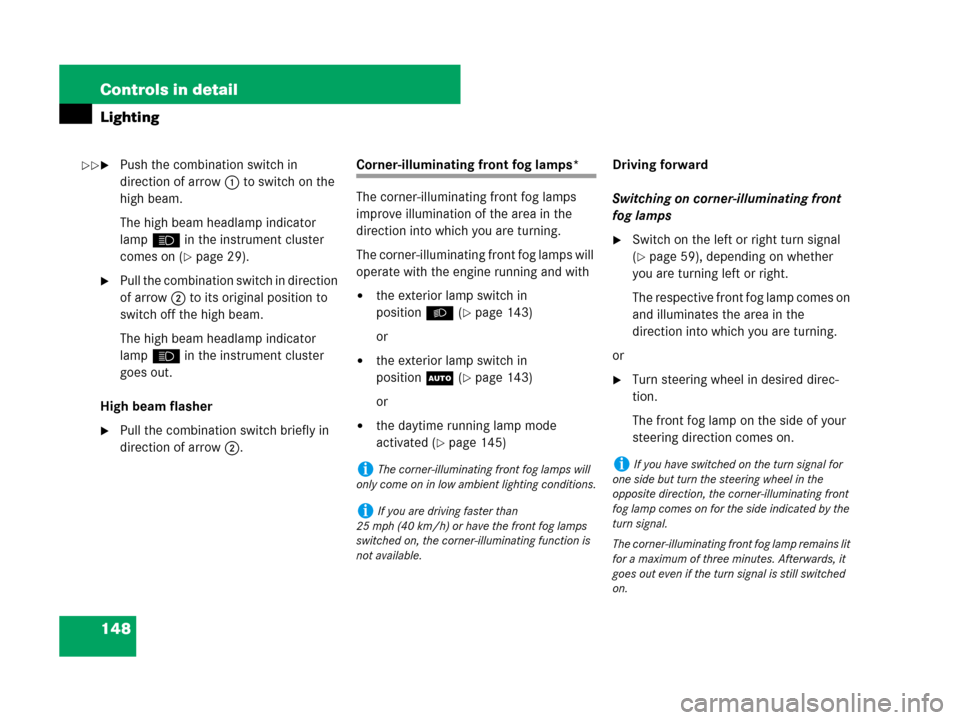
�Push the combination switch in
direction of arrow1 to switch on the
high beam.
The high beam headlamp indicator
lampAin the instrument cluster
comes on (
�page 29).
�Pull the combination switch in direction
of arrow2 to its original position to
switch off the high beam.
The high beam headlamp indicator
lampAin the instrument cluster
goes out.
High beam flasher
�Pull the combination switch briefly in
direction of arrow2.
Corner-illuminating front fog lamps*
The corner-illuminating front fog lamps
improve illumination of the area in the
direction into which you are turning.
The corner-illuminating front fog lamps will
operate with the engine running and with
�the exterior lamp switch in
positionB (
�page 143)
or
�the exterior lamp switch in
positionU (
�page 143)
or
�the daytime running lamp mode
activated (
�page 145)Driving forward
Switching on corner-illuminating front
fog lamps
�Switch on the left or right turn signal
(
�page 59), depending on whether
you are turning left or right.
The respective front fog lamp comes on
and illuminates the area in the
direction into which you are turning.
or
�Turn steering wheel in desired direc-
tion.
The front fog lamp on the side of your
steering direction comes on.
iThe corner-illuminating front fog lamps will
only come on in low ambient lighting conditions.
iIf you are driving faster than
25 mph (40 km/h) or have the front fog lamps
switched on, the corner-illuminating function is
not available.
iIf you have switched on the turn signal for
one side but turn the steering wheel in the
opposite direction, the corner-illuminating front
fog lamp comes on for the side indicated by the
turn signal.
The corner-illuminating front fog lamp remains lit
for a maximum of three minutes. Afterwards, it
goes out even if the turn signal is still switched
on.
��
Page 154 of 569
153 Controls in detail
Lighting
Door entry lamps
For better orientation in the dark, the
corresponding door entry lamps will switch
on in darkness when you open a door and
the automatic control is activated.
The door entry lamps will switch off when
the corresponding door is closed.Cargo compartment lamp
The cargo compartment lamp comes on
when the tailgate is opened.
If you leave the tailgate open for an
extended period of time, the cargo
compartment lamp will switch off
automatically after approximately
10 minutes.
iIf you turn the SmartKey in the starter
switch to position0 and switch off the
headlamps, the door entry lamps will remain lit
for approximately 5 minutes.
Page 172 of 569
171 Controls in detail
Control system
Resetting all settings
You can reset the functions of all
submenus to the factory settings.
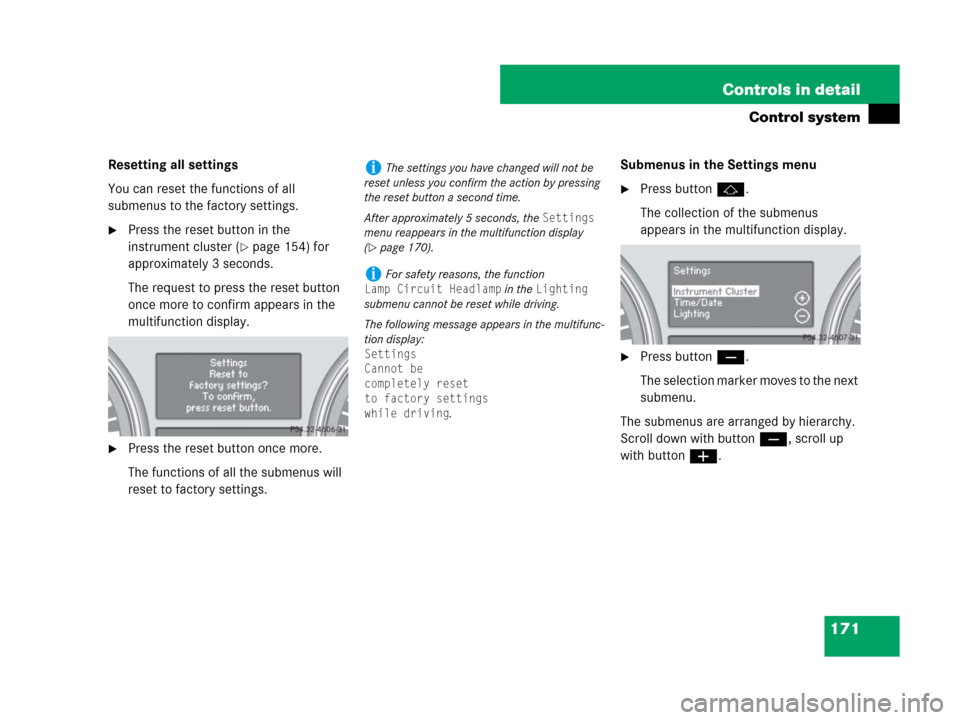
�Press the reset button in the
instrument cluster (
�page 154) for
approximately 3 seconds.
The request to press the reset button
once more to confirm appears in the
multifunction display.
�Press the reset button once more.
The functions of all the submenus will
reset to factory settings.Submenus in the Settings menu
�Press buttonj.
The collection of the submenus
appears in the multifunction display.
�Press buttonç.
The selection marker moves to the next
submenu.
The submenus are arranged by hierarchy.
Scroll down with buttonç, scroll up
with buttonæ.
iThe settings you have changed will not be
reset unless you confirm the action by pressing
the reset button a second time.
After approximately 5 seconds, the
Settings
menu reappears in the multifunction display
(
�page 170).
iFor safety reasons, the function
Lamp Circuit Headlamp in the Lighting
submenu cannot be reset while driving.
The following message appears in the multifunc-
tion display:
Settings
Cannot be
completely reset
to factory settings
while driving
.
Page 178 of 569
177 Controls in detail
Control system
Lighting submenu
Access the
Lighting submenu via the
Settings menu. Use the Lighting
submenu to change the lamp and lighting
settings on your vehicle.
The following functions are available:Setting daytime running lamp mode
(USA only)
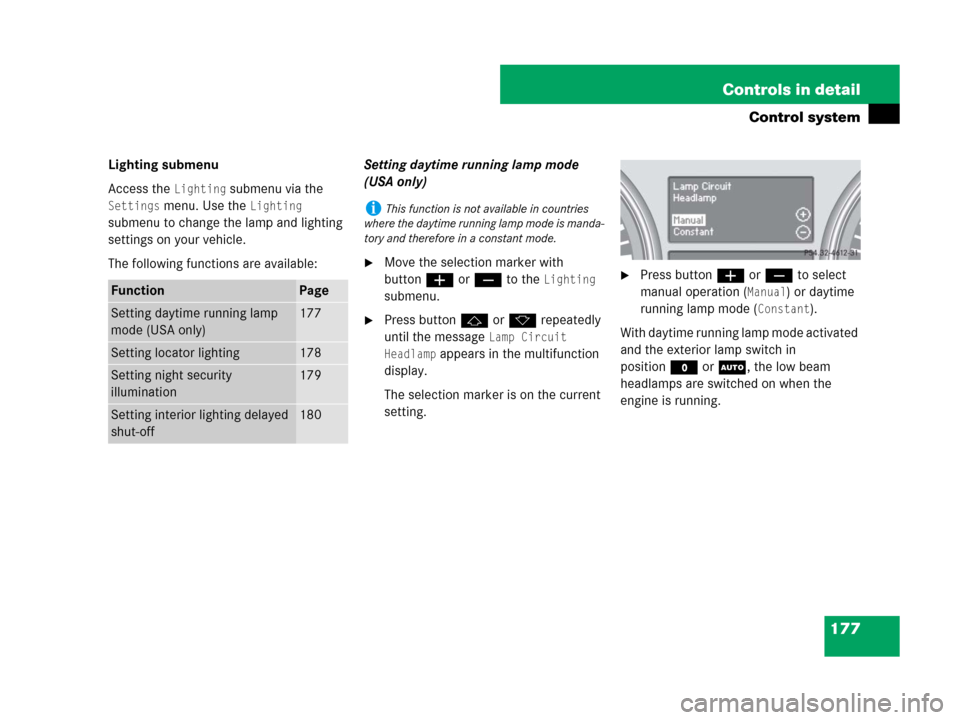
�Move the selection marker with
buttonæ orç to the
Lighting
submenu.
�Press buttonj ork repeatedly
until the message
Lamp Circuit
Headlamp
appears in the multifunction
display.
The selection marker is on the current
setting.
�Press buttonæ orç to select
manual operation (
Manual) or daytime
running lamp mode (
Constant).
With daytime running lamp mode activated
and the exterior lamp switch in
positionM orU, the low beam
headlamps are switched on when the
engine is running.
FunctionPage
Setting daytime running lamp
mode (USA only)177
Setting locator lighting178
Setting night security
illumination179
Setting interior lighting delayed
shut-off180
iThis function is not available in countries
where the daytime running lamp mode is manda-
tory and therefore in a constant mode.
Page 180 of 569
179 Controls in detail
Control system
Setting night security illumination
(Headlamps delayed shut-off feature)
Use this function to set whether you would
like the exterior lamps to remain on for
15 seconds during darkness after exiting
the vehicle and closing all doors.
With the headlamps delayed shut-off
feature activated and the exterior lamp
switch in positionU, the following
lamps will switch on when the engine is
turned off:
�Parking lamps
�Tail lamps
�License plate lamps
�Side marker lamps
�Front fog lamps
If after turning off the engine you do not
open a door or do not close an opened
door, the lamps will automatically switch
off after 60 seconds.
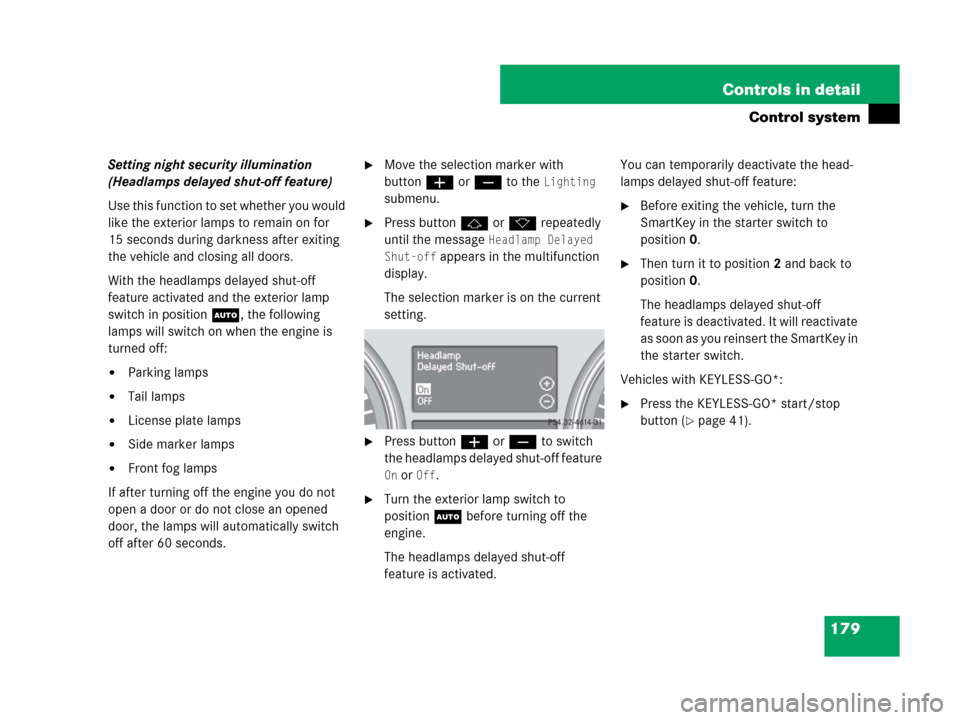
�Move the selection marker with
buttonæ orç to the
Lighting
submenu.
�Press buttonj ork repeatedly
until the message
Headlamp Delayed
Shut-off
appears in the multifunction
display.
The selection marker is on the current
setting.
�Press buttonæ orç to switch
the headlamps delayed shut-off feature
On or Off.
�Turn the exterior lamp switch to
positionU before turning off the
engine.
The headlamps delayed shut-off
feature is activated.You can temporarily deactivate the head-
lamps delayed shut-off feature:
�Before exiting the vehicle, turn the
SmartKey in the starter switch to
position0.
�Then turn it to position2 and back to
position0.
The headlamps delayed shut-off
feature is deactivated. It will reactivate
as soon as you reinsert the SmartKey in
the starter switch.
Vehicles with KEYLESS-GO*:
�Press the KEYLESS-GO* start/stop
button (
�page 41).
Page 204 of 569

203 Controls in detail
Good visibility
�Good visibility
For information on windshield wipers, see
“Windshield wipers” (
�page 59).
Headlamp cleaning system*
The headlamps will automatically be
cleaned with a high-pressure water jet
when you have
�switched on the headlamps
and
�operated the windshield wipers with
windshield washer fluid five times
When you switch off headlamps, the
counter resets.
For information on filling up the washer
reservoir, see “Windshield/rear window
washer system and headlamp cleaning
system*” (
�page 362).
Rear view mirrors
For more information on setting the rear
view mirrors, see “Mirrors” (
�page 48).
Interior rear view mirror, antiglare
position
1Lever
�Tilt the mirror to the antiglare position
by moving lever1 towards the wind-
shield.
The interior rear view mirror is dimmed.Auto-dimming rear view mirrors*
The reflection brightness of the exterior
rear view mirror on the driver’s side and
the interior rear view mirror will respond
automatically to glare when
�the ignition is switched on
and
�incoming light from headlamps falls on
the sensor in the interior rear view
mirror
The rear view mirror will not react if
�the automatic transmission is set to
positionR
�the interior lighting is turned on
Page 355 of 569
354 Operation
At the gas station
Low outside temperatures
(diesel engine)
To prevent malfunctions, diesel fuel with
improved cold flow characteristics is of-
fered in the winter months. Check with
your fuel retailer.Check regularly and before a long trip
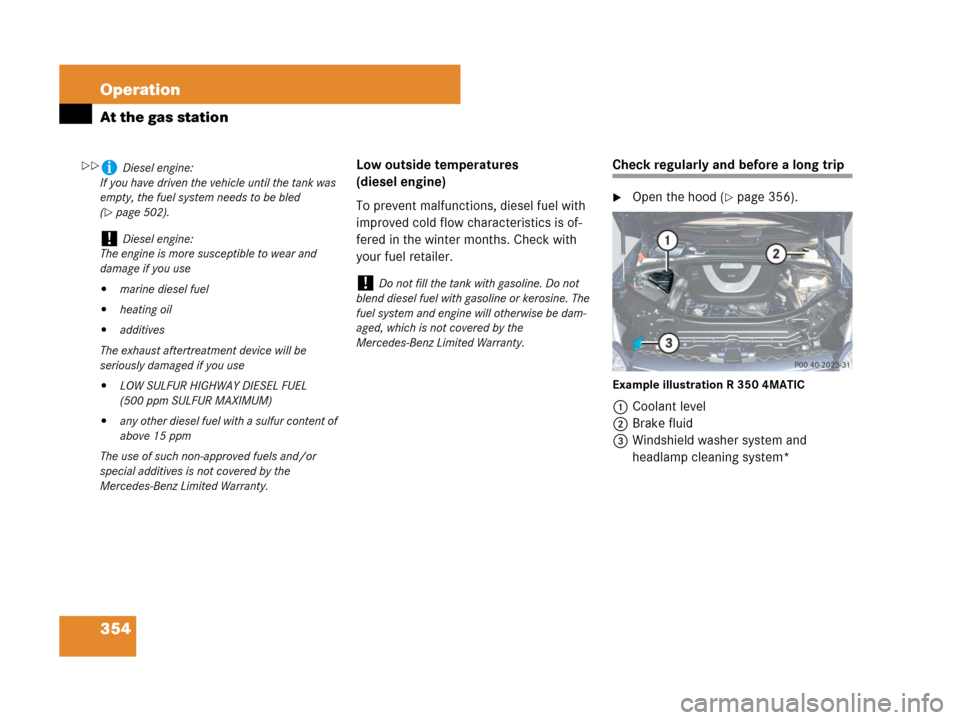
�Open the hood (�page 356).
Example illustration R 350 4MATIC
1Coolant level
2Brake fluid
3Windshield washer system and
headlamp cleaning system*
iDiesel engine:
If you have driven the vehicle until the tank was
empty, the fuel system needs to be bled
(
�page 502).
!Diesel engine:
The engine is more susceptible to wear and
damage if you use
�marine diesel fuel
�heating oil
�additives
The exhaust aftertreatment device will be
seriously damaged if you use
�LOW SULFUR HIGHWAY DIESEL FUEL
(500 ppm SULFUR MAXIMUM)
�any other diesel fuel with a sulfur content of
above 15 ppm
The use of such non-approved fuels and/or
special additives is not covered by the
Mercedes-Benz Limited Warranty.
!Do not fill the tank with gasoline. Do not
blend diesel fuel with gasoline or kerosine. The
fuel system and engine will otherwise be dam-
aged, which is not covered by the
Mercedes-Benz Limited Warranty.
��