Page 158 of 561

157 Controls in detail
Control system
RACETIMER
The RACETIMER allows you to time and
save driving stretches in hours, minutes
and seconds.
�Press buttonè orÿ repeatedly
until the AMG menu appears in the
multifunction display.
�Press buttonj repeatedly until the
RACETIMER appears in the multifunc-
tion display.
1Gear indicator
2RACETIMER
3Lap numberStarting the RACETIMER
�Press buttonæ.
The timer starts.
Displaying intermediate time
�Press buttonç while the timer is
running.
The intermediate time is shown for
5 seconds.
Stopping the RACETIMER
�Press buttonæ.
The timer stops.
Warning!G
The RACETIMER feature is only for use on
roads and in conditions where high speed
driving is permitted. Racing on public roads
is prohibited under all circumstances and
the driver is and must always remain re-
sponsible for following posted speed limits.
iYou can start the RACETIMER when the
engine is running or the starter switch is in
position2 (
�page 40).
iWhile the RACETIMER is being displayed,
you cannot adjust the audio volume using
buttonsæ orç.iWhen you stop the vehicle and turn the
SmartKey to position1 (
�page 40) or, in vehi-
cles with KEYLESS-GO*, turn off the engine and
do not open the driver’s door, the RACETIMER
stops timing. Timing is resumed when you
switch the ignition back on (
�page 40) or
restart the engine (
�page 54) and then press
buttonæ.
Page 167 of 561
166 Controls in detail
Control system
The table below shows what settings can
be changed within the various menus.
Detailed instructions on making individual
settings can be found on the following
pages.
Instrument clusterTime/DateLightingVehicleComfort*
(�page 167)(�page 169)(�page 170)(�page 173)(�page 176)
Selecting speedometer
display modeSetting the timeSetting daytime running
lamp mode (USA only)Compass adjustmentActivating
easy-entry/exit
feature*
Selecting languageSetting the dateSetting locator lightingCompass calibrationSetting fold-in func-
tion* for exterior rear
view mirrors
Selecting display (digital
speedometer or outside
temperature) for status in-
dicatorSetting night security
illuminationAudio search function
Setting interior lighting
delayed shut-offSetting automatic cen-
tral locking
Limiting opening
height of tailgate*
Page 174 of 561
173 Controls in detail
Control system
Vehicle submenu
Access the
Vehicle submenu via the
Settings menu. Use the Vehicle submenu
to make general vehicle settings.
The following functions are available:Compass adjustment
This function is not available if your vehicle
is equipped with the COMAND system and
navigation module*.
Determine your location on the basis of the
following zone maps.
Zone map North AmericaZone map South America
�Press buttonæ orç to move
the selection marker to the
Vehicle
submenu.
FunctionPage
Compass adjustment173
Compass calibration174
Audio search function175
Setting automatic central
locking175
Limiting opening height of
tailgate*176
��
Page 177 of 561

176 Controls in detail
Control system
Limiting opening height of tailgate*
Use this function to activate or deactivate
the limiting opening height of the tailgate.
�Move the selection marker with
buttonæ orç to the
Vehicle
submenu.
�Press buttonj ork repeatedly
until the message
Opening Limiter
Tailgate
appears in the multifunction
display.
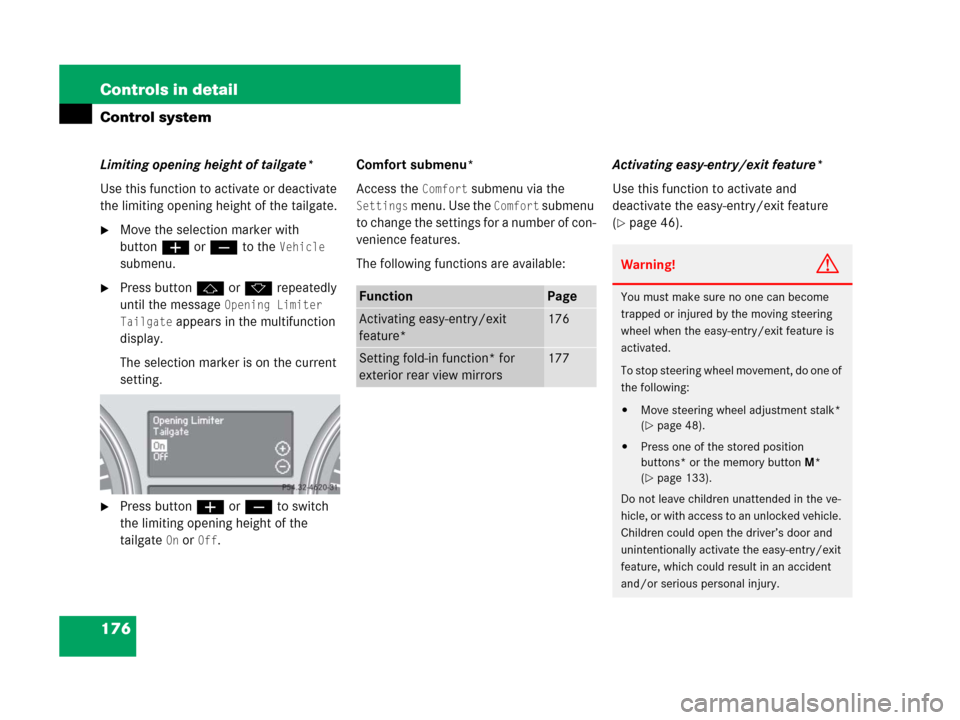
The selection marker is on the current
setting.
�Press buttonæ orç to switch
the limiting opening height of the
tailgate
On or Off.Comfort submenu*
Access the
Comfort submenu via the
Settings menu. Use the Comfort submenu
to change the settings for a number of con-
venience features.
The following functions are available:Activating easy-entry/exit feature*
Use this function to activate and
deactivate the easy-entry/exit feature
(
�page 46).
FunctionPage
Activating easy-entry/exit
feature*176
Setting fold-in function* for
exterior rear view mirrors177
Warning!G
You must make sure no one can become
trapped or injured by the moving steering
wheel when the easy-entry/exit feature is
activated.
To stop steering wheel movement, do one of
the following:
�Move steering wheel adjustment stalk*
(
�page 48).
�Press one of the stored position
buttons* or the memory buttonM*
(
�page 133).
Do not leave children unattended in the ve-
hicle, or with access to an unlocked vehicle.
Children could open the driver’s door and
unintentionally activate the easy-entry/exit
feature, which could result in an accident
and/or serious personal injury.
Page 179 of 561

178 Controls in detail
Control system
DSR (Downhill Speed Regulation)
programmed default speed
In the
DSR menu, you can program the
default speed the DSR is set to when it is
activated.
You can program the default speed be-
tween 4 - 10 mph (Canada: 6 - 18 km/h).
The set value is increased in 1 mph
(Canada: 2 km/h) increments.
�Press buttonè orÿ repeatedly
until the message
DSR Speed appears
in the multifunction display.
The selection marker is on the current
setting.
�Press buttonæ orç repeatedly
until the desired speed is shown in the
multifunction display.
When DSR is switched on, DSR will use
the programmed default speed to regu-
late the vehicle’s speed.Trip computer menu
Use the trip computer menu to call up
statistical data on your vehicle.
The following information is available:
iOnce DSR is switched on, you can adjust the
set speed using the cruise control lever
(
�page 251).
FunctionPage
Fuel consumption statistics
since start179
Fuel consumption statistics
since last reset179
Resetting fuel consumption
statistics179
Distance to empty180
iWhen you enter the trip computer menu, you
will always see the fuel consumption statistics
since start first.
Page 184 of 561

183 Controls in detail
Automatic transmission
�Automatic transmission
For more information on driving with an
automatic transmission, see “Automatic
transmission” (
�page 54).
Your vehicle’s transmission adapts its gear
shifting process to your individual driving
style by continually adjusting the shift
points up or down. These shift point adjust-
ments are performed based on current
operating and driving conditions.
If the operating conditions change, the
automatic transmission reacts by
adjusting its shift program.
Gear selector lever
The gear selector lever is located on the
right of the steering column.
Gearshift pattern for automatic
transmission
PPark position
RReverse gear
NNeutral
DDrive position
iDuring the brief warm-up, transmission
upshifting is delayed. This allows the catalytic
converter (gasoline engine) or the oxidation
catalyst (diesel engine) to heat up more quickly
to operating temperature.
Warning!G
Make sure that absolutely no objects are
obstructing the pedal’s range of movement.
Keep the driver’s footwell clear of all obsta-
cles. If there are any floormats or carpets in
the footwell, make sure that the pedals still
have sufficient clearance.
During sudden driving or braking maneuvers
the objects could get caught between the
pedals. You could then no longer brake or
accelerate. This could lead to accidents and
injury.
Page 202 of 561

201 Controls in detail
Good visibility
Folding the exterior rear view mirrors
in and out manually
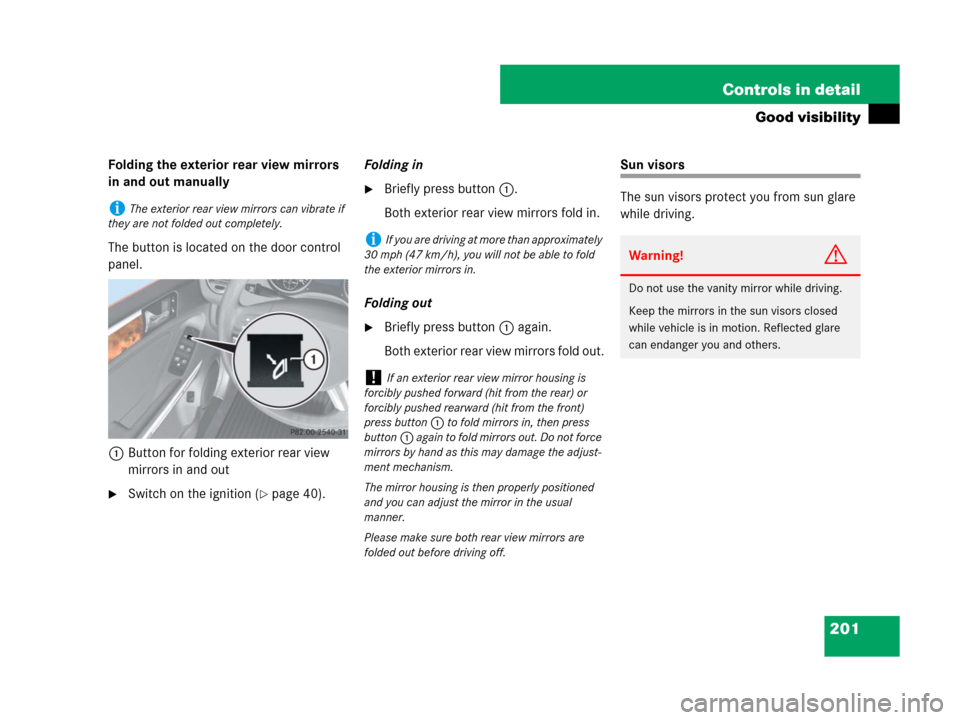
The button is located on the door control
panel.
1Button for folding exterior rear view
mirrors in and out
�Switch on the ignition (�page 40).Folding in
�Briefly press button1.
Both exterior rear view mirrors fold in.
Folding out
�Briefly press button1 again.
Both exterior rear view mirrors fold out.
Sun visors
The sun visors protect you from sun glare
while driving.
iThe exterior rear view mirrors can vibrate if
they are not folded out completely.
iIf you are driving at more than approximately
30 mph (47 km/h), you will not be able to fold
the exterior mirrors in.
!If an exterior rear view mirror housing is
forcibly pushed forward (hit from the rear) or
forcibly pushed rearward (hit from the front)
press button1 to fold mirrors in, then press
button1 again to fold mirrors out. Do not force
mirrors by hand as this may damage the adjust-
ment mechanism.
The mirror housing is then properly positioned
and you can adjust the mirror in the usual
manner.
Please make sure both rear view mirrors are
folded out before driving off.
Warning!G
Do not use the vanity mirror while driving.
Keep the mirrors in the sun visors closed
while vehicle is in motion. Reflected glare
can endanger you and others.
Page 204 of 561

203 Controls in detail
Good visibility
�Adjust sun visor1 by pushing or pull-
ing in the direction of arrows.
�Swing down additional sun visor2
when you experience additional glare
through the windshield.
Rear window defroster
The rear window defroster uses a large
amount of power. To keep battery drain to
a minimum, switch off the defroster as
soon as the rear window is clear. The de-
froster is automatically deactivated after
approximately 6 to 17 minutes of
operation depending on the outside tem-
perature.
�Switch on the ignition (�page 40).Activating
�Press button1 on the climate con-
trol panel (
�page 206) or the automat-
ic climate control* panel (
�page 220).
The indicator lamp on the button
comes on.
Deactivating
�Press button1 once more.
The indicator lamp on the button goes
out.
!To avoid damage to vanity mirror cover4
(
�page 202), make sure it is closed before
pivoting sun visor1 to the side.
Warning!G
Any accumulation of snow and ice should be
removed from the rear window before driv-
ing. Visibility could otherwise be impaired,
endangering you and others.!If the rear window defroster switches off too
soon and the indicator lamp starts flashing, too
many electrical consumers are operating simul-
taneously and there is insufficient voltage in the
battery. The system responds automatically by
switching the rear window defroster off.
As soon as the battery has sufficient voltage, the
rear window defroster switches back on auto-
matically.