Page 171 of 509

170 Controls in detail
Control system
Time/date submenu
Access the
Time/date submenu via the
Settings menu. Use the Time/Date
submenu to change the instrument cluster
display settings.
The following functions are available:Set the time
This function is not available if your vehicle
is equipped with the COMAND* system
and navigation module*.
�Press % or $ to select the
Instr. Cluster submenu.
�Press #.
�Press % or $ to select the
Time/date function.
�Press #.
�Press % or $ to select the Time
function.
�Press #.
The current time appears in the multi-
function display.
�To set a new time press # again.
�Press button ( or & to select
the setting you wish to change: hours
or minutes.
�Press button % or $ to change
the setting which is highlighted.
�Press # to store the entry.
Set the date
This function is not available if your vehicle
is equipped with the COMAND* system
and navigation module*.
�Press % or $ to select the
Instr. Cluster submenu.
�Press #.
�Press % or $ to select the
Time/date function.
�Press #.
FunctionPage
Set the time (hours)170
Set the time (minutes)170
Set the date (month)170
Set the date (day)170
Set the date (year)170
iVehicles with COMAND*:
For information on setting the time, refer to the
separate COMAND operating instructions.
iVehicles with COMAND*:
For information on setting the date, refer to the
separate COMAND operating instructions.
Page 172 of 509

171 Controls in detail
Control system
�Press % or $ to select the date
function.
�Press #.
The current date appears in the multi-
function display.
�To set a new date press # again.
�Press button ( or & to select
the setting you wish to change: month,
day or minutes.
�Press button % or $ to change
the setting which is highlighted.
�Press # to store the entry.Lighting submenu
Access the
Lights submenu via the
Settings menu. Use the Lights submenu
to change the lamp and lighting settings on
your vehicle.
The following functions are available:Setting daytime running lamp mode
(USA only)
�Press % or $ to select the
Lights submenu.
�Press #.
�Press % or $ to select the Day-
time Running Lamps
feature.
�Press #.
The current setting
Enabled
or
Disabled is shown.
�Press # again if you would like to
change the current status.
FunctionPage
Setting daytime running lamp
mode (USA only)171
Setting locator lighting172
Setting interior lighting delayed
shut-off173
iThis function is not available in countries
where the daytime running lamp mode is manda-
tory and therefore in a constant mode.
��
Page 176 of 509

175 Controls in detail
Control system
�Press % or $ to select the
Convenience submenu.
�Press #.
�Press % or $ to select the Easy
Entry/Exit
feature.
�Press #.
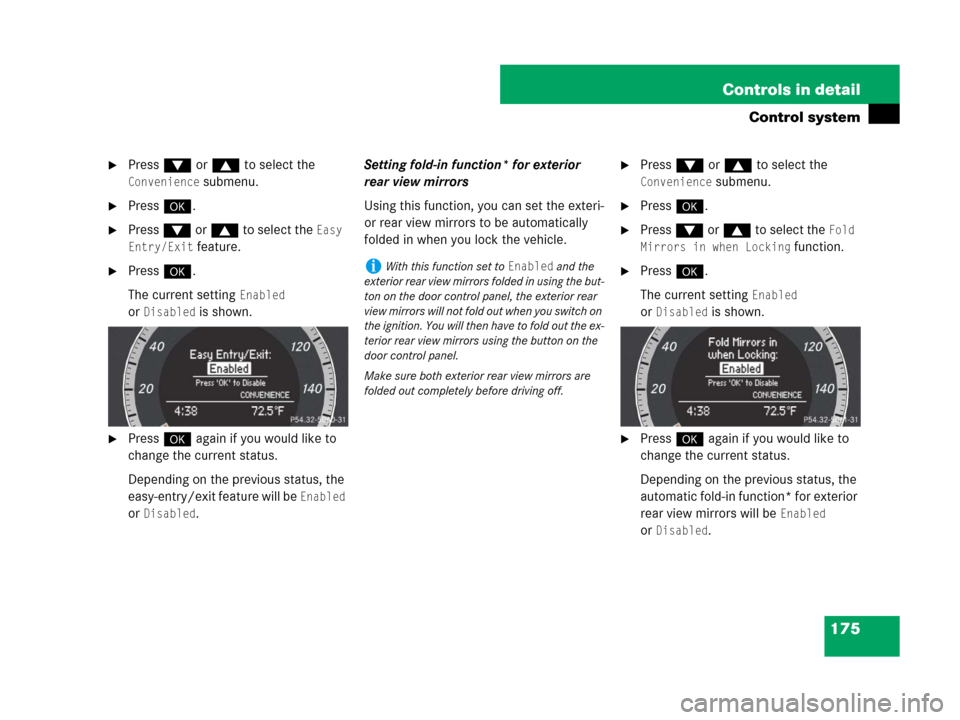
The current setting
Enabled
or
Disabled is shown.
�Press # again if you would like to
change the current status.
Depending on the previous status, the
easy-entry/exit feature will be
Enabled
or
Disabled.Setting fold-in function* for exterior
rear view mirrors
Using this function, you can set the exteri-
or rear view mirrors to be automatically
folded in when you lock the vehicle.
�Press % or $ to select the
Convenience submenu.
�Press #.
�Press % or $ to select the Fold
Mirrors in when Locking
function.
�Press #.
The current setting
Enabled
or
Disabled is shown.
�Press # again if you would like to
change the current status.
Depending on the previous status, the
automatic fold-in function* for exterior
rear view mirrors will be
Enabled
or
Disabled.
iWith this function set to Enabled and the
exterior rear view mirrors folded in using the but-
ton on the door control panel, the exterior rear
view mirrors will not fold out when you switch on
the ignition. You will then have to fold out the ex-
terior rear view mirrors using the button on the
door control panel.
Make sure both exterior rear view mirrors are
folded out completely before driving off.
Page 177 of 509
176 Controls in detail
Audio system
Audio and telephone, operation
These instructions are intended to help
you become familiar with your
Mercedes-Benz audio system. They con-
tain useful tips and a detailed description
of the user functions.Audio system overview
Warning!G
In order to avoid distraction which could
lead to an accident, the driver should enter
system settings with the vehicle at a
standstill and operate the system only when
road and traffic conditions permit. Always
pay full attention to traffic conditions first
before operating system controls while
driving.
Bear in mind that at a speed of just 30 mph
(approximately 50 km/h), your car is
covering a distance of 44 feet
(approximately 14 m) every second.
ItemPage
1Audio display180
2Opening button180
3Audio control unit177
ItemPage
4Delete button184
5Audio controller182
6Back button184
Page 178 of 509

177 Controls in detail
Audio system
Operating safetyAudio system components
With the audio system you can operate the
following main functions:
�audio function with the radio, Sat*,
disc (CD audio or MP3 mode)
�the telephone* with the phone book
�various system settings
The audio system consists of the following:
�audio control unit
�audio display
�audio controller with back and delete
button
In addition, the audio system can also be
operated with the multifunction steering
wheel (
�page 152).
In these instructions, the keypad (right
side of audio control unit) and the function
buttons are referred to as “buttons”.Audio control unit
With the audio control unit you can:
�switch the audio system on/off
�adjust the volume
�select the operating modes
�enter telephone numbers and accept,
reject, initiate and end telephone calls
�load and eject CDs
Warning!G
Any alterations made to electronic
components can cause malfunctions.
The radio, amplifier, CD changer*, satellite
radio*, and telephone* are interconnected.
When one of the components is not opera-
tional or has not been removed/replaced
properly, the function of other components
may be impaired.
This condition might seriously impair the
operating safety of your vehicle.
We recommend that you have any service
work on electronic components carried out
at an authorized Mercedes-Benz Center.
Page 180 of 509

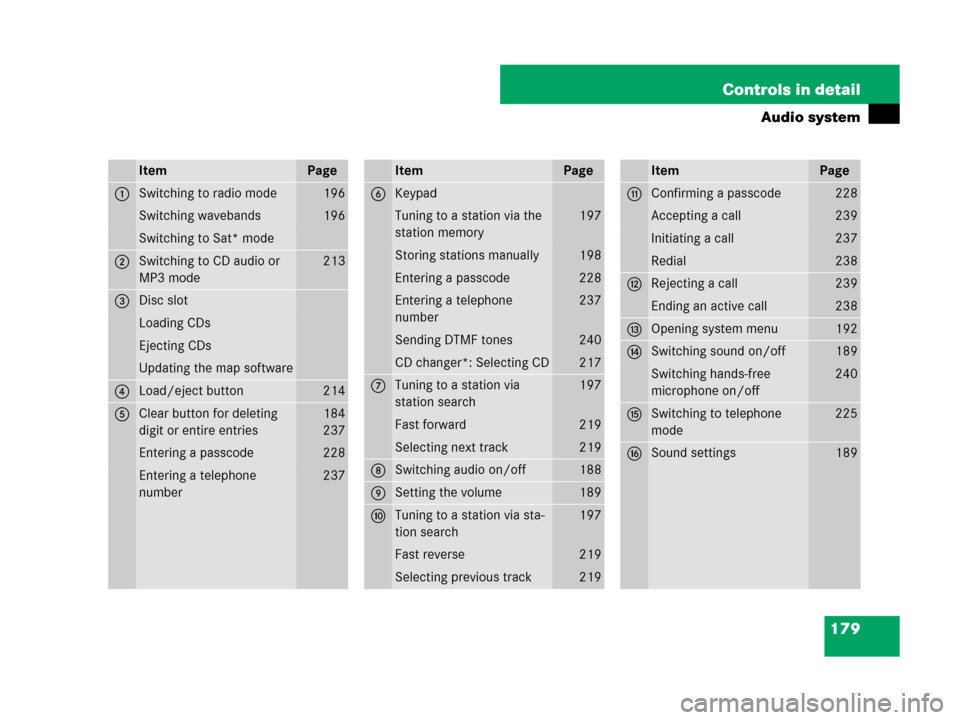
179 Controls in detail
Audio system
ItemPage
1Switching to radio mode196
Switching wavebands196
Switching to Sat* mode
2Switching to CD audio or
MP3 mode213
3Disc slot
Loading CDs
Ejecting CDs
Updating the map software
4Load/eject button214
5Clear button for deleting
digit or entire entries184
237
Entering a passcode228
Entering a telephone
number237
ItemPage
6Keypad
Tuning to a station via the
station memory197
Storing stations manually198
Entering a passcode228
Entering a telephone
number237
Sending DTMF tones240
CD changer*: Selecting CD217
7Tuning to a station via
station search197
Fast forward219
Selecting next track219
8Switching audio on/off188
9Setting the volume189
aTuning to a station via sta-
tion search197
Fast reverse219
Selecting previous track219
ItemPage
bConfirming a passcode228
Accepting a call239
Initiating a call237
Redial238
cRejecting a call239
Ending an active call238
dOpening system menu192
eSwitching sound on/off189
Switching hands-free
microphone on/off240
fSwitching to telephone
mode225
gSound settings189
Page 181 of 509

180 Controls in detail
Audio system
Audio display
The audio display has a protective cover.Audio display cover
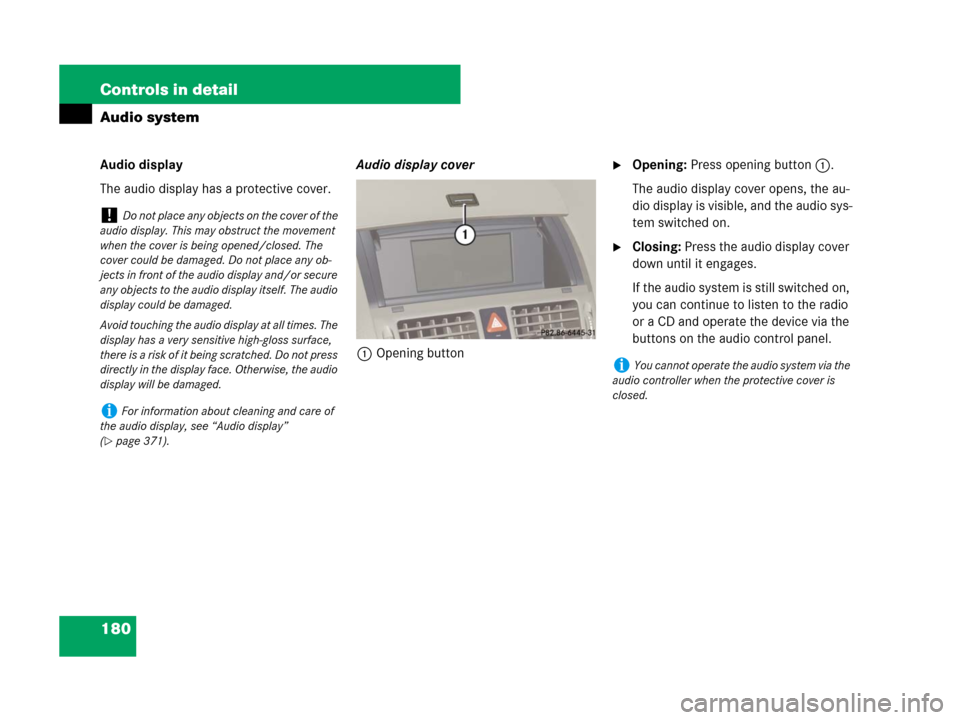
1Opening button�Opening: Press opening button1.
The audio display cover opens, the au-
dio display is visible, and the audio sys-
tem switched on.
�Closing: Press the audio display cover
down until it engages.
If the audio system is still switched on,
you can continue to listen to the radio
or a CD and operate the device via the
buttons on the audio control panel.
!Do not place any objects on the cover of the
audio display. This may obstruct the movement
when the cover is being opened/closed. The
cover could be damaged. Do not place any ob-
jects in front of the audio display and/or secure
any objects to the audio display itself. The audio
display could be damaged.
Avoid touching the audio display at all times. The
display has a very sensitive high-gloss surface,
there is a risk of it being scratched. Do not press
directly in the display face. Otherwise, the audio
display will be damaged.
iFor information about cleaning and care of
the audio display, see “Audio display”
(
�page 371).
iYou cannot operate the audio system via the
audio controller when the protective cover is
closed.
Page 183 of 509

182 Controls in detail
Audio system
Instrument cluster multifunction
display
This section describes features and con-
trols via the audio control unit, display and
controller only.
Please refer to the “Instrument cluster
control system” section of this manual
(
�page 151) for function descriptions and
operation of the instrument cluster multi-
function display and multifunction steering
wheel buttons as they relate to audio func-
tions described in this section.Audio controller
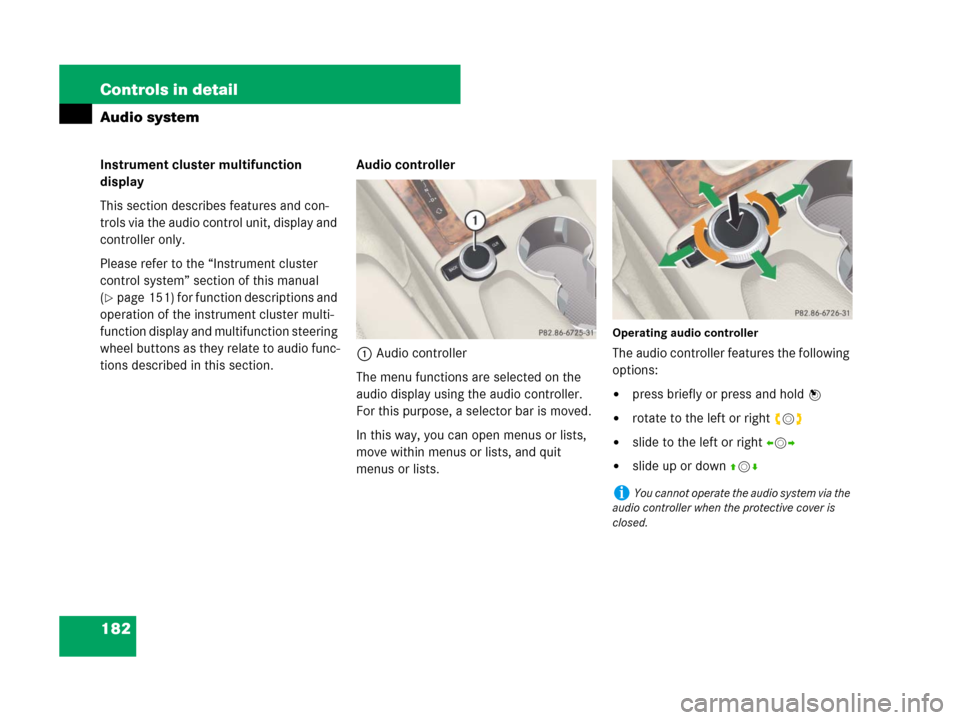
1Audio controller
The menu functions are selected on the
audio display using the audio controller.
For this purpose, a selector bar is moved.
In this way, you can open menus or lists,
move within menus or lists, and quit
menus or lists.
Operating audio controller
The audio controller features the following
options:
�press briefly or press and hold n
�rotate to the left or right ymz
�slide to the left or right omp
�slide up or down qmr
iYou cannot operate the audio system via the
audio controller when the protective cover is
closed.