2008 MERCEDES-BENZ A-CLASS HATCHBACK opening fuel filler flap
[x] Cancel search: opening fuel filler flapPage 10 of 305

7F
Fastening seat belts Childre n............................................ 51
Fire extinguisher................................ 201
First-aid kit......................................... 200
Flat tyre Equipment. ..................................... 253
MOExtended run-flat system ..........262
Preparing the vehicle. .....................253
TIREFIT kit....................................... 253
Floormat............................................. .165
Foglamps Display message ............................. 218
Fording................................................ 185
Frequencies Telephone. ...................................... 276
Front airbag .......................................... 40
Front-passenger airbag........................ 40
Front-passenger seat Folding the backrest forward/
back................................................ 158
Removing/fitting. ........................... 156
Fuel...................................................... 292
Diesel. ............................................ 170
Gauge. .............................................. 26
Loss. ............................................... 232
Petrol .............................................. 169
Fuel consumption...................... 293, 294Fuel filler flap
Emergency release. ........................242
Opening/closing ............................ 168
Fuel filter
Display message ............................. 214
Fuel level
Calling up the range (on-board
computer). ...................................... 113
Fuel line
Malfunction..................................... 232
Fuel tank
Defect ............................................. 232
Fuse allocation chart......................... 271
Fuse box............................................. .271
Fuses................................................... 271 G
Genuine Mercedes-Benz parts.......... 274
Glove compartment........................... 160
Gross vehicle weight, maximum
permissible................................. 287, 288 H
Handbrake Display message ............................. 214
Head/thorax airbags........................... 41Headlamps
Cleaning. ........................................ 194
Cleaning system. .............................. 81
Misting up. ...................................... 237
Headlamps delayed switch-off
see Exterior lighting delayed switch-off
Head restraint
Active head restraint......................... 42
Adjusting (front).......................... 64, 65
Adjusting (rear). ................................ 66
Removing (rear). ............................... 66
Heating
see Air conditioning
High-pressure cleaners..................... 193
Hill start assist..................................... 90 I
Immobiliser........................................... 57
Indicator and warning lamp Air conditioning (malfunction) .........222
Automatic child seat recognition
(malfunction). ................................. 223
Brakes (red). ................................... 226
Engine diagnostics ..........................227
PASSENGER AIRBAG OFF .........45, 223
Reserve fuel. ................................... 229
Seat belt. ........................................ 228
SRS........................................... 37, 226
Thermotronic (malfunction) ............222
Indicator and warning lamps............ 224 Index
169_AKB; 2; 4, en-GB
wdomann,
Version: 2.10.6 2008-07-16T08:52:06+02:00 - Seite 7Dateiname: 6515_0315_02_buchblock.pdf; preflight
Page 24 of 305

Exterior view
21Function Page
1
Luggage compartment
Spare wheel 201
Vehicle tool kit 200
2
Rear window heating 140
3
Opening and closing the
tailgate 61
4
Fuel filler flap 168
Fuel requirements 168
5
Opening and closing the
doors 60
6
Exterior mirrors
71 Function Page
7
Demisting the windscreen 139
Cleaning the windows 194
8
Panorama roof* 142
Panorama louvred sliding
sunroof*
142
9
Windscreen wiper opera-
tion
83
Cleaning the wiper blades 194
Replacing the wiper blades
251 Function Page
a
Opening the bonnet 171
Engine oil 172
Coolant 175
b
Front lights 245
c
Fitting the front towing eye 268
d
Tyres and wheels 176
Checking the tyre pressure 178
Flat tyre, fitting the spare
wheel
253
e
Fitting the rear towing eye 268
f
Rear lights 245At a glance
* optional
169_AKB; 2; 4, en-GB
wdomann,
Version: 2.10.6
2008-07-16T08:52:06+02:00 - Seite 21 Dateiname: 6515_0315_02_buchblock.pdf; preflight
Page 63 of 305

Opening and closing
60 Opening and closing
Key
The key centrally locks/unlocks:
R the doors
R the tailgate
R the fuel filler flap G
Risk of accident
If children are left unsupervised in the vehi-
cle, they could:
R open a door from the inside at any time,
even if it has been locked
R start the vehicle using a key which has
been left in the vehicle
R release the parking brake
They could endanger themselves and oth-
ers. Never leave children unsupervised in
the vehicle. Always take the key with you
when leaving the vehicle, even if you are
only leaving it for a short time. 1
Battery check lamp
2 j To lock the vehicle
3 Emergency key element release catch
4 k To unlock the vehicle
When unlocking, the turn signals flash once.
When locking, they flash three times.
If you do not open either a door or the tailgate
after you have unlocked the vehicle, it will
automatically relock after approximately 40
seconds.
Individual settings You can change the setting of the locking
system in such a way that only the driver's
door and the fuel filler flap are unlocked. This
could be useful if you frequently travel on your
own.X
To change the setting: press thek
and j buttons simultaneously for
approximately six seconds until the battery
check lamp flashes twice.
The key now functions as follows:
X To unlock the driver's door: press the
k button once.
X To unlock centrally: press thekbut-
ton twice.
X To lock centrally: press thejbutton.
Restoring the factory settings X
Press the kandj buttons simulta-
neously for approximately six seconds until
the battery check lamp flashes twice.
Additional information R
Convenience closing (Y page 86)
R Convenience opening (Y page 86)
R Opening and closing in an emergency
(Y page 241) Controls
169_AKB; 2; 4, en-GB
wdomann,
Version: 2.10.6 2008-07-16T08:52:06+02:00 - Seite 60Dateiname: 6515_0315_02_buchblock.pdf; preflight
Page 235 of 305

Troubleshooting
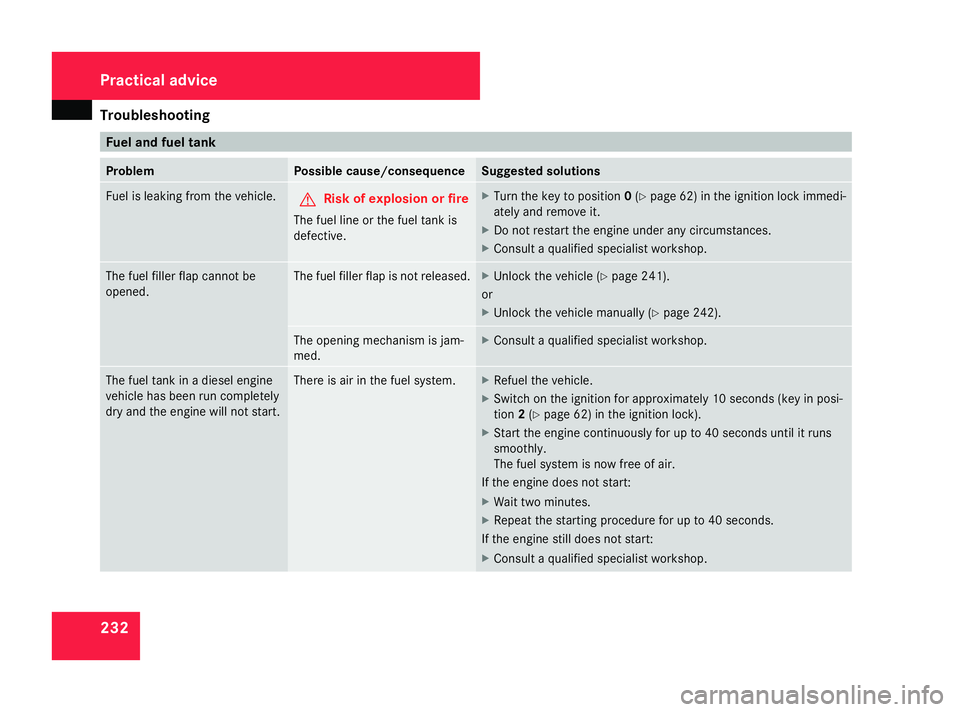
232 Fuel and fuel tank
Problem Possible cause/consequence Suggested solutions
Fuel is leaking from the vehicle.
G
Risk of explosion or fire
The fuel line or the fuel tank is
defective. X
Turn the key to position 0(Y page 62) in the ignition lock immedi-
atel y and remove it.
X Do not restart the engine under any circumstances.
X Consult a qualified specialist workshop. The fuel filler flap cannot be
opened. The fuel filler flap is not released. X
Unlock the vehicle (Y page 241).
or
X Unlock the vehicle manually (Y page 242). The opening mechanism is jam-
med. X
Consult a qualified specialist workshop. The fuel tank in a diesel engine
vehicle has been run completely
dry and the engine will not start. There is air in the fuel system. X
Refuel the vehicle.
X Switch on the ignition for approximately 10 seconds (key in posi-
tion 2(Y page 62) in the ignition lock).
X Start the engine continuously for up to 40 seconds until it runs
smoothly.
The fuel system is now free of air.
If the engine does not start:
X Wait two minutes.
X Repeat the starting procedure for up to 40 seconds.
If the engine still does not start:
X Consult a qualified specialist workshop. Practical advice
169_AKB; 2; 4, en-GB
wdomann
,V ersion: 2.10.6
2008-07-16T08:52:06+02:00 - Seite 232 Dateiname: 6515_0315_02_buchblock.pdf; preflight
Page 246 of 305

Locking/unlocking in an emergency
243
X
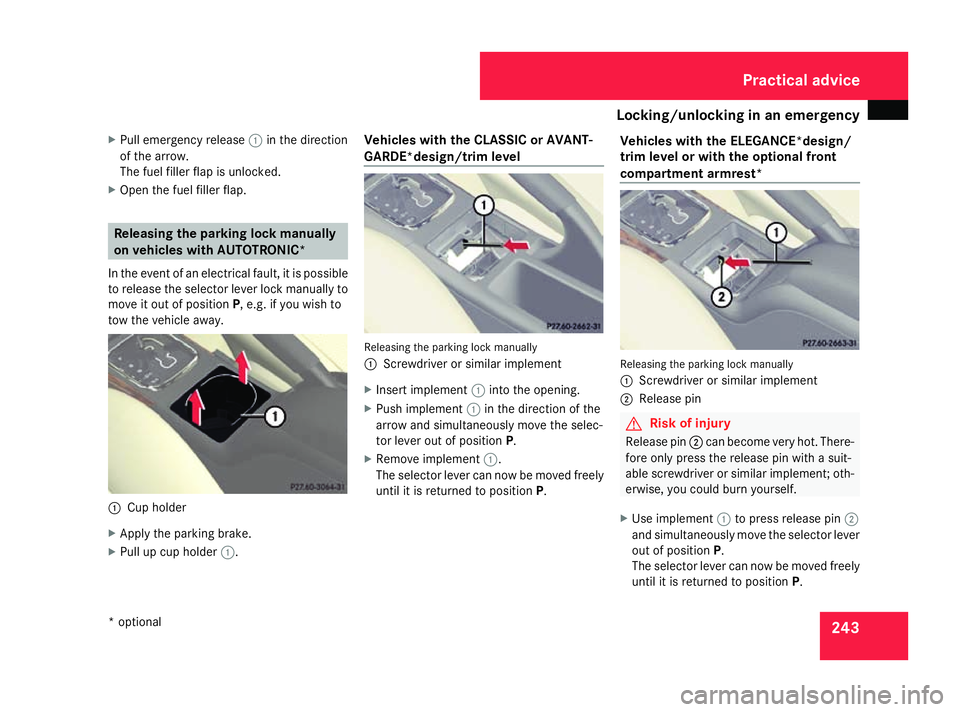
Pull emergency release 1in the direction
of the arrow.
The fuel filler flap is unlocked.
X Open the fuel filler flap. Releasing the parking lock manually
on vehicles with AUTOTRONIC*
In the event of an electrical fault, it is possible
to release the selector lever lock manually to
move it out of position P, e.g. if you wish to
tow the vehicle away. 1
Cup holder
X Apply the parking brake.
X Pull up cup holder 1. Vehicles with the CLASSIC or AVANT-
GARDE*design/trim level
Releasing the parking lock manually
1
Screwdriver or similar implement
X Insert implement 1into the opening.
X Push implement 1in the direction of the
arrow and simultaneously move the selec-
tor lever out of position P.
X Remove implement 1.
The selector lever can now be moved freely
until it is returned to position P.Vehicles with the ELEGANCE*design/
trim level or with the optional front
compartment armrest* Releasing the parking lock manually
1
Screwdriver or similar implement
2 Release pin G
Risk of injury
Release pin 2can become very hot. There-
fore only press the release pin with a suit-
able screwdriver or similar implement; oth-
erwise, you could burn yourself.
X Use implement 1to press release pin 2
and simultaneously move the selector lever
out of position P.
The selector lever can now be moved freely
until it is returned to position P. Practical advice
* optional
169_AKB; 2; 4, en-GB
wdomann,
Version: 2.10.6 2008-07-16T08:52:06+02:00 - Seite 243 ZDateiname: 6515_0315_02_buchblock.pdf; preflight