Page 4 of 15

GETTING STARTED
Always check the Owner’s Manual for more operating information and safety features
Lighting control knob= Lights off
= Tail, parking and
dashboard lights on: Rotate
knob to first notch
= Tail, parking, dashboard
and headlights on: Rotate knob
to second notch
= Autolamp control*:
With ignition switch in ON position;
headlights and exterior lights
automatically turn ON/OFF
depending on surrounding
darkness/lightness
A
= Foglamp control:
Pull headlamp control knob
towards you while in
,
or position
Tip: Exterior lights turn on
automatically with ignition
on, headlamp control in
Autolamp position and
windshield wipers activated
for a fixed period of time.
Turn signals/headlight high
beams/wiper/washer lever
High beams on/off: Push lever
forward to detent/pull back.
To flash high beams: Pull lever
rearward and release.
A
Ignition switch must be in ACC
or ON position.
To turn on wipers: Rotate knob (
1)
forward to increase; turn rearward
to decrease speed.
To activate washers: Push in end of
knob (1); will also operate wipers.
Rear wiper/washer
0= OFF
1= Intermittent: Rotate
knob (2) to first notch
2= Normal speed: Rotate
knob (2) to second notch
= Rear wash/wiper cycle:
Rotate knob (2) to third notch,
hold as desired
Tip: Courtesy wipe feature
will give one extra wipe a few
seconds after wipers are turned
off, this will help clear off
any residual drops left from
using the washer fluid.
Cruise control*Operates above 30 mph.
Press ON (1).
To set speed:Press and release
SET+ (2) at desired speed; hold
(2) to accelerate.
To decelerate:Press and hold
CST – (3), release at desired
speed; or tap brake pedal, press
and release (2) at desired speed.Incremental deceleration:
Press and release (3), each
tap = minus 1 mph.
Incremental acceleration:
Press and release (2), each
tap = plus 1 mph.
To cancel: Tap brake/clutch*
pedal or press OFF button (1).
Return to preset speed
(after braking):Press and
release RESUME button (4).
Tilt steering-wheel
release lever
Pull lever (5) down to unlock column
and pull up to lock column.
WARNING: Do not adjust
steering-wheel while driving
because you may lose control
of the vehicle.
Getting
Started
Getting
Started
RES
UME
SET
+
C
ST –
O
FF
ON1324
5*Denotes optional equipment
A
2
1
0
0
12
Page 12 of 15

TRANSAXLE
Always check the Owner’s Manual for more operating information and safety features
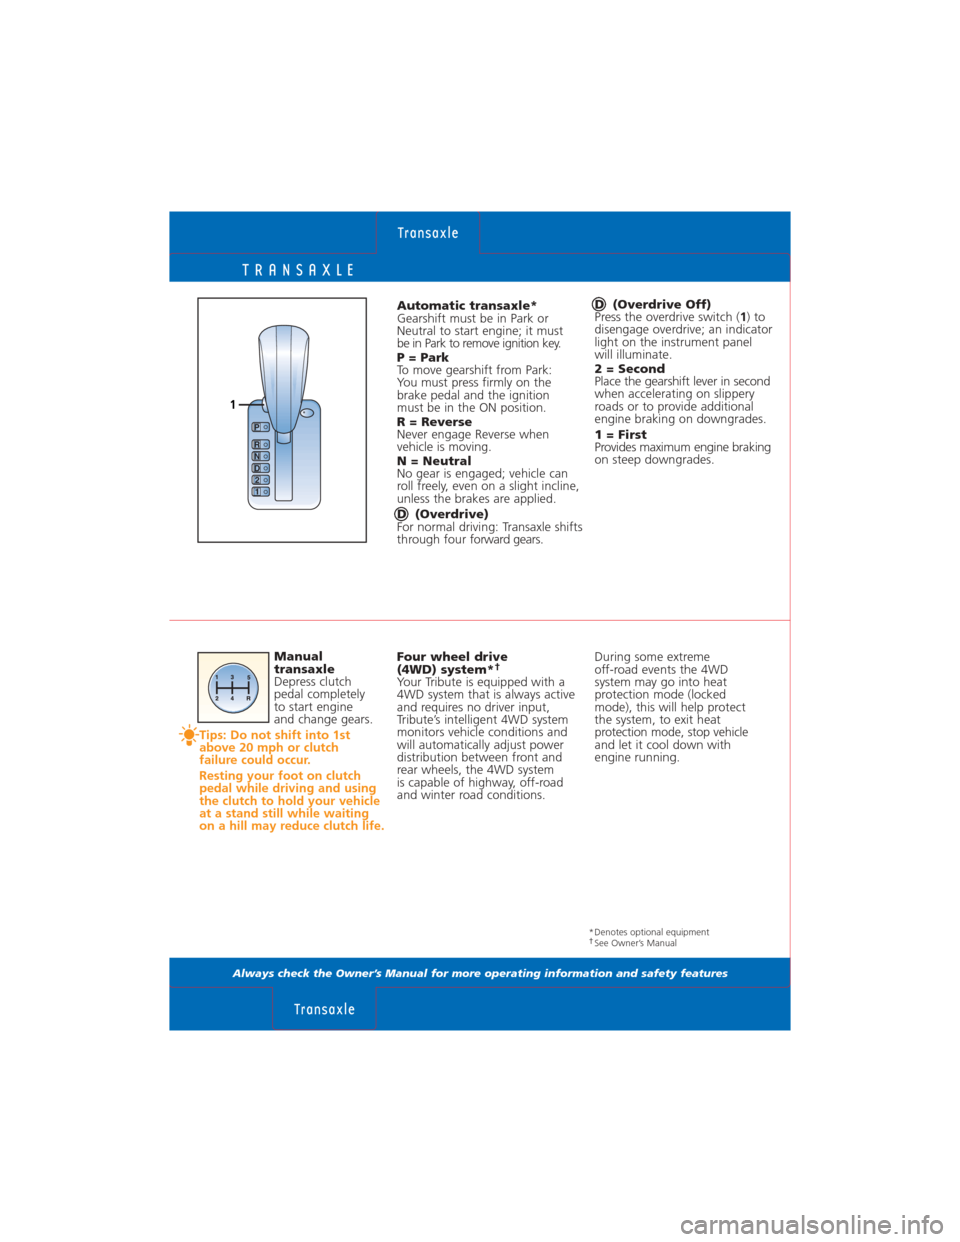
Automatic transaxle*
Gearshift must be in Park or
Neutral to start engine; it must
be in Park to remove ignition key.
P = Park
To move gearshift from Park:
You must press firmly on the
brake pedal and the ignition
must be in the ON position.
R = Reverse
Never engage Reverse when
vehicle is moving.
N = Neutral
No gear is engaged; vehicle can
roll freely, even on a slight incline,
unless the brakes are applied.
D (Overdrive)
For normal driving: Transaxle shifts
through four forward gears.D (Overdrive Off)
Press the overdrive switch (
1) to
disengage overdrive; an indicator
light on the instrument panel
will illuminate.
2 = Second
Place the gearshift lever in second
when accelerating on slippery
roads or to provide additional
engine braking on downgrades.
1 = First
Provides maximum engine braking
on steep downgrades.
Manual
transaxle
Depress clutch
pedal completely
to start engine
and change gears.
Tips: Do not shift into 1st
above 20 mph or clutch
failure could occur.
Resting your foot on clutch
pedal while driving and using
the clutch to hold your vehicle
at a stand still while waiting
on a hill may reduce clutch life.
Four wheel drive
(4WD) system*†Your Tribute is equipped with a
4WD system that is always active
and requires no driver input,
Tribute’s intelligent 4WD system
monitors vehicle conditions and
will automatically adjust power
distribution between front and
rear wheels, the 4WD system
is capable of highway, off-road
and winter road conditions.
Transaxle
Transaxle
During some extreme
off-road events the 4WD
system may go into heat
protection mode (locked
mode), this will help protect
the system, to exit heat
protection mode, stop vehicle
and let it cool down with
engine running.
1
R
N
D 2
1
P
*Denotes optional equipment†See Owner’s Manual
Page 13 of 15

UNDER HOOD
Always check the Owner’s Manual for more operating information and safety features
1. Windshield washer
reservoir
Fill with windshield washer
fluid, not water.
2. Engine coolant reservoir
Level should be at cold fill level
or within the cold fill range
when cold.
WARNING: Never remove
coolant reservoir cap while
engine is running or hot;
remove only when system
is cool.
3. Brake/clutch fluid
reservoir
Fill to MAX mark with DOT 3
fluid, check with cap on.4. Air filter
5. Power distribution box
6. Battery
7. Engine oil filler cap
5W-20 engine oil.
8. Hood latch
9. Engine oil dipstick
Check with engine off and
at normal temperature; oil
level should be within
crosshatched area of dipstick.
10. Automatic transaxle
fluid dipstick*
Check with engine on at
operating temperature; fluid
level should be within
crosshatched area.
Under Hood
Under Hood
Tip: Check all fluids with
vehicle parked on a level
surface and engine off
unless otherwise stated.
*Denotes optional equipment
8 17 69 2310 4 51698 27 3410 5
2.3L Engine 3.0L Engine