Page 215 of 283

In case of an emergency
26
ROAD WARNING
Hazard warning flasher
The hazard warning flasher serves as a
warning to other drivers to exercise
extreme caution when approaching,
overtaking, or passing your vehicle. It
should be used whenever emergency
repairs are being made or when the vehi-
cle is stopped near the edge of a road-
way.Depress the flasher switch with the igni-
tion switch in any position. The flasher
switch is located in the center console
switch panel. All turn signal lights will
flash simultaneously.
• The hazard warning flasher operates
whether your vehicle is running or not.
• The turn signals do not work when the hazard flasher is on.
• Care must be taken when using the hazard warning flasher while the vehi-
cle is being towed. If your temperature gauge indicates over-
heating, if you experience a loss of
power, or if you hear a loud knocking or
pinging noise, the engine has probably
overheated. Should any of these symp-
toms occur, use the following procedure:
1. Turn on the hazard warning flasher,
then drive to the nearest safe location
and stop your vehicle; set the automat-
ic transaxle in P (Park) and apply the
parking brake.
2. Make sure the air conditioner is off.
3. If coolant or steam is boiling out of the radiator, stop the engine and call an
Authorized Kia Dealer for assistance.
If coolant is not boiling out, allow the
engine to idle and open the hood to
permit the engine to cool gradually.
If the temperature does not go down
with the engine idling, stop the engine
and allow sufficient time for it to cool.
OGH026040
OVERHEATING
Page 222 of 283

69
In case of an emergency
Description Fus e rating Protected component
1 FUEL PUMP 20A Fuel pump
2 H/LP (LO-LH) 15A Headlight (low-left)
3 ABS 10A Anti-lock brake system
4 IGN COIL 15A Ignition coil
5 A/CON COMP 10A Air-conditioner compressor
6 ATM 20A Automatic transaxle control relay
7 MAIN 20A Engine control unit relay
8 O2 SNSR 15A Oxygen sensor
9 EGR 15A
Power train control system sensors
10 HORN 15A Horn
11 TAIL 20A Tail light
12 SUNROOF 20A Sun roof
13 P/SEAT (RH) 20A Power seat (right)
14 FOG LP (FR) 15A Fog light (front)
15 H/LP (HI) 15A Headlight (high)
16 SPARE 30A spare fuse
17 SPARE 20A spare fuse
18 SPARE 15A spare fuse
19 SPARE 10A spare fuse
20 P/SEAT (LH) 30A Power seat (left)
21 AMP 20A Radio amplifier
22 DRL* 15A Daytime running light
Engine compartment
Description Fus e rating Protected component
23 H/LP (LO-RH) 15A Headlight (low beam-right)
24 I/P B+ 30A All electrical system
25 ECU 10A Engine control unit
26 INJECTOR 10A Injector
27 ECS * 15A Electronic control suspension
BLOWER 40A Blower motor
IGN 1 30A Ignition switch
ABS 2 30A Anti-lock brake system
ABS 1 30A Anti-lock brake system
IGN 2 30A Ignition switch
S/WARM 30A Seat warmer
H/LP (LO-LH) - Headlight relay (low beam-left)
FUEL PUMP - Fuel pump relay
HORN - Horn relay
START - Start motor relay
A/CON - Air conditioner relay
H/LP (HI) - Headlight relay (high beam)
FOG LP (FR) - Fog light relay (front)
TAIL LP - Taillight relay
WIPER - Wiper relay
BATT 60A Alternator, Battery
ALT 150A Alternator
COOLING 60A Cooling fan
* : if equipped
Page 226 of 283
613
In case of an emergency
When towing your vehicle in an emer-
gency without wheel dollies :
1. Set the ignition switch in the ACC posi-tion.
2. Place the transaxle shift lever in N (Neutral).
3. Release the parking brake.
Tie-down hook
(for flatbed towing)
OGH046012A
Tie-down hook
WARNING
Do not use the hooks under the
front of the vehicle for towing pur-
poses. These hooks are designed
ONLY for transport tie-down. If the
tie-down hooks are used for towing,
the tie-down hook s will be damaged
and this could lead to s erious
injury.
CAUTION
Failure to place the tran saxle shift
lever in N (Neutral) may cause inter- nal damage to the tran saxle.
Page 227 of 283

In case of an emergency
146
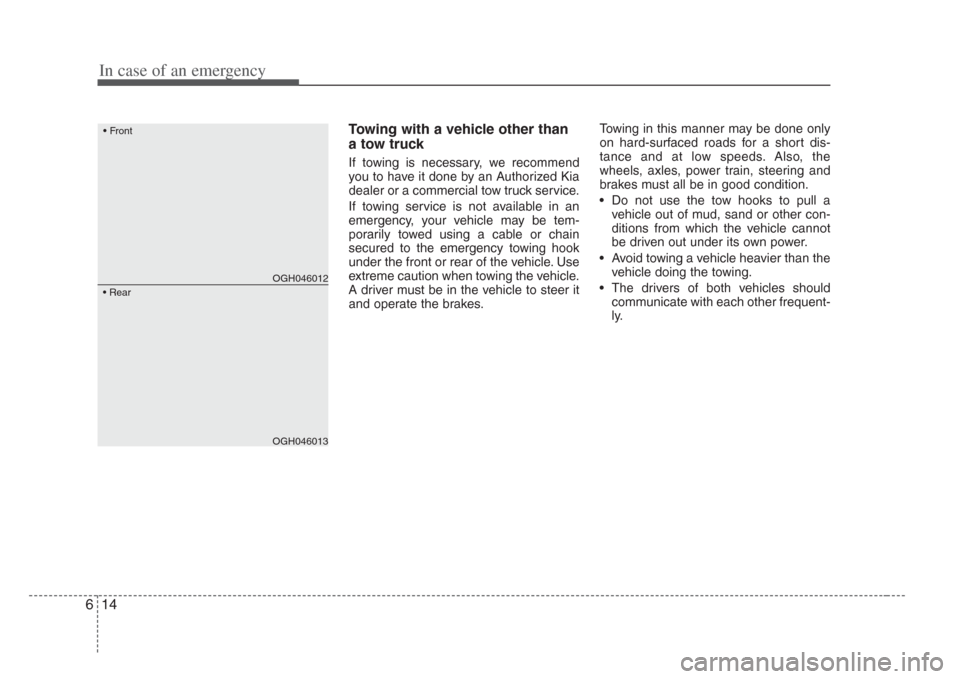
Towing with a vehicle other than
a tow truck
If towing is necessary, we recommend
you to have it done by an Authorized Kia
dealer or a commercial tow truck service.
If towing service is not available in an
emergency, your vehicle may be tem-
porarily towed using a cable or chain
secured to the emergency towing hook
under the front or rear of the vehicle. Use
extreme caution when towing the vehicle.
A driver must be in the vehicle to steer it
and operate the brakes.Towing in this manner may be done only
on hard-surfaced roads for a short dis-
tance and at low speeds. Also, the
wheels, axles, power train, steering and
brakes must all be in good condition.
• Do not use the tow hooks to pull a
vehicle out of mud, sand or other con-
ditions from which the vehicle cannot
be driven out under its own power.
• Avoid towing a vehicle heavier than the vehicle doing the towing.
• The drivers of both vehicles should communicate with each other frequent-
ly.
OGH046012
• Front
OGH046013
• Rear
Page 229 of 283

In case of an emergency
166
When your vehicle is being towed
by another vehicle other than a
tow truck (In case of an emer-
gency)
• Turn the ignition switch to ACC so thesteering wheel isn’t locked.
• Place the transaxle shift lever in N (Neutral).
• Release the parking bake.
• Vehicle equipped with automatic transaxles should not exceed 45 km/h
(28 mph) and should not be towed
more than 80 km (50 miles).
• Press the brake pedal with more force than normal since you will have
reduced brake performance.
• More steering effort will be required because the power steering system
will be disabled.
• If you are driving down a long hill, the brakes may overheat and brake per-
formance will be reduced. Stop often
and let the brakes cool off.
Tips for towing a stuck vehicle
The following methods are effective
when your vehicle is stuck in mud, sand
or similar substances that prevent the
vehicle from being driven out under its
own power.
• Remove the soil and sand, etc. fromthe front and the back of the tires.
• Place a stone or wood under the tires.CAUTION
To prevent internal damage to the transaxle, never tow your vehiclefrom the rear (backward s) with all
four tires in contact with the sur- face.
Page 232 of 283

619
In case of an emergency
Changing tires
Jacking instructions
The jack is provided for emergency
tire changing only.
Follow jacking instructions to reduce
the possibility of personal injury.
Tire replacement
1. Park on a level surface and apply
the parking brake firmly.
2. Shift the shift lever into P (Park).
3. Activate the hazard warning flash- er.
WARNING- Changing tire s
• Never attempt vehicle repair s
in the traffic lanes of a public
road or highway.
•Alway s move the vehicle com-
pletely off the road and onto
the shoulder before trying to
change a tire. The jack should
be used on level firm ground
whenever possible. If you can-
not find a firm, level place off
the road, call a towing service
company for assistance.
• Be sure to use the correct
front and rear jacking po si-
tions on the vehicle; never use
the bumper s or any other part
of the vehicle for jack support.
(Continued)
(Continued)
• The vehicle can easily roll off the jack caus ing serious
injury or death. No per son
should place any portion of
their body under a vehicle that
is supported only by a jack ;
use vehicle support stands.
• Do not start or run the engine while the vehicle i s on the
jack.
• Do not allow anyone to remain in the vehicle while it i s on the
jack.
• Make sure any children pres-
ent are in a secure place away
from the road and from the
vehicle to be rai sed with the
jack.
1JBA6021
Page 233 of 283
In case of an emergency
206
4. Remove the wheel lug nut wrench,jack, jack handle, and spare tire
from the vehicle.
5. Block both the front and rear of the wheel that is diagonally opposite
the jack position. 6. Wrap a piece of cloth around the
tip of the screwdriver to avoid
scratching.
7. Insert a screwdriver into the notch of the wheel cover and pry gently
to remove the wheel cover (if
equipped).
WARNING-Changing a tire
• To prevent vehicle movementwhile changing a tire, alway s
set the parking brake fully, and
always block the wheel diago-
nally opposite the wheel being
changed.
• It is recommended that the wheels of the vehicle be
chocked, and that no per son
should remain in a vehicle that
is being jacked.
1JBA65042GHN409
Page 235 of 283

In case of an emergency
226
13. Once the wheel lug nuts havebeen tightened, lower the vehicle
fully to the ground and continue to
tighten the lug nuts until they are
fully secured. Tighten the wheel
lug nuts firmly in a “star” pattern.
If you are unsure of the tightness
of the wheel lug nuts, have them
checked at the nearest service
station. The specified tightening
torque is 9~11 kg•m (65-79 lb•ft,
88-107 N•m). Improperly tight-
ened wheel lug nuts could cause
brake pedal vibration while brak-
ing. 14. Reinstall the wheel cover by fit-
ting the boss of the wheel cover
in the groove of the wheel.
To prevent the jack, jack handle,
wheel lug nut, wrench and spare tire
from rattling while the vehicle is in
motion, store them properly.
2GHN409A
CAUTION
Your vehicle has metric threadson the wheel studs and nuts.Make certain during wheelremoval that the s ame nuts
removed are reinstalled - or, if replaced, that nut s with metric
threads and the same chamfer configuration are used.
Ins tallation of a non-metric
thread nut on a metric stud or
vice-ver sa will not secure the
wheel to the hub properly and will damage the stud so that it
mu st be replaced.
Note that most lug nuts do not have metric threads. Be sure to
use extreme care in checking for thread style before in stalling
aftermarket lug nut s or wheels.
If in doubt, cons ult an
Authorized Kia Dealer.
WARNING- Wheel studs
If the studs are damaged, they
may lose their ability to retain
the wheel. Thi s could lead to the
loss of the wheel and a colli-
sion.
WARNING
Check the inflation pressures as
s oon as possible after ins talling
the spare tire. Adjus t it to the
s pecified pre ssure, if necessary.
Refer to Section 8, Specifications .