Page 99 of 283

389
Knowing your vehicle
✽NOTICE
To avoid possible theft, do not leave
valuables in the storage compartment.
Since stored items may move while driving, be sure to position them in
the storage compartment so that they
do not make noise or cause a potential
safety hazard when the vehicle is mov-
ing.
Always keep the storage compartment covers closed while driving. Do not
attempt to place many items in the
storage compartment that the storage
compartment cover cannot close
securely.
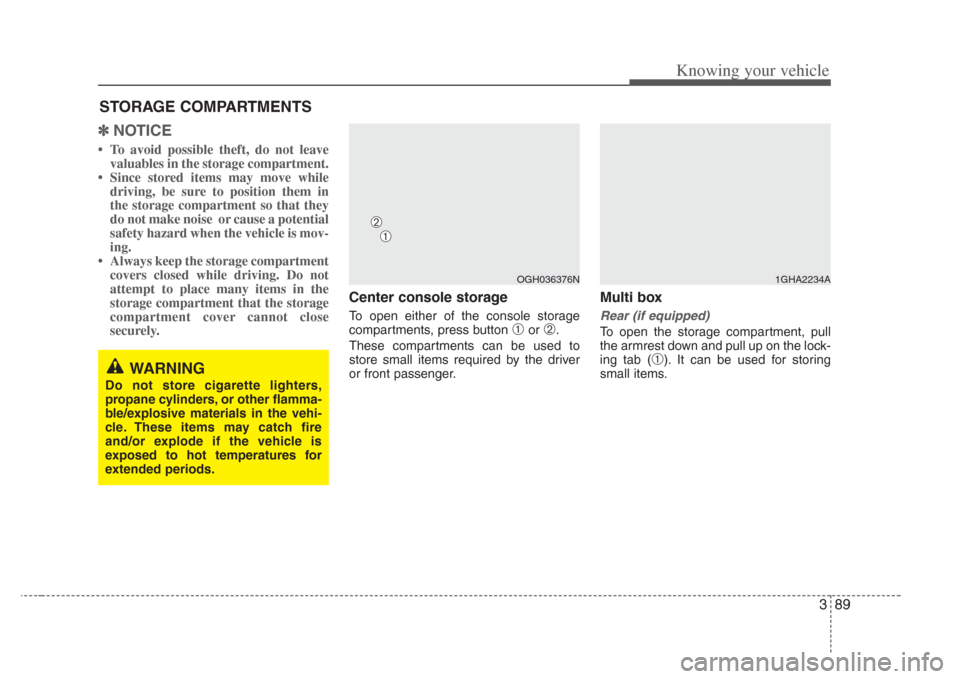
Center console storage
To open either of the console storage
compartments, press button
➀or➁.
These compartments can be used to
store small items required by the driver
or front passenger.
Multi box
Rear (if equipped)
To open the storage compartment, pull
the armrest down and pull up on the lock-
ing tab (
➀). It can be used for storing
small items.
STORAGE COMPARTMENTS
WARNING
Do not s tore cigarette lighter s,
propane cylinder s, or other flamma-
ble/explosive materials in the vehi-
cle. Thes e items may catch fire
and/or explode if the vehicle is
exposed to hot temperature s for
extended period s.
OGH036376N1GHA2234A
➀
➁
Page 101 of 283

391
Knowing your vehicle
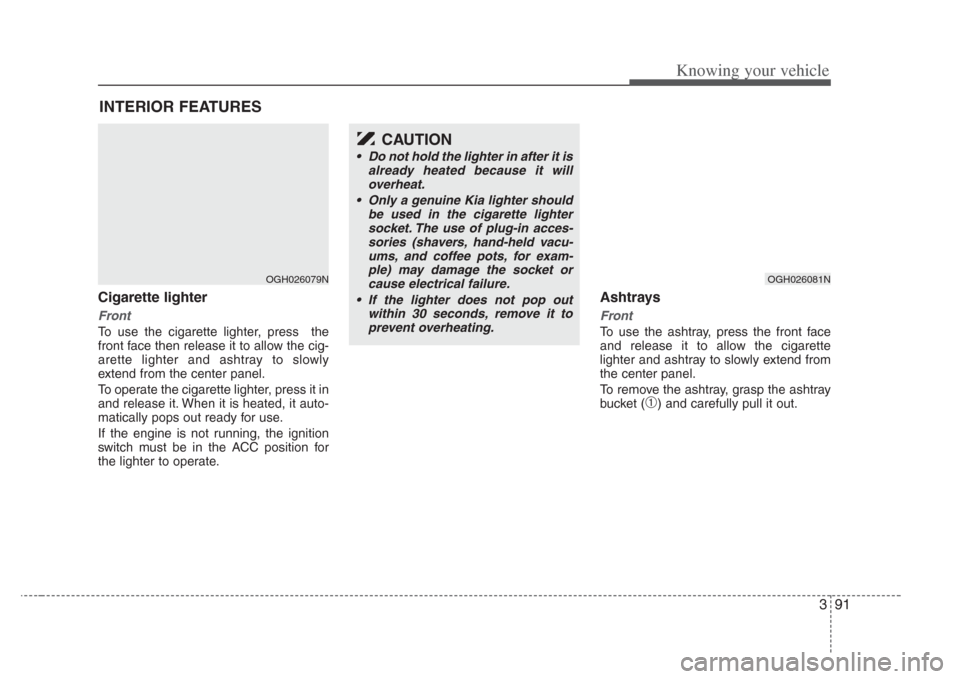
Cigarette lighter
Front
To use the cigarette lighter, press the
front face then release it to allow the cig-
arette lighter and ashtray to slowly
extend from the center panel.
To operate the cigarette lighter, press it in
and release it. When it is heated, it auto-
matically pops out ready for use.
If the engine is not running, the ignition
switch must be in the ACC position for
the lighter to operate.
Ashtrays
Front
To use the ashtray, press the front face
and release it to allow the cigarette
lighter and ashtray to slowly extend from
the center panel.
To remove the ashtray, grasp the ashtray
bucket (
➀) and carefully pull it out.
INTERIOR FEATURES
OGH026079NOGH026081N
CAUTION
• Do not hold the lighter in after it is
already heated becaus e it will
overheat.
• Only a genuine Kia lighter should
be used in the cigarette lighter socket. The use of plug-in acce s-
sories ( shavers, hand-held vacu-
ums, and coffee pot s, for exam-
ple) may damage the socket or
cause electrical failure.
• If the lighter does not pop out within 30 seconds, remove it toprevent overheating.
Page 103 of 283
393
Knowing your vehicle
Rear
To use cup holders in rear seat, pull
down the rear seat armrest.
Sunvisor
Use the sunvisor to shield direct light
through the front or side windows.
To use a sunvisor, pull it downward.
To use a sunvisor for a side window, pull
it downward, unsnap it from the bracket
(
➀) and swing it to the side.
To use the vanity mirror, pull down the
visor and pull up the mirror cover (
➁).
Pull the extension panel (
➂) of the sunvi-
sor to lengthen the sunvisor.
OGH0260902GHN482
CAUTION
Do not place heavy cups or cans in cup holder s. Cup holder s could be
damaged.
CAUTION
Clos e the vanity mirror cover
securely and return the sunvisor to
its original position after use. If the vanity mirror is not clo sed securely,
the lamp will stay on and could result in battery di scharge and pos-
sible sunvisor damage.
Page 112 of 283

Knowing your vehicle
1023
Care of cassette tapes
(if equipped)
• Because the thickness of a cassette
tape with the total playback time of
over 60 minutes (C-60) are too thin, we
suggest that you do not use any of
them to avoid having tapes being tan-
gled.
• To achieve better sound quality, period- ically clean the tape head using a cot-
ton stick with colorless alcohol (once
per month).
• If a tape is too loose, fasten it to reel by winding with objects like a pencil.
• Because dust or foreign objects on a cassette tape may damage the play-
back head, always store tapes in their
cases when not in use.
• Make sure cassette tapes are kept away from magnetic devices (TV,
stereo system, etc) in order to achieve
better sound quality.
• Be certain that no objects or sub- stances other than cassette tapes are
inserted into the cassette tape player.
• Because tape media can be distorted when exposed to direct sunlight, Do
not leave cassette tapes on the seats,
dashboard or near the back wind-
shield.
Care of di sc (if equipped)
• If the temperature inside the car is too
high, open the car windows for ventilation
before using your car audio.
• Do not apply volatile agents such as benzene and thinner, normal cleaners
and magnetic sprays made for ana-
logue disc onto CDs.
• To prevent the disc surface from get- ting damaged. Hold and carry CDs by
the edges or the edges of the center
hole only.
• Clean the disc surface with a piece of soft cloth before playback (wipe it from the
center to the outside edge.)
• Do not damage the disc surface or attach pieces of sticky tape or paper
onto it.
• Make sure on undesirable matter other than CDs are inserted into the CD
player (Do not insert more than one
CD at a time).
• Keep CDs in their cases after use to protect them from scratches or dirt. • Depending on the type of CD-R/CD-
RW CDs, certain CDs may not operate
normally according to manufacturing
companies or making and recording
methods. In such circumstances, if you
still continue to use those CDs, they
may cause the malfunction of your car
audio system.
✽ NOTICE-Playing an
Incompatible Copy-Protected
Audio CD
Some copy-protected CDs, which do not
comply with the international audio CD
standards (Red Book), may not play on
your car audio. Please note that if you
try to play copy protected CDs and the
CD player of your car audio is not per-
forming to your expectation, this may be
caused by those CDs and not a defect in
the device itself. Please replace those
CDs.
Page 118 of 283
Knowing your vehicle
1083
1. CD loading slot
2. CD indicator light
3. CD eject button
4. CD selection button
5. Fast backward button
6. Fast forward buttonn
7. Track Down button
8. Track Up button
9. Repeat button
10. CD SCAN
11. LCD display screen
GH H385NA
CD(IF EQUIPPED)
Page 119 of 283

3109
Knowing your vehicle
1. CD loading slot
Please face printed side upward and
gently push in. When the ignition switch
is on ACC or ON and power is off, power
is automatically turned on if the CD is
loaded. This CDP supports both 8cm and
12 cm CDs. But if VCD, Data CD, MP3
CD are loaded, "Er-6" message will
appear and CD will be ejected.
2. CD Indicator
When car ignition switch is ACC or ON
and if the CD is loaded, this indicator is
lighted. If the CD is ejected the light is
turned off.
3. CD eject button
Push button to eject the CD during
CD playback. This button is enabled
when ignition switch is off.
4. CD selection button
When CD is in the deck, push [CD] but-
ton for CD mode while power is off or
radio/TAPE is playing.
When CD is ejected by Eject Button,
push Eject Button again to reload CD for
playback.
5. Fast Backward button
During CD playback, push [SEEK ]
button for more than 1.5 seconds (a
beep) to fast backward. For first 5 sec-
onds 5X and 15X after 5 seconds. While
the button is pressed sound is reduced to
12dB.
6. Fast Forward button
During CD playback, push [SEEK ]
button for more than 1.5 seconds (a
beep) to fast forward. For first 5 seconds
5X and 15X after 5 seconds. While the
button is pressed sound is reduced to
12dB.
7. Track Down
Push [SEEK ] button to move to the
beginning of current music. Each push
will move to previous track. When this
button is pressed from track 1, it will
move to beginning of the last track.
8. Track Up
Push [SEEK ] button to move to the
beginning of next track. Each push will
move to next track. When this button is
pressed from the last track, it will move to
beginning of the first track.
9. Repeat button
Push [RPT] button to repeat current
track. Push again to disable repeat.
10. SCAN button
Push [CD SCAN] button to listen each
track for 10 seconds. Push again to dis-
able.
11. LCD display screen
It shows all the status of CDP. "Cd" for
CD playback, CD track and CD number,
"RPT" and "CLASSIC/JAZZ/ROCK" for
EQ mode.
Page 123 of 283
3113
Knowing your vehicle
1. CD loading slot
2. CD indicator light
3. CD eject button
4. CD selection button
5. Fast backward button
6. Fast forward button
7. Track Down button
8. Track Up button
9. Repeat button
10. CD SCAN
11. Mute button
GH H105/605NA
CD (H295+CDP) (IF EQUIPPED)
Page 124 of 283

Knowing your vehicle
1143
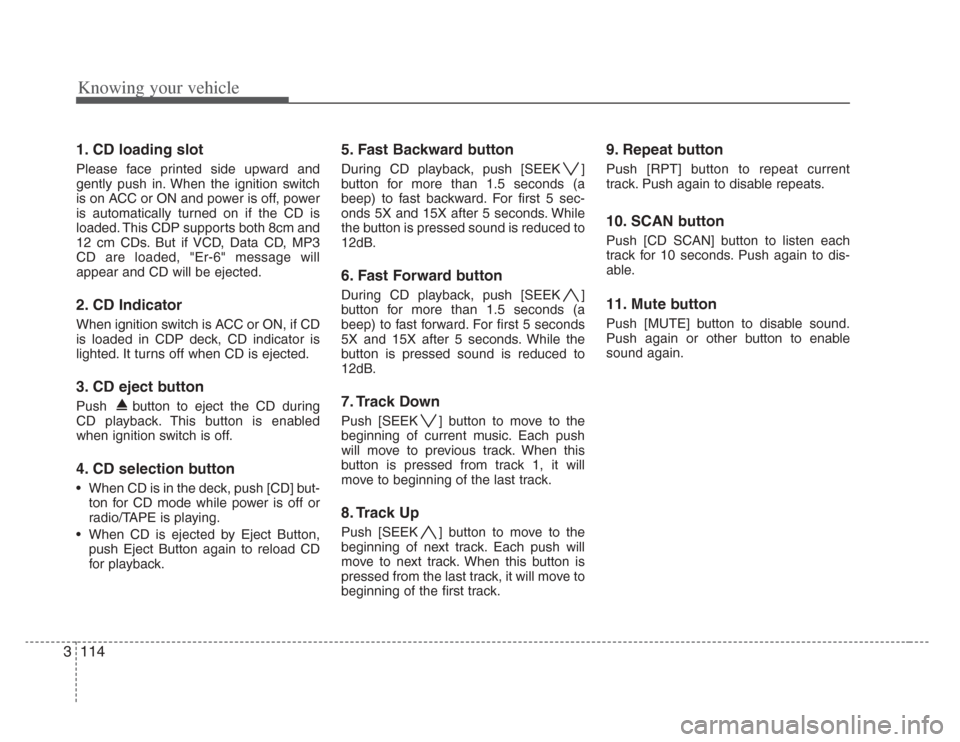
1. CD loading slot
Please face printed side upward and
gently push in. When the ignition switch
is on ACC or ON and power is off, power
is automatically turned on if the CD is
loaded. This CDP supports both 8cm and
12 cm CDs. But if VCD, Data CD, MP3
CD are loaded, "Er-6" message will
appear and CD will be ejected.
2. CD Indicator
When ignition switch is ACC or ON, if CD
is loaded in CDP deck, CD indicator is
lighted. It turns off when CD is ejected.
3. CD eject button
Push button to eject the CD during
CD playback. This button is enabled
when ignition switch is off.
4. CD selection button
• When CD is in the deck, push [CD] but-
ton for CD mode while power is off or
radio/TAPE is playing.
• When CD is ejected by Eject Button, push Eject Button again to reload CD
for playback.
5. Fast Backward button
During CD playback, push [SEEK ]
button for more than 1.5 seconds (a
beep) to fast backward. For first 5 sec-
onds 5X and 15X after 5 seconds. While
the button is pressed sound is reduced to
12dB.
6. Fast Forward button
During CD playback, push [SEEK ]
button for more than 1.5 seconds (a
beep) to fast forward. For first 5 seconds
5X and 15X after 5 seconds. While the
button is pressed sound is reduced to
12dB.
7. Track Down
Push [SEEK ] button to move to the
beginning of current music. Each push
will move to previous track. When this
button is pressed from track 1, it will
move to beginning of the last track.
8. Track Up
Push [SEEK ] button to move to the
beginning of next track. Each push will
move to next track. When this button is
pressed from the last track, it will move to
beginning of the first track.
9. Repeat button
Push [RPT] button to repeat current
track. Push again to disable repeats.
10. SCAN button
Push [CD SCAN] button to listen each
track for 10 seconds. Push again to dis-
able.
11. Mute button
Push [MUTE] button to disable sound.
Push again or other button to enable
sound again.