2008 INFINITI QX56 service indicator
[x] Cancel search: service indicatorPage 2298 of 4083
![INFINITI QX56 2008 Factory Service Manual DEFROSTER DOOR MOTOR CIRCUITHAC-45
< COMPONENT DIAGNOSIS > [AUTOMATIC AIR CONDITIONER]
C
D
E
F
G H
J
K L
M A
B
HAC
N
O P
Defroster Door Motor Co mponent Function CheckINFOID:0000000001679793
INSPECTIO INFINITI QX56 2008 Factory Service Manual DEFROSTER DOOR MOTOR CIRCUITHAC-45
< COMPONENT DIAGNOSIS > [AUTOMATIC AIR CONDITIONER]
C
D
E
F
G H
J
K L
M A
B
HAC
N
O P
Defroster Door Motor Co mponent Function CheckINFOID:0000000001679793
INSPECTIO](/manual-img/42/57030/w960_57030-2297.png)
DEFROSTER DOOR MOTOR CIRCUITHAC-45
< COMPONENT DIAGNOSIS > [AUTOMATIC AIR CONDITIONER]
C
D
E
F
G H
J
K L
M A
B
HAC
N
O P
Defroster Door Motor Co mponent Function CheckINFOID:0000000001679793
INSPECTION FLOW
1.CONFIRM SYMPTOM BY PERFORMING O PERATIONAL CHECK - DEFROSTER DOOR
1. Press the mode switch and select vent ( ).
2. Press the defrost switch ( ). Defroster indicator should illuminate (on display).
3. Listen for defroster door position change (blower sound should change slightly).
Can the symptom be duplicated?
YES >> GO TO 3.
NO >> GO TO 2.
2.CHECK FOR ANY SYMPTOMS
Perform a complete operational check for any symptoms. Refer to HAC-4, "
Operational Check (Front)".
Does another symptom exist?
YES >> Refer to HAC-3, "How to Perform Trouble Diagnosis For Quick And Accurate Repair".
NO >> SYSTEM OK.
3.CHECK FOR SERVICE BULLETINS
Check for any service bulletins.
>> GO TO 4.
4.CHECK DEFROSTER DOOR MOTOR
Perform diagnostic procedure for defroster door motor. Refer to HAC-45, "
Defroster Door Motor Component
Function Check".
Is the inspection result normal?
YES >> GO TO 5.
NO >> Repair PBR circuit or replace defroster door motor. Refer to VTL-21, "
Removal and Installation".
5.CHECK DEFROSTER DOOR OPERATION
Check and verify defroster door mechanism for smooth operation.
Is the inspection result normal?
YES >> Replace defroster door motor. Refer to VTL-21, "Removal and Installation".
NO >> Repair defroster door mechanism.
Defroster Door Motor Diagnosis ProcedureINFOID:0000000001679794
SYMPTOM:
• Defroster door does not change.
• Defroster door motor does not operate normally.
DIAGNOSTIC PROCEDURE FOR DEFROSTER DOOR MOTOR
1.CHECK A/C AUTO AMP. FOR POWER AND GROUND
1. Turn ignition switch ON.
2. Press the defroster switch ( ).
3. Check voltage between A/C auto amp. harness connector M49 terminal 24 and terminal 23 and press the defroster switch ( )
again.
Connector Te r m i n a l s
Condition Voltage
(Approx.)
(+) (-)
A/C auto amp.: M49 24 23 Press de-
froster switch Battery
voltage
AWIIA0152ZZ
Revision: March 2010 2008 QX56
Page 2309 of 4083
![INFINITI QX56 2008 Factory Service Manual HAC-56
< COMPONENT DIAGNOSIS >[AUTOMATIC AIR CONDITIONER]
BLOWER MOTOR CONTROL SYSTEM
System Operation
Rear Blower Control
When the rear blower control dial (front) REAR CTRL switch is pressed (indica INFINITI QX56 2008 Factory Service Manual HAC-56
< COMPONENT DIAGNOSIS >[AUTOMATIC AIR CONDITIONER]
BLOWER MOTOR CONTROL SYSTEM
System Operation
Rear Blower Control
When the rear blower control dial (front) REAR CTRL switch is pressed (indica](/manual-img/42/57030/w960_57030-2308.png)
HAC-56
< COMPONENT DIAGNOSIS >[AUTOMATIC AIR CONDITIONER]
BLOWER MOTOR CONTROL SYSTEM
System Operation
Rear Blower Control
When the rear blower control dial (front) REAR CTRL switch is pressed (indicator on), it allows the rear air
control (rear) to control the rear blower motor speed. If t
he REAR CTRL switch is off (indicator off), the rear air
control (front) controls the rear blower motor s peed regardless of the rear air control (rear) position.
Rear Blower Motor Component Function CheckINFOID:0000000001679800
INSPECTION FLOW
SYMPTOM:
• Rear blower motor does not operate from the rear air control (front) and the rear air control (rear).
• Rear blower motor operates from rear air control (front) only.
• Rear blower motor operates in high at all times.
INSPECTION FLOW
1.CHECK FOR SERVICE BULLETINS
Check for any service bulletins.
>> GO TO 2.
2.CONFIRM SYMPTOM BY PERFORMING REAR BLOW ER MOTOR OPERATIONAL CHECK FROM REAR
AIR CONTROL (FRONT)
1. Turn ignition switch ON.
2. Turn the rear air control (front) blower control dial to the lowest speed and check for rear blower operation
(REAR CTRL indicator off).
3. Continue checking that rear blower speed increases as the rear blower control dial is rotated clockwise.
Does the rear blower motor operate correctly?
YES >> GO TO 3.
NO >> Check the rear blower motor operation. Refer to HAC-56, "
Rear Blower Motor Component Func-
tion Check".
3.CONFIRM SYMPTOM BY PERFORMING REAR BLOWER MOTOR OPERATIONAL CHECK FROM
REAR AIR CONTROL (REAR)
1. Press the REAR CTRL switch (indicator on) on the rear air control (front) to send control of the rear blower
motor back the rear air control (rear).
2. Turn the rear air control (rear) blower control dial to the lowest speed and check for rear blower operation.
3. Continue checking that rear blower speed increases as the rear blower control dial is rotated clockwise.
Does the rear blower motor operate correctly?
YES >> GO TO 4.
AWIIA0181GB
Revision: March 2010 2008 QX56
Page 2314 of 4083
![INFINITI QX56 2008 Factory Service Manual REAR AIR CONTROL SYSTEMHAC-61
< COMPONENT DIAGNOSIS > [AUTOMATIC AIR CONDITIONER]
C
D
E
F
G H
J
K L
M A
B
HAC
N
O P
REAR AIR CONTROL SYSTEM
Rear Air Control System DescriptionINFOID:0000000001679804
S INFINITI QX56 2008 Factory Service Manual REAR AIR CONTROL SYSTEMHAC-61
< COMPONENT DIAGNOSIS > [AUTOMATIC AIR CONDITIONER]
C
D
E
F
G H
J
K L
M A
B
HAC
N
O P
REAR AIR CONTROL SYSTEM
Rear Air Control System DescriptionINFOID:0000000001679804
S](/manual-img/42/57030/w960_57030-2313.png)
REAR AIR CONTROL SYSTEMHAC-61
< COMPONENT DIAGNOSIS > [AUTOMATIC AIR CONDITIONER]
C
D
E
F
G H
J
K L
M A
B
HAC
N
O P
REAR AIR CONTROL SYSTEM
Rear Air Control System DescriptionINFOID:0000000001679804
SYSTEM DESCRIPTION
Component Parts
Rear air control system components are:
• A/C auto amp.
• Rear air control (front)
• Rear air control (rear)
• Air mix door motor (rear)
• Mode door motor (rear)
System Operation
Rear Air Control
When the REAR CTRL indicator is off the rear air cont rol (front) will control all rear blower motor speeds and
the rear temperature and mode operations. When the REAR CTRL switch is pressed (indicator on), the rear
air control (rear) will control all the rear blower motor speeds and the rear temperature and mode operations.
Rear Air Control Component Function CheckINFOID:0000000001679805
SYMPTOM:
• Temperature cannot be adjusted from the rear air controls.
• Mode cannot be adjusted from the rear air controls.
INSPECTION FLOW
1.CHECK FOR SERVICE BULLETINS
Check for any service bulletins.
>> GO TO 2.
2.CONFIRM SYMPTOM BY PERFORMING REAR AIR CONTROL (FRONT) AIR MIX DOOR MOTOR OP-
ERATIONAL CHECK
AWIIA0197GB
Revision: March 2010 2008 QX56
Page 2541 of 4083
![INFINITI QX56 2008 Factory Service Manual LAN-46
< FUNCTION DIAGNOSIS >[CAN]
CAN COMMUNICATION SYSTEM
NOTE:
CAN data of the air bag diagnosis sensor unit is not us
ed by usual service work, thus it is omitted.
Tire pressure data signal R T
T INFINITI QX56 2008 Factory Service Manual LAN-46
< FUNCTION DIAGNOSIS >[CAN]
CAN COMMUNICATION SYSTEM
NOTE:
CAN data of the air bag diagnosis sensor unit is not us
ed by usual service work, thus it is omitted.
Tire pressure data signal R T
T](/manual-img/42/57030/w960_57030-2540.png)
LAN-46
< FUNCTION DIAGNOSIS >[CAN]
CAN COMMUNICATION SYSTEM
NOTE:
CAN data of the air bag diagnosis sensor unit is not us
ed by usual service work, thus it is omitted.
Tire pressure data signal R T
Tire pressure signal R TR
Turn indicator signal TR
Buzzer output signal TR
Door lock/unlock request signal RT
Hazard request signal RT
Hazard warning lamp request signal RT
Ignition knob switch signal RT
KEY warning signal TR
LOCK warning signal TR
Panic alarm request signal RT
Power window open request signal RT
1st position switch signal R T
4th position switch signal R T
Distance to empty signal RT
Fuel level low warning signal RT
Fuel level sensor signal R T
Parking brake switch signal RT
Seat belt buckle switch signal RT
Stop lamp switch signal R T
Tow mode switch signal R T
Vehicle speed signal RRR RRR R T
RRRT
Steering angle sensor signal TR
ABS malfunction signal RT
ABS warning lamp signal RT
Brake pressure sensor signal RT
Brake warning lamp signal RT
SLIP indicator lamp signal RT
TCS malfunction signal RT
VDC malfunction signal RT
VDC OFF indicator lamp signal RRT
VDC operation signal RT
Front wiper stop position signal RT
High beam status signal R T
Hood switch signal RT
Low beam status signal R T
Rear window defogger control signal R RT
Ambient sensor signal RT
Signal name/Connecting unit
ECM
TCM
LASER ICC
ADP
AV
BCM
HVAC I-KEY M&A
STRG 4WDABS
IPDM-E
Revision: March 2010 2008 QX56
Page 3046 of 4083

REAR SUSPENSION ASSEMBLYRSU-7
< ON-VEHICLE MAINTENANCE >
C
DF
G H
I
J
K L
M A
B
RSU
N
O P
• If vehicle height is not within ± 10 mm (0.39 in) of the specification, perform the control unit initialization
procedure. Refer to SCS-7, "
CONSULT-III Function" .
GENERAL INFORMATION AND RECOMMENDATIONS
1. A Four-Wheel Thrust Alignment should be performed.
• This type of alignment is re commended for any NISSAN vehicle.
• The four-wheel “thrust” process helps ensure that the vehicle is properly aligned and the steering wheel
is centered.
• The alignment machine itself should be ca pable of accepting any NISSAN vehicle.
• The alignment machine should be checked to ensure that it is level.
2. Make sure the alignment machine is properly calibrated. • Your alignment machine should be regularly calibrated in order to give correct information.
• Check with the manufacturer of your specific a lignment machine for their recommended Service/Cali-
bration Schedule.
THE ALIGNMENT PROCESS
IMPORTANT: Use only the alignment specifications listed in this Service Manual. Refer to RSU-28, "Wheel
Alignment" .
1. When displaying the alignment settings, many alignm ent machines use “indicators”: (Green/red, plus or
minus, Go/No Go). Do NOT use these indicators.
• The alignment specifications programmed into your alignment machine that operate these indicators
may not be correct.
• This may result in an ERROR.
2. Some newer alignment machines are equipped with an optional “Rolling Compensation” method to “com-
pensate” the sensors (alignment targets or head units). Do NOT use this “Rolling Compensation”
method.
• Use the “Jacking Compensation” method. After installing the alignment targets or head units, raise the vehicle and rotate the wheels 1/2 turn both ways.
• See Instructions in the alignment machine you are using for more information.
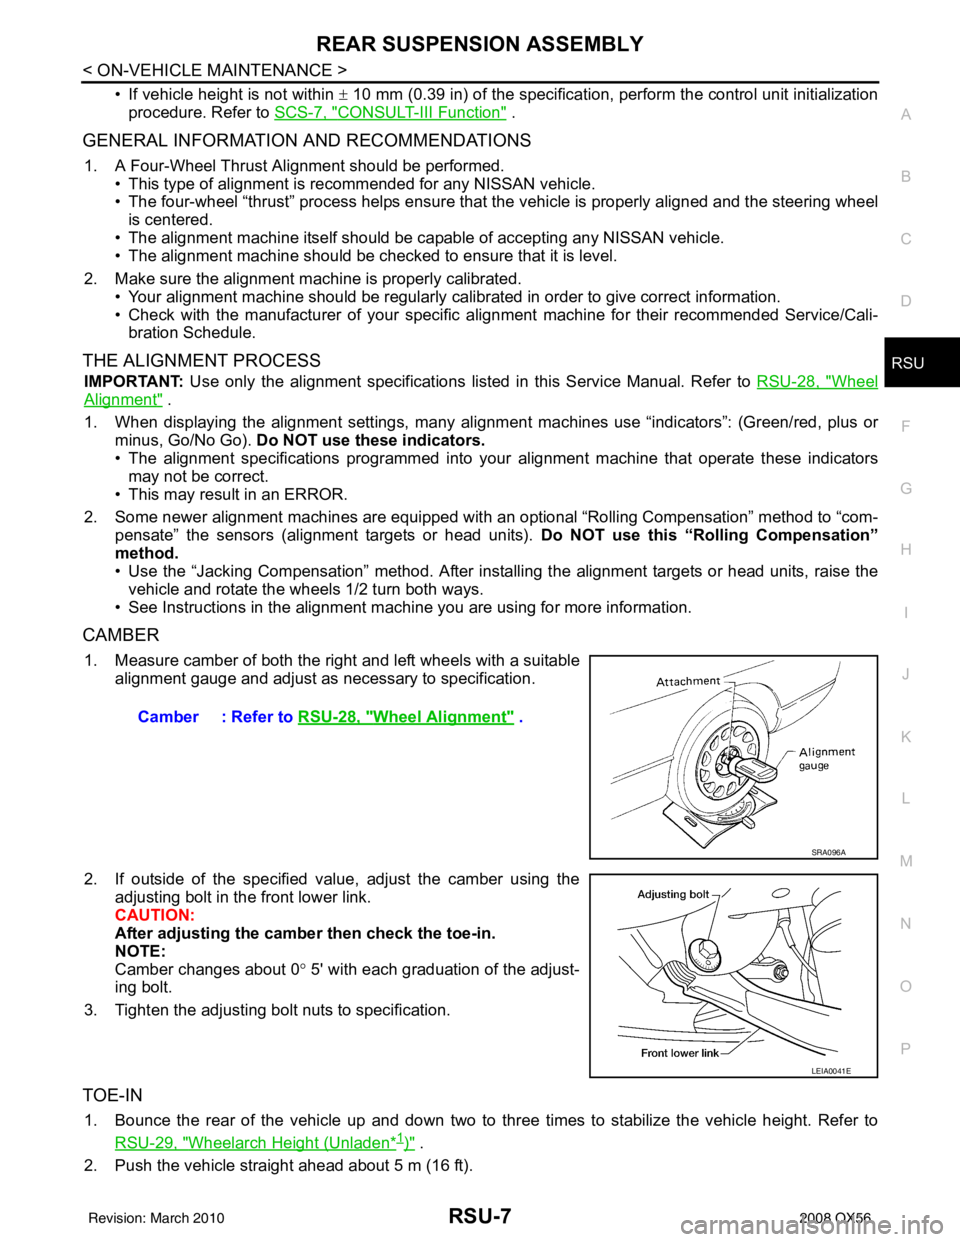
CAMBER
1. Measure camber of both the right and left wheels with a suitable alignment gauge and adjust as necessary to specification.
2. If outside of the specified value, adjust the camber using the adjusting bolt in the front lower link.
CAUTION:
After adjusting the camber then check the toe-in.
NOTE:
Camber changes about 0 ° 5' with each graduation of the adjust-
ing bolt.
3. Tighten the adjusting bolt nuts to specification.
TOE-IN
1. Bounce the rear of the vehicle up and down two to three times to stabilize the vehicle height. Refer to RSU-29, "
Wheelarch Height (Unladen*1)" .
2. Push the vehicle straight ahead about 5 m (16 ft). Camber : Refer to
RSU-28, "
Wheel Alignment" .
SRA096A
LEIA0041E
Revision: March 2010 2008 QX56
Page 3321 of 4083
![INFINITI QX56 2008 Factory Service Manual NISSAN VEHICLE IMMOBILIZER SYSTEM-NATS SYMPTOMSSEC-113
< SYMPTOM DIAGNOSIS > [WITH INTELLIGENT KEY SYSTEM]
C
D
E
F
G H
I
J
L
M A
B
SEC
N
O P
NISSAN VEHICLE IMMOBILIZER SYSTEM-NATS SYMPTOMS
Symptom Tab INFINITI QX56 2008 Factory Service Manual NISSAN VEHICLE IMMOBILIZER SYSTEM-NATS SYMPTOMSSEC-113
< SYMPTOM DIAGNOSIS > [WITH INTELLIGENT KEY SYSTEM]
C
D
E
F
G H
I
J
L
M A
B
SEC
N
O P
NISSAN VEHICLE IMMOBILIZER SYSTEM-NATS SYMPTOMS
Symptom Tab](/manual-img/42/57030/w960_57030-3320.png)
NISSAN VEHICLE IMMOBILIZER SYSTEM-NATS SYMPTOMSSEC-113
< SYMPTOM DIAGNOSIS > [WITH INTELLIGENT KEY SYSTEM]
C
D
E
F
G H
I
J
L
M A
B
SEC
N
O P
NISSAN VEHICLE IMMOBILIZER SYSTEM-NATS SYMPTOMS
Symptom TableINFOID:0000000001539177
NOTE:
• Before performing the diagnosis in the following table, check “ SEC-3, "
Work Flow"”.
• Check that vehicle is under the condition shown in “Conditions of vehicle” before starting diagnosis, and
check each symptom.
• If the following symptoms are detec ted, check systems shown in the “Diagnosis/service procedure” column
in this order.
CONDITIONS OF VEHICLE (OPERATING CONDITIONS)
• Mechanical key is not inserted into key cylinder.
• Ignition knob switch is not depressed.
Symptom Diagnosis/service procedure Reference page
Security indicator does not turn ON or flash. 1. Check vehicle security indicator
SEC-49
2. Check Intermittent Incident GI-38
Revision: March 2010 2008 QX56
Page 3355 of 4083

SN-30
< ECU DIAGNOSIS >
SONAR CONTROL UNIT FOR REAR SONAR SYSTEM
DTC Index
INFOID:0000000001754072
Fault Code Malfunction Service Procedure
11 Rear sonar sensor LH outer 1. Check harness for open or short.
2. Replace sonar sensor. Refer to SN-49, "
Removal and In-
stallation".
12
Rear sonar sensor LH inner
13 Rear sonar sensor RH inner
14 Rear sonar sensor RH outer
21 Rear sonar buzzer 1. Refer to SN-17, "
Diagnosis Procedure (With Rear Sonar
System)".
2. Check harness for open or short.
3. Refer to SN-45, "
Symptom Table".
22 Sonar system OFF indicator 1. Refer to SN-19, "
Diagnosis Procedure (With Rear Sonar
System)".
2. Check harness for open or short.
3. Refer to symptom table.
23
Sonar system OFF switch
24 Sonar control unit Replace sonar control unit. Refer to
SN-50, "
Removal and In-
stallation".
Revision: March 2010 2008 QX56
Page 3722 of 4083

PRECAUTIONSTM-175
< PRECAUTION >
CEF
G H
I
J
K L
M A
B
TM
N
O P
• All parts should be carefully cleaned with a general purpose, non-flammable solvent before inspection or reassembly.
• Gaskets, seals and O-rings should be replaced any time the transmission is disassembled.
• It is very important to perform func tional tests whenever they are indicated.
• The valve body contains precision parts and requires extreme care when parts are removed and serviced. Place disassembled valve body parts in order for easier and proper assembly. Care will also prevent springs
and small parts from becoming scattered or lost.
• Properly installed valves, sleeves, plugs, etc. will slide along bores in valve body under their own weight.
• Before assembly, apply a coat of recommended ATF to all parts. Apply petroleum jelly to protect O-rings and
seals, or hold bearings and washers in pl ace during assembly. Do not use grease.
• Extreme care should be taken to avoid damage to O-rings, seals and gaskets when assembling.
• Clean or replace ATF cooler if excessive foreign material is found in oil pan or clogging strainer. Refer to TM-
182, "A/T Fluid Cooler Cleaning".
• After overhaul, refill the transmission with new ATF.
• When the A/T drain plug is removed, only some of the fluid is drained. Old A/T fluid will remain in torque con- verter and ATF cooling system.
Always follow the procedures under “Changing A/T Fluid” in the AT section when changing A/T fluid. Refer to
TM-180, "
Changing the A/T Fluid (ATF)".
Service Notice or PrecautionINFOID:0000000001531487
ATF COOLER SERVICE
• If A/T fluid contains fictional material (clutches, bands, etc.), or if an A/T is repaired, overhauled, or replaced,
inspect and clean the A/T fluid cooler mounted in the radiat or or replace the radiator. Flush cooler lines with
cleaning solvent and compressed air after repair. For A/T fluid cooler cleaning procedure, refer to TM-182,
"A/T Fluid Cooler Cleaning". For radiator replacement, refer to CO-15, "Removal and Installation".
CHECKING AND CHANGING A/T FLUID
• Increase ATF oil temperature to 80 °C (176° F) first, then check and adjust oil level at 65 °C (149° F).
NOTE:
The A/T has both water cooling and air cooling systems. The air cooling system has a bypass valve. When
ATF oil temperature is at or below 50 °C (122° F), it does not flow through the air cooled system. If A/T oil
level is adjusted without flow throughout the entir e system, the level will be 10mm lower than required.
Therefore, all piping should be filled with oil when adjusting level.
OBD-II SELF-DIAGNOSIS
• A/T self-diagnosis is performed by the TCM in combination with the ECM. Refer to the table on TM-32,
"CONSULT-III Function (TRANSMISSION)" for the indicator used to display each self-diagnostic result.
• The self-diagnostic results indicated by the MIL are automatically stored in both the ECM and TCM memo- ries.
Always perform the procedure on TM-30, "
OBD-II Diagnostic Trouble Code (DTC)" to complete the
repair and avoid unnecessary blinking of the MIL.
For details of OBD-II, refer to TM-30
.
• Certain systems and components, especially those related to OBD, may use the new style slide-
locking type harness connector. For descrip tion and how to disconnect, refer to PG-65
.
Revision: March 2010 2008 QX56