2008 Hyundai Santa Fe battery
[x] Cancel search: batteryPage 104 of 355
1FEATURES OF YOUR HYUNDAI92
!
CAUTION:
If the sunroof is not reset, it may not
operate properly.
B460E01TG-GATResetting the sunroofWhenever the vehicle battery is discon-
nected or discharged, or you use the emer-
gency handle to operate the sunroof, you
have to reset your sunroof system as fol-
lows:3. Insert the hexagonal head wrench pro-
vided with the vehicle into the socket.
This wrench can be found in the vehicle's
glove box.
4. Turn the wrench clockwise to open or
counterclockwise to close the sunroof.
OCM052022N
1. Turn the ignition key to the "ON" posi-
tion.
2. Press the TILT UP button for more than
1 second to tilt up the sunroof com-
pletely when the sunroof is fully closed.
Then, release the button.
3. Press and hold the TILT UP button once
again until the sunroof has returned to
the original position of TILT UP after it is
raised a little higher than the maximum
TILT UP position. Then, release the
button.
4. Press and hold the TILT UP button within
5 seconds until the sunroof is operated
as follows;
TILT DOWN → SLIDE OPEN → SLIDE
CLOSE
Then, release the button.
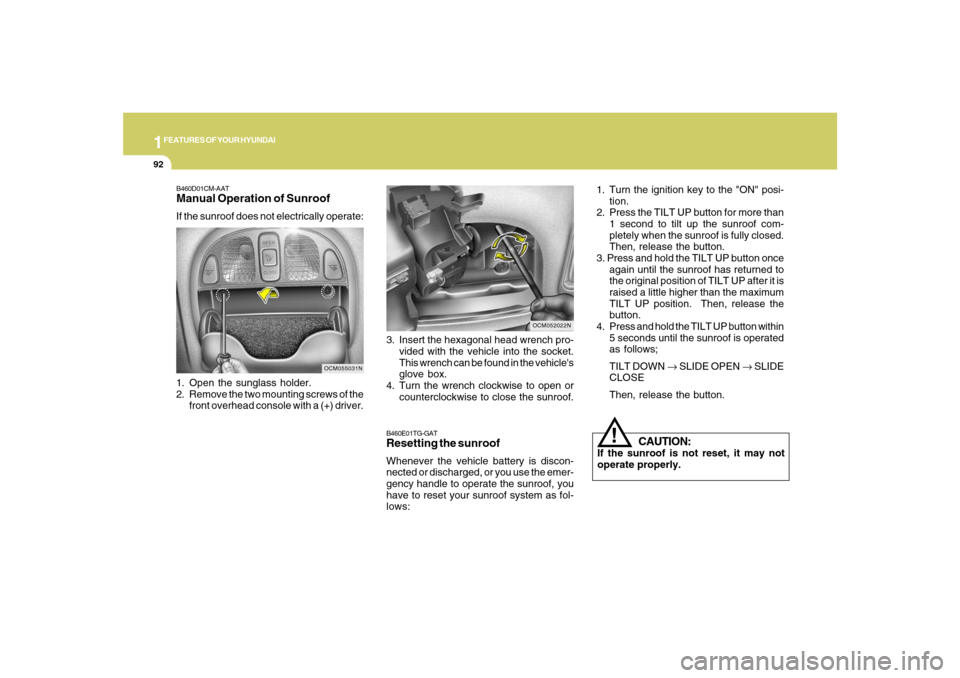
B460D01CM-AATManual Operation of SunroofIf the sunroof does not electrically operate:
1. Open the sunglass holder.
2. Remove the two mounting screws of the
front overhead console with a (+) driver.
OCM055031N
Page 117 of 355
1
FEATURES OF YOUR HYUNDAI
105
1. Press and hold the
button for more
than 6 seconds. When the compass
memory is cleared a "C" will appear in
the display.
2. To calibrate the compass, drive the
vehicle in 2 complete circles at less than
5 MPH (8 Km/h) or until the compass
heading appears.
!
Integrated HomeLink
® Wireless
Control System
The HomeLink
® Wireless Control System
provides a convenient way to replace up to
three hand-held radio-frequency (RF)
transmitters with a single built-in device.
This innovative feature will learn the radio
frequency codes of most current transmit-
ters to operate devices such as gate op-
erators, garage door openers, entry door
locks, security systems, even home light-
ing. Both standard and rolling code-
equipped transmitters can be programmed
by following the outlined procedures.
CAUTION:
Before programming HomeLink
® to a
garage door opener or gate operator,
make sure that people and objects are
out of the way of the device to prevent
potential harm or damage. Do not use
HomeLink
® with any garage door opener
that lacks the safety stop and reverse
features as required by U.S. federal
safety standards (this includes any ga-
rage door opener model manufactured
before April 1, 1982). A garage door that
cannot detect an object - signaling the
door to stop and reverse - does not meet
current U.S. federal safety standards.
Using a garage door opener without these
features increases the risk of serious
injury or death.Programming HomeLink
®
NOTE:o When programming a garage door
opener, it is advised to park the ve-
hicle outside of the garage.
o It is recommended that a new battery
be placed in the hand-held transmit-
ter of the device being programmed
to HomeLink
® for quicker training and
accurate transmission of the radio-
frequency signal.
o Some vehicles may require the igni-
tion switch to be turned to the second
(or "accessories") position for pro-
gramming and/or operation of
HomeLink.
o In the event that there are still pro-
gramming difficulties or questions
after following the programming steps
listed below, contact HomeLink
® at:
www.homelink.com or 1-800-355-
3515.
Retain the original transmitter of the RF
device you are programming for use in
other vehicles as well as for future
HomeLink
® programming. It is also sug-
gested that upon the sale of the vehicle, the
programmed HomeLink
® buttons be
erased for security purposes.
CAUTION:
Be sure the area is free of traffic, pedes-
trians, and obstructions.
!
Additional HomeLink
® information can be
found at: www.homelink.com or by calling
1-800-355-3515.
Page 147 of 355
1
FEATURES OF YOUR HYUNDAI
135
FEATURES OF YOUR HYUNDAI
135135135135
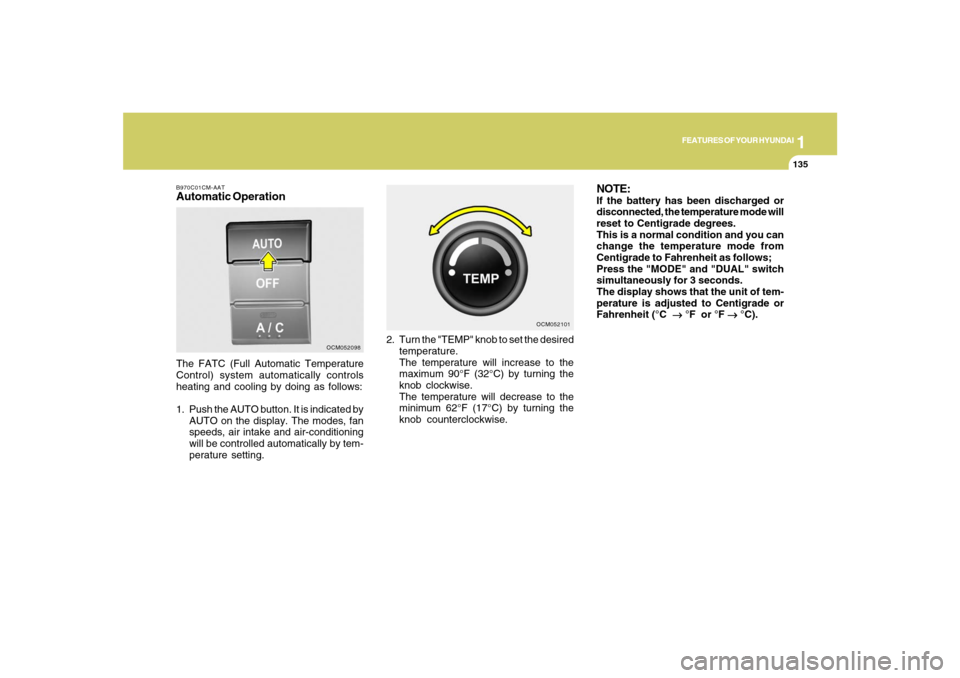
B970C01CM-AATAutomatic OperationThe FATC (Full Automatic Temperature
Control) system automatically controls
heating and cooling by doing as follows:
1. Push the AUTO button. It is indicated by
AUTO on the display. The modes, fan
speeds, air intake and air-conditioning
will be controlled automatically by tem-
perature setting.2. Turn the "TEMP" knob to set the desired
temperature.
The temperature will increase to the
maximum 90°F (32°C) by turning the
knob clockwise.
The temperature will decrease to the
minimum 62°F (17°C) by turning the
knob counterclockwise.
OCM052098OCM052101
NOTE:If the battery has been discharged or
disconnected, the temperature mode will
reset to Centigrade degrees.
This is a normal condition and you can
change the temperature mode from
Centigrade to Fahrenheit as follows;
Press the "MODE" and "DUAL" switch
simultaneously for 3 seconds.
The display shows that the unit of tem-
perature is adjusted to Centigrade or
Fahrenheit (°C
→ →→ →
→ °F or °F
→ →→ →
→ °C).
Page 191 of 355
1
FEATURES OF YOUR HYUNDAI
179
FEATURES OF YOUR HYUNDAI
179179179179
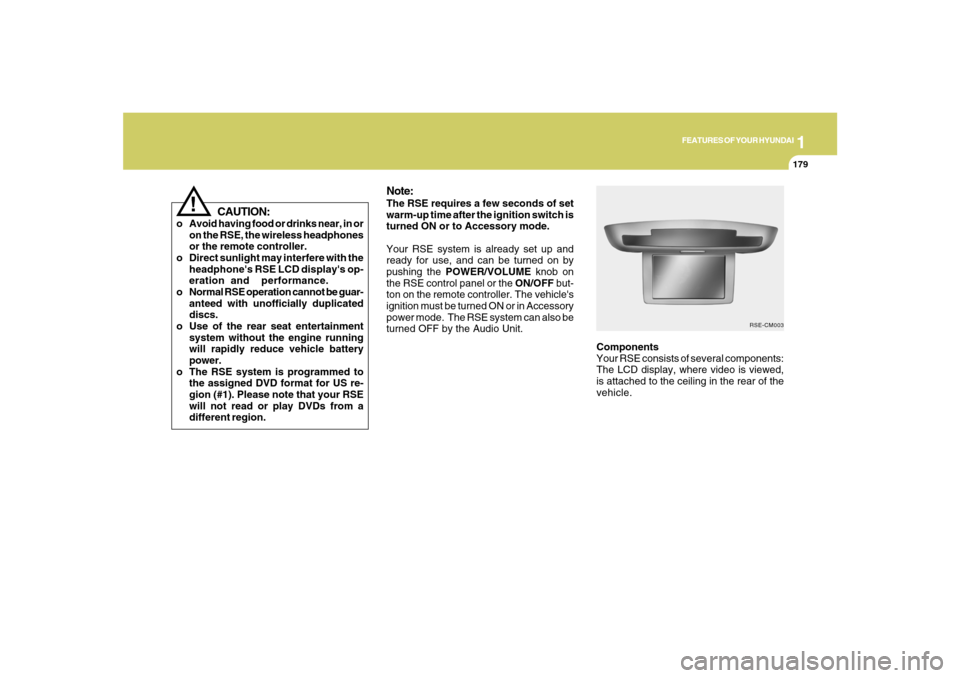
Components
Your RSE consists of several components:
The LCD display, where video is viewed,
is attached to the ceiling in the rear of the
vehicle.
Note:The RSE requires a few seconds of set
warm-up time after the ignition switch is
turned ON or to Accessory mode.
Your RSE system is already set up and
ready for use, and can be turned on by
pushing the POWER/VOLUME knob on
the RSE control panel or the ON/OFF but-
ton on the remote controller. The vehicle's
ignition must be turned ON or in Accessory
power mode. The RSE system can also be
turned OFF by the Audio Unit.
RSE-CM003
!
CAUTION:
o Avoid having food or drinks near, in or
on the RSE, the wireless headphones
or the remote controller.
o Direct sunlight may interfere with the
headphone's RSE LCD display's op-
eration and performance.
o Normal RSE operation cannot be guar-
anteed with unofficially duplicated
discs.
o Use of the rear seat entertainment
system without the engine running
will rapidly reduce vehicle battery
power.
o The RSE system is programmed to
the assigned DVD format for US re-
gion (#1). Please note that your RSE
will not read or play DVDs from a
different region.
Page 194 of 355
1FEATURES OF YOUR HYUNDAI
182
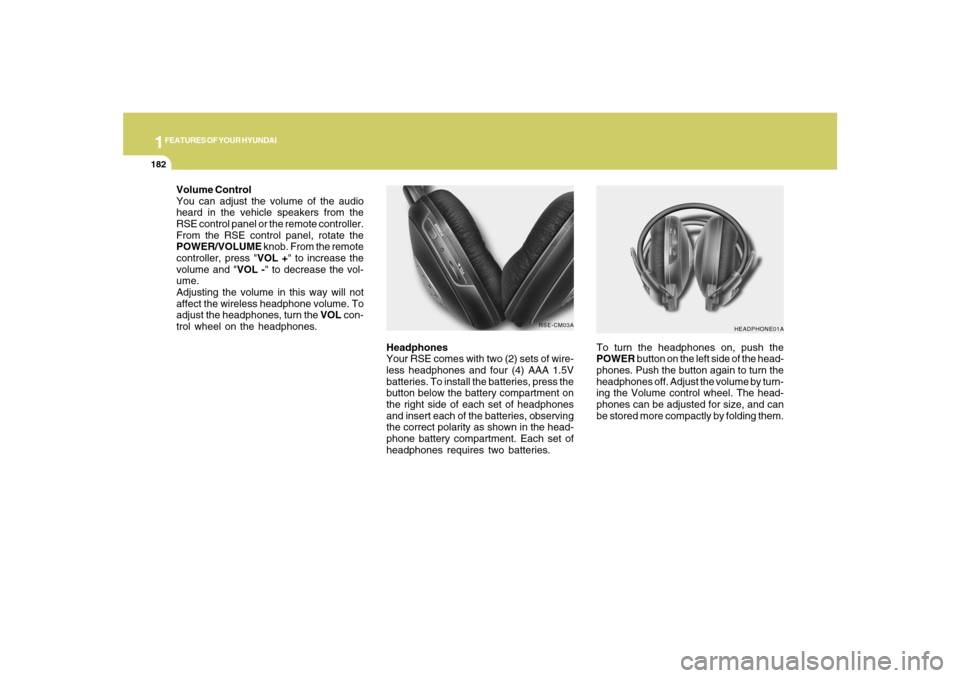
Headphones
Your RSE comes with two (2) sets of wire-
less headphones and four (4) AAA 1.5V
batteries. To install the batteries, press the
button below the battery compartment on
the right side of each set of headphones
and insert each of the batteries, observing
the correct polarity as shown in the head-
phone battery compartment. Each set of
headphones requires two batteries.
HEADPHONE01A
To turn the headphones on, push the
POWER button on the left side of the head-
phones. Push the button again to turn the
headphones off. Adjust the volume by turn-
ing the Volume control wheel. The head-
phones can be adjusted for size, and can
be stored more compactly by folding them.
RSE-CM03A
Volume Control
You can adjust the volume of the audio
heard in the vehicle speakers from the
RSE control panel or the remote controller.
From the RSE control panel, rotate the
POWER/VOLUME knob. From the remote
controller, press "VOL +" to increase the
volume and "VOL -" to decrease the vol-
ume.
Adjusting the volume in this way will not
affect the wireless headphone volume. To
adjust the headphones, turn the VOL con-
trol wheel on the headphones.
Page 195 of 355

1
FEATURES OF YOUR HYUNDAI
183
FEATURES OF YOUR HYUNDAI
183183183183
Connecting Other Devices to the RSE
Electronic devices such as video game
systems or VHS players can be played
through the RSE. These external devices
can be connected to the unit via RCA plugs
available in the vehicle.
Press the SOURCE button on the remote
controller, or the SRC button on the RSE
control panel, to select and switch to the
external device inputs.
OCM052304N
Once the RSE has switched to the external
device audio and/or video sources, you
can operate the device using its controls.
The RSE controls will not control external
devices. For example, to control or play a
video game after the RSE has recognized
it as the source, you must use the game
controls, not the RSE controls.NOTE:The RSE automatically detects when an
external audio or video device has been
connected to the RSE jacks, and will
allow you to select this external source.
CAUTION:
Connect only appropriate input sources
to the RSE jacks. Be sure to connect
audio outputs from the external device
to audio inputs in your vehicle, and video
outputs to video inputs. Connecting an
incorrect input may cause damage to
the RSE and/or the external electronic
device.
!
NOTE:o Conserve the energy of your batter-
ies by turning the headphones off
when they are not in use. Headphone
batteries will typically work for 48
hours, depending on the volume set-
ting.
o The headphone has an automatic
shutoff feature to extend battery life.
The headphones will automatically
turn off after 20 seconds if they don't
detect a signal from the RSE.
o In case of poor headphone reception
performance, please check the bat-
tery condition.
The headphones perform best when
used within 2 - 8 feet (0.6-2 m) of the
RSE LCD display. Getting too close or
too far away will cause poor recep-
tion.
o Audio from the vehicle's CD/radio
cannot be heard through the head-
phones. (Applies to Santa Fe model)
Page 196 of 355
1FEATURES OF YOUR HYUNDAI
184
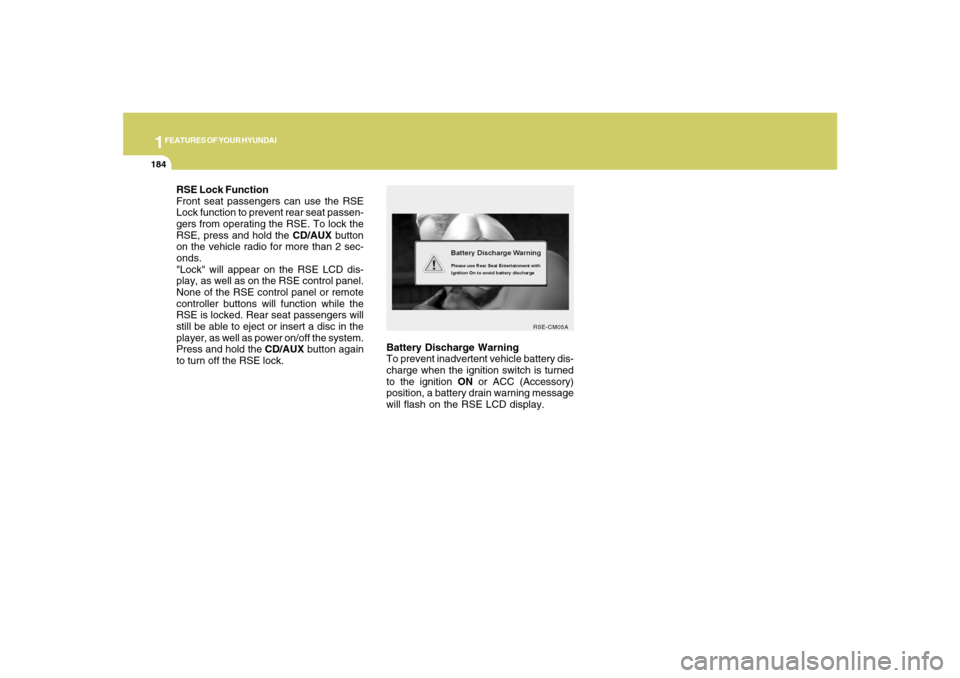
Battery Discharge Warning
To prevent inadvertent vehicle battery dis-
charge when the ignition switch is turned
to the ignition ON or ACC (Accessory)
position, a battery drain warning message
will flash on the RSE LCD display.
RSE-CM05A
RSE Lock Function
Front seat passengers can use the RSE
Lock function to prevent rear seat passen-
gers from operating the RSE. To lock the
RSE, press and hold the CD/AUX button
on the vehicle radio for more than 2 sec-
onds.
"Lock" will appear on the RSE LCD dis-
play, as well as on the RSE control panel.
None of the RSE control panel or remote
controller buttons will function while the
RSE is locked. Rear seat passengers will
still be able to eject or insert a disc in the
player, as well as power on/off the system.
Press and hold the CD/AUX button again
to turn off the RSE lock.
Page 210 of 355
1FEATURES OF YOUR HYUNDAI
198
6. A.LANG-Alternate
Language Folder
Where alternate languages are available
on a DVD, pressing the A.LANG button will
allow you to select your preferred lan-
guage. Press the button repeatedly to cycle
through the available languages. When
the desired language is displayed, press
ENTER.
Pressing the A.LANG (or FOLD-) button
during MP3 mode will immediately bring
the player to the first file of the previous
folder.
Pressing the A.LANG (or FOLD-) button
during CD or VCD play will do nothing.
7. S.Title – Subtitles,
Folders +
The S.TITLE button allows you to display
or remove language subtitles while play-
ing DVDs. If no language subtitles are
available, the display will show an invalid
icon. Press the S. TITLE button repeatedly
to cycle through all of the available lan-
guages.
Pressing the S. TITLE (or FOLD+) button
during MP3 mode will immediately bring
the player to the first file of the NEXT folder.
Pressing the S. TITLE (or FOLD+) button
during CD or VCD play will do nothing.8. Menu
Pressing the MENU button during DVD
play will present the DVD menu.
Pressing the MENU button during MP3
disc play will display the Song List on the
LCD display.
Pressing the MENU button during CD or
VCD play has no effect.
Press the button again to return to the
program. After five seconds with no button
press, the menu will automatically close
and the program will begin playing.
9. Title/PBC
While viewing a DVD, press the TITLE
button on the remote controller to jump to
the top menu. Press the < REW / FF > or
∨ ∨∨ ∨
∨PREV/
∧ ∧∧ ∧
∧NEXT buttons to highlight the
desired selection, then press ENTER to
make your selection.
Press TITLE again to return to the DVD.
While viewing a PBC function included
VCD, pressing the TITLE/PBC button will
switch the PBC function on and off.10. Return
While view any operation, pressing the
RETURN button will return to previous
operation status.
11. Speaker Volume "VOL +" and "VOL –"
If the audio from the RSE is being played
through the vehicle speakers, you can
adjust the volume of the speakers with the
"VOL +" and "VOL –" buttons. Adjusting the
volume in this way will not adjust the wire-
less headphone volume. To adjust the
headphones, roll the VOL control wheel.
Batteries
The remote controller requires a CR2025
battery (included).