Page 214 of 329

The vehicle must be stopped with
the engine running.do
any of the f ollowing: Press the VTM-4 LOCK button.
Move the shift lever to D or D .
Move the shift lever to first (1),
second (2), or reverse (R) gear.
Turn the ignition switch to the
LOCK (0) position.
Press the VTM-4 LOCK button.
The indicator in the button comes
on.
The VTM-4 Lock will temporarily
disengage when the vehicle speed
exceeds 18 mph (30 km/h). The
indicator in the button will remain on.
The variable torque management
4WD (VTM-4) system automatically
transf ers varying amounts of engine
torque to the rear wheels under
lower traction conditions.
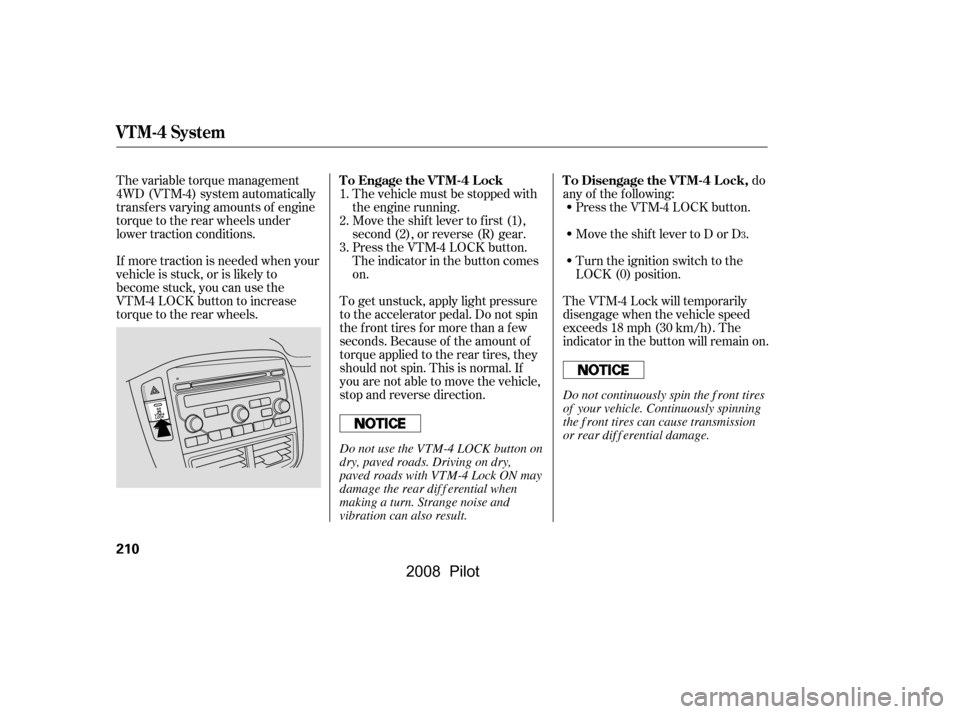
If more traction is needed when your
vehicle is stuck, or is likely to
become stuck, you can use the
VTM-4 LOCK button to increase
torque to the rear wheels.
To get unstuck, apply light pressure
to the accelerator pedal. Do not spin
the f ront tires f or more than a f ew
seconds. Because of the amount of
torque applied to the rear tires, they
should not spin. This is normal. If
you are not able to move the vehicle,
stop and reverse direction.
1.
2.
3.
3
To Engage the VTM-4 Lock To Disengage the VTM-4 Lock,
VTM-4 System
210
Do not continuously spin the f ront tires
of your vehicle. Continuously spinning
the f ront tires can cause transmission
or rear dif f erential damage.
Do not use the VTM-4 LOCK button on
dry, paved roads. Driving on dry,
paved roads with VTM-4 Lock ON may
damage the rear dif f erential when
making a turn. Strange noise and
vibration can also result.
�\f���—�\f���—�\f���y�
�
����
������y���
�(���+�����\f�y�\f���
���y
2008 Pilot
Page 255 of 329

Put a new washer on the f iller bolt,
then reinstall the f iller bolt and
tighten it securely. Tightening
torque:
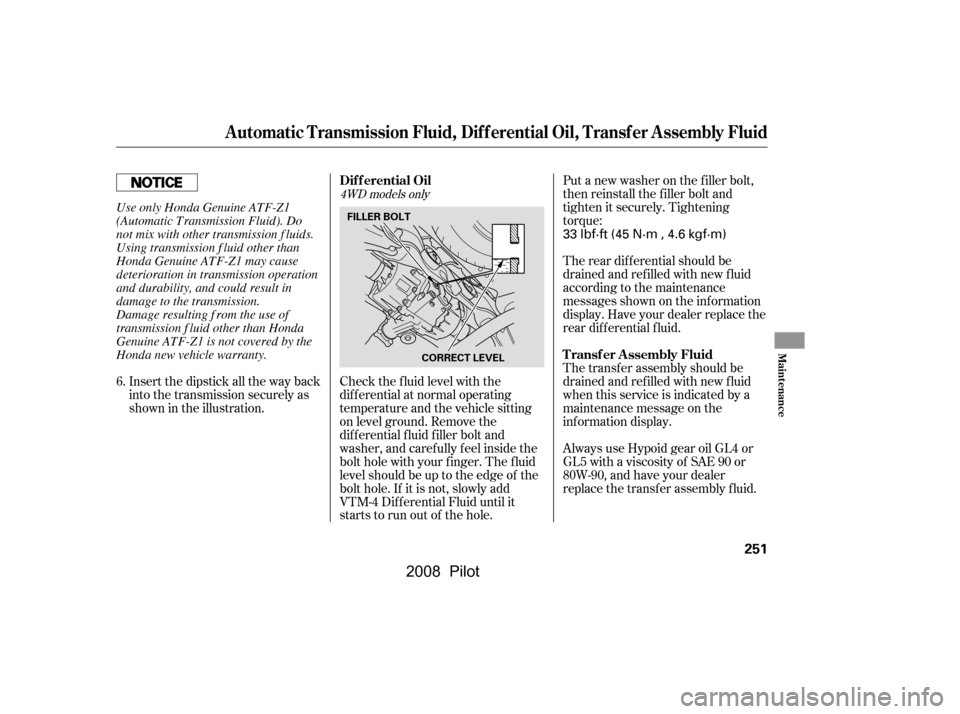
Check the f luid level with the
dif f erential at normal operating
temperature and the vehicle sitting
on level ground. Remove the
dif f erential f luid f iller bolt and
washer, and caref ully f eel inside the
bolt hole with your f inger. The f luid
level should be up to the edge of the
bolt hole. If it is not, slowly add
VTM-4 Dif f erential Fluid until it
starts to run out of the hole. The rear dif f erential should be
drained and ref illed with new f luid
according to the maintenance
messages shown on the inf ormation
display. Have your dealer replace the
rear dif f erential f luid.
The transf er assembly should be
drained and ref illed with new f luid
when this service is indicated by a
maintenance message on the
inf ormation display.
Always use Hypoid gear oil GL4 or
GL5 with a viscosity of SAE 90 or
80W-90, and have your dealer
replace the transfer assembly fluid.
Insert the dipstick all the way back
into the transmission securely as
shown in the illustration.
6.
4WD models only
Dif f erential Oil
Transf er Assembly Fluid
Automatic Transmission Fluid, Dif f erential Oil, Transf er Assembly Fluid
Maint enance
251
FILLER BOLTCORRECT LEVEL
33 lbf·ft (45 N·m , 4.6 kgf·m)
Use only Honda Genuine ATF-Z1
(Automatic Transmission Fluid). Do
not mix with other transmission f luids.
Using transmission f luid other than
Honda Genuine ATF-Z1 may cause
deterioration in transmission operation
and durability, and could result in
damage to the transmission.
Damage resulting f rom the use of
transmission f luid other than Honda
Genuine ATF-Z1 is not covered by the
Honda new vehicle warranty.
�\f���—�\f���—�\f���y�
�
�������
���y���
�(���+�����\f�y�\f�������y
2008 Pilot
Page 279 of 329

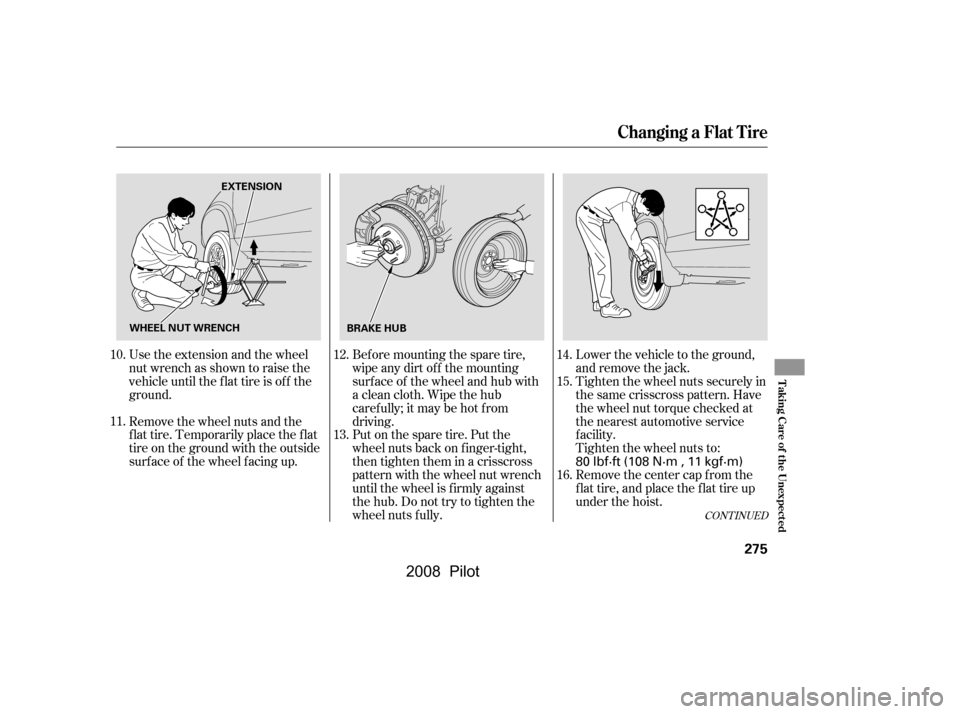
Use the extension and the wheel
nut wrench as shown to raise the
vehicle until the f lat tire is of f the
ground.Bef ore mounting the spare tire,
wipeanydirtoff themounting
surface of the wheel and hub with
a clean cloth. Wipe the hub
carefully;itmaybehotfrom
driving.
Put on the spare tire. Put the
wheel nuts back on f inger-tight,
then tighten them in a crisscross
pattern with the wheel nut wrench
until the wheel is f irmly against
the hub. Do not try to tighten the
wheel nuts f ully.Tighten the wheel nuts securely in
the same crisscross pattern. Have
the wheel nut torque checked at
the nearest automotive service
f acility.
Tighten the wheel nuts to:
Remove the center cap from the
flat tire, and place the flat tire up
under the hoist.
Remove the wheel nuts and the
flat tire. Temporarily place the flat
tire on the ground with the outside
surf ace of the wheel f acing up. Lower the vehicle to the ground,
and remove the jack.
10.
11. 12.
13.14.
15.
16.
CONT INUED
Changing a Flat Tire
T aking Care of t he Unexpect ed
275
EXTENSION
BRAKE HUB
WHEEL NUT WRENCH
80 lbf·ft (108 N·m , 11 kgf·m)
�\f���—�\f���—�\f���y�
�
����\f������y���
�(���+�����\f�y�\f�����\f�y
2008 Pilot