2008 GMC SAVANA warning
[x] Cancel search: warningPage 1 of 402

Seats and Restraint Systems........................... 1-1
Front Seats
............................................... 1-2
Rear Seats
............................................... 1-6
Safety Belts
.............................................1-10
Child Restraints
.......................................1-29
Airbag System
.........................................1-57
Restraint System Check
............................1-75
Features and Controls..................................... 2-1
Keys
........................................................ 2-2
Doors and Locks
....................................... 2-6
Windows
.................................................2-13
Theft-Deterrent Systems
............................2-16
Starting and Operating Your Vehicle
...........2-18
Mirrors
....................................................2-32
Storage Areas
.........................................2-34
Instrument Panel............................................. 3-1
Instrument Panel Overview
.......................... 3-4
Climate Controls
......................................3-19
Warning Lights, Gages, and Indicators
........3-24
Driver Information Center (DIC)
..................3-42
Audio System(s)
.......................................3-63
Driving Your Vehicle....................................... 4-1
Your Driving, the Road, and Your Vehicle
..... 4-2
Towing
...................................................4-25Service and Appearance Care.......................... 5-1
Service
..................................................... 5-3
Fuel
......................................................... 5-5
Checking Things Under the Hood
...............5-12
All-Wheel Drive
........................................5-44
Rear Axle
...............................................5-45
Front Axle
...............................................5-45
Noise Control System
...............................5-46
Bulb Replacement
....................................5-48
Windshield Wiper Blade Replacement
.........5-52
Tires
......................................................5-53
Appearance Care
.....................................5-95
Vehicle Identification
...............................5-103
Electrical System
....................................5-103
Capacities and Specifications
...................5-110
Maintenance Schedule..................................... 6-1
Maintenance Schedule
................................ 6-2
Customer Assistance Information.................... 7-1
Customer Assistance and Information
........... 7-2
Reporting Safety Defects
...........................7-14
Vehicle Data Recording and Privacy
...........7-16
Index.................................................................1
2008 GMC Savana Owner ManualM
Page 3 of 402
Using this Manual
Many people read the owner manual from beginning to
end when they first receive their new vehicle. If this
is done, it can help you learn about the features
and controls for the vehicle. Pictures and words work
together in the owner manual to explain things.
If your vehicle has the DURAMAX
®Diesel engine,
refer to the DURAMAX®Diesel supplement for
additional and specific information on this engine.
Index
A good place to quickly locate information about
the vehicle is the Index in the back of the manual.
It is an alphabetical list of what is in the manual
and the page number where it can be found.
Safety Warnings and Symbols
There are a number of safety cautions in this book.
A box with the word CAUTION is used to tell about
things that could hurt you or others if you were to
ignore the warning.
{CAUTION:
These mean there is something that could hurt
you or other people.
We tell you what the hazard is and what to do to help
avoid or reduce the hazard. Please read these cautions.
If you do not, you or others could be hurt.
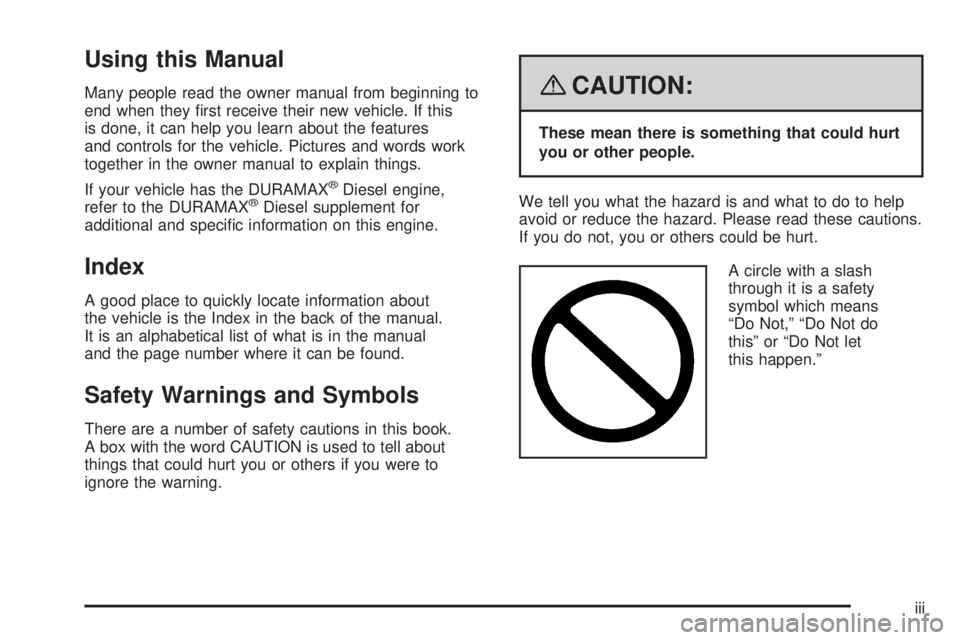
A circle with a slash
through it is a safety
symbol which means
“Do Not,” “Do Not do
this” or “Do Not let
this happen.”
iii
Page 4 of 402
Vehicle Damage Warnings
You will also find notices in this manual.
Notice:These mean there is something that could
damage your vehicle.
A notice tells about something that can damage the
vehicle. Many times, this damage would not be covered
by your vehicle’s warranty, and it could be costly.
The notice tells what to do to help avoid the damage.
When you read other manuals, you might see
CAUTION and NOTICE warnings in different colors
or in different words.
There are also warning labels on the vehicle which
use the same words, CAUTION or NOTICE.
Vehicle Symbols
The vehicle has components and labels that use
symbols instead of text. Symbols are shown along
with the text describing the operation or information
relating to a specific component, control, message,
gage, or indicator.
iv
Page 69 of 402
The parts of the airbag that come into contact with
you may be warm, but not too hot to touch. There may
be some smoke and dust coming from the vents in
the deflated airbags. Airbag inflation does not prevent
the driver from seeing out of the windshield or being
able to steer the vehicle, nor does it prevent people
from leaving the vehicle.
{CAUTION:
When an airbag in�ates, there may be dust
in the air. This dust could cause breathing
problems for people with a history of asthma
or other breathing trouble. To avoid this,
everyone in the vehicle should get out as
soon as it is safe to do so. If you have
breathing problems but cannot get out of
the vehicle after an airbag in�ates, then get
fresh air by opening a window or a door.
If you experience breathing problems
following an airbag deployment, you should
seek medical attention.Your vehicle has a feature that may automatically
unlock the doors, turn the interior lamps on, and turn
the hazard warning flashers on when the airbags inflate.
You can lock the doors, turn the interior lamps off,
and turn the hazard warning flashers off by using the
controls for those features.
In many crashes severe enough to inflate the airbag,
windshields are broken by vehicle deformation.
Additional windshield breakage may also occur from
the right front passenger airbag.•Airbags are designed to inflate only once. After
an airbag inflates, you will need some new parts
for the airbag system. If you do not get them,
the airbag system will not be there to help protect
you in another crash. A new system will include
airbag modules and possibly other parts. The
service manual for your vehicle covers the need
to replace other parts.
•Your vehicle has a crash sensing and diagnostic
module which records information after a crash.
SeeVehicle Data Recording and Privacy on
page 7-16andEvent Data Recorders on page 7-17.
•Let only qualified technicians work on the airbag
systems. Improper service can mean that an
airbag system will not work properly. See your
dealer/retailer for service.
1-65
Page 85 of 402

Matching Transmitter(s) to Your
Vehicle
Each RKE transmitter is coded to prevent another
transmitter from unlocking your vehicle. If a transmitter
is lost or stolen, a replacement can be purchased
through your dealer/retailer. All transmitters need to be
re-coded to match the new transmitter. The lost
transmitter will no longer work after the new transmitters
are re-coded. Each vehicle can have a maximum of four
transmitters matched to it. See “Relearn Remote Key”
underDIC Operation and Displays on page 3-42for
instructions on how to match RKE transmitters to
your vehicle.
Battery Replacement
Replace the battery if the REPLACE BATTERY IN
REMOTE KEY message displays in the DIC. See
“REPLACE BATTERY IN REMOTE KEY” underDIC
Warnings and Messages on page 3-49for additional
information.
Notice:When replacing the battery, use care not to
touch any of the circuitry. Static from your body
transferred to these surfaces may damage the
transmitter.To replace the battery in the RKE transmitter:
1. Separate the halves of the transmitter with a flat,
thin object inserted into the notch on the side of
the transmitter.
2. Remove the old battery. Do not use a metal object.
3. Insert the new battery, positive side facing down.
Replace with a CR2032 or equivalent battery.
4. Put the transmitter back together tightly.
2-5
Page 106 of 402
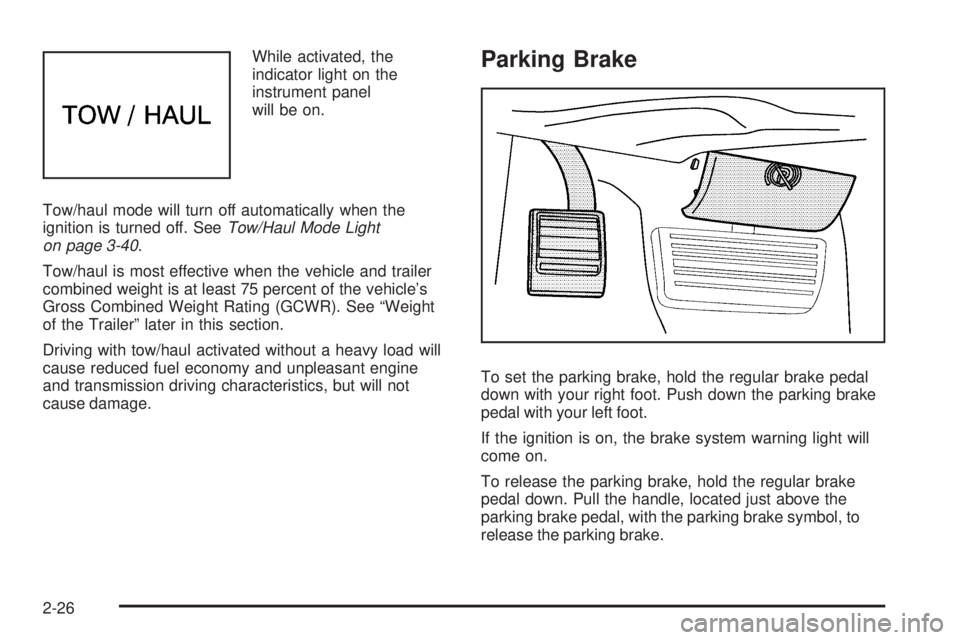
While activated, the
indicator light on the
instrument panel
will be on.
Tow/haul mode will turn off automatically when the
ignition is turned off. SeeTow/Haul Mode Light
on page 3-40.
Tow/haul is most effective when the vehicle and trailer
combined weight is at least 75 percent of the vehicle’s
Gross Combined Weight Rating (GCWR). See “Weight
of the Trailer” later in this section.
Driving with tow/haul activated without a heavy load will
cause reduced fuel economy and unpleasant engine
and transmission driving characteristics, but will not
cause damage.Parking Brake
To set the parking brake, hold the regular brake pedal
down with your right foot. Push down the parking brake
pedal with your left foot.
If the ignition is on, the brake system warning light will
come on.
To release the parking brake, hold the regular brake
pedal down. Pull the handle, located just above the
parking brake pedal, with the parking brake symbol, to
release the parking brake.
2-26
Page 107 of 402
If the ignition is on when the parking brake is released,
the brake system warning light will go off.
Notice:Driving with the parking brake on can
overheat the brake system and cause premature
wear or damage to brake system parts. Verify that
the parking brake is fully released and the brake
warning light is off before driving.
If you are towing a trailer and are parking on any hill,
seeTowing a Trailer on page 4-28. That section shows
what to do first to keep the trailer from moving.
Shifting Into PARK (P)
{CAUTION:
It can be dangerous to get out of your vehicle
if the shift lever is not fully in PARK (P) with
the parking brake �rmly set. Your vehicle can
roll. If you have left the engine running, the
vehicle can move suddenly. You or others
CAUTION: (Continued)
CAUTION: (Continued)
could be injured. To be sure your vehicle will
not move, even when you are on fairly level
ground, use the steps that follow. If you are
pulling a trailer, seeTowing a Trailer
on page 4-28.
1. Hold the brake pedal down with your right foot and
set the parking brake. SeeParking Brake on
page 2-26
2. Move the shift lever into PARK (P) by pulling the
shift lever toward you and moving it up as far as it
will go.
3. Turn the ignition key to LOCK/OFF.
4. Remove the key and take it with you. If you can
leave your vehicle with the ignition key in your
hand, your vehicle is in PARK (P).
2-27
Page 115 of 402

Instrument Panel Overview...............................3-4
Hazard Warning Flashers................................3-6
Other Warning Devices...................................3-6
Horn.............................................................3-6
Tilt Wheel.....................................................3-7
Turn Signal/Multifunction Lever.........................3-7
Turn and Lane-Change Signals........................3-8
Headlamp High/Low-Beam Changer..................3-9
Flash-to-Pass.................................................3-9
Windshield Wipers..........................................3-9
Windshield Washer.......................................3-10
Cruise Control..............................................3-10
Exterior Lamps.............................................3-13
Headlamps on Reminder................................3-14
Daytime Running Lamps (DRL).......................3-15
Automatic Headlamp System..........................3-15
Instrument Panel Brightness...........................3-16
Dome Lamps...............................................3-16
Dome Lamp Override....................................3-16
Entry/Exit Lighting.........................................3-17
Reading Lamps............................................3-17
Electric Power Management...........................3-17
Battery Run-Down Protection..........................3-17
Accessory Power Outlet(s).............................3-18
Ashtray(s) and Cigarette Lighter......................3-18Climate Controls............................................3-19
Climate Control System.................................3-19
Outlet Adjustment.........................................3-21
Rear Heating System....................................3-22
Rear Air Conditioning and Heating System.......3-23
Warning Lights, Gages, and Indicators............3-24
Instrument Panel Cluster................................3-25
Speedometer and Odometer...........................3-26
Trip Odometer..............................................3-26
Safety Belt Reminders...................................3-26
Airbag Readiness Light..................................3-27
Airbag Off Light............................................3-28
Passenger Airbag Status Indicator...................3-30
Charging System Light..................................3-32
Voltmeter Gage............................................3-32
Brake System Warning Light..........................3-33
Antilock Brake System Warning Light...............3-34
StabiliTrak
®Indicator Light..............................3-34
Engine Coolant Temperature Gage..................3-35
Tire Pressure Light.......................................3-35
Malfunction Indicator Lamp.............................3-36
Oil Pressure Gage........................................3-38
Oil Pressure Light.........................................3-39
Security Light...............................................3-40
Cruise Control Light......................................3-40
Section 3 Instrument Panel
3-1