2008 GMC SAVANA tow
[x] Cancel search: towPage 106 of 402
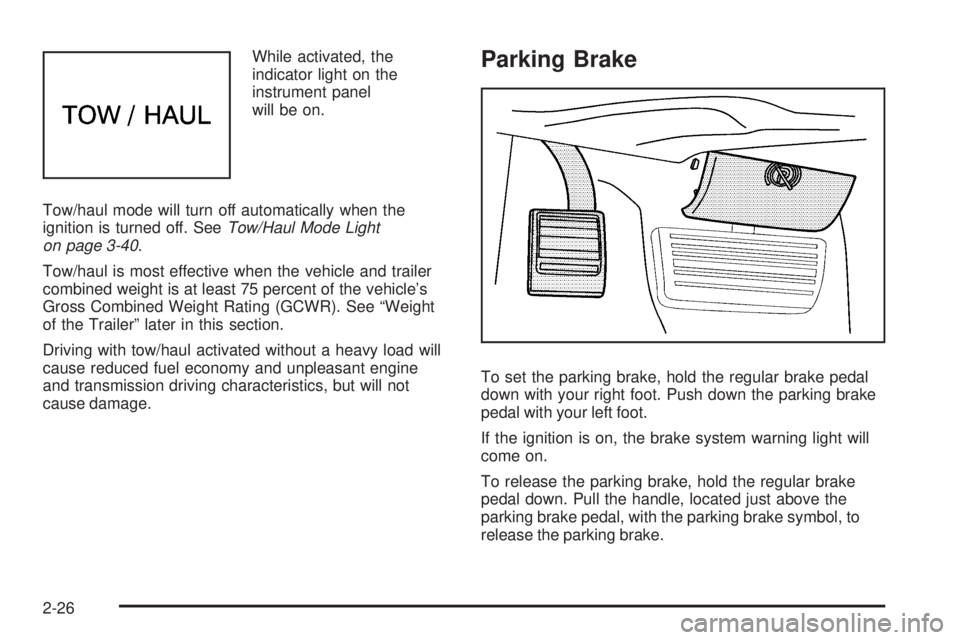
While activated, the
indicator light on the
instrument panel
will be on.
Tow/haul mode will turn off automatically when the
ignition is turned off. SeeTow/Haul Mode Light
on page 3-40.
Tow/haul is most effective when the vehicle and trailer
combined weight is at least 75 percent of the vehicle’s
Gross Combined Weight Rating (GCWR). See “Weight
of the Trailer” later in this section.
Driving with tow/haul activated without a heavy load will
cause reduced fuel economy and unpleasant engine
and transmission driving characteristics, but will not
cause damage.Parking Brake
To set the parking brake, hold the regular brake pedal
down with your right foot. Push down the parking brake
pedal with your left foot.
If the ignition is on, the brake system warning light will
come on.
To release the parking brake, hold the regular brake
pedal down. Pull the handle, located just above the
parking brake pedal, with the parking brake symbol, to
release the parking brake.
2-26
Page 107 of 402
If the ignition is on when the parking brake is released,
the brake system warning light will go off.
Notice:Driving with the parking brake on can
overheat the brake system and cause premature
wear or damage to brake system parts. Verify that
the parking brake is fully released and the brake
warning light is off before driving.
If you are towing a trailer and are parking on any hill,
seeTowing a Trailer on page 4-28. That section shows
what to do first to keep the trailer from moving.
Shifting Into PARK (P)
{CAUTION:
It can be dangerous to get out of your vehicle
if the shift lever is not fully in PARK (P) with
the parking brake �rmly set. Your vehicle can
roll. If you have left the engine running, the
vehicle can move suddenly. You or others
CAUTION: (Continued)
CAUTION: (Continued)
could be injured. To be sure your vehicle will
not move, even when you are on fairly level
ground, use the steps that follow. If you are
pulling a trailer, seeTowing a Trailer
on page 4-28.
1. Hold the brake pedal down with your right foot and
set the parking brake. SeeParking Brake on
page 2-26
2. Move the shift lever into PARK (P) by pulling the
shift lever toward you and moving it up as far as it
will go.
3. Turn the ignition key to LOCK/OFF.
4. Remove the key and take it with you. If you can
leave your vehicle with the ignition key in your
hand, your vehicle is in PARK (P).
2-27
Page 108 of 402
Leaving Your Vehicle With the Engine
Running
{CAUTION:
It can be dangerous to leave your vehicle with
the engine running. Your vehicle could move
suddenly if the shift lever is not fully in
PARK (P) with the parking brake �rmly set.
And, if you leave the vehicle with the engine
running, it could overheat and even catch �re.
You or others could be injured. Do not leave
your vehicle with the engine running.
If you have to leave your vehicle with the engine
running, be sure your vehicle is in PARK (P) and the
parking brake is firmly set before you leave it. After you
move the shift lever into PARK (P), hold the regular
brake pedal down. Then, see if you can move the shift
lever away from PARK (P) without first pulling it toward
you. If you can, it means that the shift lever was not fully
locked into PARK (P).
Torque Lock
If you are parking on a hill and you do not shift your
vehicle into PARK (P) properly, the weight of the vehicle
may put too much force on the parking pawl in the
transmission. You may find it difficult to pull the shift
lever out of PARK (P). This is called torque lock.
To prevent torque lock, set the parking brake and then
shift into PARK (P) properly before you leave the
driver’s seat. To find out how, seeShifting Into
PARK (P) on page 2-27.
When you are ready to drive, move the shift lever out of
PARK (P) before you release the parking brake.
If torque lock does occur, you may need to have another
vehicle push yours a little uphill to take some of the
pressure from the parking pawl in the transmission, so
you can pull the shift lever out of PARK (P).
2-28
Page 111 of 402
Running the Engine While Parked
It is better not to park with the engine running. But if you
ever have to, here are some things to know.
{CAUTION:
Idling the engine with the climate control
system off could allow dangerous exhaust into
your vehicle. See the earlier caution under
Engine Exhaust on page 2-30.
Also, idling in a closed-in place can let deadly
carbon monoxide (CO) into your vehicle even if
the climate control fan is at the highest setting.
One place this can happen is a garage.
Exhaust — with CO — can come in easily.
NEVER park in a garage with the engine
running.
Another closed-in place can be a blizzard.
SeeWinter Driving on page 4-16.
{CAUTION:
It can be dangerous to get out of your vehicle
if the shift lever is not fully in PARK (P) with
the parking brake �rmly set. Your vehicle can
roll. Do not leave your vehicle when the engine
is running unless you have to. If you have left
the engine running, the vehicle can move
suddenly. You or others could be injured. To
be sure your vehicle will not move, even when
you are on fairly level ground, always set the
parking brake and move the shift lever to
PARK (P).
Follow the proper steps to be sure your vehicle will not
move. SeeShifting Into PARK (P) on page 2-27.
If you are pulling a trailer, seeTowing a Trailer on
page 4-28.
2-31
Page 116 of 402

Highbeam On Light.......................................3-40
Tow/Haul Mode Light....................................3-40
Fuel Gage...................................................3-41
Driver Information Center (DIC).......................3-42
DIC Operation and Displays...........................3-42
DIC Compass..............................................3-47
DIC Warnings and Messages.........................3-49
DIC Vehicle Customization.............................3-58Audio System(s).............................................3-63
Setting the Clock..........................................3-65
Radio(s)......................................................3-67
Using an MP3..............................................3-77
Theft-Deterrent Feature..................................3-82
Audio Steering Wheel Controls.......................3-82
Radio Reception...........................................3-83
Fixed Mast Antenna......................................3-83
Section 3 Instrument Panel
3-2
Page 119 of 402
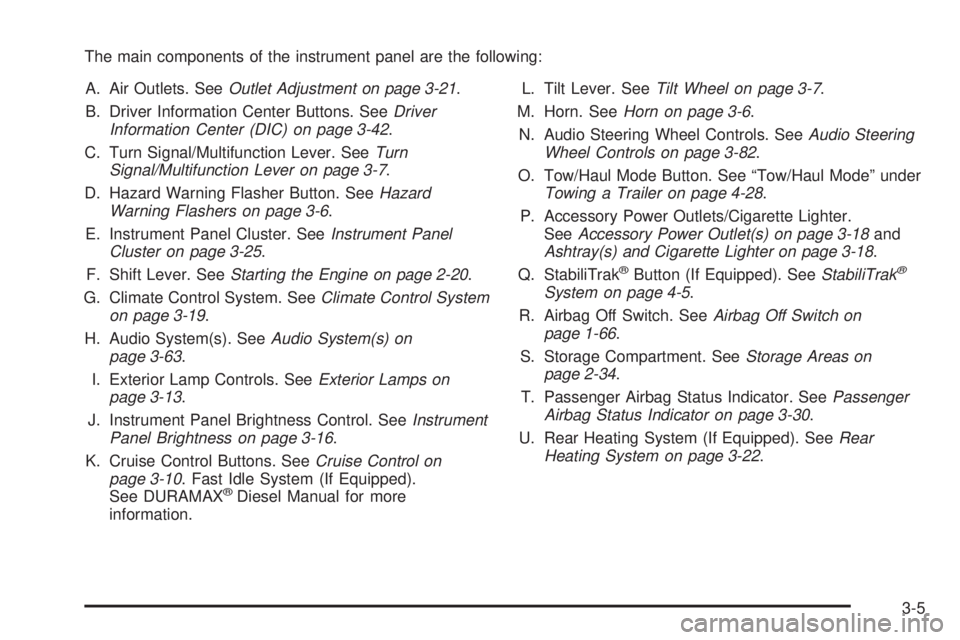
The main components of the instrument panel are the following:
A. Air Outlets. SeeOutlet Adjustment on page 3-21.
B. Driver Information Center Buttons. SeeDriver
Information Center (DIC) on page 3-42.
C. Turn Signal/Multifunction Lever. SeeTurn
Signal/Multifunction Lever on page 3-7.
D. Hazard Warning Flasher Button. SeeHazard
Warning Flashers on page 3-6.
E. Instrument Panel Cluster. SeeInstrument Panel
Cluster on page 3-25.
F. Shift Lever. SeeStarting the Engine on page 2-20.
G. Climate Control System. SeeClimate Control System
on page 3-19.
H. Audio System(s). SeeAudio System(s) on
page 3-63.
I. Exterior Lamp Controls. SeeExterior Lamps on
page 3-13.
J. Instrument Panel Brightness Control. SeeInstrument
Panel Brightness on page 3-16.
K. Cruise Control Buttons. SeeCruise Control on
page 3-10. Fast Idle System (If Equipped).
See DURAMAX
®Diesel Manual for more
information.L. Tilt Lever. SeeTilt Wheel on page 3-7.
M. Horn. SeeHorn on page 3-6.
N. Audio Steering Wheel Controls. SeeAudio Steering
Wheel Controls on page 3-82.
O. Tow/Haul Mode Button. See “Tow/Haul Mode” under
Towing a Trailer on page 4-28.
P. Accessory Power Outlets/Cigarette Lighter.
SeeAccessory Power Outlet(s) on page 3-18and
Ashtray(s) and Cigarette Lighter on page 3-18.
Q. StabiliTrak
®Button (If Equipped). SeeStabiliTrak®
System on page 4-5.
R. Airbag Off Switch. SeeAirbag Off Switch on
page 1-66.
S. Storage Compartment. SeeStorage Areas on
page 2-34.
T. Passenger Airbag Status Indicator. SeePassenger
Airbag Status Indicator on page 3-30.
U. Rear Heating System (If Equipped). SeeRear
Heating System on page 3-22.
3-5
Page 122 of 402
Turn and Lane-Change Signals
The turn signal has two upward (for right) and
two downward (for left) positions. These positions
allow you to signal a turn or a lane change.
To signal a turn, move the lever all the way up or
down. When the turn is finished, the lever will return
automatically.
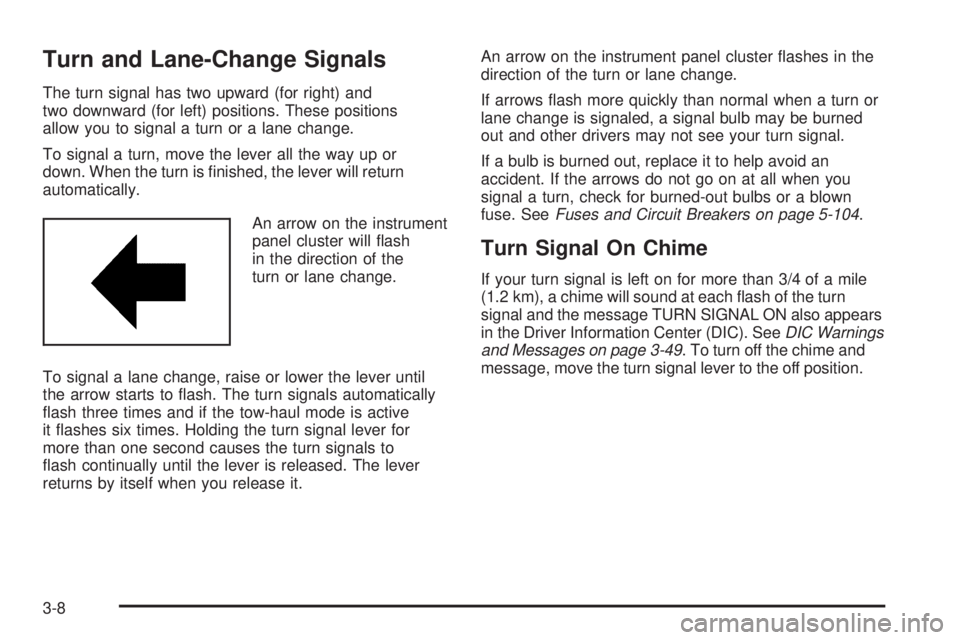
An arrow on the instrument
panel cluster will flash
in the direction of the
turn or lane change.
To signal a lane change, raise or lower the lever until
the arrow starts to flash. The turn signals automatically
flash three times and if the tow-haul mode is active
it flashes six times. Holding the turn signal lever for
more than one second causes the turn signals to
flash continually until the lever is released. The lever
returns by itself when you release it.An arrow on the instrument panel cluster flashes in the
direction of the turn or lane change.
If arrows flash more quickly than normal when a turn or
lane change is signaled, a signal bulb may be burned
out and other drivers may not see your turn signal.
If a bulb is burned out, replace it to help avoid an
accident. If the arrows do not go on at all when you
signal a turn, check for burned-out bulbs or a blown
fuse. SeeFuses and Circuit Breakers on page 5-104.
Turn Signal On Chime
If your turn signal is left on for more than 3/4 of a mile
(1.2 km), a chime will sound at each flash of the turn
signal and the message TURN SIGNAL ON also appears
in the Driver Information Center (DIC). SeeDIC Warnings
and Messages on page 3-49. To turn off the chime and
message, move the turn signal lever to the off position.
3-8
Page 123 of 402

Headlamp High/Low-Beam Changer
23(Headlamp High/Low-Beam Changer):
To change the headlamps from low to high beam,
pull the multifunction lever all the way toward you.
Then release it.
When the high beams
are on, this light on the
instrument panel cluster
also will be on.
Flash-to-Pass
This feature allows you to use your high-beam
headlamps to signal a driver in front of you that you
want to pass. It works even if your headlamps are off.
To use it, pull the turn signal lever toward you, but not so
far that you hear it click.
If your headlamps are off or on low-beam, your
high-beam headlamps will turn on and stay on as long
as you hold the lever toward you and the high-beam
indicator on the instrument panel will come on. Release
the lever to turn the high-beam headlamps off.
Windshield Wipers
The windshield wipers are controlled by turning the
band with the wiper symbol.
8(Mist):For a single wiping cycle, turn the band to
mist. Hold it there until the wipers start, then let go.
The wipers will stop after one wipe. If more wipes
are needed, hold the band on mist longer.
6Delay:The wiper speed can be set for a long or short
delay between wipes. This can be very useful in light rain
or snow. Turn the band to choose the delay time. The
closer to the top of the lever, the shorter the delay.
d(Low Speed):For steady wiping at low speed,
turn the band away from you to the first solid band past
the delay settings position.
a(High Speed):For high-speed wiping, turn
the band further, to the second solid band past the
delay settings.
9(Off):To stop the wipers, move the band to off.
When driving during the day and the wipers are
activated, the head lamps will automatically turn on
after completing eight wipe cycles.
Be sure to clear ice and snow from the wiper blades
before using them. If they are frozen to the windshield,
carefully loosen or thaw them. If your blades do become
worn or damaged, get new blades or blade inserts.
3-9