2008 GMC ENVOY DENALI ECU
[x] Cancel search: ECUPage 127 of 468
Keep the original hand-held transmitter for use in other
vehicles as well as for future Universal Home Remote
programming. It is also recommended that upon the
sale of the vehicle, the programmed Universal Home
Remote buttons should be erased for security purposes.
See “Erasing Universal Home Remote Buttons” later
in this section.
When programming a garage door, park outside of
the garage. Park directly in line with and facing the
garage door opener motor-head or gate motor-head.
Be sure that people and objects are clear of the garage
door or gate you are programming.
It is recommended that a new battery be installed
in your hand-held transmitter for quicker and more
accurate transmission of the radio-frequency signal.
Programming the Universal Home
Remote System
If you have questions or need help programming the
Universal Home Remote System, call 1-800-355-3515
or go to www.homelink.com.
Programming a garage door opener involves
time-sensitive actions, so read the entire procedure
before you begin. If you do not follow these actions,
the device will time out and you will have to repeat the
procedure.To program up to three devices:
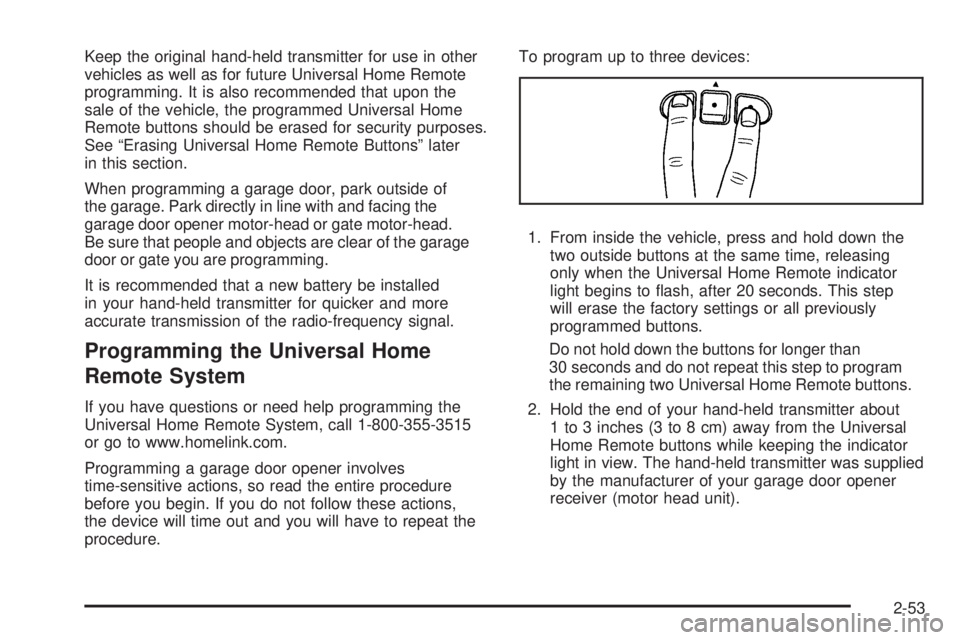
1. From inside the vehicle, press and hold down the
two outside buttons at the same time, releasing
only when the Universal Home Remote indicator
light begins to �ash, after 20 seconds. This step
will erase the factory settings or all previously
programmed buttons.
Do not hold down the buttons for longer than
30 seconds and do not repeat this step to program
the remaining two Universal Home Remote buttons.
2. Hold the end of your hand-held transmitter about
1 to 3 inches (3 to 8 cm) away from the Universal
Home Remote buttons while keeping the indicator
light in view. The hand-held transmitter was supplied
by the manufacturer of your garage door opener
receiver (motor head unit).
2-53
Page 132 of 468
Luggage Carrier
{CAUTION:
If you try to carry something on top of your
vehicle that is longer or wider than the luggage
carrier — like paneling, plywood, a mattress
and so forth — the wind can catch it as you
drive along. This can cause you to lose
control. What you are carrying could be
violently torn off, and this could cause you or
other drivers to have a collision, and of course
damage your vehicle. You may be able to carry
something like this inside. But, never carry
something longer or wider than the luggage
carrier on top of your vehicle.
If your vehicle has a luggage carrier, it will allow you to
load things on top of your vehicle. The luggage carrier
has side rails attached to the roof, places to use for tying
things down and may have sliding crossrails. These let
you load some other things on top of your vehicle, as long
as they are not wider or longer than the luggage carrier.To slide the crossrails to where you want them,
pull up on the lever on each side of the crossrail.
This releases the crossrail and allows you to slide it.
When the crossrail is where you want it, press down
on the levers to lock it into place.
Notice:Loading cargo on the luggage carrier that
weighs more than 220 lbs (100 kg) or hangs over
the rear or sides of the vehicle may damage
your vehicle. Load cargo so that it rests on the
slats as far forward as possible and against the
side rails, making sure to fasten it securely.
Do not exceed the maximum vehicle capacity when
loading your vehicle. For more information on vehicle
capacity and loading, seeLoading Your Vehicle on
page 4-34.
To prevent damage or loss of cargo as you are driving,
check now and then to make sure the luggage carrier
is locked and cargo is still securely fastened.
When the luggage carrier is not in use, place the
crossrails at the following positions for wind noise
reduction. Place one crossrail at the rear most point of
the vehicle and the other crossrail above the opening
of the rear door.
2-58
Page 133 of 468
Rear Floor Storage Lid
{CAUTION:
If any removable convenience item is not
secured properly, it can move around in a
collision or sudden stop. People in the vehicle
could be injured. Be sure to secure any such
item properly.
Your vehicle has a rear cargo area with a removable
storage lid.
To remove the rear �oor storage lid:
1. Press the latch release and lift up the latch handle.
2. Raise the lid slightly to unhook it.
3. Pull the lid toward you to release it from the forward
mounting tabs.
To reinstall the rear �oor storage lid, reverse the
previous steps. Make sure the lid is secure by applying
slight pressure to the latch until you hear it click.
Convenience Net
Your vehicle may have a convenience net in the rear of
the vehicle. Store small loads as far forward as possible.
The net should not be used to store heavy loads.
Cargo Cover
If your vehicle has a cargo cover, you can use it to
cover items in the cargo area of your vehicle.
To install the cargo cover:
1. Align the endcap with the pocket in the trim panel
located behind the rear seat.
2. Squeeze the opposite endcap, align it with the
pocket located on the opposite side of the trim
panel and release.
3. Grasp the handle and unroll the cover.
4. Latch the posts into the sockets on the inside of the
vehicle to secure it.
2-59
Page 134 of 468
To remove the cargo cover, do the following:
1. Release the cover from the latch posts and carefully
roll it back up.
2. Squeeze one endcap and remove it from the
pocket in the trim panel.
3. Remove the cargo cover from the other endcap so
that you can remove the shade from the vehicle.
{CAUTION:
An improperly stored cargo cover could be
thrown about the vehicle during a collision or
sudden maneuver. You or others could be
injured. If you remove the cover, always store
it in the proper storage location. When you
put it back, always be sure that it is securely
reattached.
Cargo Tie Downs
Cargo tie-downs located in the rear of the vehicle are
used to secure small loads.
Sunroof
The vehicle may have a power sliding sunroof. To open
or close the sunroof, the ignition must be turned to RUN,
ACCESSORY, or Retained Accessory Power (RAP) must
be active. SeeRetained Accessory Power (RAP) on
page 2-22.
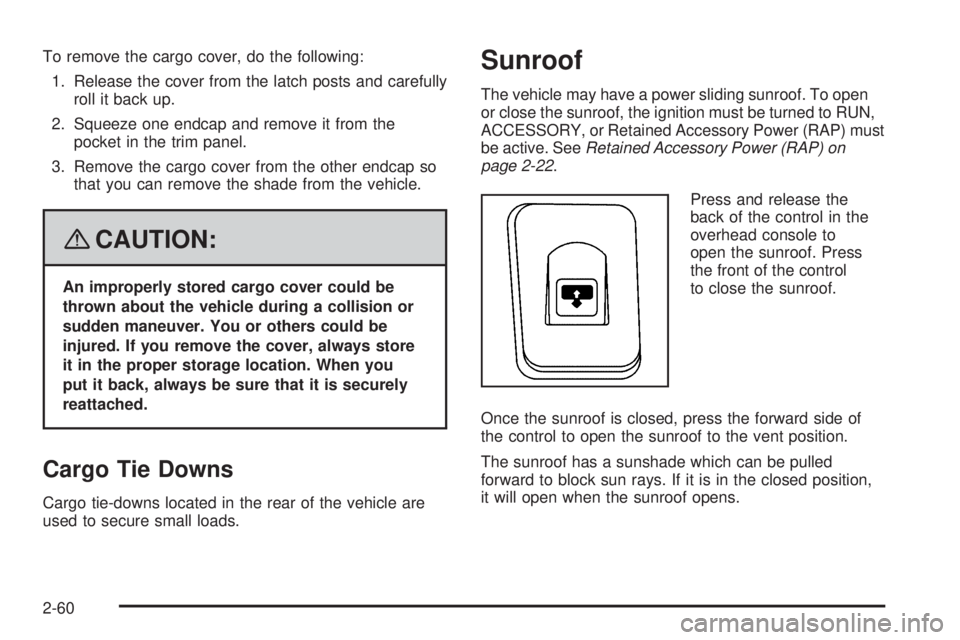
Press and release the
back of the control in the
overhead console to
open the sunroof. Press
the front of the control
to close the sunroof.
Once the sunroof is closed, press the forward side of
the control to open the sunroof to the vent position.
The sunroof has a sunshade which can be pulled
forward to block sun rays. If it is in the closed position,
it will open when the sunroof opens.
2-60
Page 136 of 468

Security Light...............................................3-46
Cruise Control Light......................................3-46
Reduced Engine Power Light.........................3-46
Highbeam On Light.......................................3-47
Service Four-Wheel Drive Warning Light..........3-47
Check Gages Warning Light...........................3-47
Gate Ajar Light.............................................3-48
Fuel Gage...................................................3-48
Low Fuel Warning Light.................................3-49
Check Gas Cap Light....................................3-49
Driver Information Center (DIC).......................3-49
DIC Operation and Displays...........................3-50
DIC Warnings and Messages.........................3-53
DIC Vehicle Customization.............................3-58Audio System(s).............................................3-65
Setting the Clock..........................................3-66
Radio(s)......................................................3-66
Using an MP3..............................................3-82
XM Radio Messages.....................................3-86
Navigation/Radio System...............................3-87
Rear Seat Entertainment (RSE) System...........3-87
Rear Seat Audio (RSA)................................3-100
Theft-Deterrent Feature................................3-101
Audio Steering Wheel Controls......................3-101
Radio Reception.........................................3-102
Fixed Mast Antenna....................................3-103
XM™ Satellite Radio Antenna System............3-103
Chime Level Adjustment...............................3-103
Section 3 Instrument Panel
3-2
Page 169 of 468
Then, after several more seconds, the status indicator
will light either ON or OFF, or either the on or off symbol
to let you know the status of the right front passenger’s
frontal airbag.
If the word ON or the on symbol is lit on the passenger
airbag status indicator, it means that the right front
passenger’s frontal airbag is enabled (may in�ate).
{CAUTION:
If the on indicator comes on when you have a
rear-facing child restraint installed in the right
front passenger’s seat, it means that the
passenger sensing system has not turned off
the passenger’s frontal airbag. A child in a
rear-facing child restraint can be seriously
injured or killed if the right front passenger’s
airbag in�ates. This is because the back of the
rear-facing child restraint would be very close
to the in�ating airbag. Do not use a rear-facing
child restraint in the right front passenger’s
seat if the airbag is turned on.
{CAUTION:
Even though the passenger sensing system is
designed to turn off the right front passenger’s
frontal airbag if the system detects a rear-facing
child restraint, no system is fail-safe, and no
one can guarantee that an airbag will not deploy
under some unusual circumstance, even
though it is turned off. We recommend that
rear-facing child restraints be secured in the
rear seat, even if the airbag is off.
If the word OFF or the off symbol is lit on the airbag
status indicator, it means that the passenger sensing
system has turned off the right front passenger’s frontal
airbag. SeePassenger Sensing System on page 1-61
for more on this, including important safety information.
3-35
Page 180 of 468
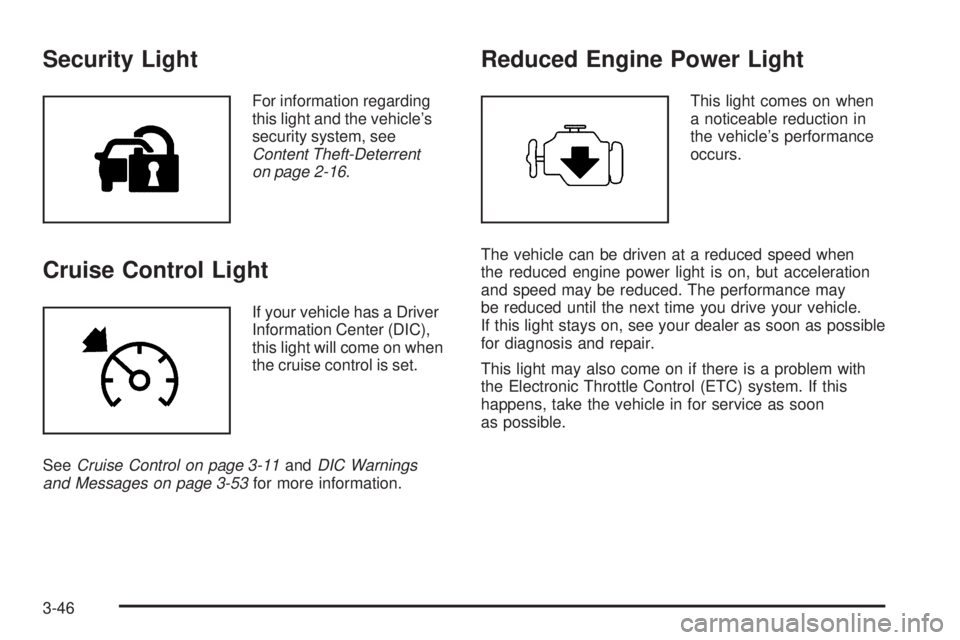
Security Light
For information regarding
this light and the vehicle’s
security system, see
Content Theft-Deterrent
on page 2-16.
Cruise Control Light
If your vehicle has a Driver
Information Center (DIC),
this light will come on when
the cruise control is set.
SeeCruise Control on page 3-11andDIC Warnings
and Messages on page 3-53for more information.
Reduced Engine Power Light
This light comes on when
a noticeable reduction in
the vehicle’s performance
occurs.
The vehicle can be driven at a reduced speed when
the reduced engine power light is on, but acceleration
and speed may be reduced. The performance may
be reduced until the next time you drive your vehicle.
If this light stays on, see your dealer as soon as possible
for diagnosis and repair.
This light may also come on if there is a problem with
the Electronic Throttle Control (ETC) system. If this
happens, take the vehicle in for service as soon
as possible.
3-46
Page 183 of 468

Low Fuel Warning Light
The light next to the fuel gage will come on brie�y when
you are starting the engine.
This light comes on when the fuel tank is low on fuel.
To turn it off, add fuel to the fuel tank. SeeFuel on
page 5-5.
Check Gas Cap Light
If your vehicle has this
light, it will come on if your
gas cap is not securely
fastened.
SeeMalfunction Indicator Lamp on page 3-41for more
information.
Driver Information Center (DIC)
Your vehicle may have this feature. The Driver
Information Center (DIC) display is located on the
instrument panel cluster, below the speedometer.
If your vehicle has DIC buttons, they are located on
the steering wheel. The DIC can display information
such as the trip odometer, fuel economy, customization
features, and warning/status messages.
If your vehicle does not have DIC steering wheel
buttons, you will not have all of the features listed.
Scroll through the odometer and trip odometer by
pressing the trip odometer reset stem located on the
instrument panel cluster. Turn off, or acknowledge, DIC
messages by pressing the trip odometer reset stem.
SeeSpeedometer and Odometer on page 3-32for
information on features for vehicles without DIC buttons.
3-49