Page 103 of 320

Bounce back:
When an obstacle has been detected in the moon roof opening as the
moon roof is closing, the moon roof will automatically open and stop at a
prescribed position.
Bounce back override:
To override bounce back, press and hold the front portion of the control.
For example: Bounce back can be used to overcome the resistance of ice
on the moon roof or seals.
To vent:
To tilt the moon roof into the vent position (when the glass panel is
closed), press and hold the front portion of the control. To close the
moon roof from the vent position, press and hold the rear portion of the
control until the glass panel stops moving.
The moon roof has a sliding shade that can be opened or closed when
the glass panel is shut. To close the shade, pull it toward the front of the
vehicle
HOMELINK�WIRELESS CONTROL SYSTEM (IF EQUIPPED)
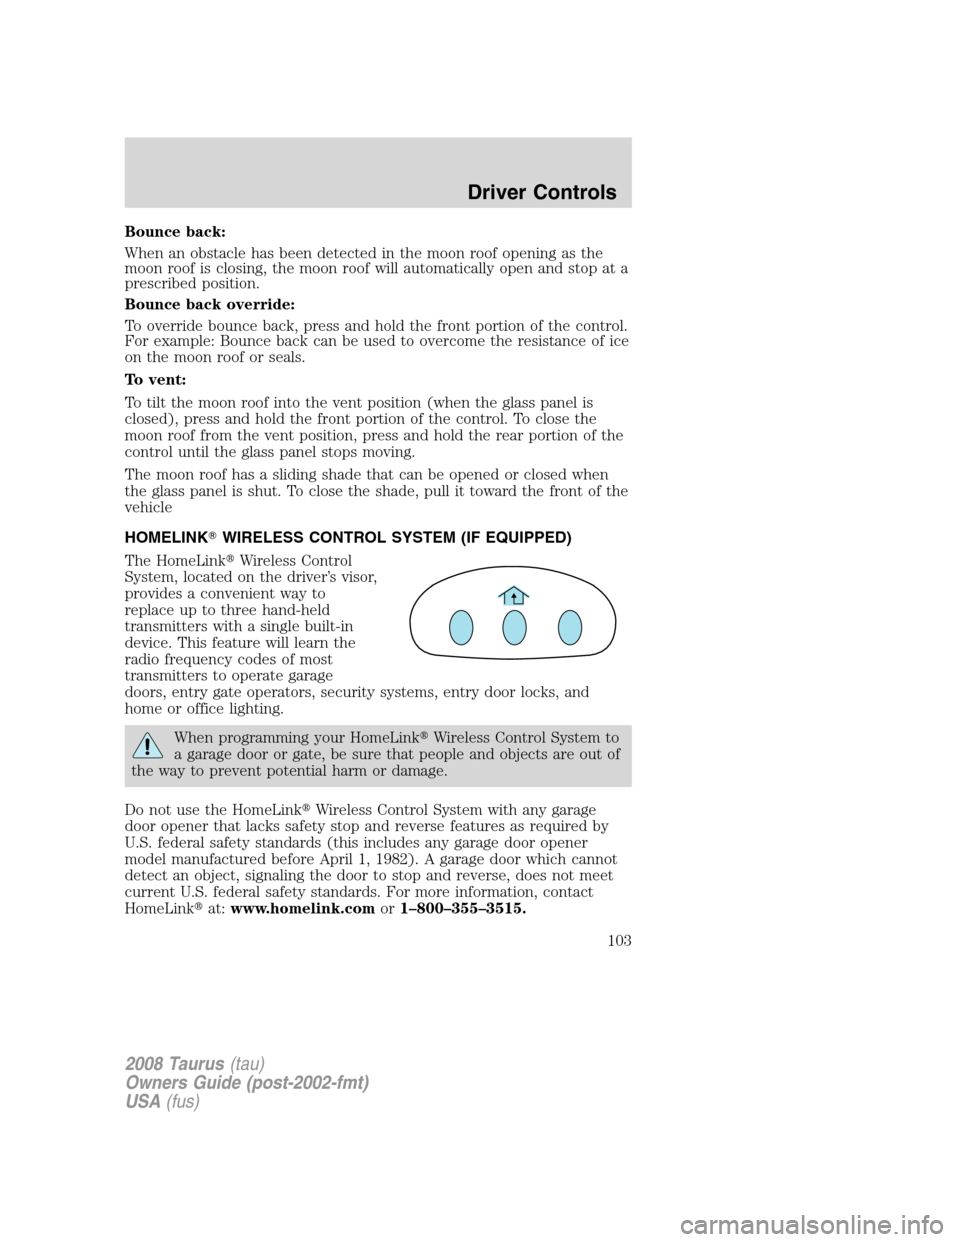
The HomeLink�Wireless Control
System, located on the driver’s visor,
provides a convenient way to
replace up to three hand-held
transmitters with a single built-in
device. This feature will learn the
radio frequency codes of most
transmitters to operate garage
doors, entry gate operators, security systems, entry door locks, and
home or office lighting.
When programming your HomeLink�Wireless Control System to
a garage door or gate, be sure that people and objects are out of
the way to prevent potential harm or damage.
Do not use the HomeLink�Wireless Control System with any garage
door opener that lacks safety stop and reverse features as required by
U.S. federal safety standards (this includes any garage door opener
model manufactured before April 1, 1982). A garage door which cannot
detect an object, signaling the door to stop and reverse, does not meet
current U.S. federal safety standards. For more information, contact
HomeLink�at:www.homelink.comor1–800–355–3515.
2008 Taurus(tau)
Owners Guide (post-2002-fmt)
USA(fus)
Driver Controls
103
Page 106 of 320

Operating the HomeLink�Wireless Control System
To operate, simply press and release
the appropriate HomeLink�button.
Activation will now occur for the
trained product (garage door, gate
operator, security system, entry
door lock, or home or office lighting
etc.). For convenience, the
hand-held transmitter of the device
may also be used at any time. In the event that there are still
programming difficulties, contact HomeLink�atwww.homelink.comor
1–800–355–3515.
Erasing HomeLink�buttons
To erase the three programmed
buttons (individual buttons cannot
be erased):
•Press and hold the two outer
HomeLink�buttons until the
indicator light begins to
flash-after 20 seconds. Release
both buttons. Do not hold for
longer that 30 seconds.
HomeLink�is now in the train (or
learning) mode and can be programmed at any time beginning with Step
1inthe“Programming”section.
Reprogramming a single HomeLink�button
To program a device to HomeLink�using a HomeLink�button previously
trained, follow these steps:
1. Press and hold the desired HomeLink�button.Do NOTrelease the
button.
2. The indicator light will begin to flash after 20 seconds. Without
releasing the HomeLink�button, follow Step 1 in the “Programming”
section.
For questions or comments, contact HomeLink�atwww.homelink.com
or1–800–355–3515.
2008 Taurus(tau)
Owners Guide (post-2002-fmt)
USA(fus)
Driver Controls
106
Page 111 of 320

Setup menu
Press this control for the following
displays:
•System Check
•Oil Life
•Language
•Units (English/Metric)
•Autolamp Delay (if equipped)
•Autolock (if equipped)
•Autounlock (if equipped)
•Easy entry/exit seat (if equipped)
System check
Selecting this function from the
SETUP menu causes the message
center to cycle through each of the
systems being monitored. For each
of the monitored systems, the
message center will indicate either
an OK message or a warning message for two to four seconds.
Pressing the RESET control cycles the message center through each of
the systems being monitored.
The sequence of the system check report is as follows:
1. OIL LIFE
2. CHARGING SYSTEM
3. WASHER FLUID LEVEL
4. DOORS CLOSED
5. TRUNK CLOSED
6. BRAKE SYSTEM
7. TIRE PRESSURE MONITORING SYSTEM
8. DISTANCE TO EMPTY
Oil life
An oil change is required whenever indicated by the message center.
USE ONLY RECOMMENDED ENGINE OILS.
2008 Taurus(tau)
Owners Guide (post-2002-fmt)
USA(fus)
Driver Controls
111
Page 113 of 320

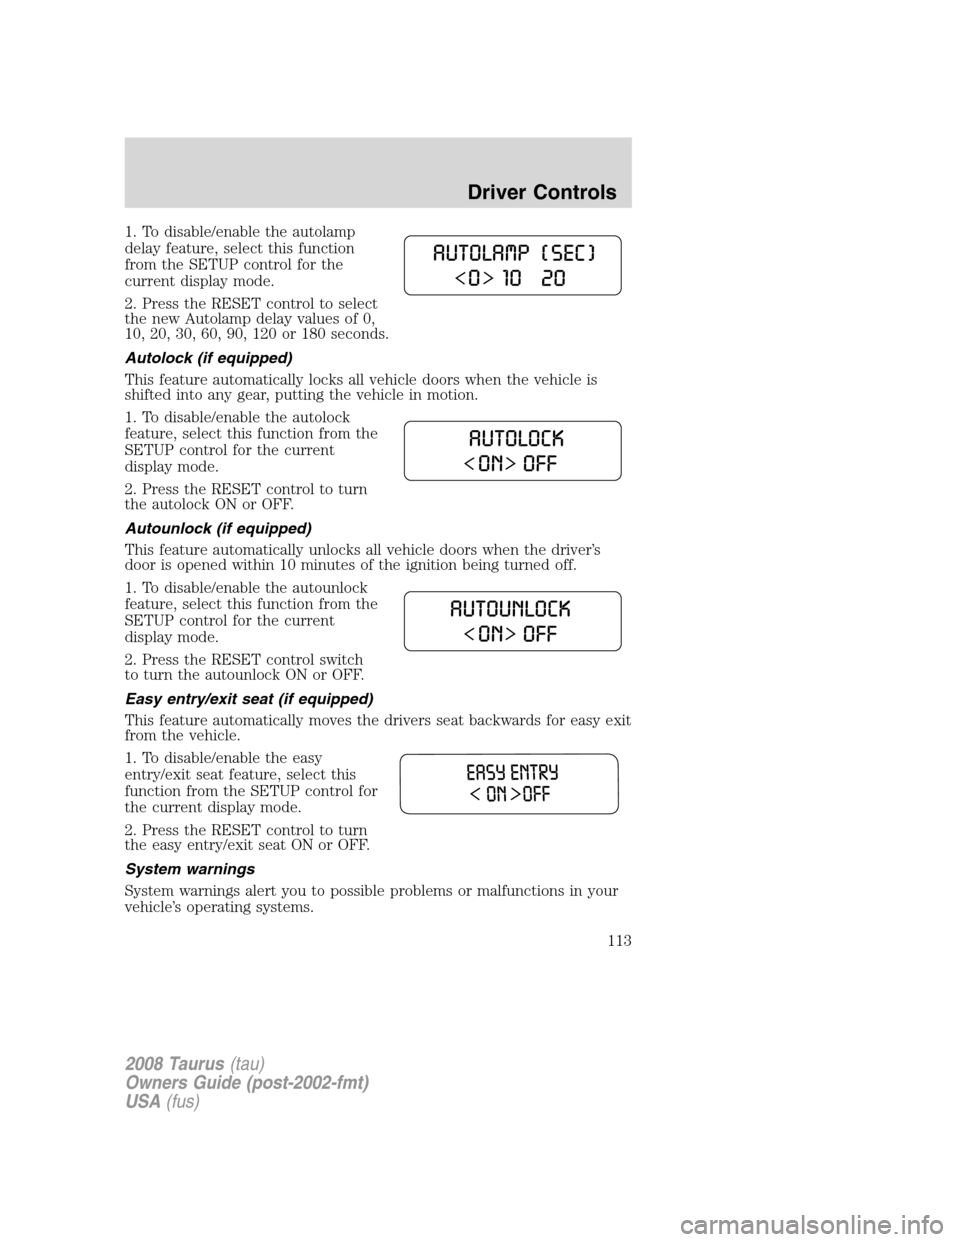
1. To disable/enable the autolamp
delay feature, select this function
from the SETUP control for the
current display mode.
2. Press the RESET control to select
the new Autolamp delay values of 0,
10, 20, 30, 60, 90, 120 or 180 seconds.
Autolock (if equipped)
This feature automatically locks all vehicle doors when the vehicle is
shifted into any gear, putting the vehicle in motion.
1. To disable/enable the autolock
feature, select this function from the
SETUP control for the current
display mode.
2. Press the RESET control to turn
the autolock ON or OFF.
Autounlock (if equipped)
This feature automatically unlocks all vehicle doors when the driver’s
door is opened within 10 minutes of the ignition being turned off.
1. To disable/enable the autounlock
feature, select this function from the
SETUP control for the current
display mode.
2. Press the RESET control switch
to turn the autounlock ON or OFF.
Easy entry/exit seat (if equipped)
This feature automatically moves the drivers seat backwards for easy exit
from the vehicle.
1. To disable/enable the easy
entry/exit seat feature, select this
function from the SETUP control for
the current display mode.
2. Press the RESET control to turn
the easy entry/exit seat ON or OFF.
System warnings
System warnings alert you to possible problems or malfunctions in your
vehicle’s operating systems.
2008 Taurus(tau)
Owners Guide (post-2002-fmt)
USA(fus)
Driver Controls
113
Page 117 of 320

KEYS
Your vehicle is equipped with two
Integrated Keyhead Transmitters
(IKTs). The IKT functions as both a
programmed ignition key that
operates all the locks and starts the
vehicle, and a remote keyless entry
transmitter.
Your IKTs are programmed to your vehicle; using a non-programmed key
will not permit your vehicle to start. If you lose your authorized dealer
supplied IKTs, replacement IKTs are available through your authorized
dealer. Standard SecuriLock™ keys without remote entry transmitter
functionality can also be purchased from your authorized dealer if
desired.
Always carry a spare key with you in case of an emergency.
For more information regarding programming replacement IKTs, refer to
theSecuriLock™ passive anti-theft systemsection later in this chapter.
Note:Your vehicle’s IKTs were
issued with a tag on them that
provides important vehicle key cut
information. It is recommended that
you maintain the tag in a safe place
for future reference.
Recommended handling of the Integrated Keyhead Transmitter
(IKT)
To avoid inadvertently activating the remote entry functions of your
vehicle, it is recommended that the Integrated Keyhead Transmitter
(IKT) be handled properly when starting and turning off your vehicle.
2008 Taurus(tau)
Owners Guide (post-2002-fmt)
USA(fus)
Locks and Security
117
Page 118 of 320
When inserting the IKT into the
ignition cylinder, place your thumb
on the center thumb rest of the IKT
and forefinger on the logo badge on
the opposite side.
To gain more leverage when rotating
the IKT in the ignition lock cylinder,
you can readjust the location of
your thumb to grasp the IKT on the
outer edge next to the
control.
Likewise, when rotating the IKT to
the 1 (LOCK) position in the
ignition lock cylinder, the bottom
edge of the IKT adjacent to the
control can be utilized.
POWER DOOR LOCKS
•Press the
control to unlock all
doors.
•Press the
control to lock all
doors.
2008 Taurus(tau)
Owners Guide (post-2002-fmt)
USA(fus)
Locks and Security
118
Page 119 of 320

Smart locks
This feature helps to prevent you from locking yourself out of the vehicle
if your key is still in the ignition.
When you open one of the front doors and you lock the vehicle with the
power door lock control (on the driver or passenger door trim panel), all
the doors will lock, then all doors will automatically unlock reminding
you that your key is still in the ignition.
The vehicle can still be locked, with the key in the ignition, by locking
the driver’s door with a key, using the lock control on the remote entry
transmitter portion of your Integrated Keyhead Transmitter, or locking
the vehicle with the keyless entry keypad.
If both front doors are closed, the vehicle can be locked from any
method, regardless of whether the key is in the ignition or not.
Autolock feature
The autolock feature will lock all the doors when:
•all the doors are closed,
•the ignition is in the 3 (RUN) position,
•you shift into any gear putting the vehicle in motion, and
•the vehicle attains a speed greater than 12 mph (20 km/h) for greater
than 2 seconds.
The autolock feature repeats when:
•any door is opened then closed while the ignition is in the 3 (RUN)
position and the vehicle speed is 9 mph (15 km/h) or lower, and
•the vehicle then attains a speed greater than 12 mph (20 km/h) for
greater than 2 seconds.
Deactivating/activating autolock feature
Your vehicle comes with the autolock features activated; there are four
methods to enable/disable this feature:
•Through your authorized dealer,
•by using a power door unlock/lock procedure,
•using a keypad procedure, or
•or by using the instrument cluster message center. Refer toMessage
centerin theDriver Controlschapter.
Note:The autolock feature can be activated/deactivated independently
of the autounlock feature.
2008 Taurus(tau)
Owners Guide (post-2002-fmt)
USA(fus)
Locks and Security
119
Page 120 of 320

Power door lock switch autolock enable/disable procedure
Before starting, ensure the ignition is in the 1 (LOCK) position and all
vehicle doors are closed. You must complete Steps 1–5 within 30 seconds
or the procedure will have to be repeated. If the procedure needs to be
repeated, wait a minimum of 30 seconds before beginning again.
1. Place the key in the ignition and
turn the ignition to the 3 (RUN)
position.
2. Press the power door unlock
control on the door panel three
times.
3. Turn the ignition from the 3 (RUN) position to the 1 (LOCK) position.
4. Press the power door unlock control on the door panel three times.
5. Turn the ignition back to the 3 (RUN) position. The horn will chirp
one time to confirm programming mode has been entered and is active.
6. To enable/disable the autolock feature, press the unlock control, then
press the lock control. The horn will chirp once if autolock was
deactivated or twice (one short and one long chirp) if autolock was
activated.
7. Turn the ignition to the 1 (LOCK) position. The horn will chirp once
to confirm the procedure is complete.
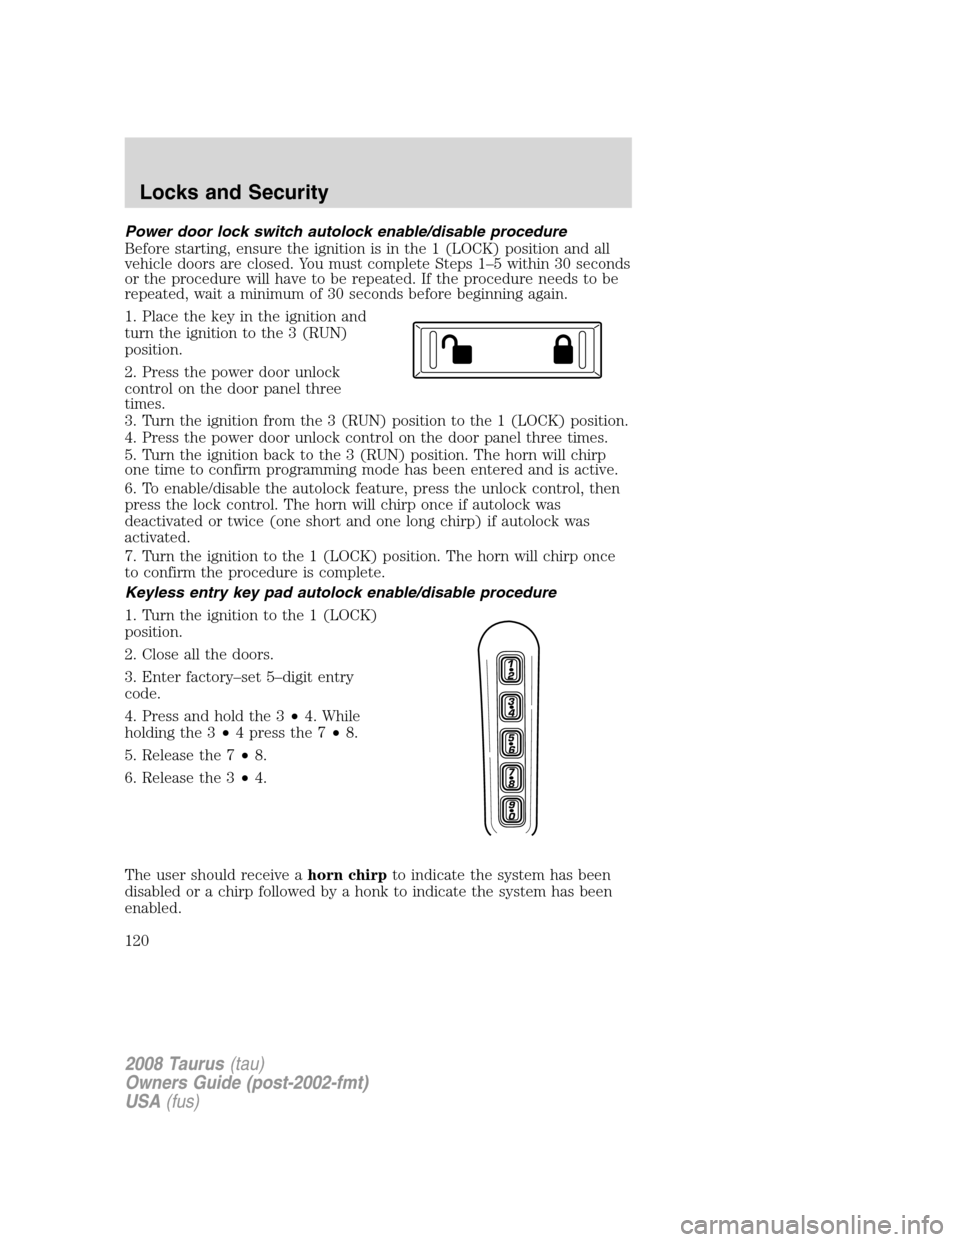
Keyless entry key pad autolock enable/disable procedure
1. Turn the ignition to the 1 (LOCK)
position.
2. Close all the doors.
3. Enter factory–set 5–digit entry
code.
4. Press and hold the 3•4. While
holding the 3•4 press the 7•8.
5. Release the 7•8.
6. Release the 3•4.
The user should receive ahorn chirpto indicate the system has been
disabled or a chirp followed by a honk to indicate the system has been
enabled.
2008 Taurus(tau)
Owners Guide (post-2002-fmt)
USA(fus)
Locks and Security
120