2008 FORD F750 lock
[x] Cancel search: lockPage 71 of 273
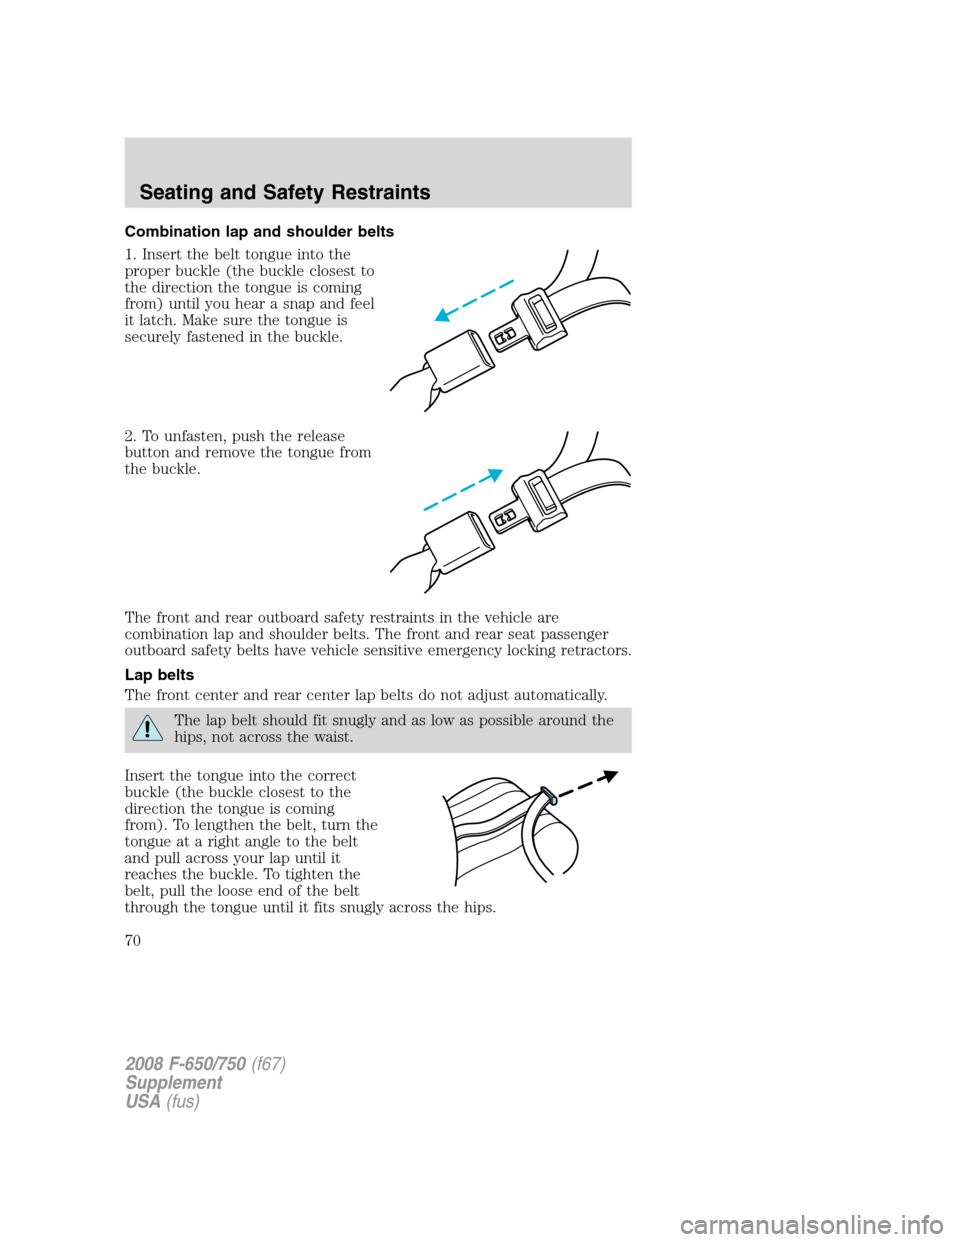
Combination lap and shoulder belts
1. Insert the belt tongue into the
proper buckle (the buckle closest to
the direction the tongue is coming
from) until you hear a snap and feel
it latch. Make sure the tongue is
securely fastened in the buckle.
2. To unfasten, push the release
button and remove the tongue from
the buckle.
The front and rear outboard safety restraints in the vehicle are
combination lap and shoulder belts. The front and rear seat passenger
outboard safety belts have vehicle sensitive emergency locking retractors.
Lap belts
The front center and rear center lap belts do not adjust automatically.
The lap belt should fit snugly and as low as possible around the
hips, not across the waist.
Insert the tongue into the correct
buckle (the buckle closest to the
direction the tongue is coming
from). To lengthen the belt, turn the
tongue at a right angle to the belt
and pull across your lap until it
reaches the buckle. To tighten the
belt, pull the loose end of the belt
through the tongue until it fits snugly across the hips.
2008 F-650/750(f67)
Supplement
USA(fus)
Seating and Safety Restraints
70
Page 72 of 273
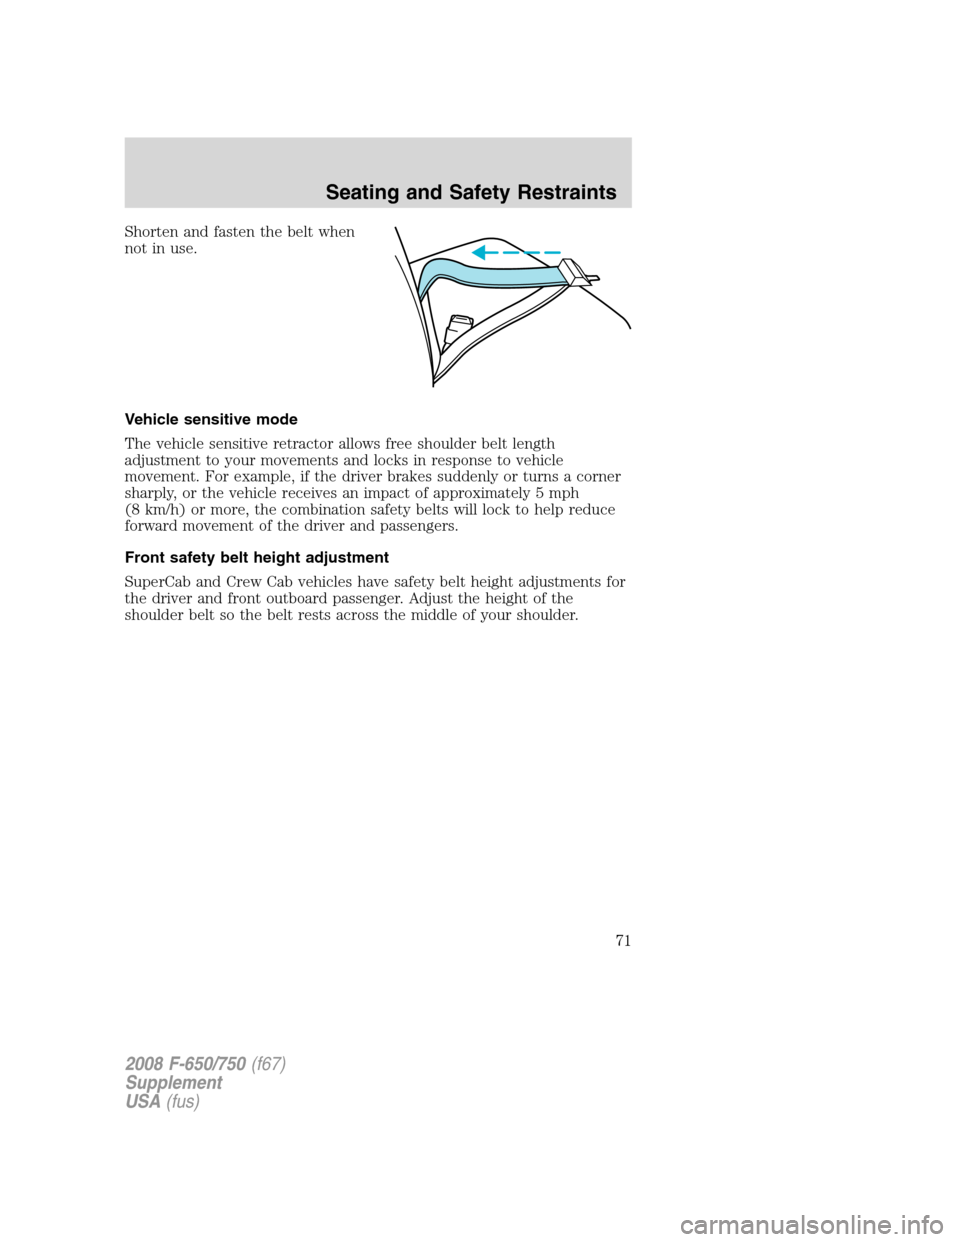
Shorten and fasten the belt when
not in use.
Vehicle sensitive mode
The vehicle sensitive retractor allows free shoulder belt length
adjustment to your movements and locks in response to vehicle
movement. For example, if the driver brakes suddenly or turns a corner
sharply, or the vehicle receives an impact of approximately 5 mph
(8 km/h) or more, the combination safety belts will lock to help reduce
forward movement of the driver and passengers.
Front safety belt height adjustment
SuperCab and Crew Cab vehicles have safety belt height adjustments for
the driver and front outboard passenger. Adjust the height of the
shoulder belt so the belt rests across the middle of your shoulder.
2008 F-650/750(f67)
Supplement
USA(fus)
Seating and Safety Restraints
71
Page 74 of 273
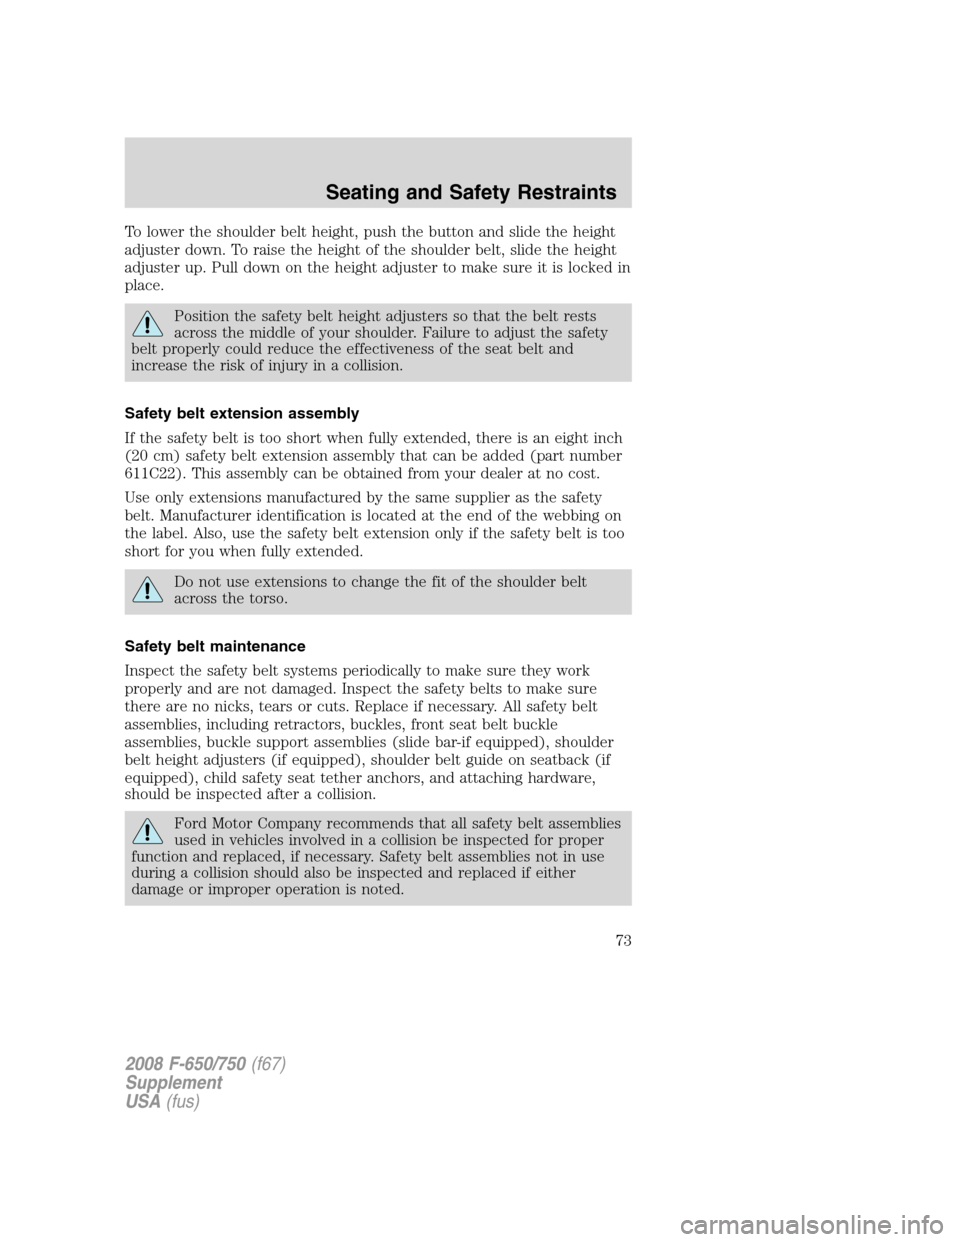
To lower the shoulder belt height, push the button and slide the height
adjuster down. To raise the height of the shoulder belt, slide the height
adjuster up. Pull down on the height adjuster to make sure it is locked in
place.
Position the safety belt height adjusters so that the belt rests
across the middle of your shoulder. Failure to adjust the safety
belt properly could reduce the effectiveness of the seat belt and
increase the risk of injury in a collision.
Safety belt extension assembly
If the safety belt is too short when fully extended, there is an eight inch
(20 cm) safety belt extension assembly that can be added (part number
611C22). This assembly can be obtained from your dealer at no cost.
Use only extensions manufactured by the same supplier as the safety
belt. Manufacturer identification is located at the end of the webbing on
the label. Also, use the safety belt extension only if the safety belt is too
short for you when fully extended.
Do not use extensions to change the fit of the shoulder belt
across the torso.
Safety belt maintenance
Inspect the safety belt systems periodically to make sure they work
properly and are not damaged. Inspect the safety belts to make sure
there are no nicks, tears or cuts. Replace if necessary. All safety belt
assemblies, including retractors, buckles, front seat belt buckle
assemblies, buckle support assemblies (slide bar-if equipped), shoulder
belt height adjusters (if equipped), shoulder belt guide on seatback (if
equipped), child safety seat tether anchors, and attaching hardware,
should be inspected after a collision.
Ford Motor Company recommends that all safety belt assemblies
used in vehicles involved in a collision be inspected for proper
function and replaced, if necessary. Safety belt assemblies not in use
during a collision should also be inspected and replaced if either
damage or improper operation is noted.
2008 F-650/750(f67)
Supplement
USA(fus)
Seating and Safety Restraints
73
Page 84 of 273
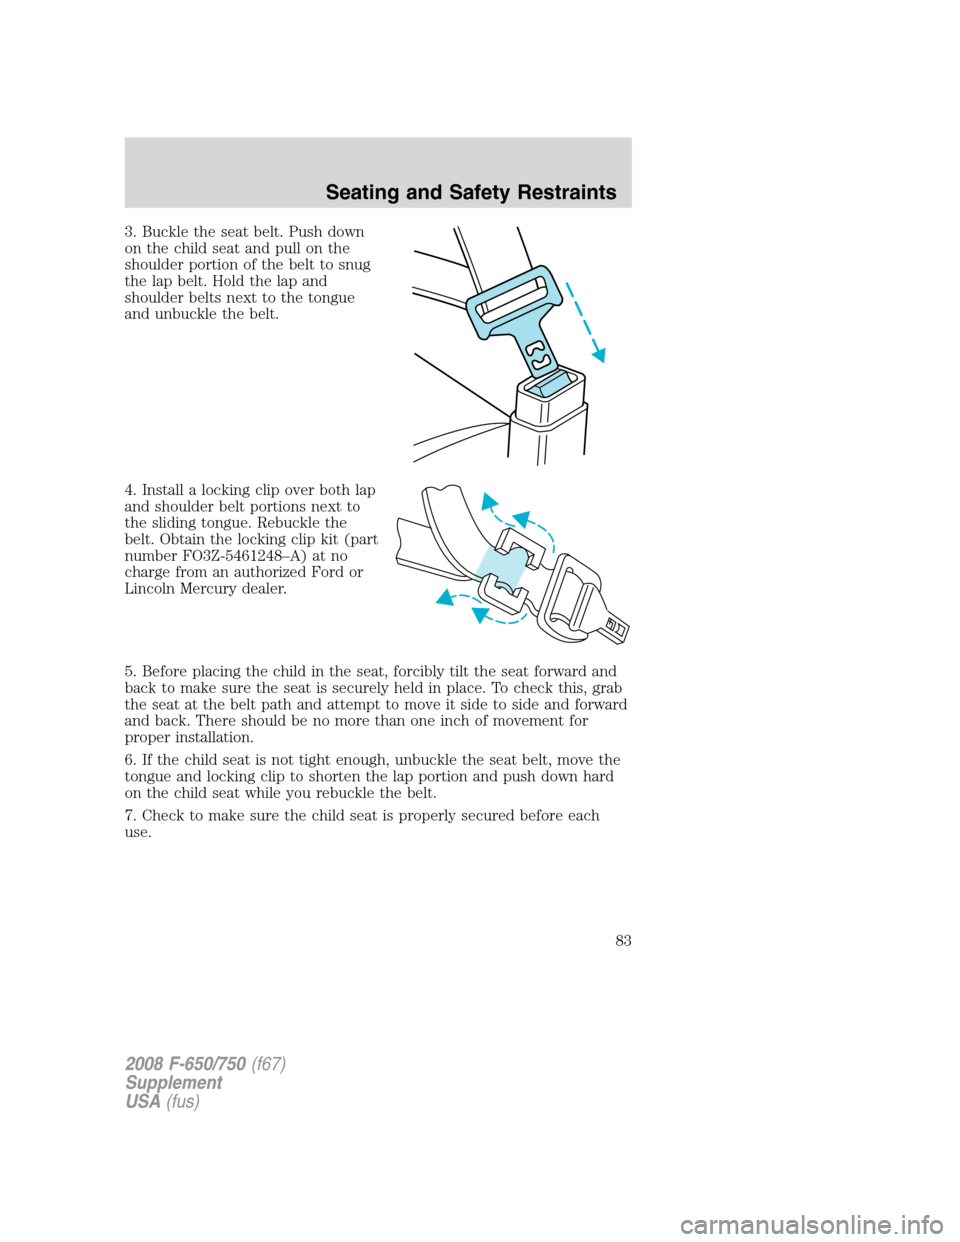
3. Buckle the seat belt. Push down
on the child seat and pull on the
shoulder portion of the belt to snug
the lap belt. Hold the lap and
shoulder belts next to the tongue
and unbuckle the belt.
4. Install a locking clip over both lap
and shoulder belt portions next to
the sliding tongue. Rebuckle the
belt. Obtain the locking clip kit (part
number FO3Z-5461248–A) at no
charge from an authorized Ford or
Lincoln Mercury dealer.
5. Before placing the child in the seat, forcibly tilt the seat forward and
back to make sure the seat is securely held in place. To check this, grab
the seat at the belt path and attempt to move it side to side and forward
and back. There should be no more than one inch of movement for
proper installation.
6. If the child seat is not tight enough, unbuckle the seat belt, move the
tongue and locking clip to shorten the lap portion and push down hard
on the child seat while you rebuckle the belt.
7. Check to make sure the child seat is properly secured before each
use.
2008 F-650/750(f67)
Supplement
USA(fus)
Seating and Safety Restraints
83
Page 86 of 273

STARTING
Positions of the ignition
1. ACCESSORY, allows the electrical
accessories such as the radio to
operate while the engine is not
running.
2. LOCK, locks the steering wheel,
automatic transmission gearshift
lever and allows key removal.
3. OFF, shuts off the engine and all
accessories without locking the
steering wheel.
4. ON, all electrical circuits operational. Warning lights illuminated. Key
position when driving.
5. START, cranks the engine. Release the key as soon as the engine
starts.
Starting the engine
Operation of a diesel engine near flammable vapors in the air
may cause the engine speed to increase uncontrollably and over
speed. If this situation occurs, mechanical damage, fire, explosion,
personal injury or death could result.Turning off the ignition key
will not slow or stop the engine due to uncontrollable fueling of the
engine through flammable vapors being drawn into the engine air
inlet.Operation of components such as starter, alternator, electric
motors, etc. and static electricity could also ignite flammable vapors.
Do not operate the truck in the possible presence of flammable vapors
unless both a complete hazard analysis is performed and necessary
additional safety processes and/or equipment such as vapor testing, air
intake shutoff devices, ventilation, etc. are utilized. The operator is
responsible for using those processes and/or equipment to ensure that
the diesel engine and all other components on the truck can be
operated safely under the specific conditions and hazards that may be
encountered.
3
1
2
5
4
2008 F-650/750(f67)
Supplement
USA(fus)
Driving
85
Page 91 of 273

get out of the vehicle and visually check the intended path is clear;
back-up slowly as to allow others time to move, if necessary.
If an electrical back-up alarm is installed, it should be connected to the
back-up lamp circuit.
Parking your vehicle
Always use the parking brake. When parking on a grade, block the
wheels and turn the front wheels to one side so that if the vehicle rolls,
the front tires will act against the curb to stop the vehicle. The front
wheels will be more effective at stopping a rolling vehicle than the rear
wheels.
When parking your vehicle, do not leave the transmission in
gear; if the key is in the ON position and the vehicle rolls, the
engine could start. Failure to follow these instructions could result in
an unattended vehicle moving, possibly causing personal injury or
property damage.
Driving through water
If driving through deep or standing water is unavoidable, proceed very
slowly especially if the depth is not known. Never drive through water
that is higher than the bottom of the hubs (for trucks) or the bottom of
the wheel rims (for cars). Traction or brake capability may be limited
and your vehicle may stall. Water may also enter your engine’s air intake
and severely damage your engine, drive axles or the transmission
(through the breather ports).
Once through the water, always dry the brakes by moving your vehicle
slowly while applying light pressure on the brake pedal. Wet brakes do
not stop the vehicle as quickly as dry brakes.
ENGINE AUTOMATIC SHUTDOWN WARNING LIGHT OR CHIME (IF
EQUIPPED)
Your vehicle may be equipped with an automatic shutdown feature that
stops the engine in the event of high coolant temperature, low engine oil
pressure, high diesel particulate filter soot loading or low engine coolant
level. A warning light in the instrument cluster and a warning chime will
indicate high engine coolant temperature, low engine oil pressure or the
need to have the diesel particulate filter cleaned or serviced. If the
engine coolant temperature becomes too high, engine oil pressure too
low or the diesel particulate filter too restricted, the engine will
automatically shut down.
2008 F-650/750(f67)
Supplement
USA(fus)
Driving
90
Page 94 of 273
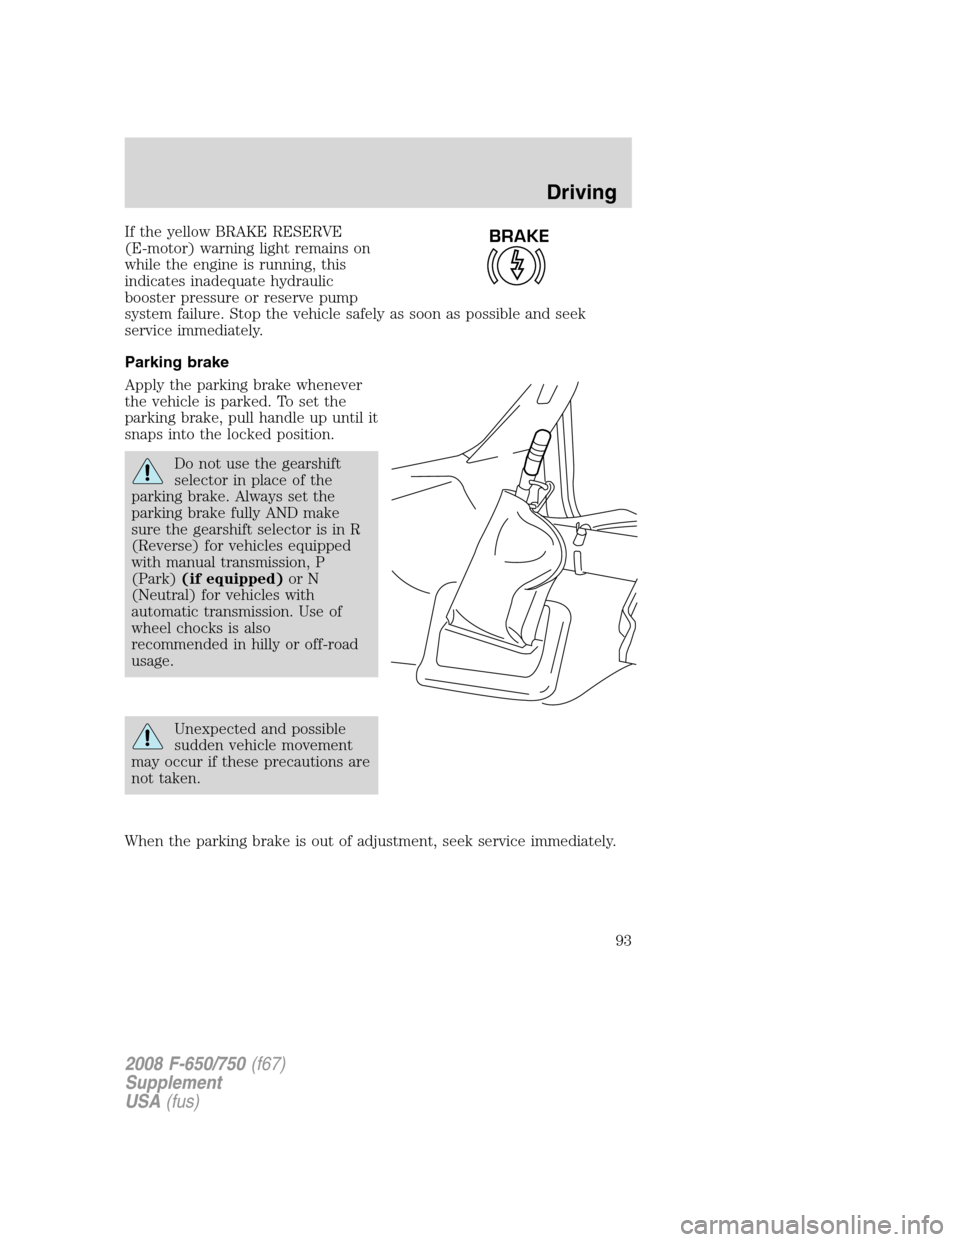
If the yellow BRAKE RESERVE
(E-motor) warning light remains on
while the engine is running, this
indicates inadequate hydraulic
booster pressure or reserve pump
system failure. Stop the vehicle safely as soon as possible and seek
service immediately.
Parking brake
Apply the parking brake whenever
the vehicle is parked. To set the
parking brake, pull handle up until it
snaps into the locked position.
Do not use the gearshift
selector in place of the
parking brake. Always set the
parking brake fully AND make
sure the gearshift selector is in R
(Reverse) for vehicles equipped
with manual transmission, P
(Park)(if equipped)or N
(Neutral) for vehicles with
automatic transmission. Use of
wheel chocks is also
recommended in hilly or off-road
usage.
Unexpected and possible
sudden vehicle movement
may occur if these precautions are
not taken.
When the parking brake is out of adjustment, seek service immediately.
BRAKE
2008 F-650/750(f67)
Supplement
USA(fus)
Driving
93
Page 97 of 273
If the parking brake is applied due to low air pressure, immediate service
is required to the parking brake system.
Parking brake warning system
If the park brake light blinks and a chime sounds when pulling the yellow
control knob out, this indicates the parking brake is not functioning
properly; seek service for the parking brake immediately.
The light will blink and the chime will sound until the yellow control
knob is pushed in or approximately eight minutes have passed. If the
yellow control knob is pulled out again, the light will blink and the chime
will sound as a reminder that immediate service is required to the
parking brake system.
Releasing spring manually
Do not attempt to disassemble the parking brake chamber under
any circumstances. The high spring load may cause serious
injury.
If air pressure is released from the spring brake chamber the power
spring applies the brake and, unless air pressure can be re-established,
the spring brake must be released as follows in order to move the
vehicle.
Block the wheels to help prevent the vehicle from moving.
Unexpected and possibly sudden vehicle movement may occur if
these precautions are not taken.
2008 F-650/750(f67)
Supplement
USA(fus)
Driving
96