2008 FORD F650 seats
[x] Cancel search: seatsPage 83 of 273

Ford recommends the use of a child safety seat having a top tether
strap. Install the child safety seat in a seating position with a tether
anchor. For more information on top tether straps and anchors, refer to
Attaching safety seats with tether straps.
Carefully follow all of the manufacturer’s instructions included
with the safety seat you put in your vehicle. If you do not install
and use the safety seat properly, the child may be injured in a sudden
stop or collision.
Installing child safety seats with combination lap and shoulder
belts
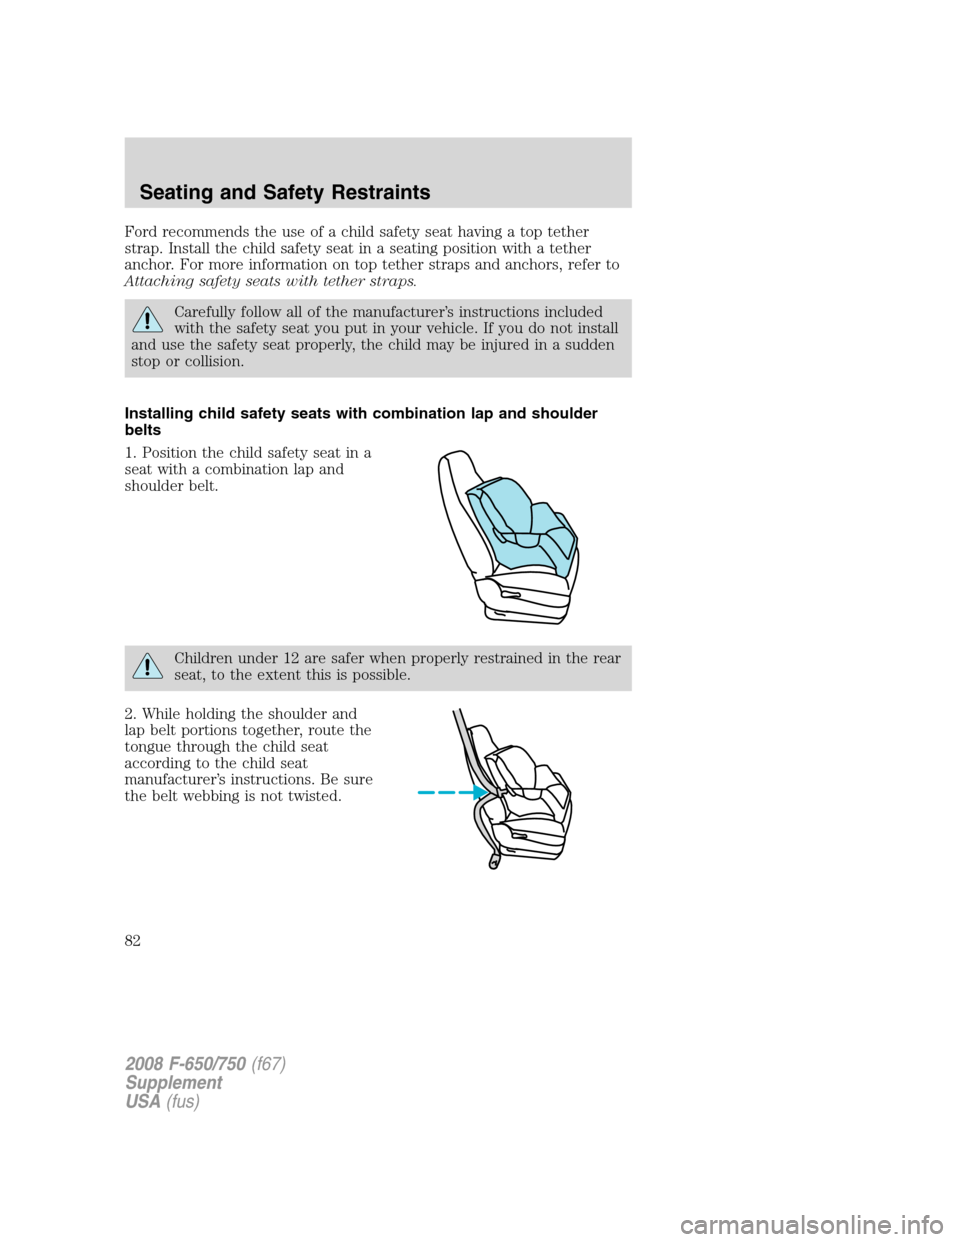
1. Position the child safety seat in a
seat with a combination lap and
shoulder belt.
Children under 12 are safer when properly restrained in the rear
seat, to the extent this is possible.
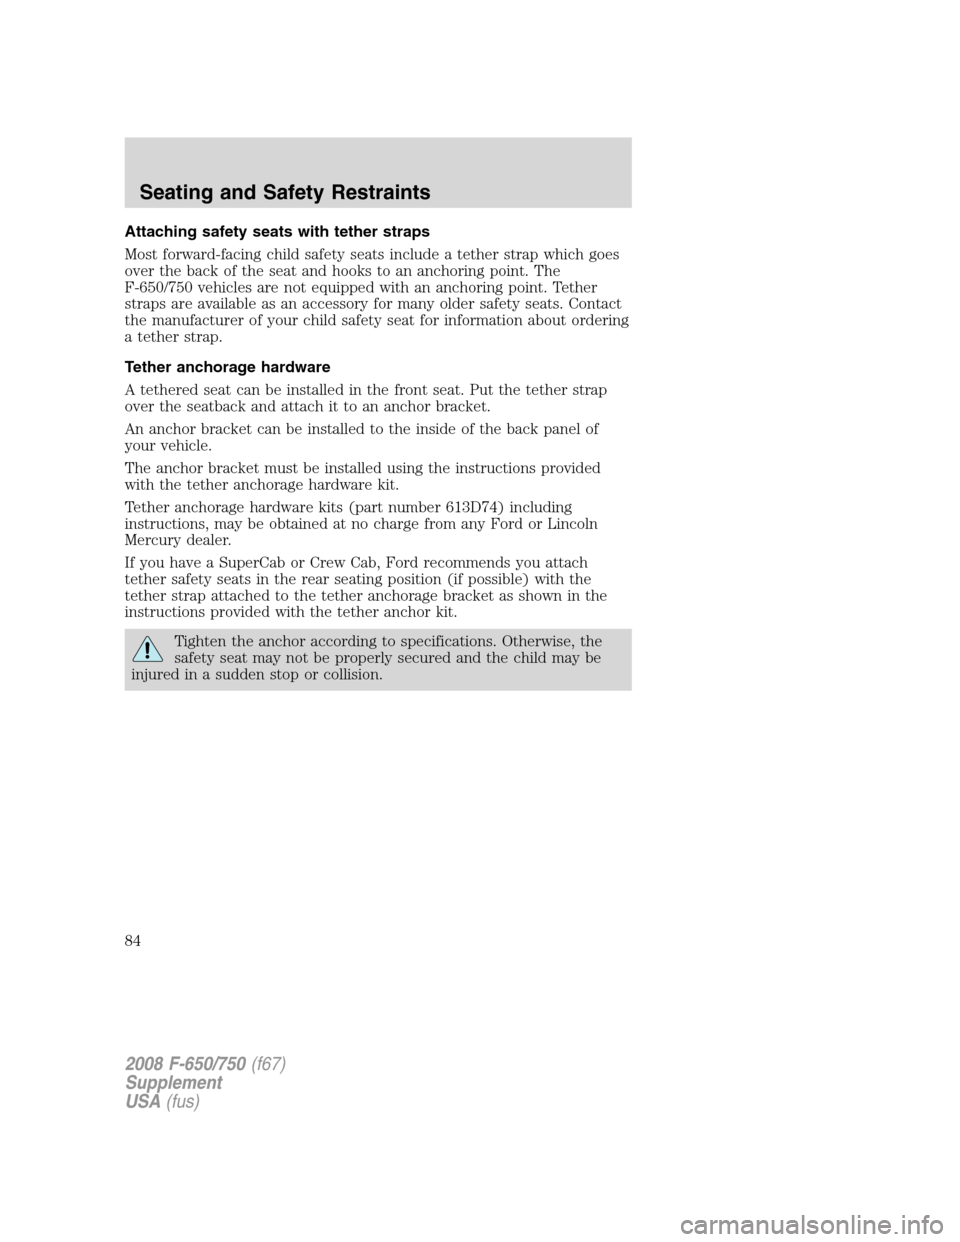
2. While holding the shoulder and
lap belt portions together, route the
tongue through the child seat
according to the child seat
manufacturer’s instructions. Be sure
the belt webbing is not twisted.
2008 F-650/750(f67)
Supplement
USA(fus)
Seating and Safety Restraints
82
Page 85 of 273

Attaching safety seats with tether straps
Most forward-facing child safety seats include a tether strap which goes
over the back of the seat and hooks to an anchoring point. The
F-650/750 vehicles are not equipped with an anchoring point. Tether
straps are available as an accessory for many older safety seats. Contact
the manufacturer of your child safety seat for information about ordering
a tether strap.
Tether anchorage hardware
A tethered seat can be installed in the front seat. Put the tether strap
over the seatback and attach it to an anchor bracket.
An anchor bracket can be installed to the inside of the back panel of
your vehicle.
The anchor bracket must be installed using the instructions provided
with the tether anchorage hardware kit.
Tether anchorage hardware kits (part number 613D74) including
instructions, may be obtained at no charge from any Ford or Lincoln
Mercury dealer.
If you have a SuperCab or Crew Cab, Ford recommends you attach
tether safety seats in the rear seating position (if possible) with the
tether strap attached to the tether anchorage bracket as shown in the
instructions provided with the tether anchor kit.
Tighten the anchor according to specifications. Otherwise, the
safety seat may not be properly secured and the child may be
injured in a sudden stop or collision.
2008 F-650/750(f67)
Supplement
USA(fus)
Seating and Safety Restraints
84
Page 137 of 273

Passenger compartment fuse panel
Fuse/Relay
LocationFuse Amp
RatingFuse Description
1 20A Horn relay
2 15A Flasher
3 20A Cigar lighter
4 10A Diagnostics, Parking brake warning
5 15A Blend door actuator, Climate mode, Back-up
lamps, DRL signal, Heated seats, Trailer ABS,
Exhaust brakes
6 — Not used
7 — Not used
8 5A Radio, GEM 4
9 5A Power window switch LED and relay
10 15A Heated mirrors
11 5A Wiper motor, Washer pump relays
12 10A Stoplamp switch (Hydraulic brake vehicles
only), Allison push-button shifter
13 20A Cluster, Radio
14 10A Interior lamp relay
2008 F-650/750(f67)
Supplement
USA(fus)
Roadside Emergencies
136
Page 140 of 273

Fuse/Relay
LocationFuse Amp
RatingFuse Description
12 20A* Daytime Running Lamps (DRL), Blend door
actuator, Climate mode, Back-up, Heated
seats, Trailer ABS, Exhaust brake
13 — Not used
14 — Not used
15 7.5A* Body builder - trailer adapter stoplamps
16 5A* Bendix Air ABS (Air brake vehicles only)
WABCO ABS (Hydraulic brake vehicles only)
17 — Not used
18 10A* Fuel transfer pump (duel fuel tanks only)
19 — Not used
20 — Not used
21 10A* Hydromax motor control
22 — Not used
23 — Not used
24 — Not used
101 30A** Bendix Air ABS relay (Air brake vehicles
only)
WABCO ABS modulator relay (Hydraulic
brake vehicles only)
102 20A** Ignition switch to customer access
103 20A** Ignition switch (Junction box fuses 8, 9, 10,
11, 19, 29 and 30)
104 20A** Power point
105 20A** Power door locks
106 30A** Main light switch, Multifunction switch, CJB
fuses 16, 26 and 28, Headlamps, DRL relays
107 50A** Junction box fuses 1, 2, 3, 4, 12, 13, 14 and
15
108 40A** Fuel heater relay (Cummins engine only)
109 40A** Power window relay
110 30A** Wiper power relay (Park, Low/High speed)
2008 F-650/750(f67)
Supplement
USA(fus)
Roadside Emergencies
139
Page 141 of 273

Fuse/Relay
LocationFuse Amp
RatingFuse Description
111 30A** Park lamps relay, Park lamps
112 40A** Blower motor relay, Blower motor
113 30A** Heated seats
114 25A** Hydraulic ABS ECU power
115 20A** Ignition switch, Central Junction Box fuses 8,
9, 10 and 11, Starter motor relay
116 30A** Left/Right turn relays, Back-up lamp relay
117 20A** Stoplamps relay
118 60A** Hydraulic brake vehicles (Trailer tow package
only)
119/120 60A** Hydraulic brake vehicle (Trailer tow package
only)
Air brake vehicles (Trailer tow package only)
121/122 60A** Hydraulic brake, ABS system
Air brake trailer tow fuse block
201 — Washer pump relay
202 — Wiper speed relay
203 — Wiper on/off relay
204 — Wiper power relay
205 — RH stop/turn relay
206 — LH stop/turn relay
207 — Hydraulic ABS event relay
208 — Back-up lamps relay
209 — Stoplamp relay
301 — Fuel heater/Fuel transfer pump relay
302 — Park lamps relay
303 — Blower motor relay
304 — Air ABS relay
Hydraulic modulator relay
* Mini fuse **Maxi fuse
2008 F-650/750(f67)
Supplement
USA(fus)
Roadside Emergencies
140
Page 158 of 273

•For routine cleaning, use Motorcraft Detail Wash (ZC-3–A).
•If tar or grease spots are present, use Motorcraft Bug and Tar
Remover (ZC-42).
WINDOWS AND WIPER BLADES
The windshield, rear and side windows and the wiper blades should be
cleaned regularly. If the wipers do not wipe properly, substances on the
vehicle’s glass or the wiper blades may be the cause. These may include
hot wax treatments used by commercial car washes, tree sap, or other
organic contamination. To clean these items, please follow these tips:
•The windshield, rear windows and side windows may be cleaned with
a non-abrasive cleaner such as Motorcraft Ultra Clear Spray Glass
Cleaner (ZC-23), available from your dealer.
•Do not use abrasives, as they may cause scratches.
•Do not use fuel, kerosene, or paint thinner to clean any parts.
•Wiper blades can be cleaned with isopropyl (rubbing) alcohol or
windshield washer solution. Be sure to replace wiper blades when they
appear worn or do not function properly.
INSTRUMENT PANEL AND CLUSTER LENS
Clean the instrument panel with a damp cloth, then dry with a dry cloth.
•Avoid cleaners or polish that increase the gloss of the upper portion of
the instrument panel. The dull finish in this area helps protect the
driver from undesirable windshield reflection.
•Be certain to wash or wipe your hands clean if you have been in
contact with certain products such as insect repellent and suntan
lotion in order to avoid possible damage to the painted surfaces.
INTERIOR TRIM
•Clean the interior trim areas with a damp cloth, then dry by wiping
with a dry, soft, clean cloth.
•Do not use household or glass cleaners as these may damage the
finish.
INTERIOR
For fabric, carpets, cloth seats and safety belts:
•Remove dust and loose dirt with a vacuum cleaner.
•Remove light stains and soil with Motorcraft Professional Strength
Carpet and Upholstery Cleaner (ZC-54).
2008 F-650/750(f67)
Supplement
USA(fus)
Cleaning
157
Page 159 of 273

•If grease or tar is present on the material, spot-clean the area first
with Motorcraft Spot and Stain Remover (ZC-14).
•Never saturate the seat covers with cleaning solution.
•Do not use household cleaning products or glass cleaners, which can
stain and discolor the fabric and affect the flame retardant abilities of
the seat materials.
Do not use cleaning solvents, bleach or dye on the vehicle’s seat
belts, as these actions may weaken the belt webbing.
LEATHER SEATS (IF EQUIPPED)
Your leather seating surfaces have a clear, protective coating over the
leather.
•To clean, use a soft cloth with Motorcraft Deluxe Leather and Vinyl
Cleaner (ZC-11–A). Dry the area with a soft cloth.
•To help maintain its resiliency and color, use the Motorcraft Deluxe
Leather Care Kit (ZC-11–D), available from your authorized dealer.
•Do not use household cleaning products, alcohol solutions, solvents or
cleaners intended for rubber, vinyl and plastics, or oil/petroleum-based
leather conditioners. These products may cause premature wearing of
the clear, protective coating.
UNDERBODY
Flush the complete underside of your vehicle frequently. Keep body and
door drain holes free from packed dirt.
FORD CAR CARE PRODUCTS
Your vehicle’s dealer has many quality products available to clean your
vehicle and protect its finishes. These quality products have been
specifically engineered to fulfill your automotive needs; they are custom
designed to complement the style and appearance of your vehicle. Each
product is made from high quality materials that meet or exceed rigid
specifications. For best results, use the following products or products of
equivalent quality:
Motorcraft Bug and Tar Remover (ZC-42)
Motorcraft Car Care Kit (ZC-26)
Motorcraft Car Wash (Canada only) (CXC-21)
Motorcraft Custom Bright Metal Cleaner (ZC-15)
2008 F-650/750(f67)
Supplement
USA(fus)
Cleaning
158
Page 194 of 273

such as the fuel sender, cranking motor, alternator and feed-through
studs should be cleaned and re-coated with a lubricant sealing grease
such as Motorcraft Silicone Brake Caliper Grease and Dielectic
Compound XG-3, or equivalent. This should include the ground cable
connector for batteries, engine and cab as well as the jump starting stud.
Accessory feed connections
Vehicle electrical systems are complex and often include electronic
components such as engine and transmission controls, instrument panels,
ABS, etc. While most systems operate on battery voltage (12 volts),
some systems can be as high as 90 volts or as low as five volts. Refer to
the Electrical Circuit Diagram Manuals, available from your vehicle’s
manufacturer, to ensure that any additional body lights and accessories
are connected to circuits that are both appropriate and not overloaded.
No modification should be made to any vehicle control system without
first contacting your dealer.
SUSPENSION INSPECTION
Note:Do not adjust air suspension height to any setting other than the
specified setting. Altering the height setting will change the driveline
angle and may result in unwarrantable component damage, such as
transmission component damage.
Verify drive axle air suspension height and height control valve
performance at engine lube oil change intervals.
Periodically:
•Check condition of spring leaves for evidence of fatigue, bending or
breakage.
•Check condition of suspension mounting brackets and bushings.
•Check that torque rod mounting fasteners are tight.
•Check to be sure the suspension alignment is maintained at all times.
•Check U-bolts after the chassis has been operating under load for
1,000 miles (1,600 km) or six months, whichever comes first, the
U-Bolt nuts must be re-torqued. The U-Bolt nuts thereafter must be
re-torqued every 36,000 miles (58,000 km). The U-Bolt and nut
threads and seats should be cleaned and lubricated to ensure a “like
new” condition when re-torquing.
Note:See theU-Bolt Nut Torquechart later in this section.
2008 F-650/750(f67)
Supplement
USA(fus)
Maintenance and Specifications
193