Page 106 of 400
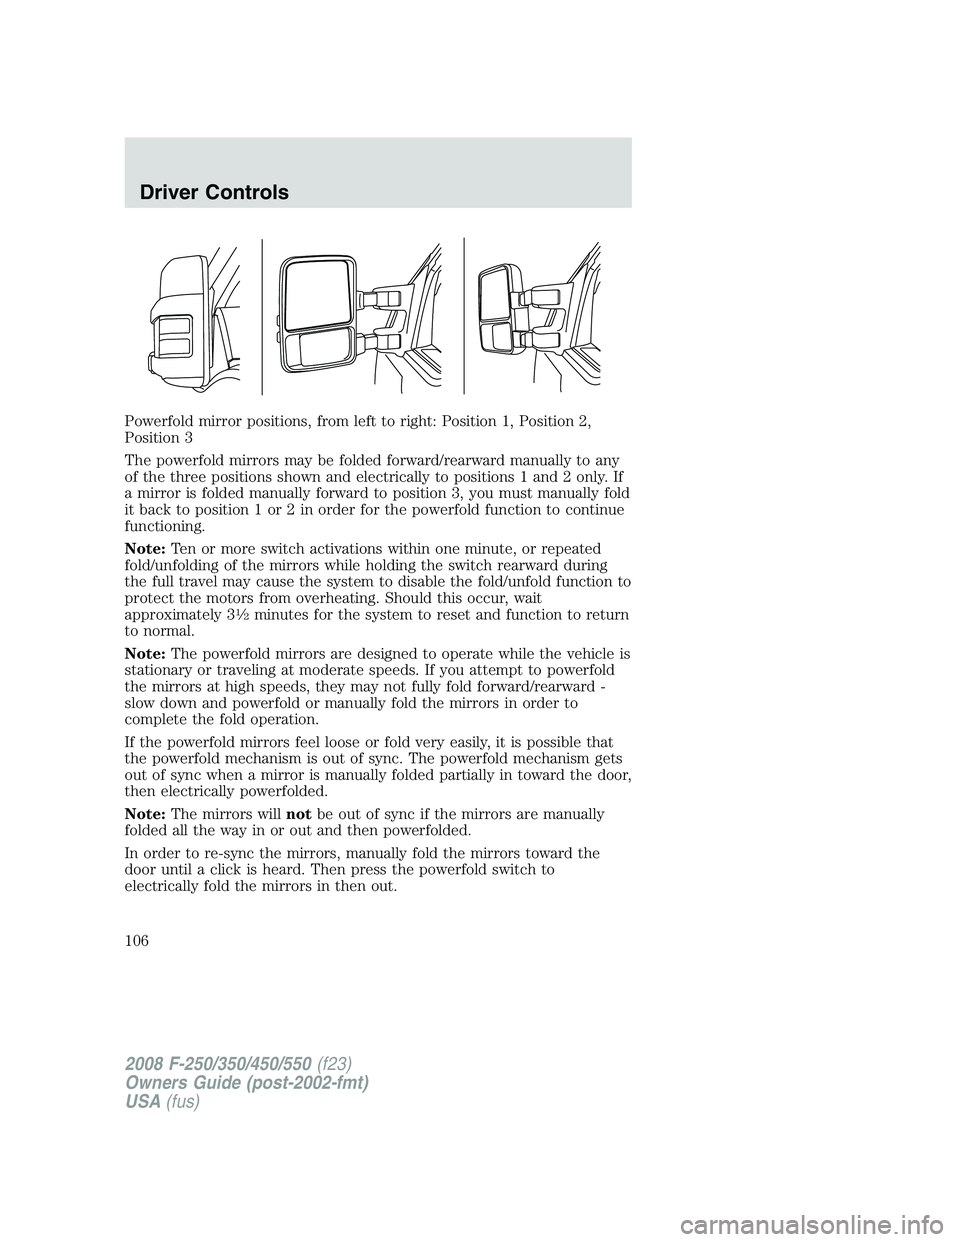
Powerfold mirror positions, from left to right: Position 1, Position 2,
Position 3
The powerfold mirrors may be folded forward/rearward manually to any
of the three positions shown and electrically to positions 1 and 2 only. If
a mirror is folded manually forward to position 3, you must manually fold
it back to position 1 or 2 in order for the powerfold function to continue
functioning.
Note:Ten or more switch activations within one minute, or repeated
fold/unfolding of the mirrors while holding the switch rearward during
the full travel may cause the system to disable the fold/unfold function to
protect the motors from overheating. Should this occur, wait
approximately 3
1�2minutes for the system to reset and function to return
to normal.
Note:The powerfold mirrors are designed to operate while the vehicle is
stationary or traveling at moderate speeds. If you attempt to powerfold
the mirrors at high speeds, they may not fully fold forward/rearward -
slow down and powerfold or manually fold the mirrors in order to
complete the fold operation.
If the powerfold mirrors feel loose or fold very easily, it is possible that
the powerfold mechanism is out of sync. The powerfold mechanism gets
out of sync when a mirror is manually folded partially in toward the door,
then electrically powerfolded.
Note:The mirrors willnotbe out of sync if the mirrors are manually
folded all the way in or out and then powerfolded.
In order to re-sync the mirrors, manually fold the mirrors toward the
door until a click is heard. Then press the powerfold switch to
electrically fold the mirrors in then out.
2008 F-250/350/450/550(f23)
Owners Guide (post-2002-fmt)
USA(fus)
Driver Controls
106
Page 107 of 400
Note:If the power fold/telescope mirror glass appears loose or vibrates
when driving, it is possible that the mirrors have been manually folded or
telescoped. To minimize the vibration, ensure that the mirrors are
electronically folded and telescoped in/out with the switches on the door
trim panel.
Telescoping mirrors (if equipped)
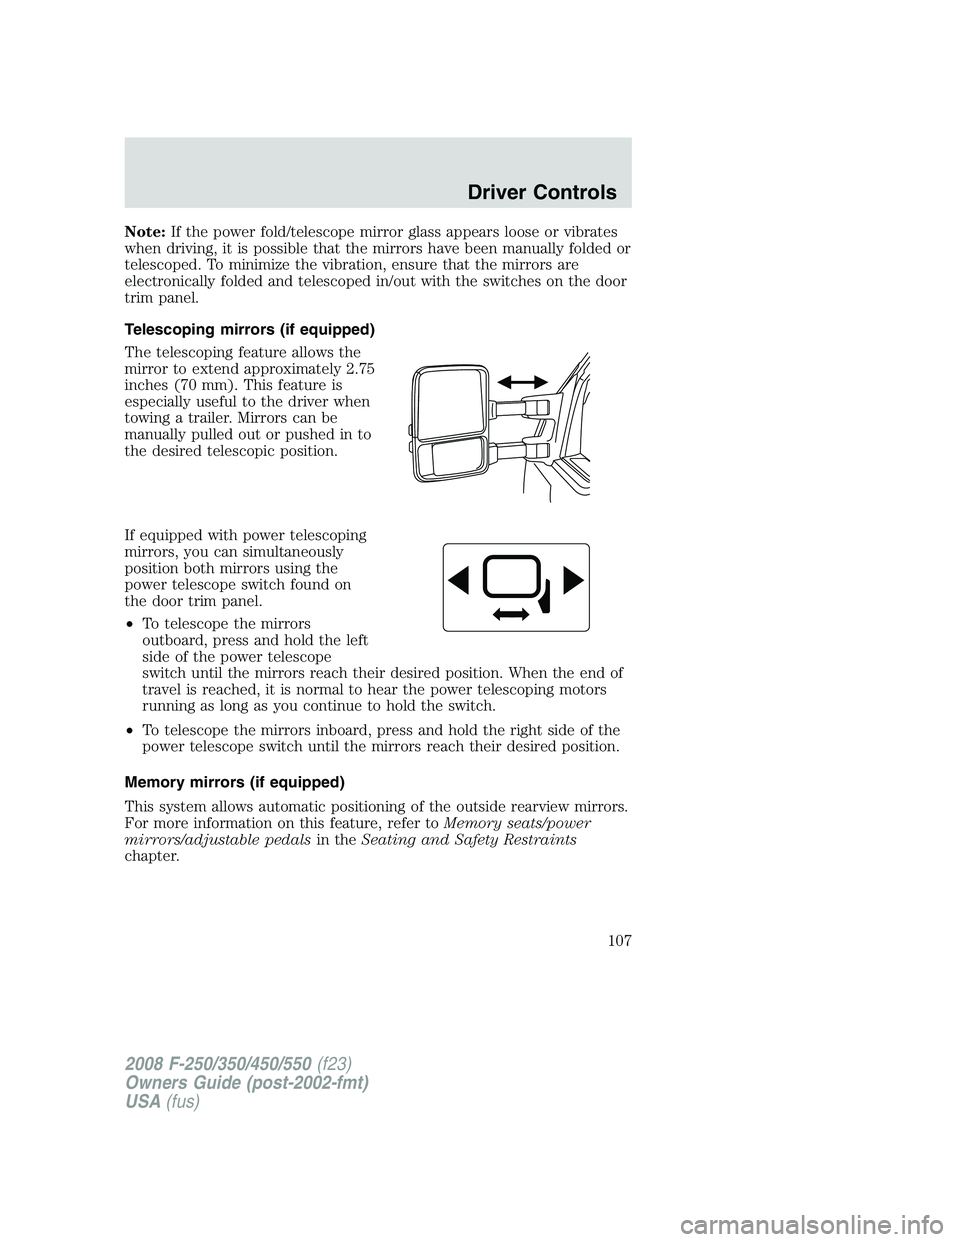
The telescoping feature allows the
mirror to extend approximately 2.75
inches (70 mm). This feature is
especially useful to the driver when
towing a trailer. Mirrors can be
manually pulled out or pushed in to
the desired telescopic position.
If equipped with power telescoping
mirrors, you can simultaneously
position both mirrors using the
power telescope switch found on
the door trim panel.
•To telescope the mirrors
outboard, press and hold the left
side of the power telescope
switch until the mirrors reach their desired position. When the end of
travel is reached, it is normal to hear the power telescoping motors
running as long as you continue to hold the switch.
•To telescope the mirrors inboard, press and hold the right side of the
power telescope switch until the mirrors reach their desired position.
Memory mirrors (if equipped)
This system allows automatic positioning of the outside rearview mirrors.
For more information on this feature, refer toMemory seats/power
mirrors/adjustable pedalsin theSeating and Safety Restraints
chapter.
2008 F-250/350/450/550(f23)
Owners Guide (post-2002-fmt)
USA(fus)
Driver Controls
107
Page 108 of 400
Mirror mounted side turn signal indicator (if equipped)
When the vehicle turn signals are
activated, the outer portion of the
mirror housing will blink amber.
The turn signal feature can be seen
by other drivers who may approach
from the rear of the vehicle.
Clearance lamps (if equipped)
Illuminates when the headlamps or
parking lamps are switched on.
This provides additional visibility of
your vehicle to other drivers on the
road.
POWER ADJUSTABLE FOOT PEDALS (IF EQUIPPED)
The accelerator and brake pedal
should only be adjusted when the
vehicle is stopped and the gearshift
lever is in the P (Park) position.
Press and hold the rocker control to
adjust accelerator and brake pedal
toward you or away from you.
The adjustment allows for approximately 2.75 inches (70 mm) of
maximum travel.
2008 F-250/350/450/550(f23)
Owners Guide (post-2002-fmt)
USA(fus)
Driver Controls
108
Page 116 of 400
To close the moon roof:Press and hold thecontrol until the glass
panel stops at the “comfort” position. Press and hold the control again
until the glass stops moving (the moon roof does not go to the comfort
position). When fully closed, the rear portion of the glass panel will
appear higher than the front portion.
To vent the moon roof:Press and hold the
control.The moon
roof must be in the closed position in order to move it into the
vent position.To close, press and hold the AUTO control until the glass
panel stops moving.
The moon roof has a built-in sliding shade that can be manually opened
or closed when the glass panel is shut. To close the shade, pull it toward
the front of the vehicle.
Do not let children play with the moon roof or leave children
unattended in the vehicle. They may seriously hurt themselves.
When closing the moon roof, you should verify that it is free of
obstructions and ensure that children and/or pets are not in the
proximity of the moon roof opening.
HOMELINK�WIRELESS CONTROL SYSTEM (IF EQUIPPED)
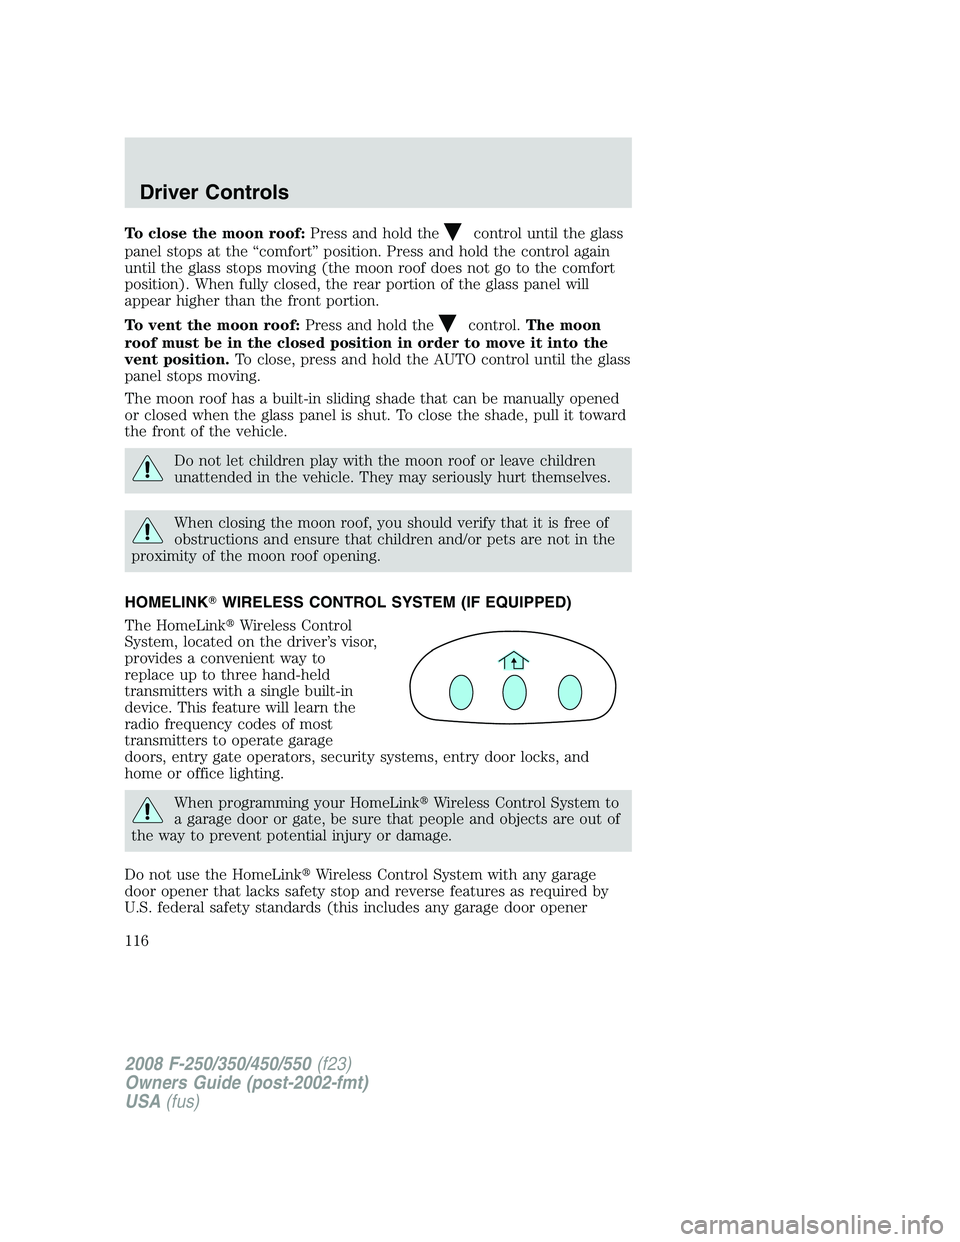
The HomeLink�Wireless Control
System, located on the driver’s visor,
provides a convenient way to
replace up to three hand-held
transmitters with a single built-in
device. This feature will learn the
radio frequency codes of most
transmitters to operate garage
doors, entry gate operators, security systems, entry door locks, and
home or office lighting.
When programming your HomeLink�Wireless Control System to
a garage door or gate, be sure that people and objects are out of
the way to prevent potential injury or damage.
Do not use the HomeLink�Wireless Control System with any garage
door opener that lacks safety stop and reverse features as required by
U.S. federal safety standards (this includes any garage door opener
2008 F-250/350/450/550(f23)
Owners Guide (post-2002-fmt)
USA(fus)
Driver Controls
116
Page 141 of 400
1. Before removal of the tailgate, locate and disconnect the electrical
connector under the pick-up box on the right-hand side of the vehicle
near the spare tire.
2. Install the protective cap (tethered to the wiring harness under the
vehicle) on the RCS connector.
3. Carefully bring the wiring harness up between the pick-up box and the
bumper. Secure the tailgate harness onto the pick-up box.
4. Lower the tailgate.
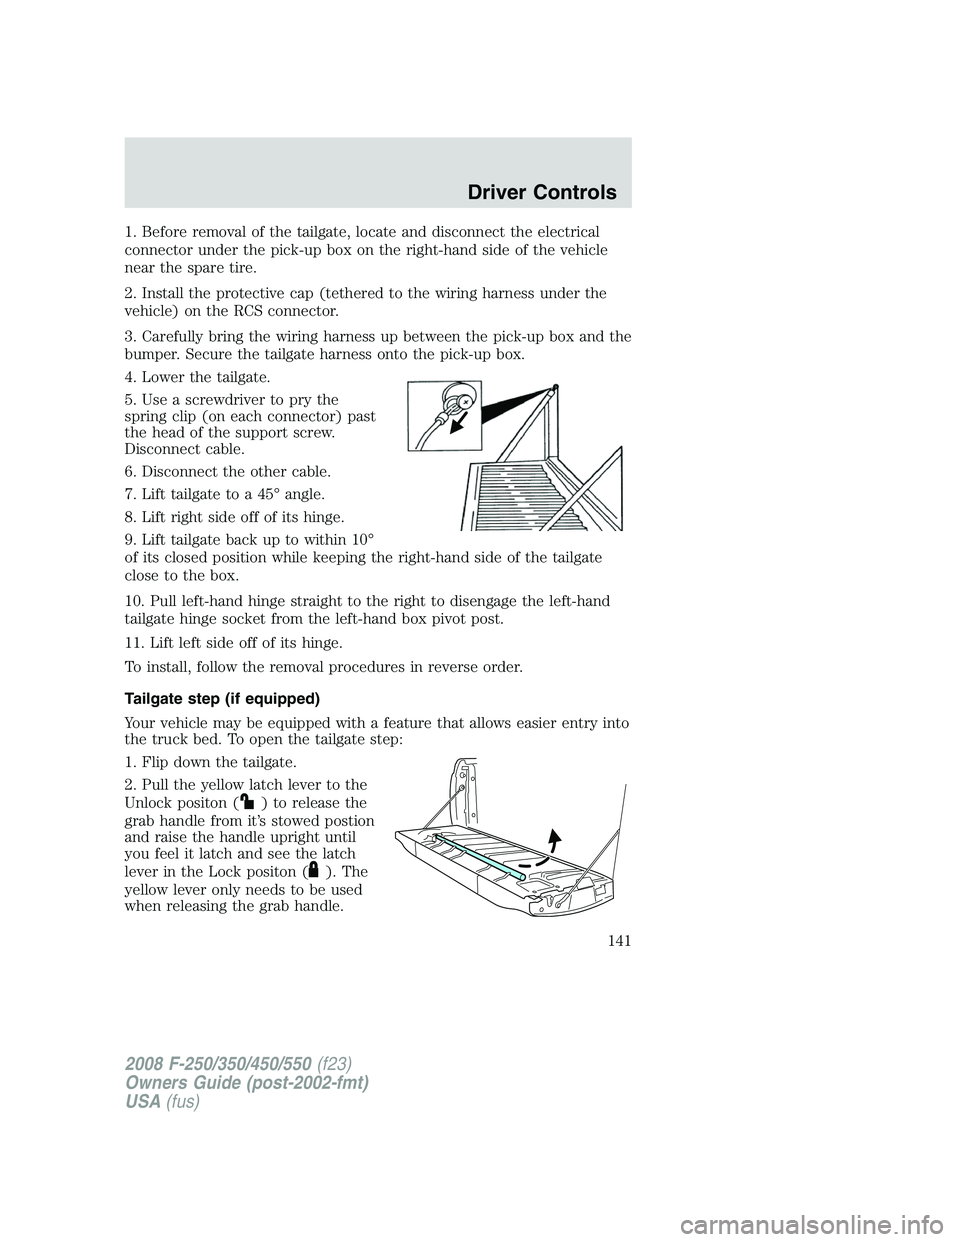
5. Use a screwdriver to pry the
spring clip (on each connector) past
the head of the support screw.
Disconnect cable.
6. Disconnect the other cable.
7. Lift tailgate to a 45° angle.
8. Lift right side off of its hinge.
9. Lift tailgate back up to within 10°
of its closed position while keeping the right-hand side of the tailgate
close to the box.
10. Pull left-hand hinge straight to the right to disengage the left-hand
tailgate hinge socket from the left-hand box pivot post.
11. Lift left side off of its hinge.
To install, follow the removal procedures in reverse order.
Tailgate step (if equipped)
Your vehicle may be equipped with a feature that allows easier entry into
the truck bed. To open the tailgate step:
1. Flip down the tailgate.
2. Pull the yellow latch lever to the
Unlock positon (
) to release the
grab handle from it’s stowed postion
and raise the handle upright until
you feel it latch and see the latch
lever in the Lock positon (
). The
yellow lever only needs to be used
when releasing the grab handle.
2008 F-250/350/450/550(f23)
Owners Guide (post-2002-fmt)
USA(fus)
Driver Controls
141
Page 142 of 400
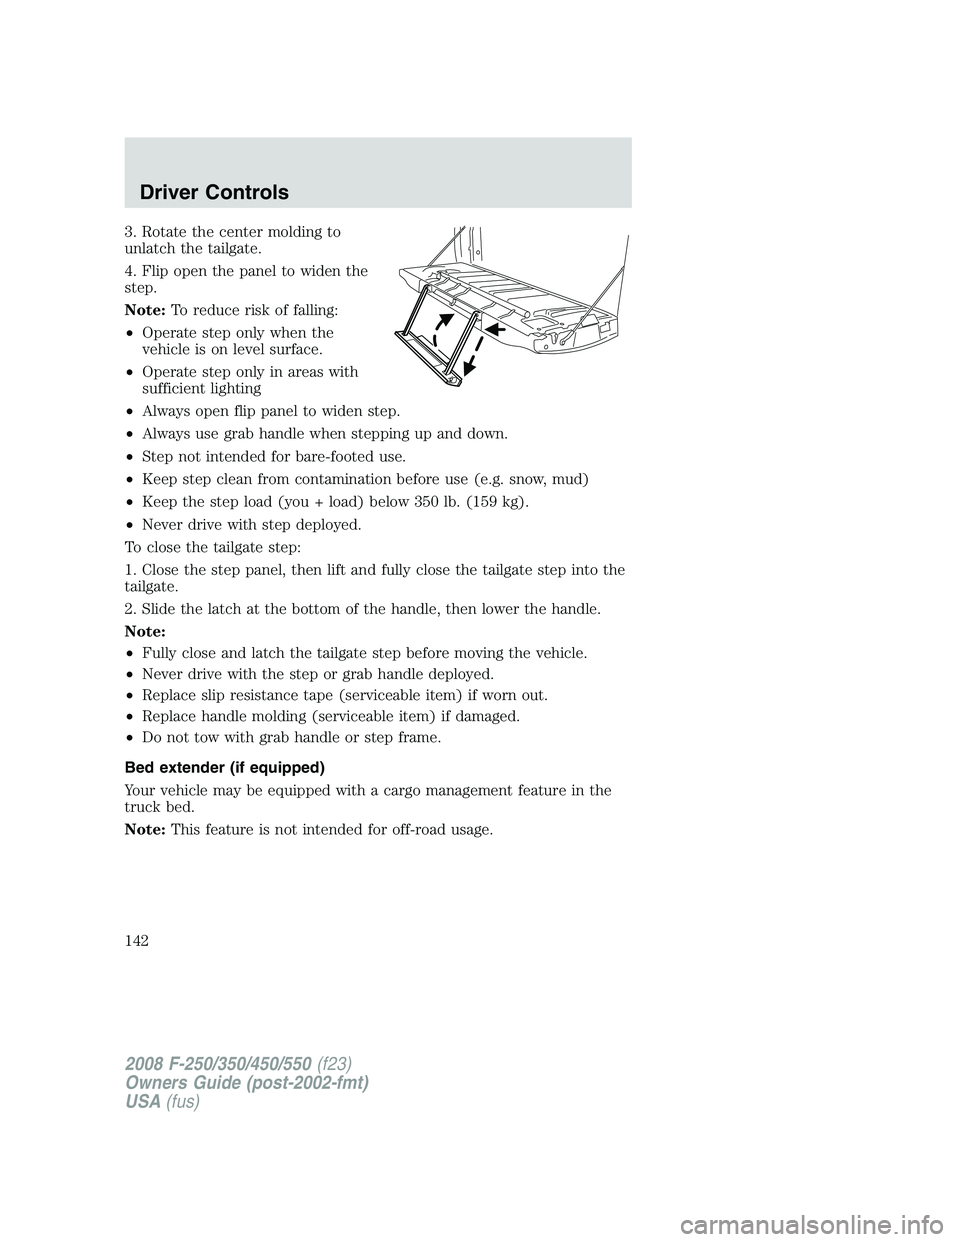
3. Rotate the center molding to
unlatch the tailgate.
4. Flip open the panel to widen the
step.
Note:To reduce risk of falling:
•Operate step only when the
vehicle is on level surface.
•Operate step only in areas with
sufficient lighting
•Always open flip panel to widen step.
•Always use grab handle when stepping up and down.
•Step not intended for bare-footed use.
•Keep step clean from contamination before use (e.g. snow, mud)
•Keep the step load (you + load) below 350 lb. (159 kg).
•Never drive with step deployed.
To close the tailgate step:
1. Close the step panel, then lift and fully close the tailgate step into the
tailgate.
2. Slide the latch at the bottom of the handle, then lower the handle.
Note:
•Fully close and latch the tailgate step before moving the vehicle.
•Never drive with the step or grab handle deployed.
•Replace slip resistance tape (serviceable item) if worn out.
•Replace handle molding (serviceable item) if damaged.
•Do not tow with grab handle or step frame.
Bed extender (if equipped)
Your vehicle may be equipped with a cargo management feature in the
truck bed.
Note:This feature is not intended for off-road usage.
2008 F-250/350/450/550(f23)
Owners Guide (post-2002-fmt)
USA(fus)
Driver Controls
142
Page 143 of 400
To open the bed extender into Tailgate Mode:
1. Pull the locking pin toward the
center of the vehicle.
2. Rotate the storage hinge rearward
to unlatch the panels.
3. Rotate the panels toward the
tailgate.
Repeat Steps 1–3 for the other side of the bed extender.
2008 F-250/350/450/550(f23)
Owners Guide (post-2002-fmt)
USA(fus)
Driver Controls
143
Page 151 of 400
REMOTE ENTRY SYSTEM (IF EQUIPPED)
This device complies with part 15 of the FCC rules and with RS-210 of
Industry Canada. Operation is subject to the following two conditions:
(1) This device may not cause harmful interference, and (2) This device
must accept any interference received, including interference that may
cause undesired operation.
Changes or modifications not expressly approved by the party
responsible for compliance could void the user’s authority to
operate the equipment.
The typical operating range for your remote entry transmitter is
approximately 33 feet (10 meters). A decrease in operating range could
be caused by:
•weather conditions,
•nearby radio towers,
•structures around the vehicle, or
•other vehicles parked next to your vehicle.
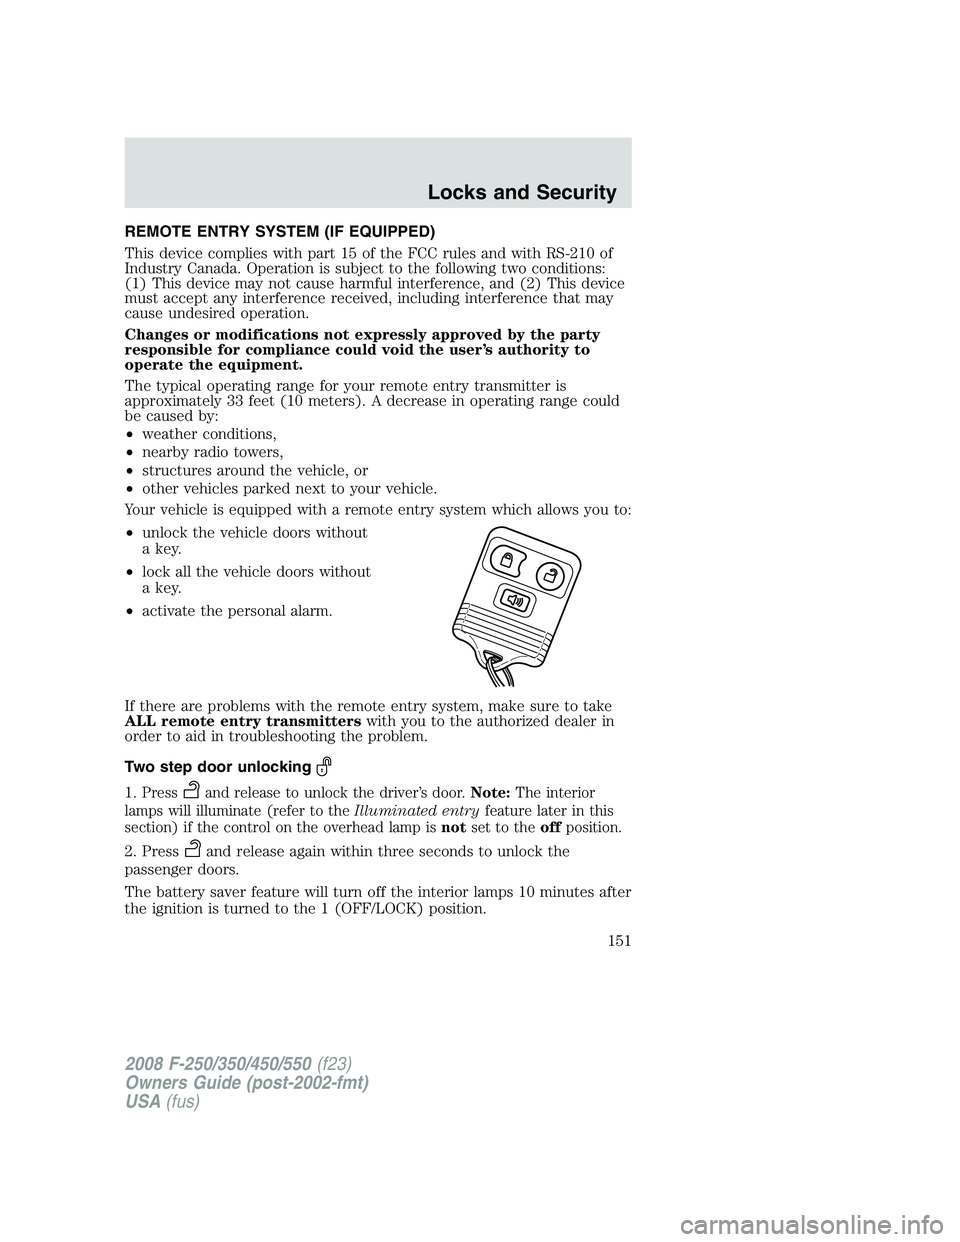
Your vehicle is equipped with a remote entry system which allows you to:
•unlock the vehicle doors without
a key.
•lock all the vehicle doors without
a key.
•activate the personal alarm.
If there are problems with the remote entry system, make sure to take
ALL remote entry transmitterswith you to the authorized dealer in
order to aid in troubleshooting the problem.
Two step door unlocking
1.Pressand release to unlock the driver’s door.Note:The interior
lamps will illuminate (refer to theIlluminated entryfeature later in this
section) if the control on the overhead lamp isnotset to theoffposition.
2. Pressand release again within three seconds to unlock the
passenger doors.
The battery saver feature will turn off the interior lamps 10 minutes after
the ignition is turned to the 1 (OFF/LOCK) position.
2008 F-250/350/450/550(f23)
Owners Guide (post-2002-fmt)
USA(fus)
Locks and Security
151