2008 FORD F SERIES MOTORHOME AND COMMERCIAL CHASSIS clock
[x] Cancel search: clockPage 73 of 130

3. Loosen the wheel nut by pulling up on the handle of the lug nut
wrench about one-half turn (counterclockwise). Do not remove the
wheel lug nuts until you raise the tire off the ground.
Replacing the tire
WARNING:Failure to follow the instructions below may result
in serious personal injury. Do not put any part of your body
under the vehicle while the vehicle is on a jack. Do not start the
engine while the vehicle is on a jack. Only use the jack for emergency
wheel and tire changing. Only select a jack with a rated capacity
sufficient to lift and hold up the vehicle.
4. Position the jack to raise the front or rear wheel. Raise the vehicle
with the jack applied to the axle(s).
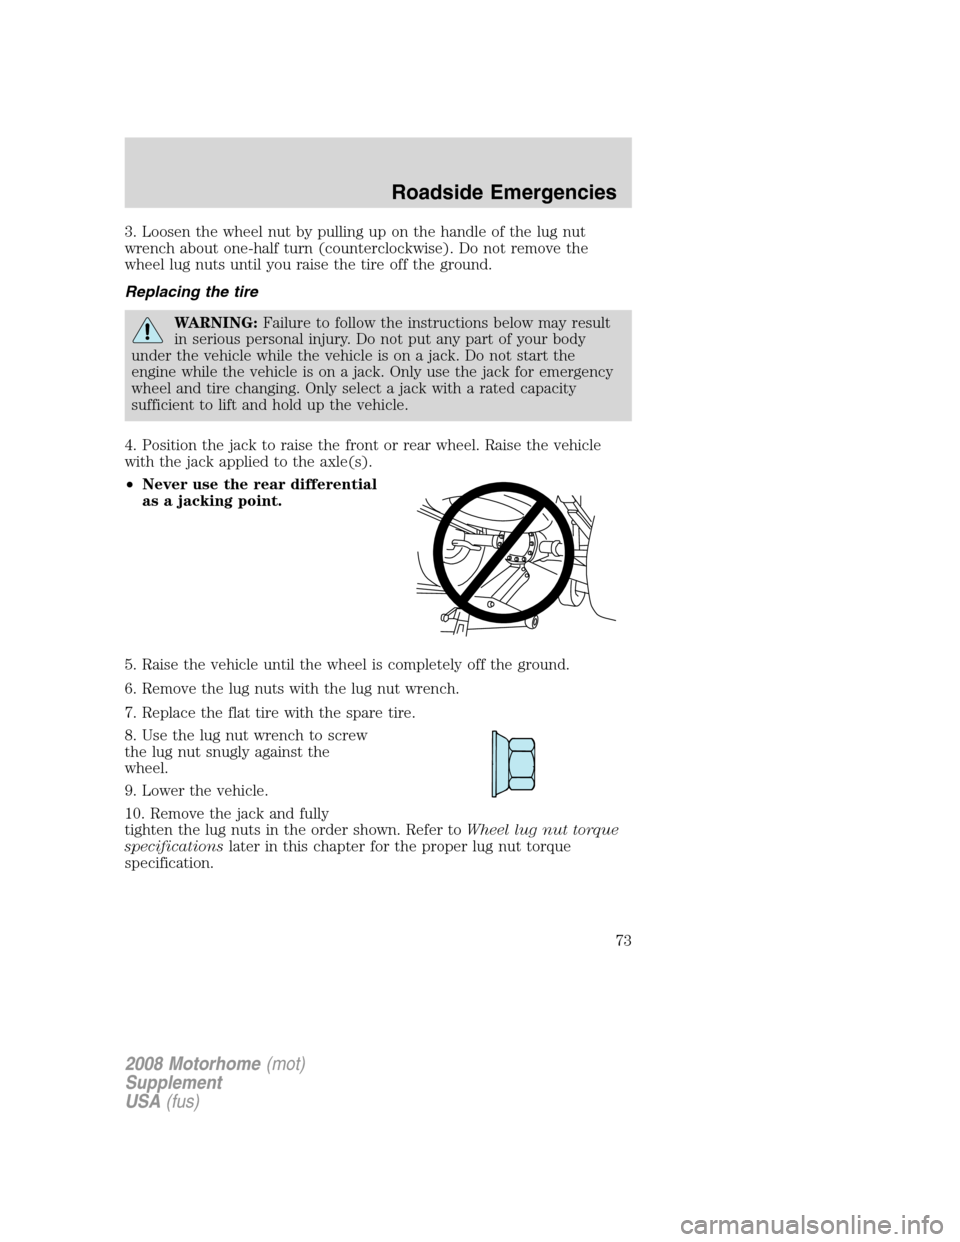
•Never use the rear differential
as a jacking point.
5. Raise the vehicle until the wheel is completely off the ground.
6. Remove the lug nuts with the lug nut wrench.
7. Replace the flat tire with the spare tire.
8. Use the lug nut wrench to screw
the lug nut snugly against the
wheel.
9. Lower the vehicle.
10. Remove the jack and fully
tighten the lug nuts in the order shown. Refer toWheel lug nut torque
specificationslater in this chapter for the proper lug nut torque
specification.
2008 Motorhome(mot)
Supplement
USA(fus)
Roadside Emergencies
73
Page 92 of 130

2. If the engine oil level is not within the normal operating range, add
only certified engine oil of the recommended viscosity. Remove the
engine oil filler cap and use a funnel to pour the engine oil into the
opening.
3. Recheck the engine oil level. Make sure the oil level is not above the
normal operating range on the engine oil level dipstick.
4. Install the dipstick and ensure it is fully seated.
5. Fully install the engine oil filler cap by turning the filler cap clockwise
until three clicks can be heard.
To avoid possible oil loss, DO NOT operate the vehicle with the
engine oil level dipstick and/or the engine oil filler cap removed.
Engine oil and filter recommendations
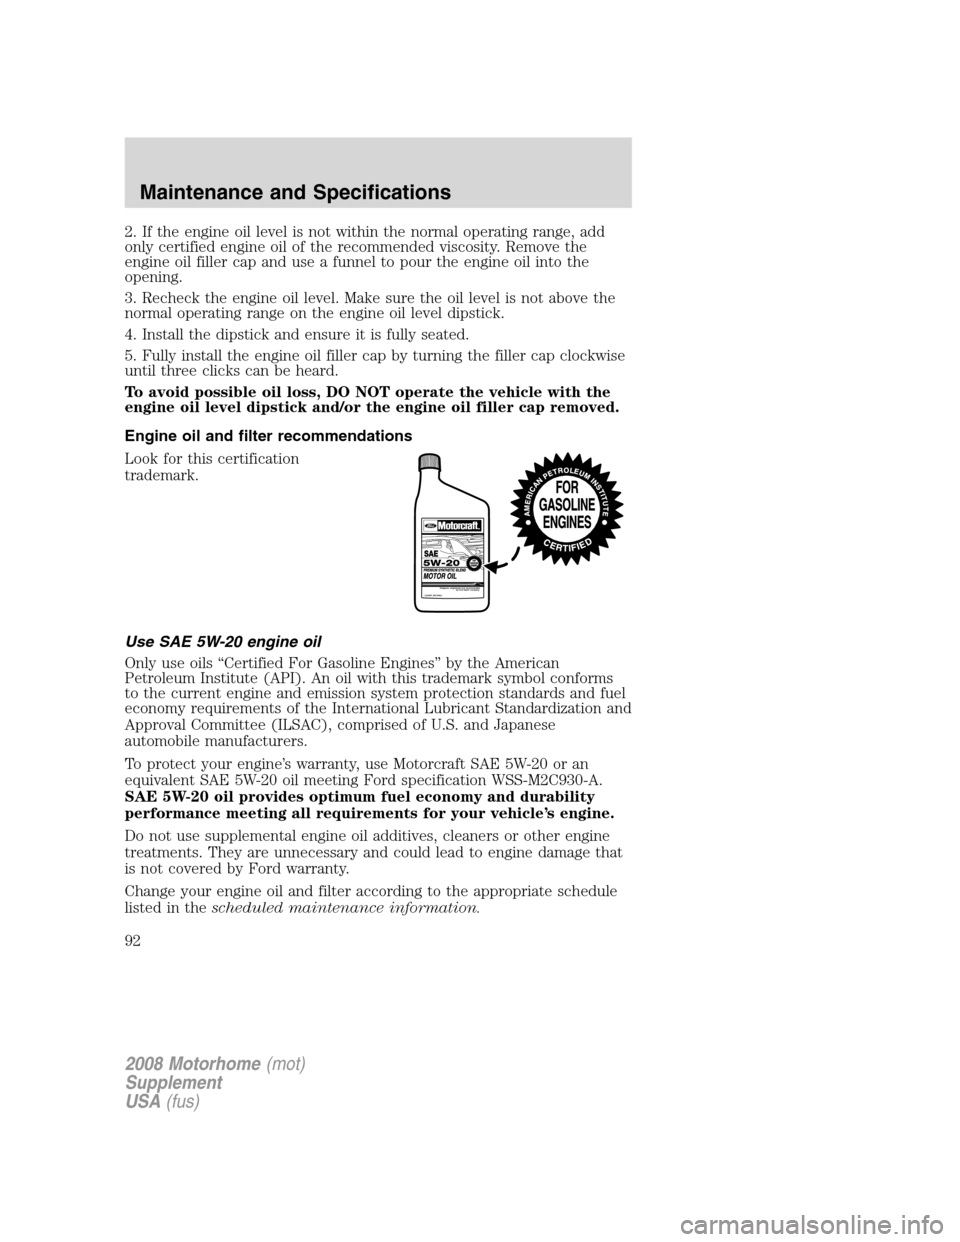
Look for this certification
trademark.
Use SAE 5W-20 engine oil
Only use oils “Certified For Gasoline Engines” by the American
Petroleum Institute (API). An oil with this trademark symbol conforms
to the current engine and emission system protection standards and fuel
economy requirements of the International Lubricant Standardization and
Approval Committee (ILSAC), comprised of U.S. and Japanese
automobile manufacturers.
To protect your engine’s warranty, use Motorcraft SAE 5W-20 or an
equivalent SAE 5W-20 oil meeting Ford specification WSS-M2C930-A.
SAE 5W-20 oil provides optimum fuel economy and durability
performance meeting all requirements for your vehicle’s engine.
Do not use supplemental engine oil additives, cleaners or other engine
treatments. They are unnecessary and could lead to engine damage that
is not covered by Ford warranty.
Change your engine oil and filter according to the appropriate schedule
listed in thescheduled maintenance information.
2008 Motorhome(mot)
Supplement
USA(fus)
Maintenance and Specifications
92
Page 95 of 130

4. Allow the engine to idle for at least one minute.
5. Turn the A/C on and allow the engine to idle for at least one minute.
6. With your foot on the brake pedal and with the A/C on, put the
vehicle in D (Drive) and allow the engine to idle for at least one minute.
7. Drive the vehicle to complete the relearning process.
•The vehicle may need to be driven 10 miles (16 km) or more to
relearn the idle and fuel trim strategy.
•If you do not allow the engine to relearn its idle trim, the idle
quality of your vehicle may be adversely affected until the idle
trim is eventually relearned.
If the battery has been disconnected or a new battery has been installed,
the clock and the preset radio stations must be reset once the battery is
reconnected.
•Always dispose of automotive
batteries in a responsible manner.
Follow your local authorized
standards for disposal. Call your
local authorized recycling center
to find out more about recycling
automotive batteries.
ENGINE COOLANT
Checking engine coolant
The concentration and level of engine coolant should be checked at the
intervals listed inscheduled maintenance information.The coolant
concentration should be maintained at 50/50 coolant and distilled water,
which equates to a freeze point of -34°F (-36°C). Coolant concentration
testing is possible with a hydrometer or antifreeze tester (such as the
Rotunda Battery and Antifreeze Tester, 014–R1060). The level of coolant
should be maintained at the “FULL COLD” level or within the “COLD
FILL RANGE” in the coolant reservoir. If the level falls below, add
coolant per the instructions in theAdding engine coolantsection.
L
E
A
D
RETURN
RECYCLE
2008 Motorhome(mot)
Supplement
USA(fus)
Maintenance and Specifications
95
Page 98 of 130

For vehicles with overflow coolant systems with a non-pressurized cap
on the coolant recovery system, add coolant to the coolant recovery
reservoir when the engine is cool. Add the proper mixture of coolant and
water to the “FULL COLD” level. For all other vehicles which have a
coolant degas system with a pressurized cap, or if it is necessary to
remove the coolant pressure relief cap on the radiator of a vehicle with
an overflow system, follow these steps to add engine coolant.
WARNING:To reduce the risk of personal injury, make sure the
engine is cool before unscrewing the coolant pressure relief cap.
The cooling system is under pressure; steam and hot liquid can come
out forcefully when the cap is loosened slightly.
Add the proper mixture of coolant and water to the cooling system by
following these steps:
1. Before you begin, turn the engine off and let it cool.
2. When the engine is cool, wrap a thick cloth around the coolant
pressure relief cap on the coolant reservoir (a translucent plastic bottle).
Slowly turn cap counterclockwise (left) until pressure begins to release.
3. Step back while the pressure releases.
4. When you are sure that all the pressure has been released, use the
cloth to turn it counterclockwise and remove the cap.
5. Fill the coolant reservoir slowly with the proper coolant mixture, to
within the “COLD FILL RANGE” or the “FULL COLD” level on the
reservoir. If you removed the radiator cap in an overflow system, fill the
radiator until the coolant is visible and radiator is almost full.
6. Replace the cap. Turn until tightly installed. Cap must be tightly
installed to prevent coolant loss.
After any coolant has been added, check the coolant concentration (refer
toChecking engine coolant). If the concentration is not 50/50
(protection to –34°F/–36°C), drain some coolant and adjust the
concentration. It may take several drains and additions to obtain a 50/50
coolant concentration.
Whenever coolant has been added, the coolant level in the coolant
reservoir should be checked the next few times you drive the vehicle. If
necessary, add enough 50/50 concentration of engine coolant and
distilled water to bring the liquid level to the proper level.
If you have to add more than 1.0 quart (1.0 liter) of engine coolant per
month, have your authorized dealer check the engine cooling system.
2008 Motorhome(mot)
Supplement
USA(fus)
Maintenance and Specifications
98