2008 DODGE RAM 3500 GAS transmission oil
[x] Cancel search: transmission oilPage 209 of 554

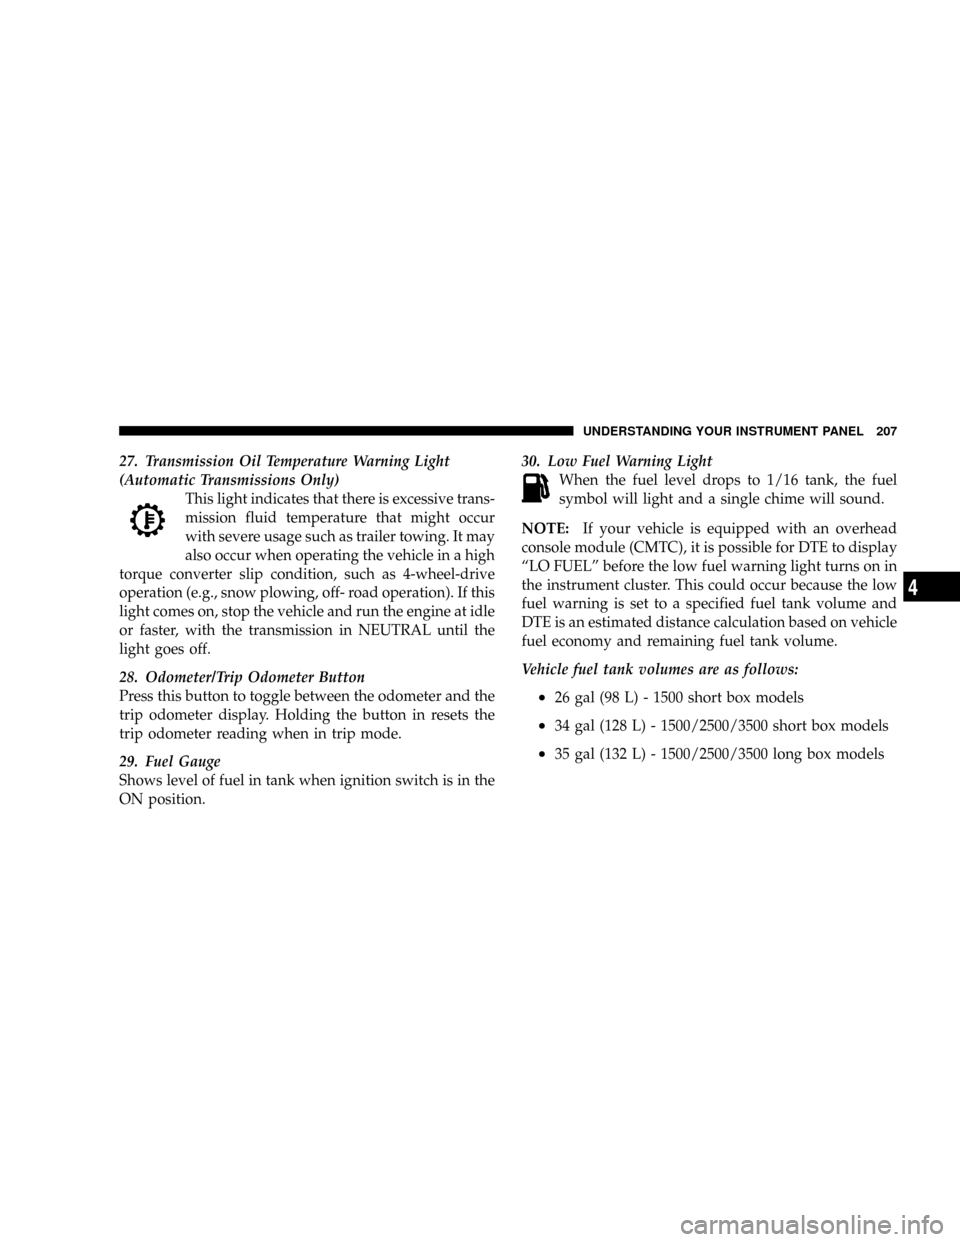
27. Transmission Oil Temperature Warning Light
(Automatic Transmissions Only)
This light indicates that there is excessive trans-
mission fluid temperature that might occur
with severe usage such as trailer towing. It may
also occur when operating the vehicle in a high
torque converter slip condition, such as 4-wheel-drive
operation (e.g., snow plowing, off- road operation). If this
light comes on, stop the vehicle and run the engine at idle
or faster, with the transmission in NEUTRAL until the
light goes off.
28. Odometer/Trip Odometer Button
Press this button to toggle between the odometer and the
trip odometer display. Holding the button in resets the
trip odometer reading when in trip mode.
29. Fuel Gauge
Shows level of fuel in tank when ignition switch is in the
ON position.30. Low Fuel Warning Light
When the fuel level drops to 1/16 tank, the fuel
symbol will light and a single chime will sound.
NOTE:If your vehicle is equipped with an overhead
console module (CMTC), it is possible for DTE to display
ªLO FUELº before the low fuel warning light turns on in
the instrument cluster. This could occur because the low
fuel warning is set to a specified fuel tank volume and
DTE is an estimated distance calculation based on vehicle
fuel economy and remaining fuel tank volume.
Vehicle fuel tank volumes are as follows:
²26 gal (98 L) - 1500 short box models
²34 gal (128 L) - 1500/2500/3500 short box models
²35 gal (132 L) - 1500/2500/3500 long box models
UNDERSTANDING YOUR INSTRUMENT PANEL 207
4
Page 271 of 554

Window Fogging
Windows will fog on the inside when the humidity inside
the vehicle is high. This often occurs in mild or cool
temperatures when it's rainy or humid. In most cases
turning on the air conditioning (pressing the snowflake
button) will clear the fog. Adjust the temperature control,
air direction and blower speed to maintain comfort.
As the temperature gets colder it may be necessary to
direct air onto the windshield by using MIX Mode
position on the control. Adjust the temperature control
and blower speed to maintain comfort. Higher blower
speeds will reduce fogging. Interior fogging on the
windshield can be quickly removed by selecting the
defrost mode.
Regular cleaning of the inside of the windows with a
non-filming cleaning solution (vinegar and water works
very well) will help prevent contaminates (cigarettesmoke, perfumes, etc.) from sticking to the windows.
Contaminates increase the rate of window fogging.
Summer Operation
Air conditioned vehicles must be protected with a high
quality antifreeze coolant during summer to provide
proper corrosion protection and to raise the boiling point
of the coolant for protection against overheating. A 50 %
concentration is recommended. For proper coolant type,
refer to ªRecommended Fluids and Genuine Partsº in
Section 7.
When using the air conditioner in extremely heavy traffic
in hot weather, especially when towing a trailer, addi-
tional engine cooling may be required. If this situation is
encountered, operate the transmission in a lower gear to
increase engine RPM, coolant flow and fan speed. When
stopped in heavy traffic, it may be necessary to shift into
NEUTRAL and depress the accelerator slightly for fast
idle operation to increase coolant flow and fan speed.
UNDERSTANDING YOUR INSTRUMENT PANEL 269
4
Page 318 of 554

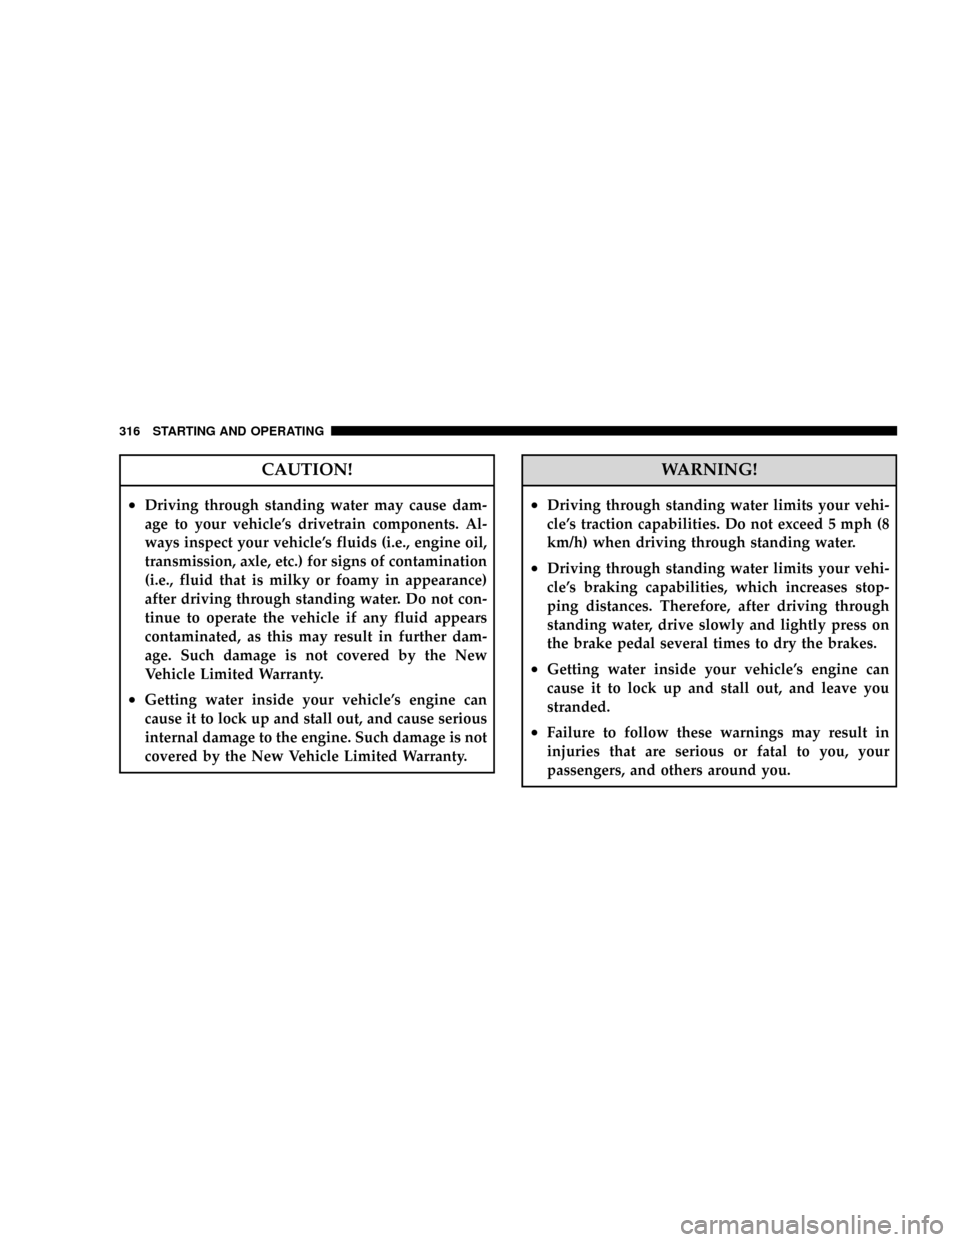
CAUTION!
²Driving through standing water may cause dam-
age to your vehicle's drivetrain components. Al-
ways inspect your vehicle's fluids (i.e., engine oil,
transmission, axle, etc.) for signs of contamination
(i.e., fluid that is milky or foamy in appearance)
after driving through standing water. Do not con-
tinue to operate the vehicle if any fluid appears
contaminated, as this may result in further dam-
age. Such damage is not covered by the New
Vehicle Limited Warranty.
²Getting water inside your vehicle's engine can
cause it to lock up and stall out, and cause serious
internal damage to the engine. Such damage is not
covered by the New Vehicle Limited Warranty.
WARNING!
²Driving through standing water limits your vehi-
cle's traction capabilities. Do not exceed 5 mph (8
km/h) when driving through standing water.
²Driving through standing water limits your vehi-
cle's braking capabilities, which increases stop-
ping distances. Therefore, after driving through
standing water, drive slowly and lightly press on
the brake pedal several times to dry the brakes.
²Getting water inside your vehicle's engine can
cause it to lock up and stall out, and leave you
stranded.
²Failure to follow these warnings may result in
injuries that are serious or fatal to you, your
passengers, and others around you.
316 STARTING AND OPERATING
Page 480 of 554

3. Fully apply the parking brake and press the brake
pedal.
4. Place the gear selector momentarily in each gear
position ending with the lever in PARK.
5. Remove the dipstick, wipe it clean and reinsert it until
seated.
6. Remove the dipstick again and note the fluid level on
both sides. The fluid level should be between the ªHOTº
(upper) reference holes on the dipstick at normal operat-
ing temperature. Verify that solid coating of oil is seen on
both sides of the dipstick. If the fluid is low, add as
required into the dipstick tube.Do not overfill.After
adding any quantity of oil through the oil fill tube, wait
a minimum of two minutes for the oil to fully drain into
the transmission before rechecking the fluid level.NOTE:If it is necessary to check the transmissionbelow
the operating temperature, the fluid level should be
between the two ªCOLDº (lower) holes on the dipstick
with the fluid at approximately 70ÉF (21ÉC) (room tem-
perature). If the fluid level is correctly established at
room temperature, it should be between the ªHOTº
(upper) reference holes when the transmission reaches
180ÉF (82ÉC). Remember it is best to check the level at the
normal operating temperature.
CAUTION!
Be aware that if the fluid temperature is below 50ÉF
(10ÉC) it may not register on the dipstick. Do not add
fluid until the temperature is elevated enough to
produce an accurate reading.
478 MAINTAINING YOUR VEHICLE
Page 513 of 554
![DODGE RAM 3500 GAS 2008 3.G Owners Manual Component Fluids, Lubricants and Genuine Parts
Engine Oil Filter (4.7L & 5.7L En-
gine)MopartEngine Oil Filter, P/N 4884899AB or equivalent.
Spark Plugs (5.7L Engine) REC14MCC4 (Gap 0.043 in [1.09 mm] DODGE RAM 3500 GAS 2008 3.G Owners Manual Component Fluids, Lubricants and Genuine Parts
Engine Oil Filter (4.7L & 5.7L En-
gine)MopartEngine Oil Filter, P/N 4884899AB or equivalent.
Spark Plugs (5.7L Engine) REC14MCC4 (Gap 0.043 in [1.09 mm]](/manual-img/12/5497/w960_5497-512.png)
Component Fluids, Lubricants and Genuine Parts
Engine Oil Filter (4.7L & 5.7L En-
gine)MopartEngine Oil Filter, P/N 4884899AB or equivalent.
Spark Plugs (5.7L Engine) REC14MCC4 (Gap 0.043 in [1.09 mm])
Spark Plugs (4.7L Engine) Upper Bank Ð FR8TE2 (Gap 0.039 in [.99 mm]) Lower Bank Ð FR8T1332
(Gap 0.051 in [1.30 mm])
Spark Plugs (3.7L Engine) ZFR6F-11G (Gap 0.043 in [1.09 mm])
Fuel Selection (3.7L/4.7L Engine) 87 Octane
Fuel Selection (5.7L Engine) 87 Octane Acceptable - 89 Octane Recommended
Chassis
Component Fluids, Lubricants and Genuine Parts.
Automatic Transmission MopartATF+4, Automatic Transmission Fluid.
Transfer Case MopartATF+4, Automatic Transmission Fluid.
NVG 246 Automatic Transfer Case
OnlyMopartPN 05179014AA, NVG 246 Automatic Transmission Fluid or
equivalent.
Manual Transmission Fluid (G238) MopartATF+4, Automatic Transmission Fluid.
Manual Transmission Fluid (G-56) MopartATF+4, Automatic Transmission Fluid.
MAINTAINING YOUR VEHICLE 511
7
Page 517 of 554

²Change your engine oil more often if you drive your
vehicle off-road for an extended period of time.
²Under no circumstances should oil change intervals
exceed 6,000 miles (10,000 km) or 6 months, whichever
comes first.
Your dealer will reset the oil change indicator message
after completing the scheduled oil change. If this sched-
uled oil change is performed by someone other than your
dealer the message can be reset by referring to the steps
described under ªOdometer/Trip Odometerº under ªIn-
strument Cluster Descriptionº in Section 4 of this
manual.
At Each Stop for Fuel
²Check the engine oil level about 5 minutes after a fully
warmed engine is shut off. Checking the oil level whilethe vehicle is on level ground will improve the accu-
racy of the oil level reading. Add oil only when the
level is at or below the ADD or MIN mark.
²Check the windshield washer solvent and add if
required.
Once a Month
²Check tire pressure and look for unusual wear or
damage.
²Inspect the battery and clean and tighten the terminals
as required.
²Check the fluid levels of coolant reservoir, brake
master cylinder, power steering and transmission and
add as needed.
²Check all lights and other electrical items for correct
operation.
MAINTENANCE SCHEDULES 515
8
M
A
I
N
T
E
N
A
N
C
E
S
C
H
E
D
U
L
E
S
Page 518 of 554

At Each Oil Change
²Change the engine oil filter.
²Inspect the brake hoses and lines.
²Check the Manual Transmission fluid level.
CAUTION!
Failure to perform the required maintenance items
may result in damage to the vehicle.
Required Maintenance Intervals
NOTE:** Vehicles built with the 4.7L engine are
equipped with sixteen spark plugs, one set is located on
the top of the engine under the coils and the second set is
located on the side of the engine.
The spark plugs located under the coils are a standard
plug and must be changed every 30,000 miles (50 000 km)
The spark plugs located on the side of the engine are a
premium plug and must be changed every 102,000 miles
(170 000 km).
516 MAINTENANCE SCHEDULES
8
M
A
I
N
T
E
N
A
N
C
E
S
C
H
E
D
U
L
E
S
Page 539 of 554

Filters
Air Cleaner........................455,481
Engine Fuel.......................... 455
Engine Oil........................454,510
Engine Oil Disposal.................... 453
Flashers
Turn Signal.......................... 139
Flat Tire Stowage.....................422,433
Flexible Fuel Vehicles
Cruising Range........................ 380
Engine Oil........................... 380
Fuel Requirements..................377,379
Replacement Parts..................... 381
Starting............................. 380
Flooded Engine Starting................... 280
Fluid, Brake............................ 511
Fluid Capacities......................... 508
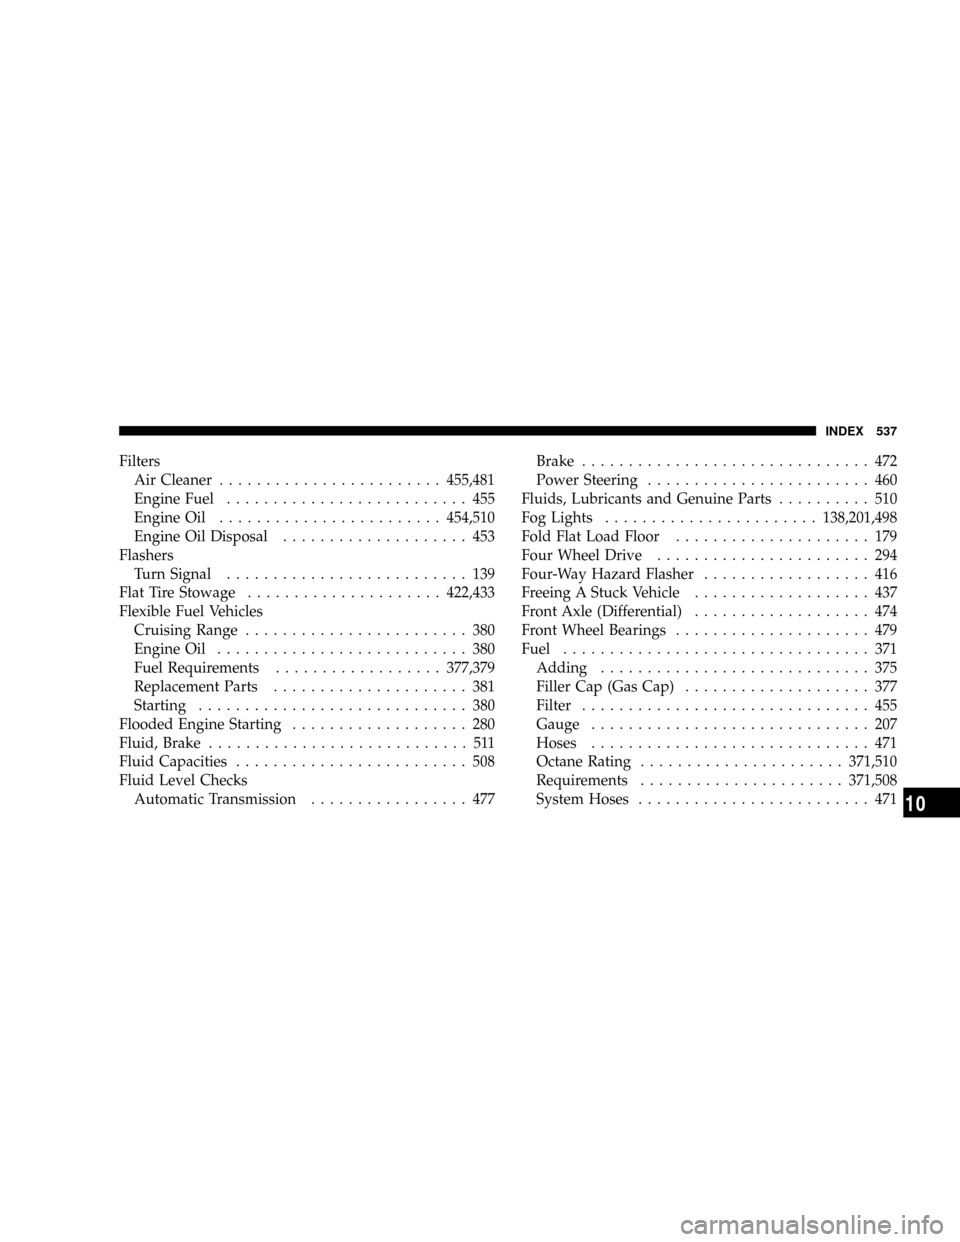
Fluid Level Checks
Automatic Transmission................. 477Brake............................... 472
Power Steering........................ 460
Fluids, Lubricants and Genuine Parts.......... 510
Fog Lights.......................138,201,498
Fold Flat Load Floor..................... 179
Four Wheel Drive....................... 294
Four-Way Hazard Flasher.................. 416
Freeing A Stuck Vehicle................... 437
Front Axle (Differential)................... 474
Front Wheel Bearings..................... 479
Fuel................................. 371
Adding............................. 375
Filler Cap (Gas Cap).................... 377
Filter............................... 455
Gauge.............................. 207
Hoses.............................. 471
Octane Rating......................371,510
Requirements......................371,508
System Hoses......................... 471
INDEX 537
10